This project is partly inspired by a comment on this board somewhat derisively describing DIY Iowa as a jamboree of boxes. It is also largely inspired by @PWRRYD projects using concrete pillar forms and LARGE roundovers. The difference here is that the forms will comprise the inside AND outside of a portion of the cabinet.
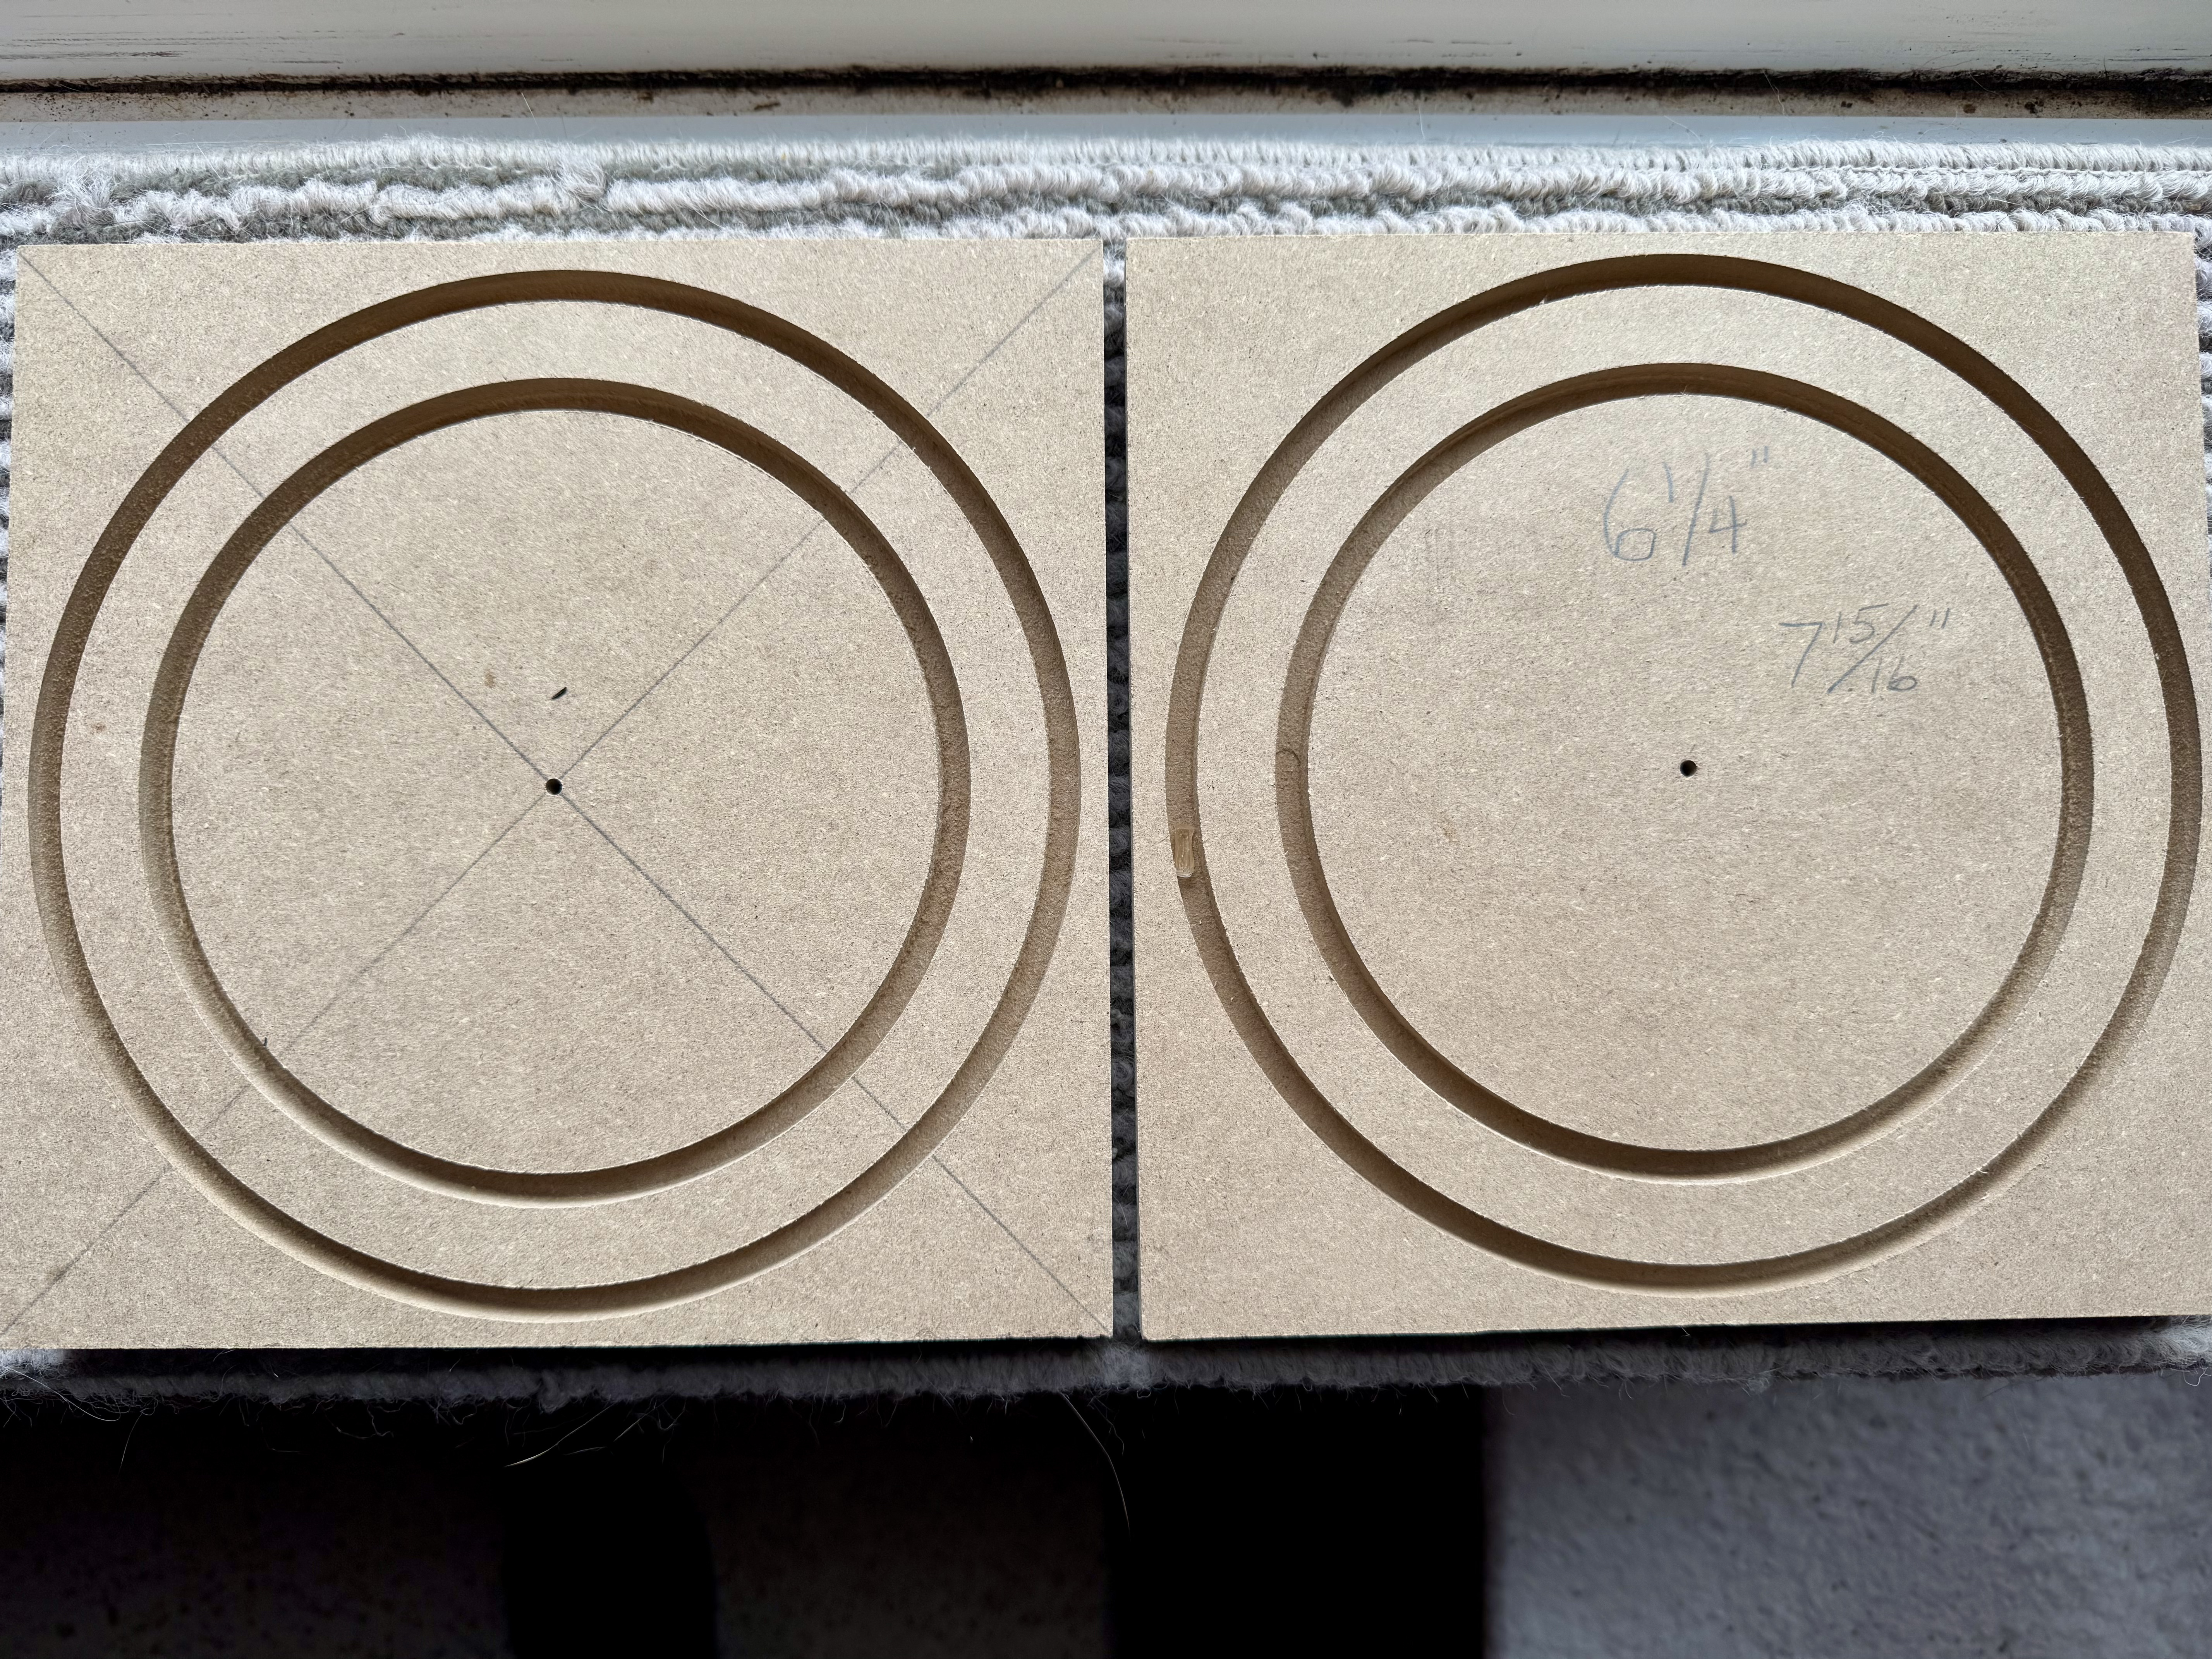
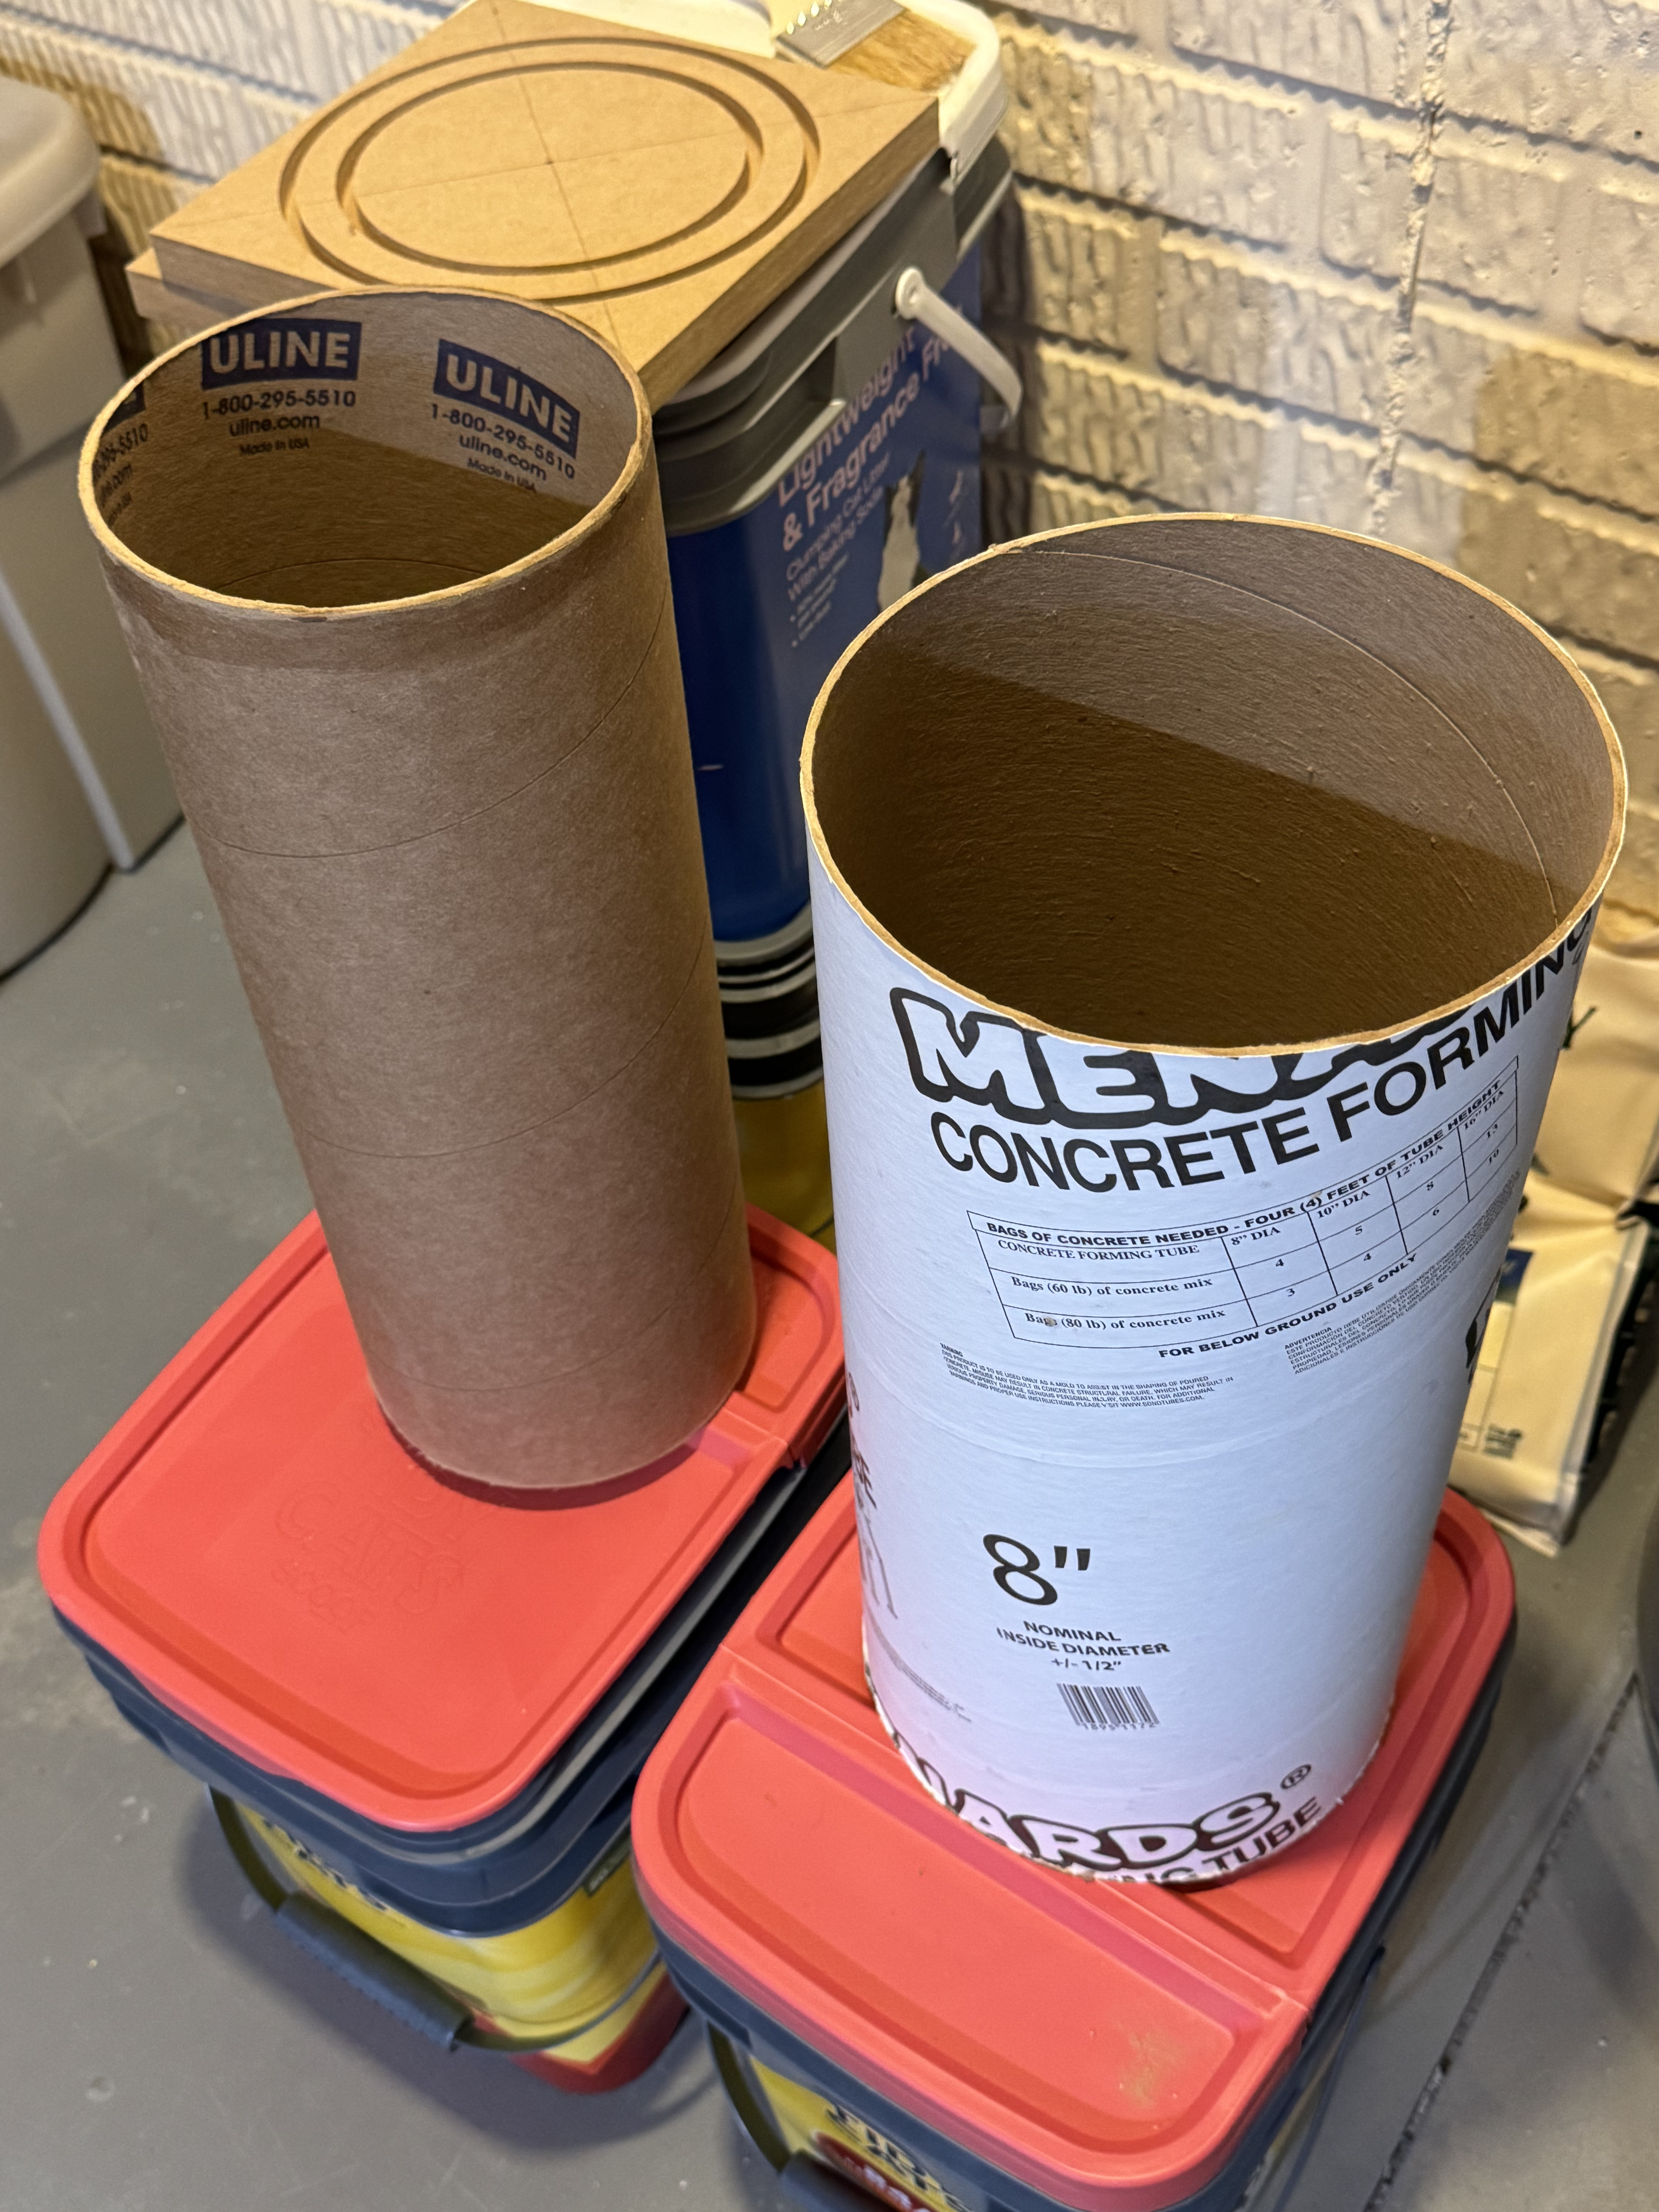
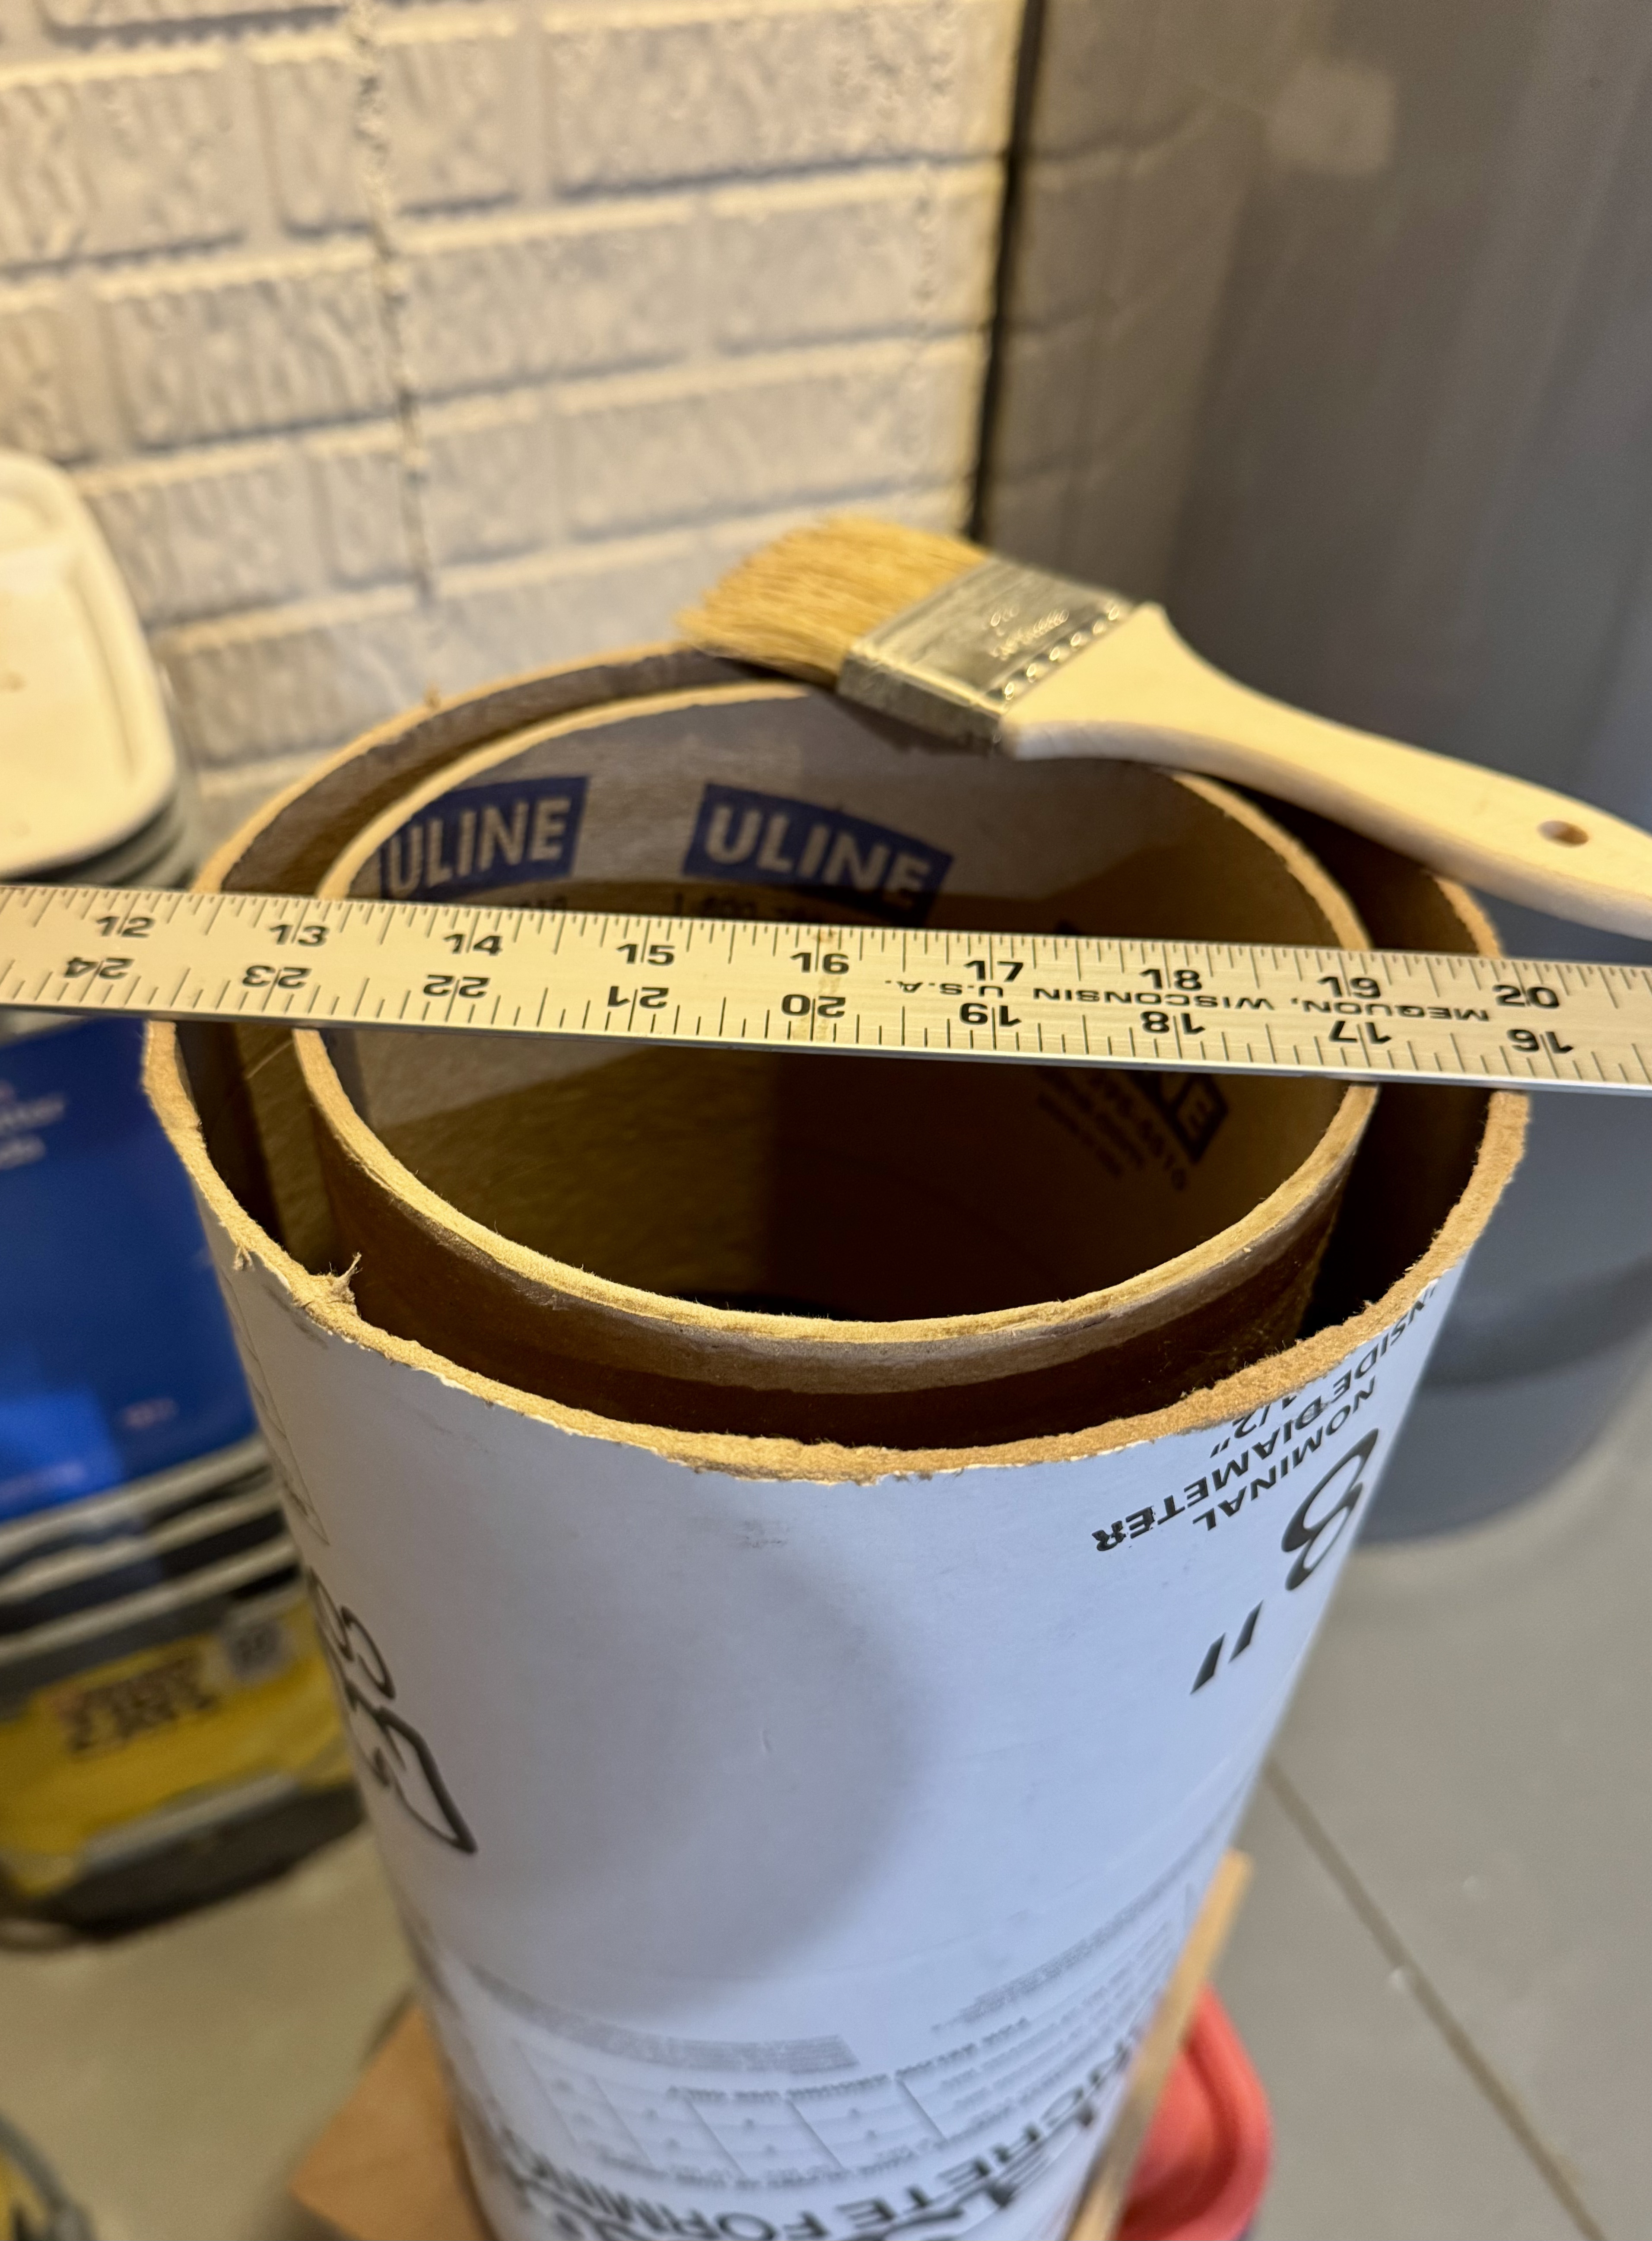
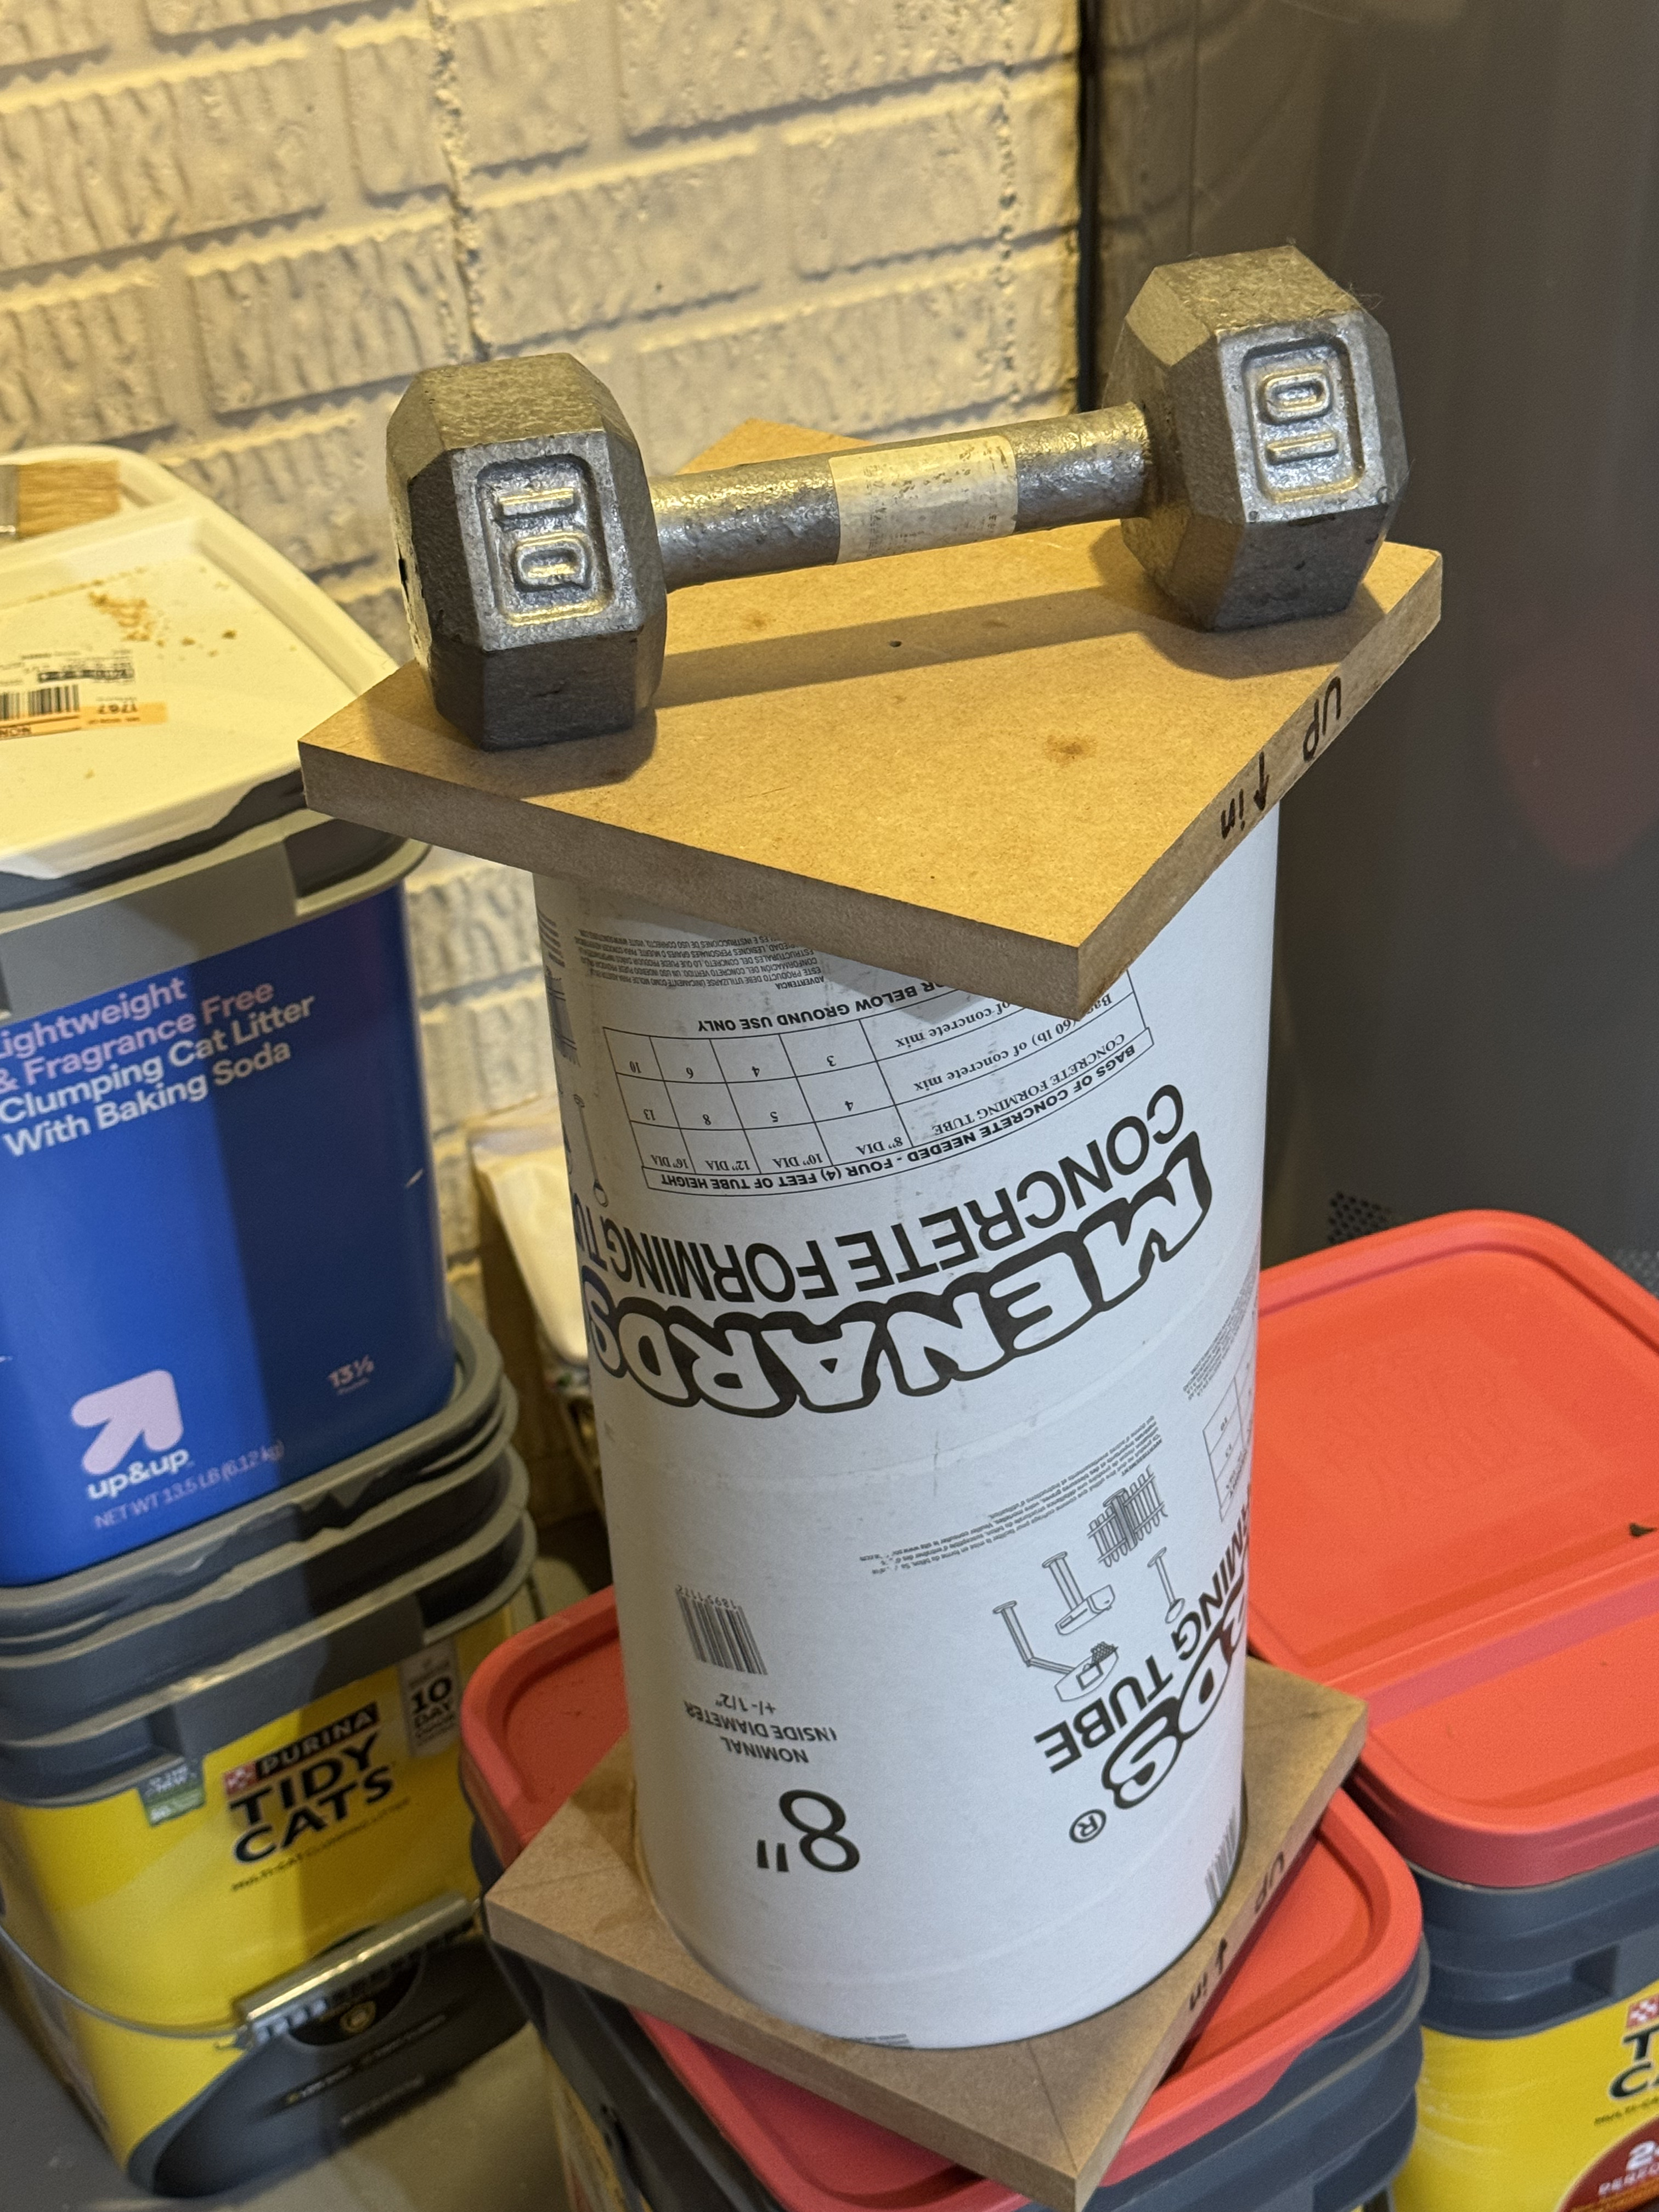
After sorting through a couple hardware stores worth of tubes and mailers I selected an outer tube with a 7-3/4” outside diameter and a Uline mailing tube with a 6-1/4” outside diameter. After cutting the tubes to a 16-1/2” length. Then I prepared the ends by routing 3/8” deep grooves in 3/4” MDF. I’ve left a bit of extra material around the perimeter because I’m not just tacking the tubes to them but making a permanent attachment. I can router away the excess at a later time, after the '“double tube” is cut in half.
Next I’ve glued one of the ends on. After that I will run two wooden spines down the length of the void between tubes at 180° from each other to accept binding posts without mashing in the void. Then I’ll attach the other end section and eventually split the double tube assembly in half lengthwise.
At this point I should probably ask for some assistance recommending a filler for the space between the tubes. Some ideas include crumb rubber (as used on synthetic and hybrid turf athletic fields), Great Stuff Pro (black), concrete, cat litter, etc. I’m quite open to ideas and suggestions here.
Other notes:
The half tube will comprise about half of the depth of the cabinet. Final target volume will be ~14L.
The baffle will incorporate 1-1/8” roundovers where the MAC-6 allows, but since the total width won’t exceed 8”, that may be limited to the top portion.
Since I can no longer produce and manage the squigglies, the end point for this project may be a 3-way with an somewhat predictable but risky outcome. OR, if I can find a collaborator, It could be a 2-way with the SB Acoustics SB26ADC-C000-4 tweeters sitting in my little stash. TBD.
This is my second project using the round cardboard tubes and added mass fill. The first one used pool filter sand (from Menards 50 pounds for $7). This one is using kitty litter (clay). I think they both work but the pool sand had a much smaller grain size so it ended up adding almost double the mass. Better? Worse? I can’t say. I think any added mass helps. I’ve glued pieces of ceramic floor tile to the inside of enclosures. But the big win is the drastic reduction in diffraction from the huge edge radius! It shows in objective measurements and subjective listening.
No, surprisingly, but I ditched the idea after a while as it made the stands too heavy; they’re about two and a half feet tall and five inches in diameter. I think sand would have been a better filling material.
Apologies for all the typos in previous post, this keyboard’s getting old. I forgot to proof read before posting as I was doing something on the stove.
I think at this point I’m going to avoid anything edible and cat litter. We have 4 cats and I handle enough over the course of a week. Mixing crumb rubber with something that would be pourable until it hardened really intrigues me, but I’m not sure what the pourable would be. The gap of the void is 5/8”.
I wonder if some of that epoxy that they use on those river tables would work ? Not sure if you could pour it all in at once, or if you would have to do it in batches ?
I’ve used TatalBoat Table Top Epoxy (from Amazon) for counter tops and am probably going to try to fill 3D printed walls with it. Not crazy expensive, but not cheap either.
I’ve used those 2-part epoxy resins quite a bit for art projects. I think this is where I’m headed. Time to try a few experiments with supended rubber shreds to see how much settling occurs.
I used epoxy concrete (2-part epoxy mixed with sand, basically) on a set of Keramiskas a while back. Not for the faint of heart - they are very, very heavy now. Reminds me I need to paint them sometime this year.
Edit: This might not work well for the 5/8” gap you have. I had around a full inch if memory serves, I had to make them a bit deeper than normal to accommodate the thicker walls. The stuff ‘pours’ pretty thick and inevitably the sand will settle a bit, leaving a certain thickness of just epoxy on top.
This morning I carefully measured the void between layers at 3.8L using light weight cat litter. That will decrease a bit when I put the wooden splines down what will eventually be the backs.
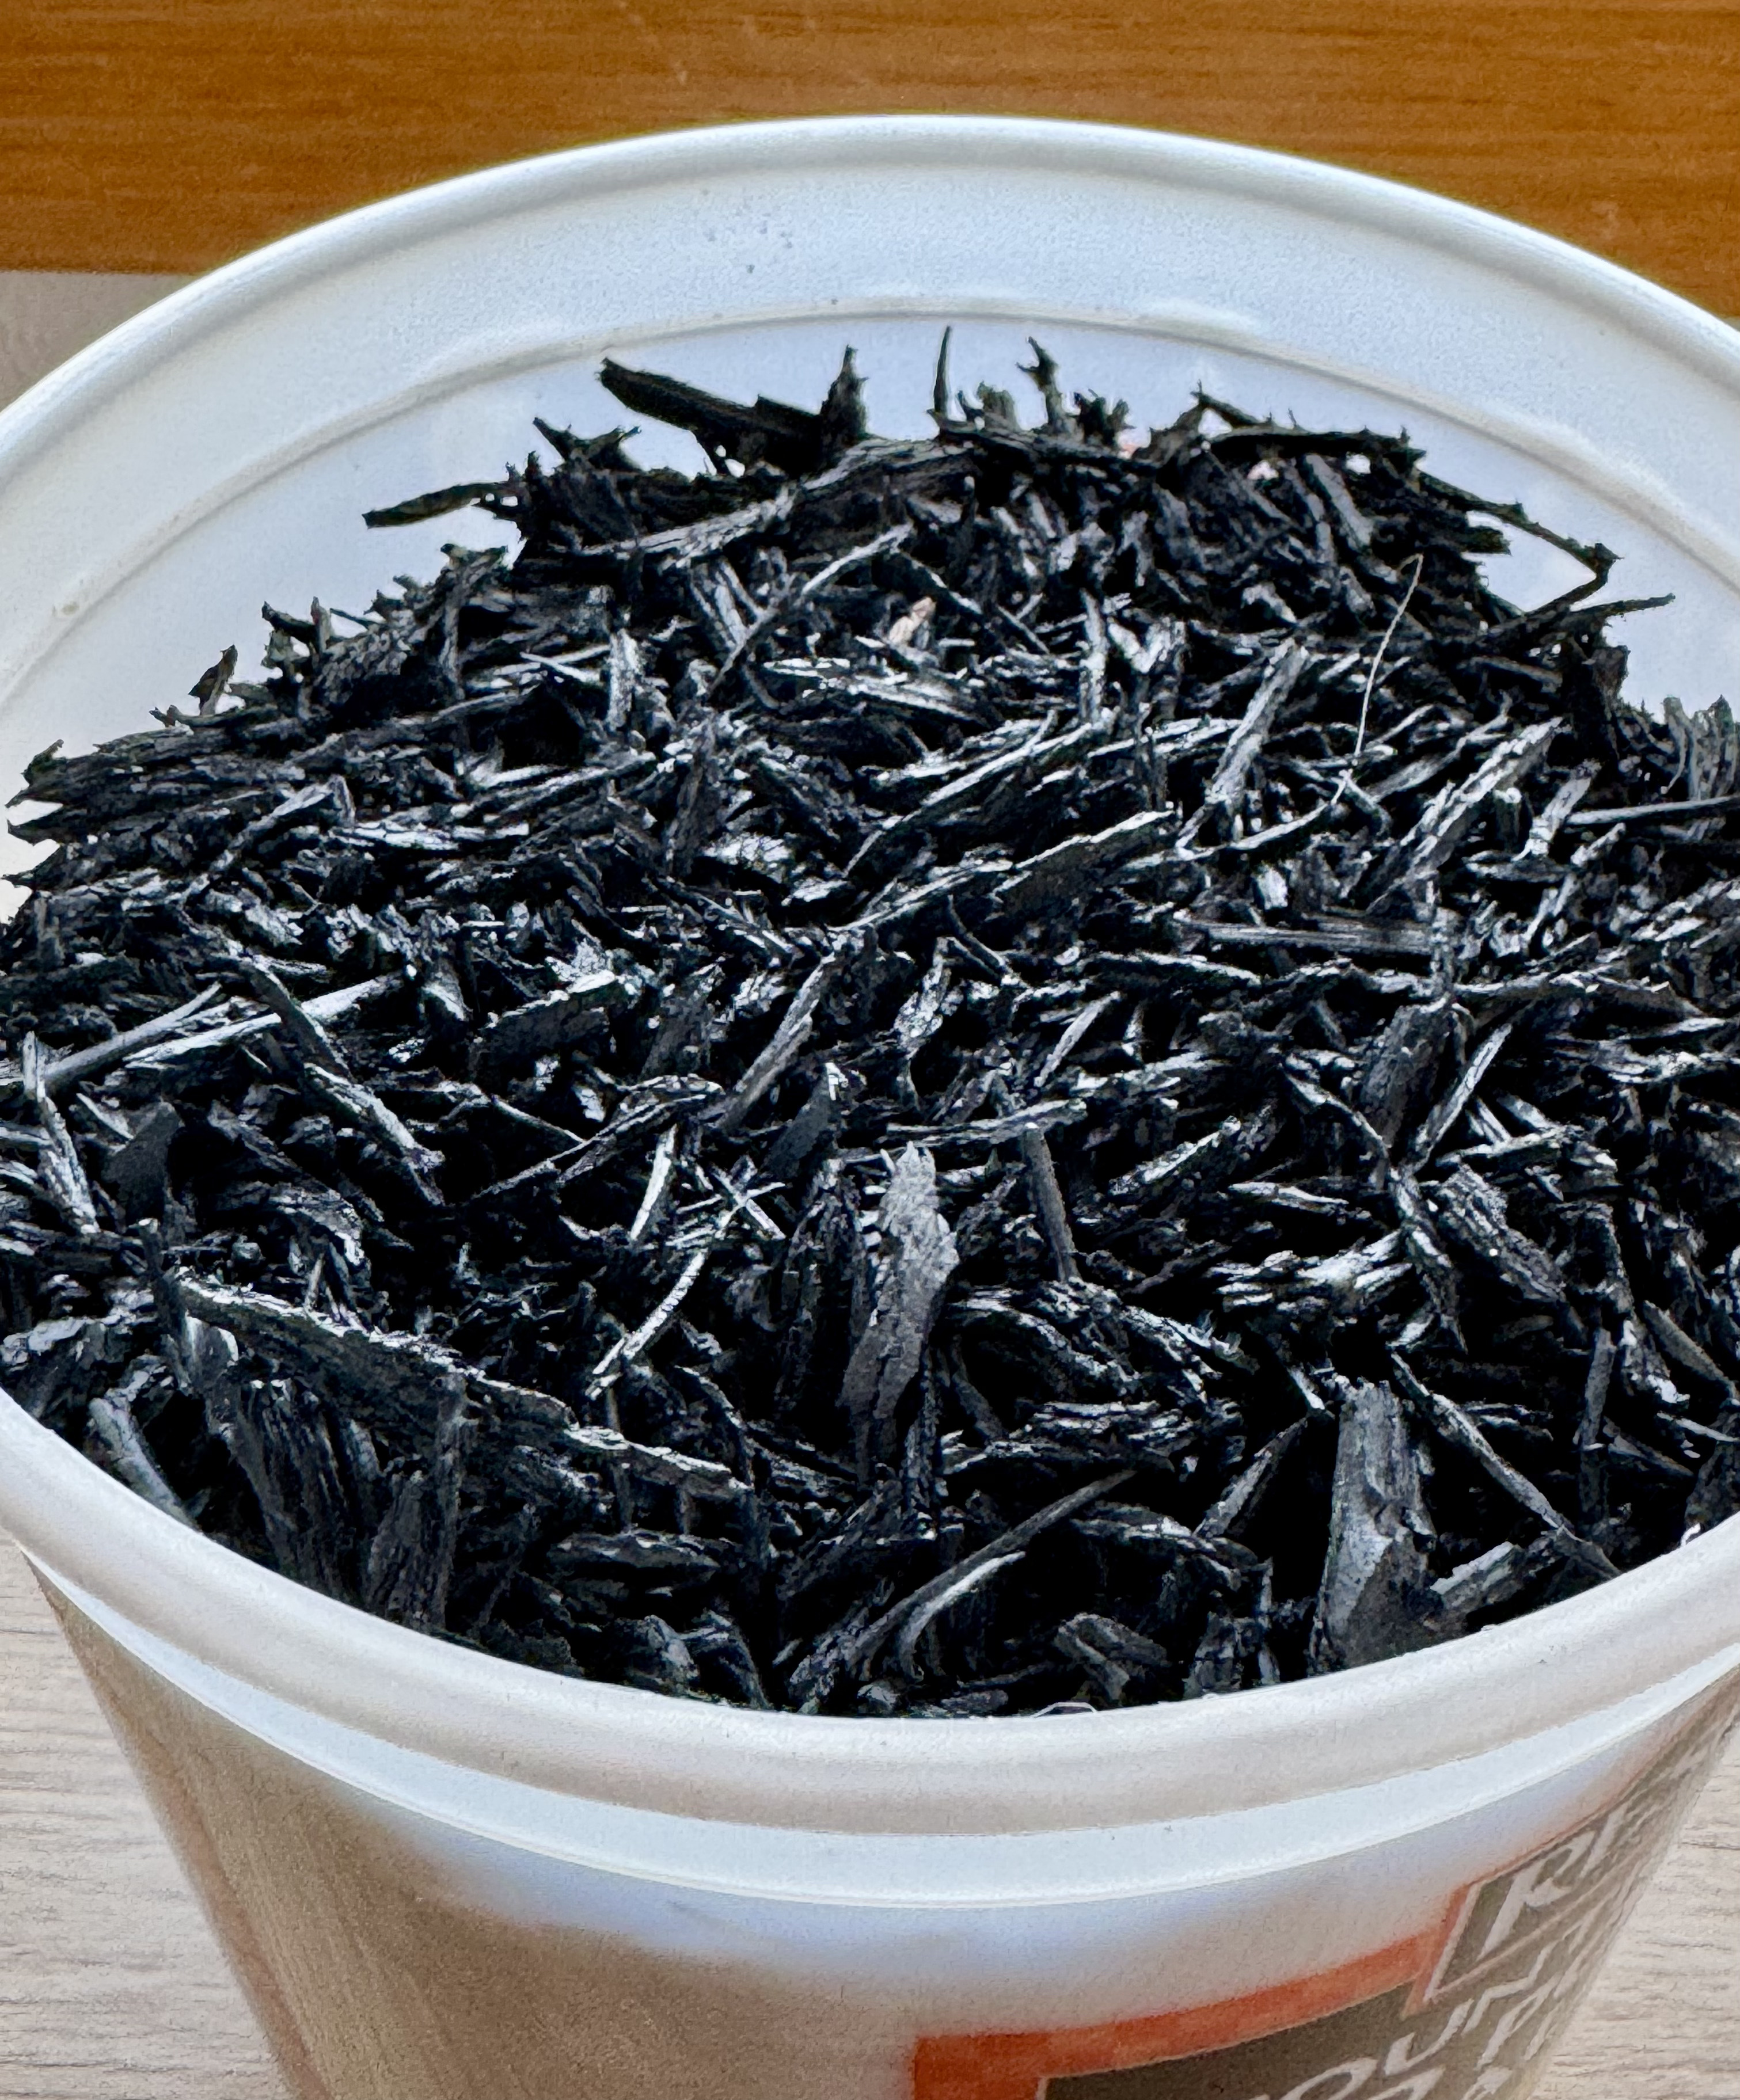
I’m leaning toward filling the void with a mix of shredded rubber and plaster. Rather than spend $18 for a big bag of crumb rubber I bought a $7 bag of rubber mulch at Menards and put a bucketful through a 1/4x1/4” screen. Now I have a couple liters of finer shreds and pretty much the same 1.5 cu. ft. of mulch.
Fab, insert and glue splines. Glue on the remaining end. Cut the full assembly in half lengthwise. Fill the void(s) while allowing for attachment to the rest of the cabinet.
This is super interesting to me. Can’t wait to see how dead your mix makes the enclosure. When you say “plaster” do you mean plaster of Paris? That stuff gets rock hard like cement.
Yes, Plaster of Paris. This may be slow going for the next few steps as glue cures, a prairie burn and a day trip to Omaha intervene. In the mean time I’m honing plans for filled sides as well.