Attatched is the digikey order sheet. I purchased a nicer 3.5mm jack, slimmer binding posts, a flat toggle switch for input selection, a nicer volume knob, and some heatsinks to ensure the amp chip and rectifier remain cool. The original build guide called for mounted those components directly to the metal case, but I prefer to have them properly mounted on a heatsink for cooling.
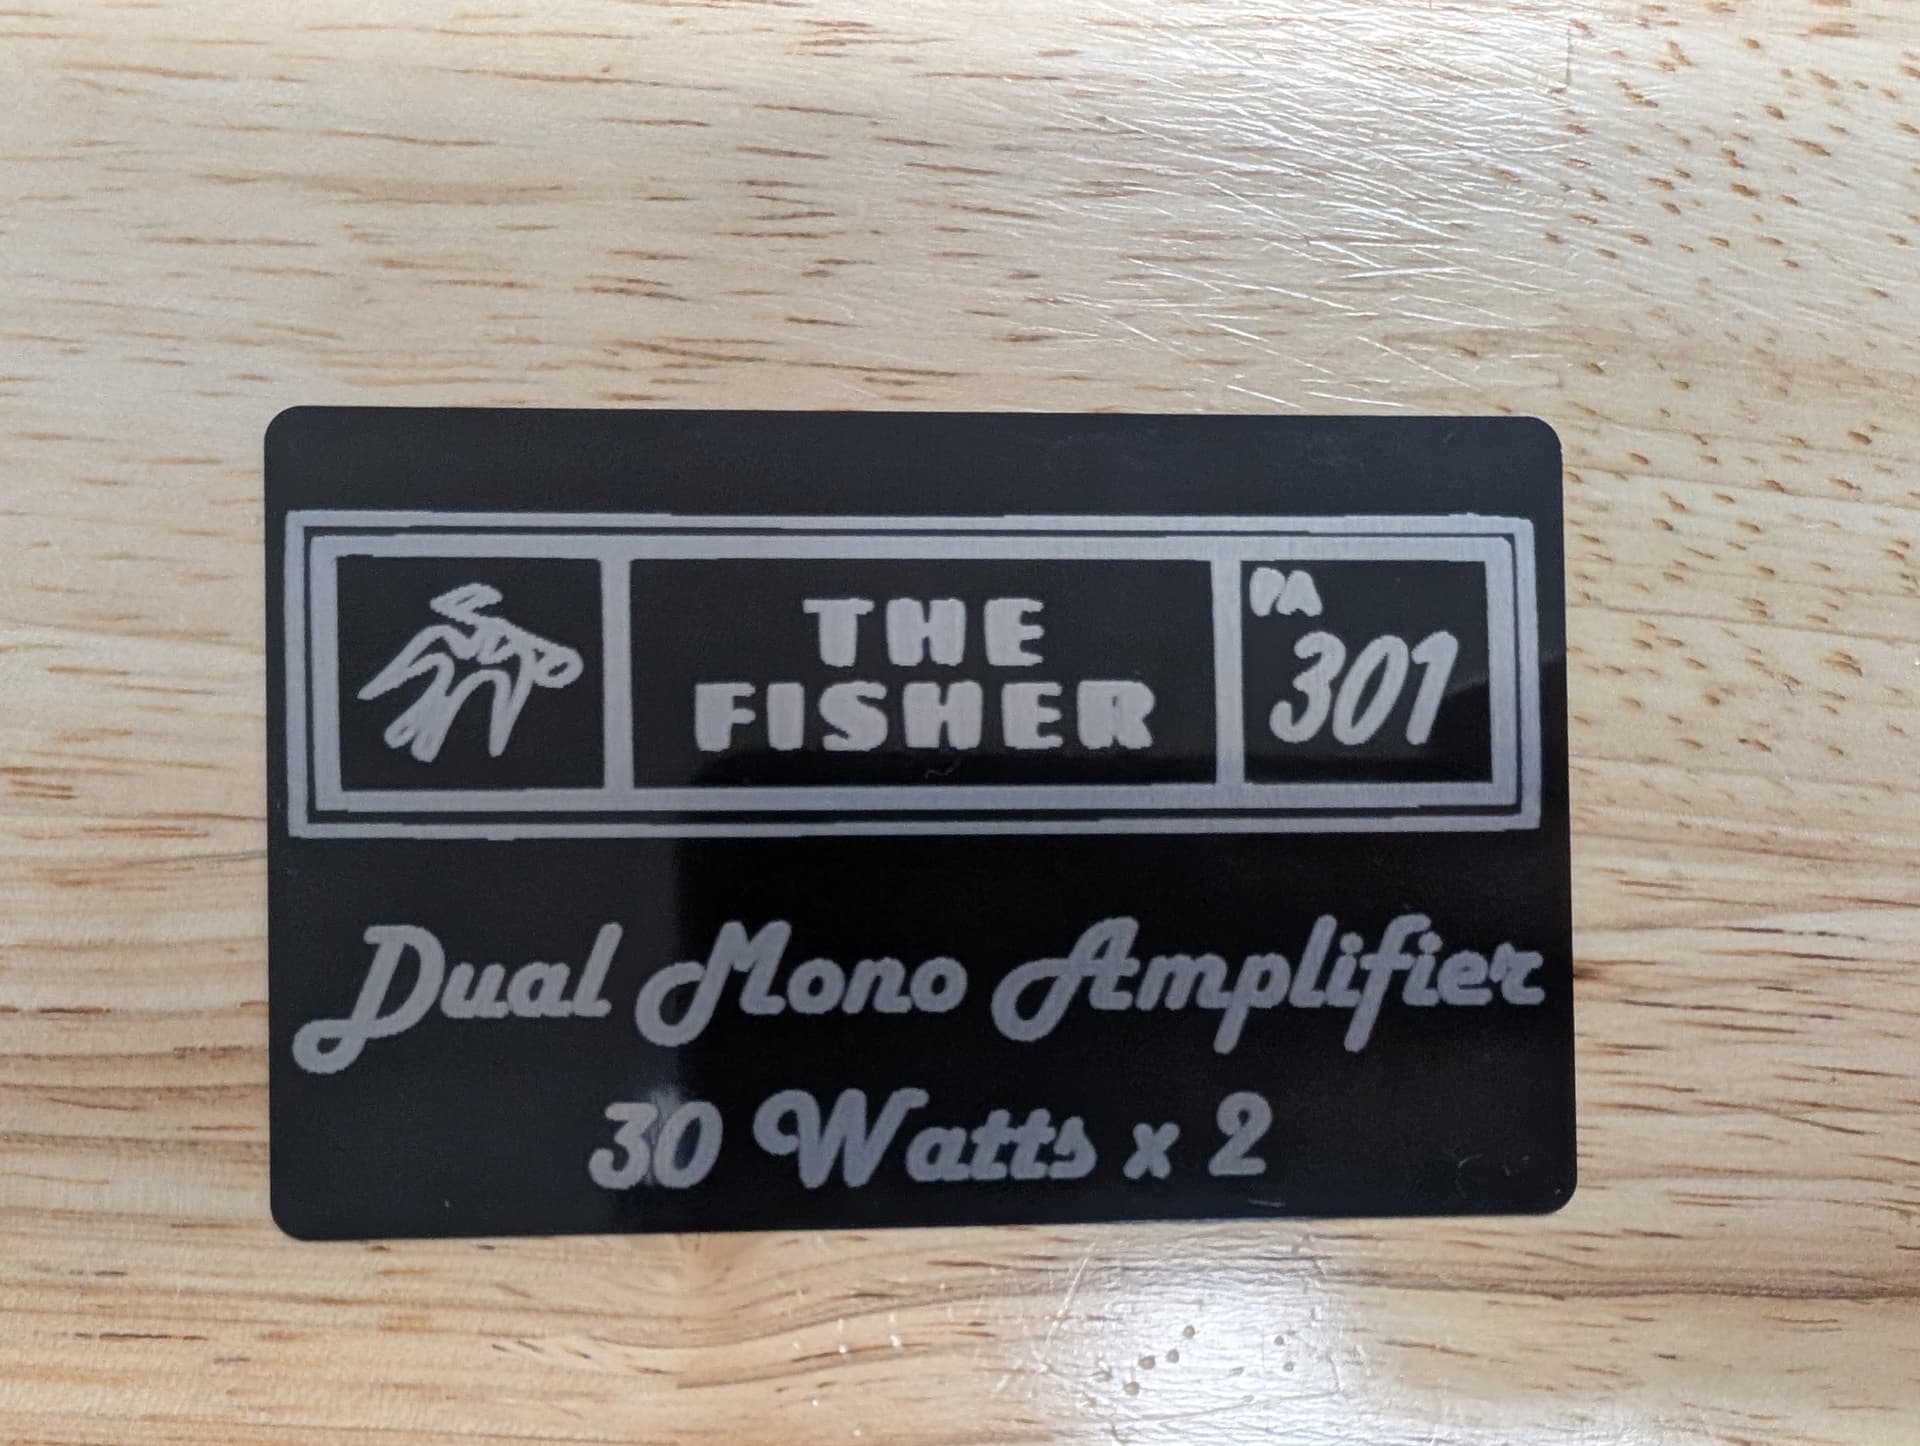
We got a laser cutter at work, which has been much to learn and play with. I found a hi res picture of the amplifier chip, used Inkscape to trace the logo, and exported the SVG to Lightburn. This allowed me to laser engrave the logo into an anodized business card, that I plan to mount to the front of the enclosure.
Ran into a snag. I planned to use a laser engraver to label the front and rear panels. I am not sure what sort of paint or finish they used on the panels, but it left burn marks. Simply wasn’t lasering off the finish cleanly. So I ended up completely sanding off the paint off. Took a while, it was quite thick. Sanded it with 80 grit stationary belt sander, then 220 grit for a brushed finished. Not the cleanest, but looks alright to me.
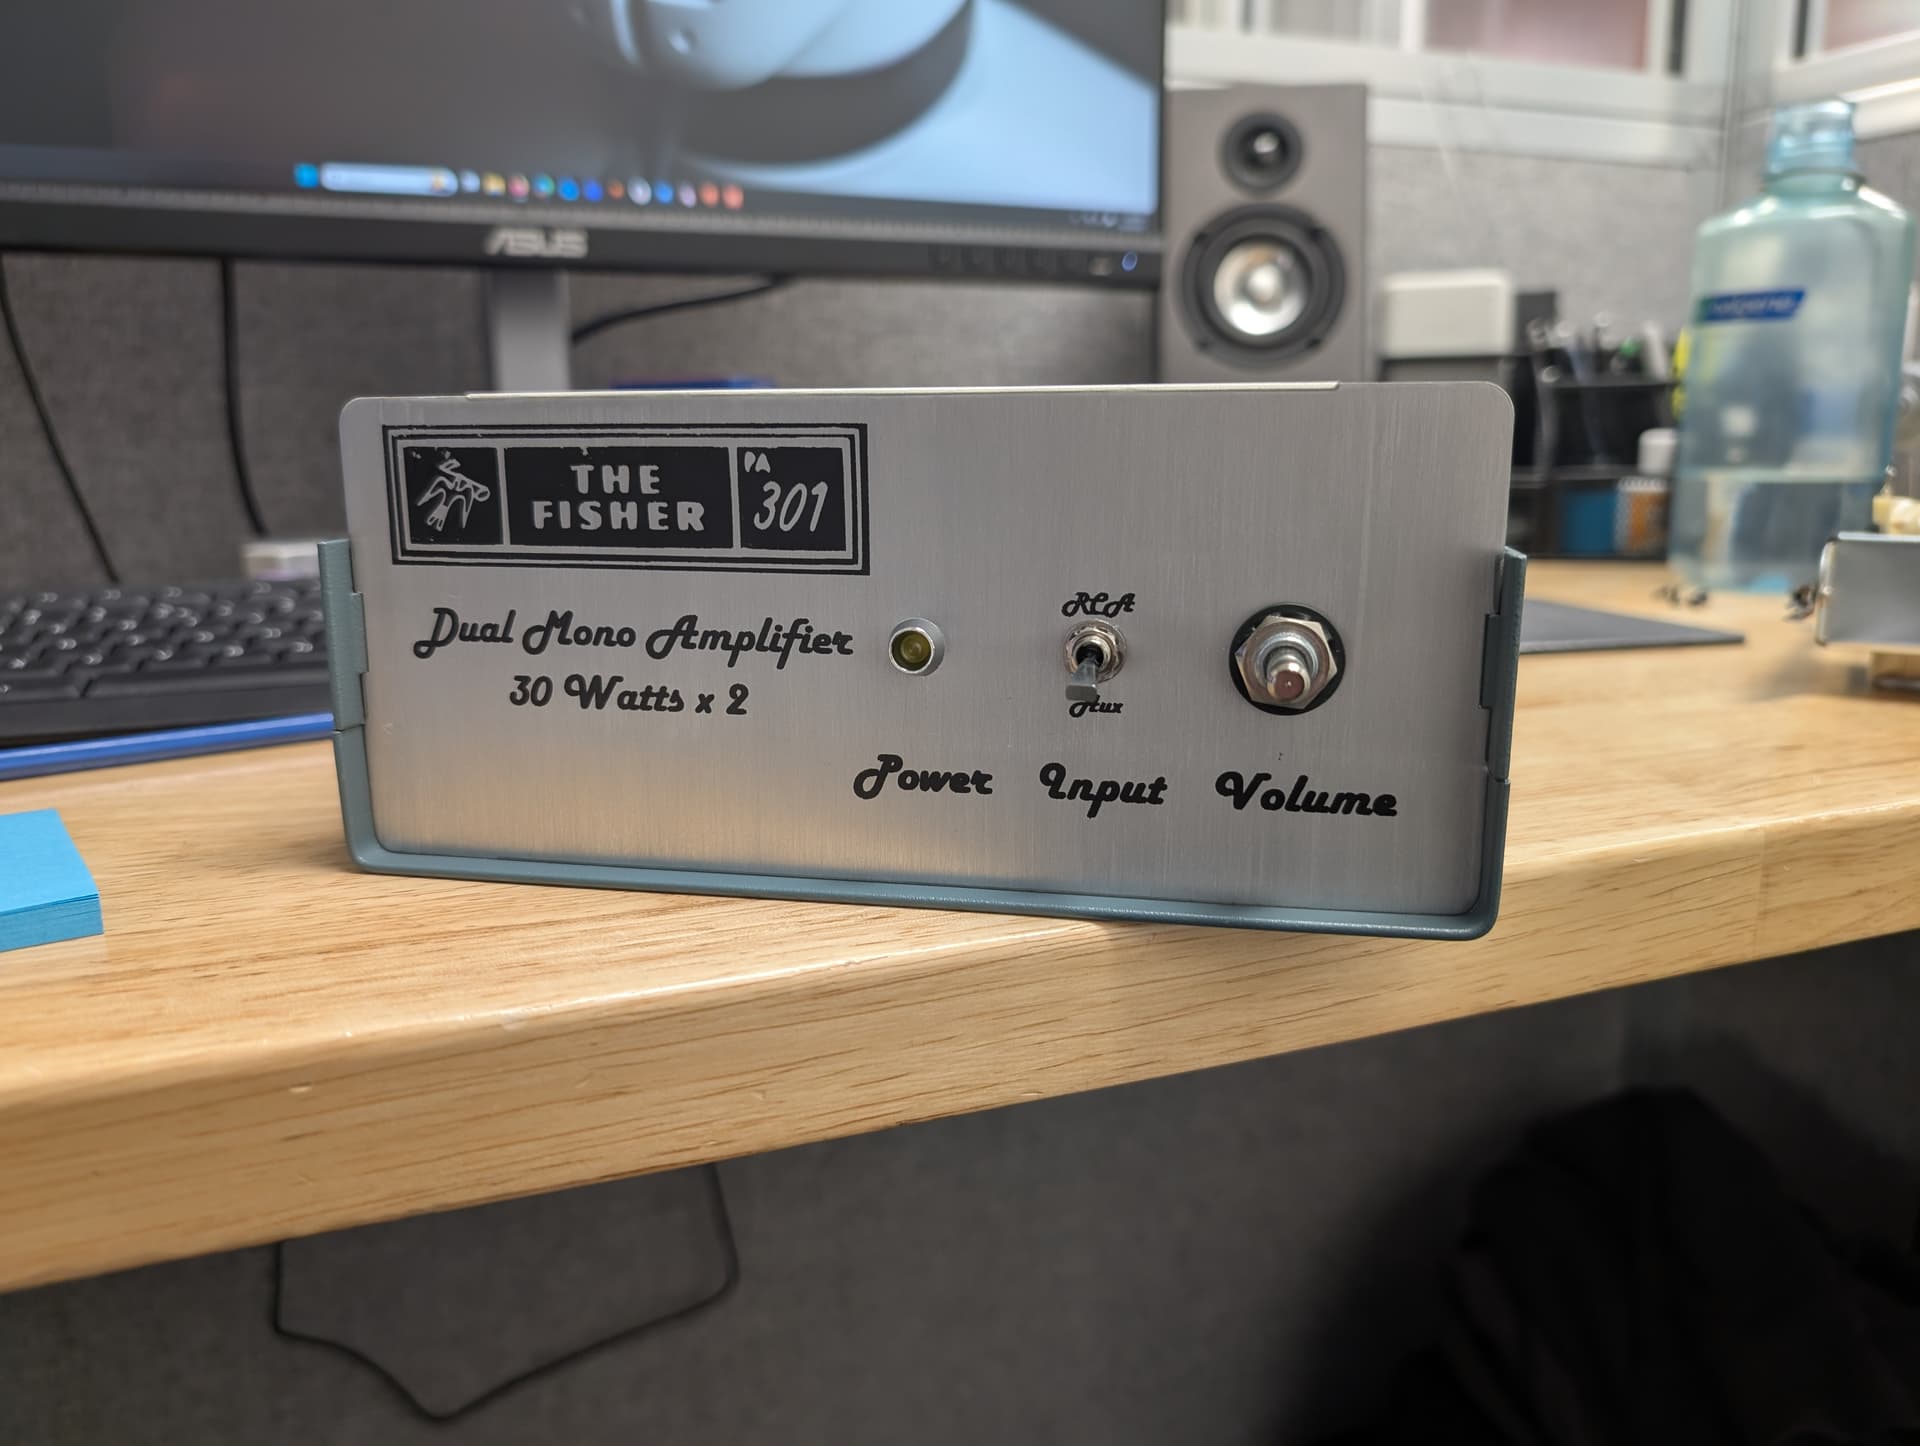
Then I painted the panels with Cermark, which allows laser marking on (nearly) most materials. Panels are now labeled! Next step drilling out the holes for parts, and clear coating the panels.
Thanks! Still curious as to how the panels were painted, it seemed thick and very hard to remove. And smelt slightly burnt when sanding. Powder coating maybe?
I plan on measuring the amp at work once completed! I’m not sure how extensive the measurements will be, as I haven’t run that sequence at work yet. Will be sure to post them when done though.
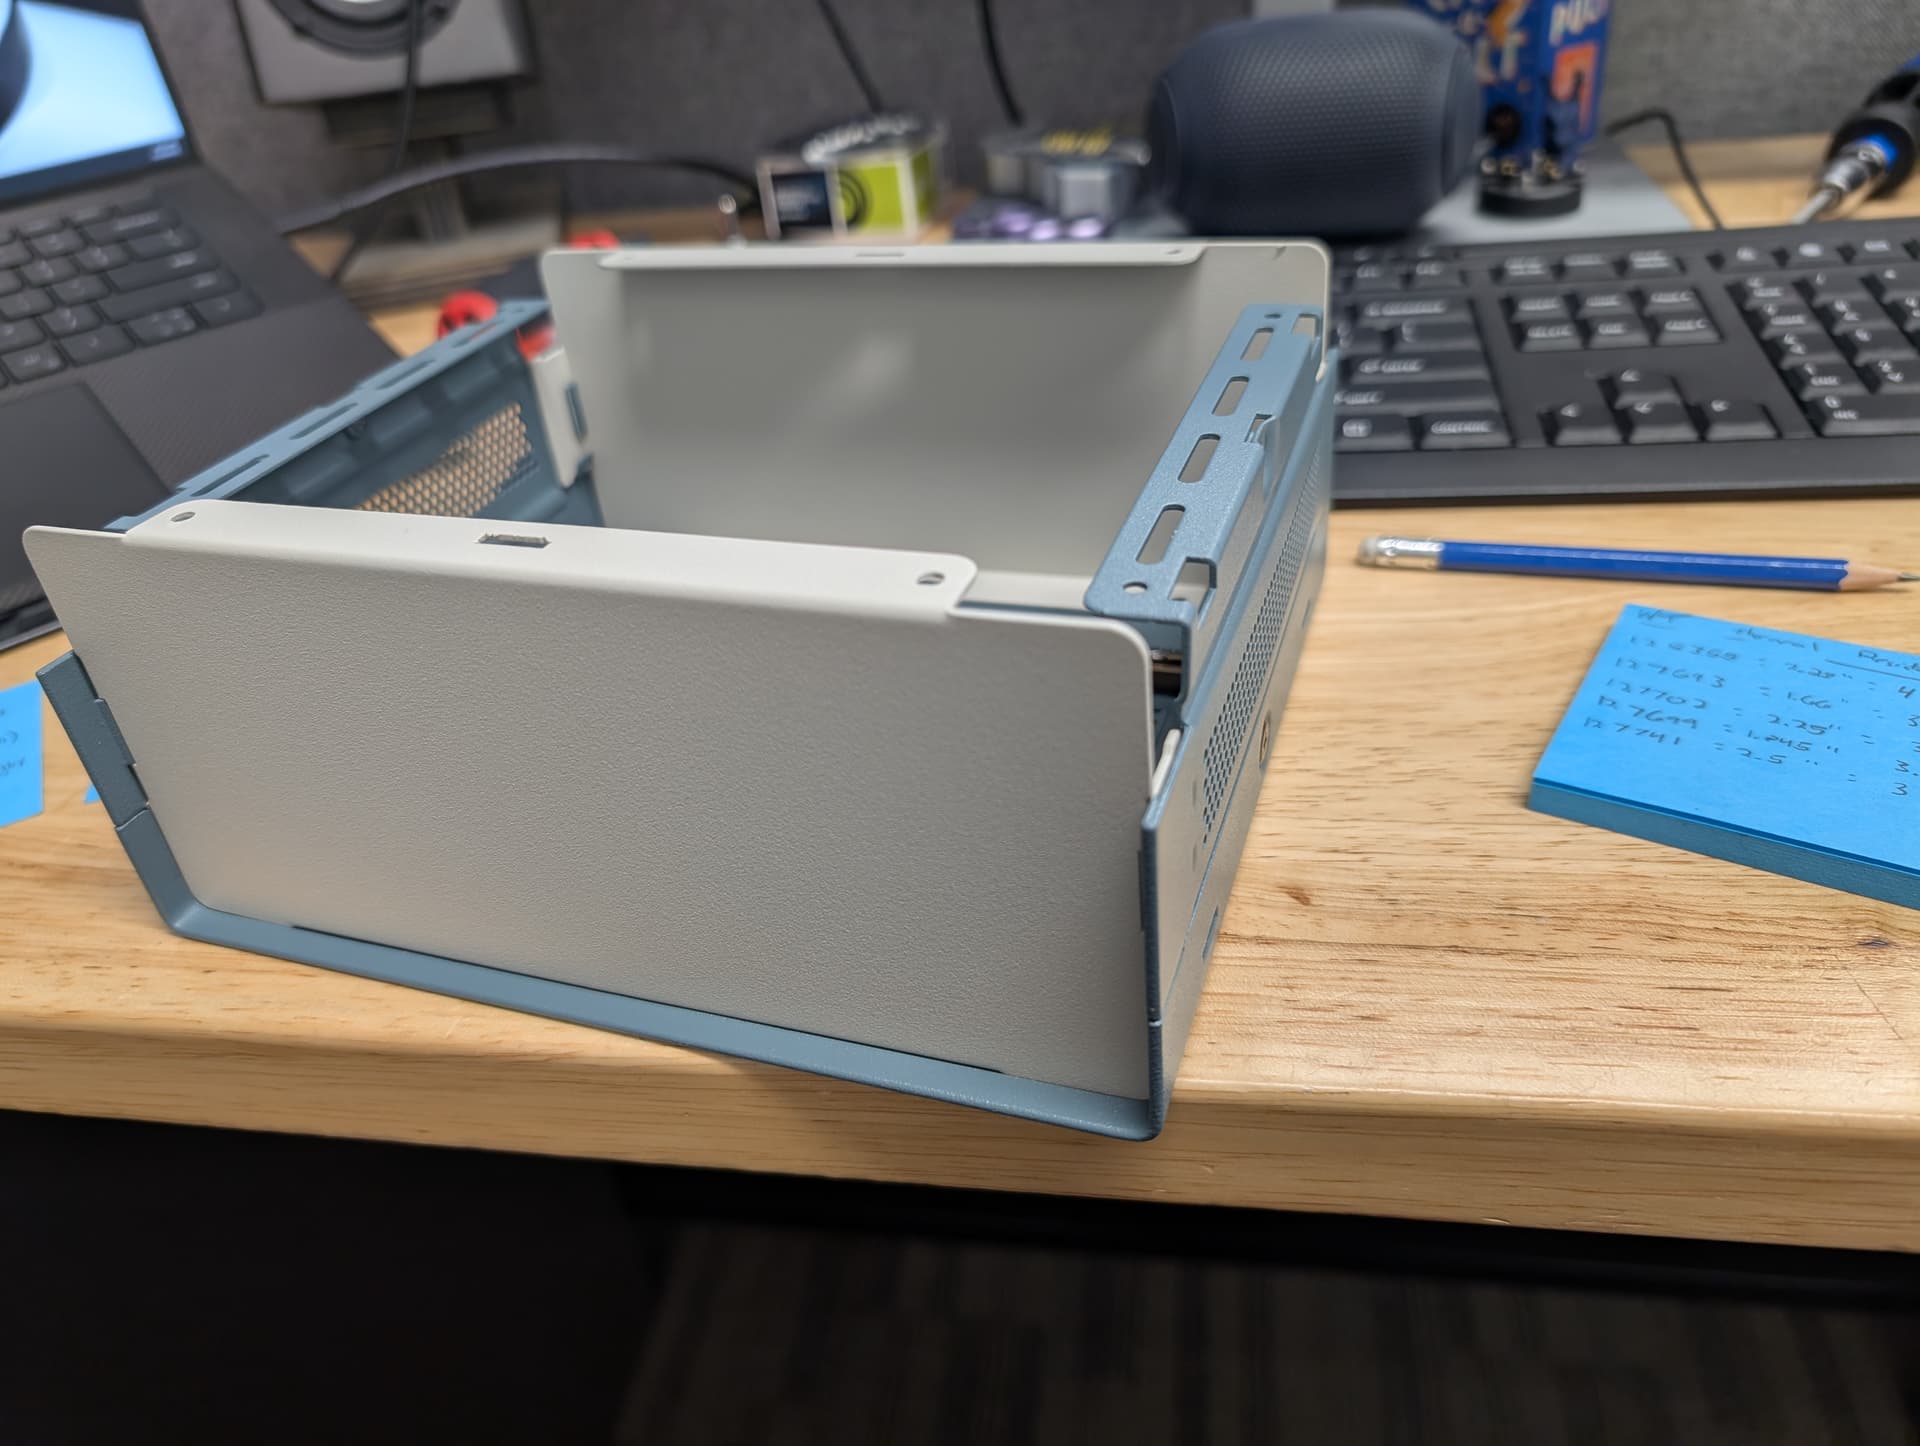
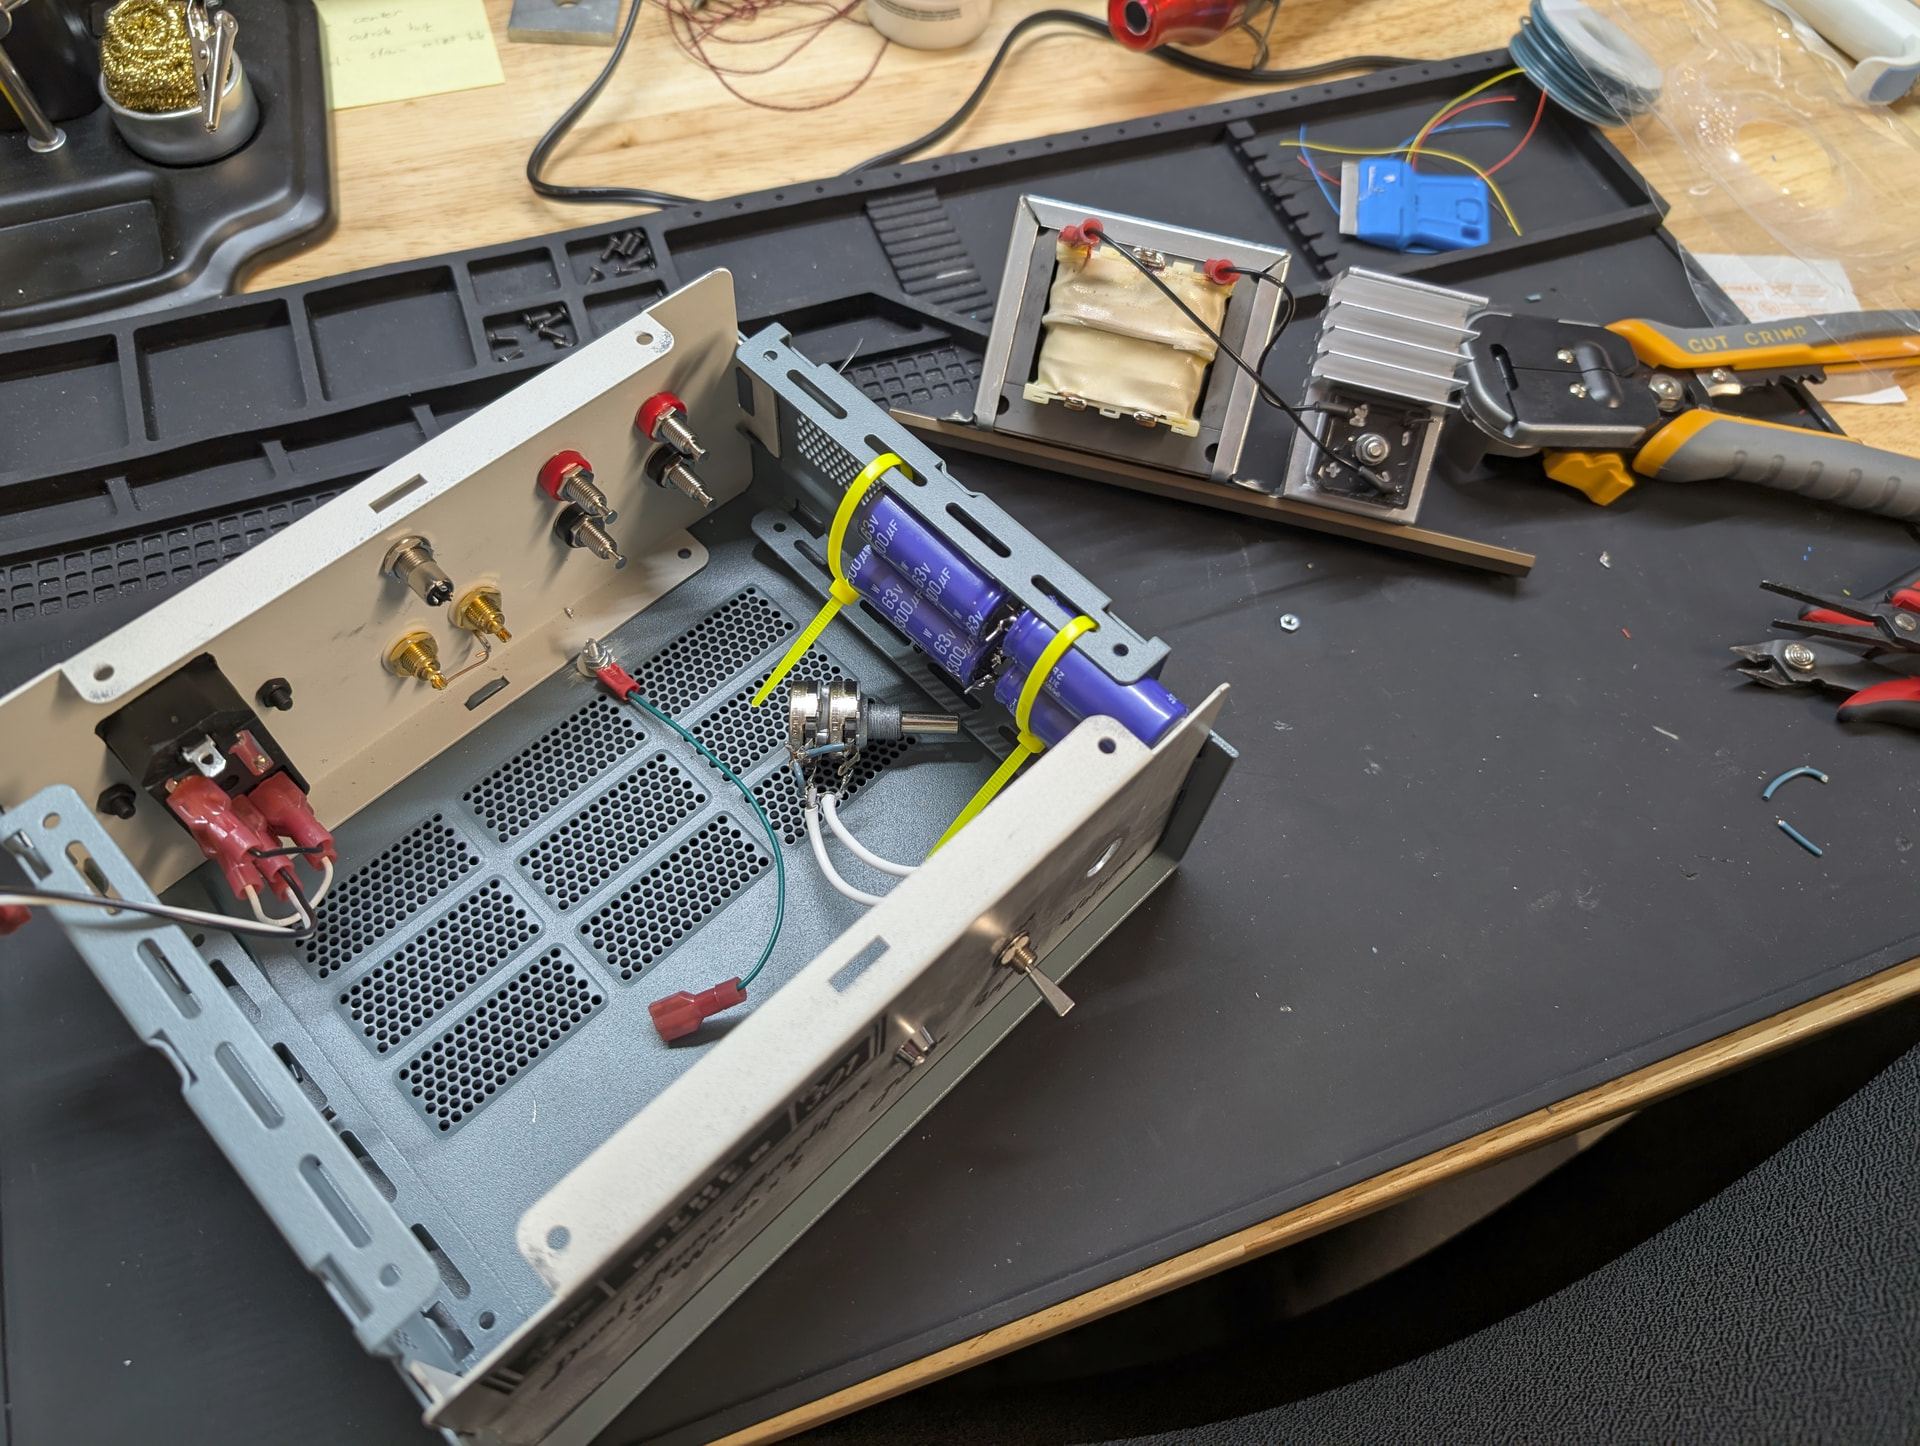
Some updates. End panels were clear coated, and components added to them. Enclosure is half assembled. (anyone recognize the speaker in the background??)
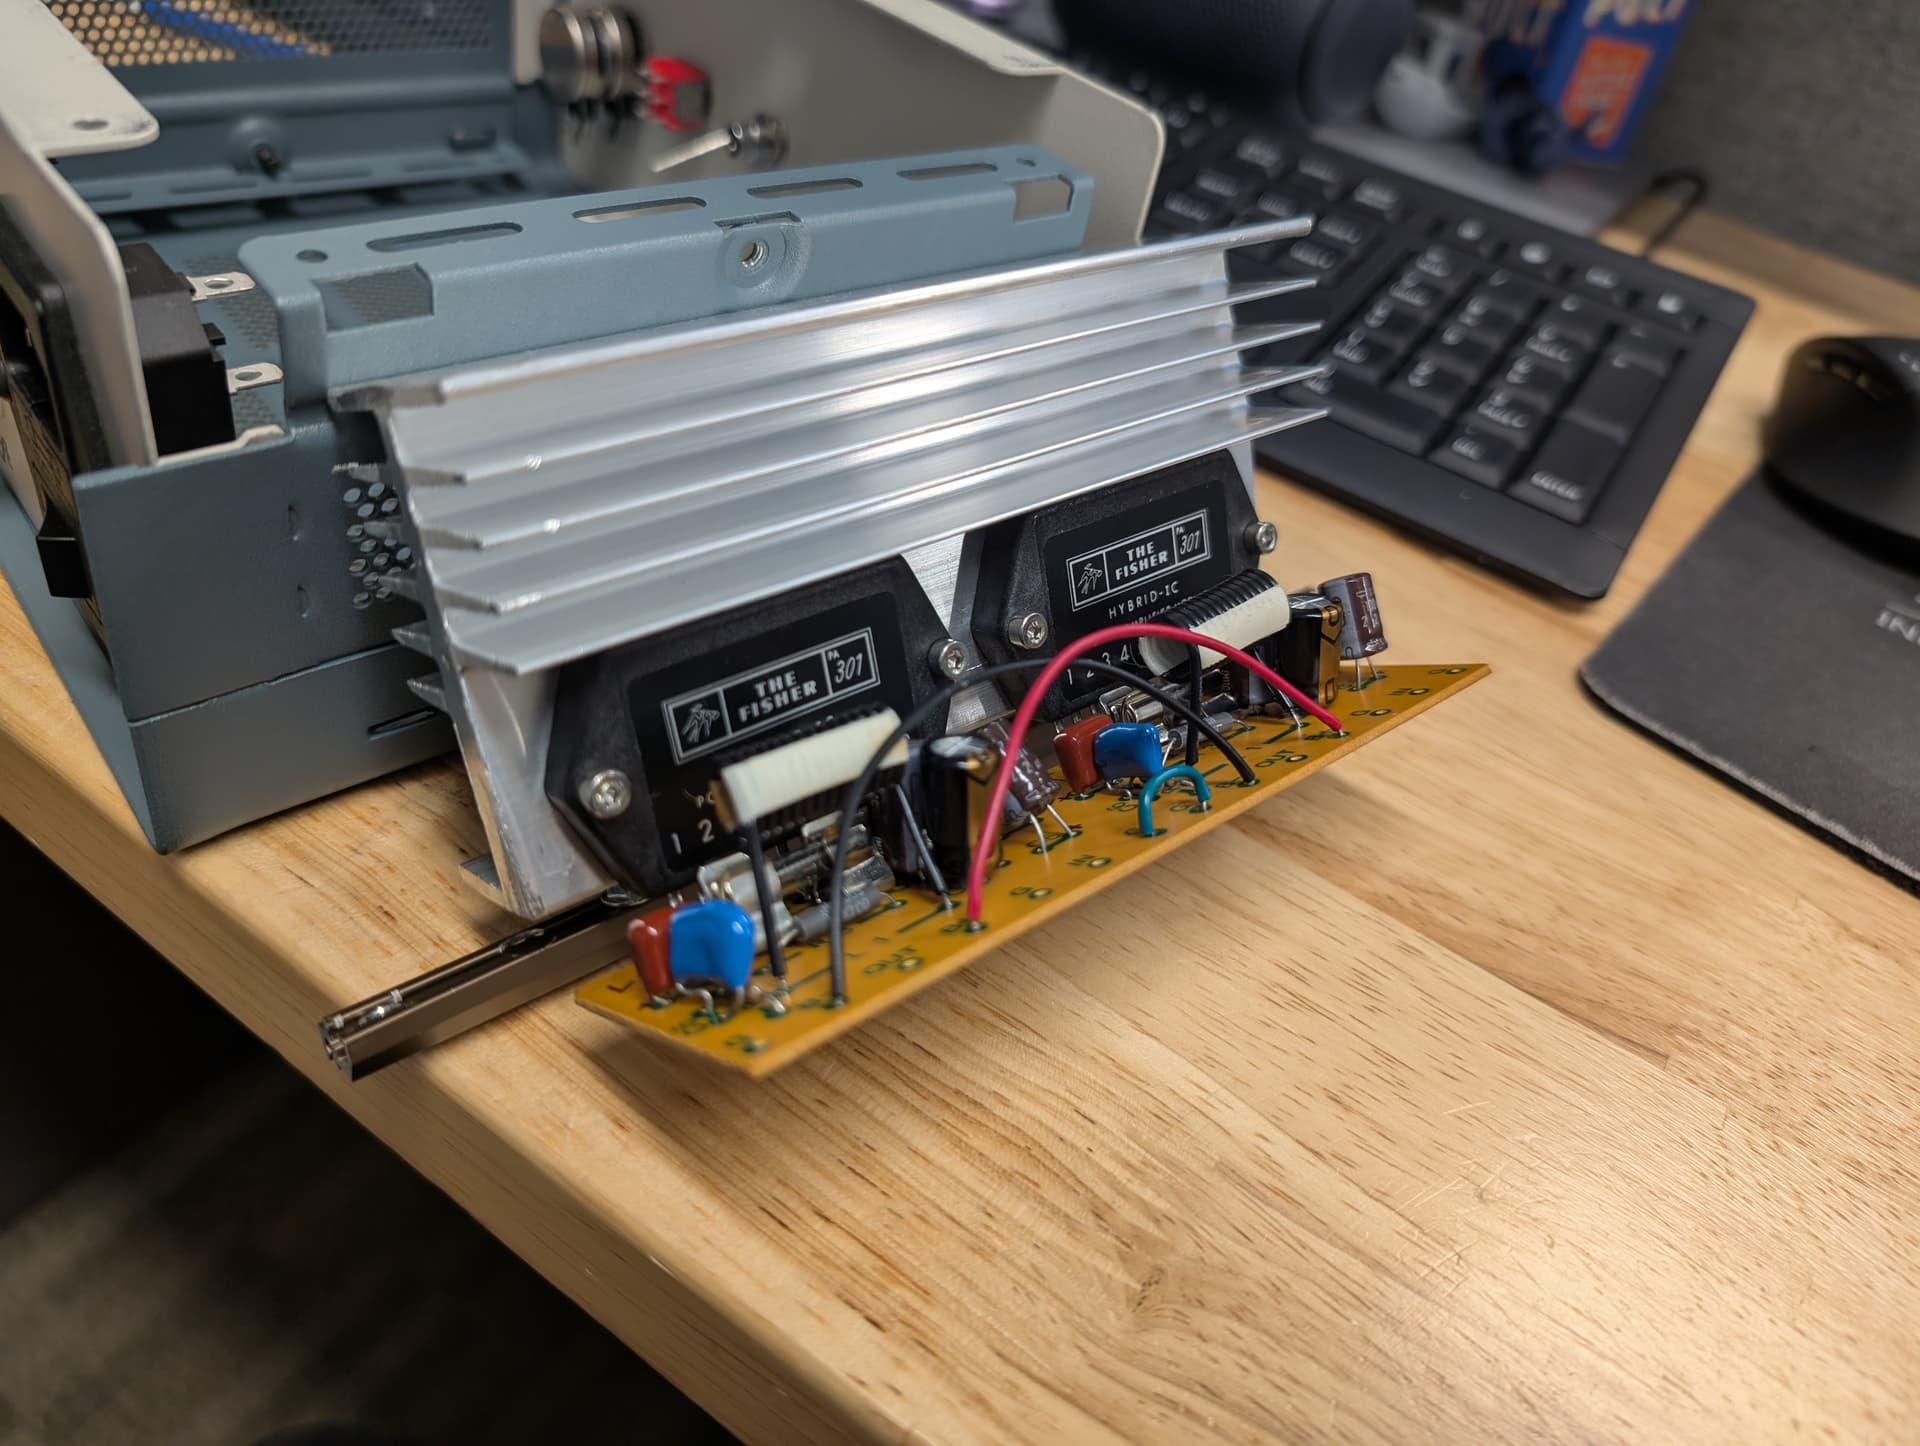
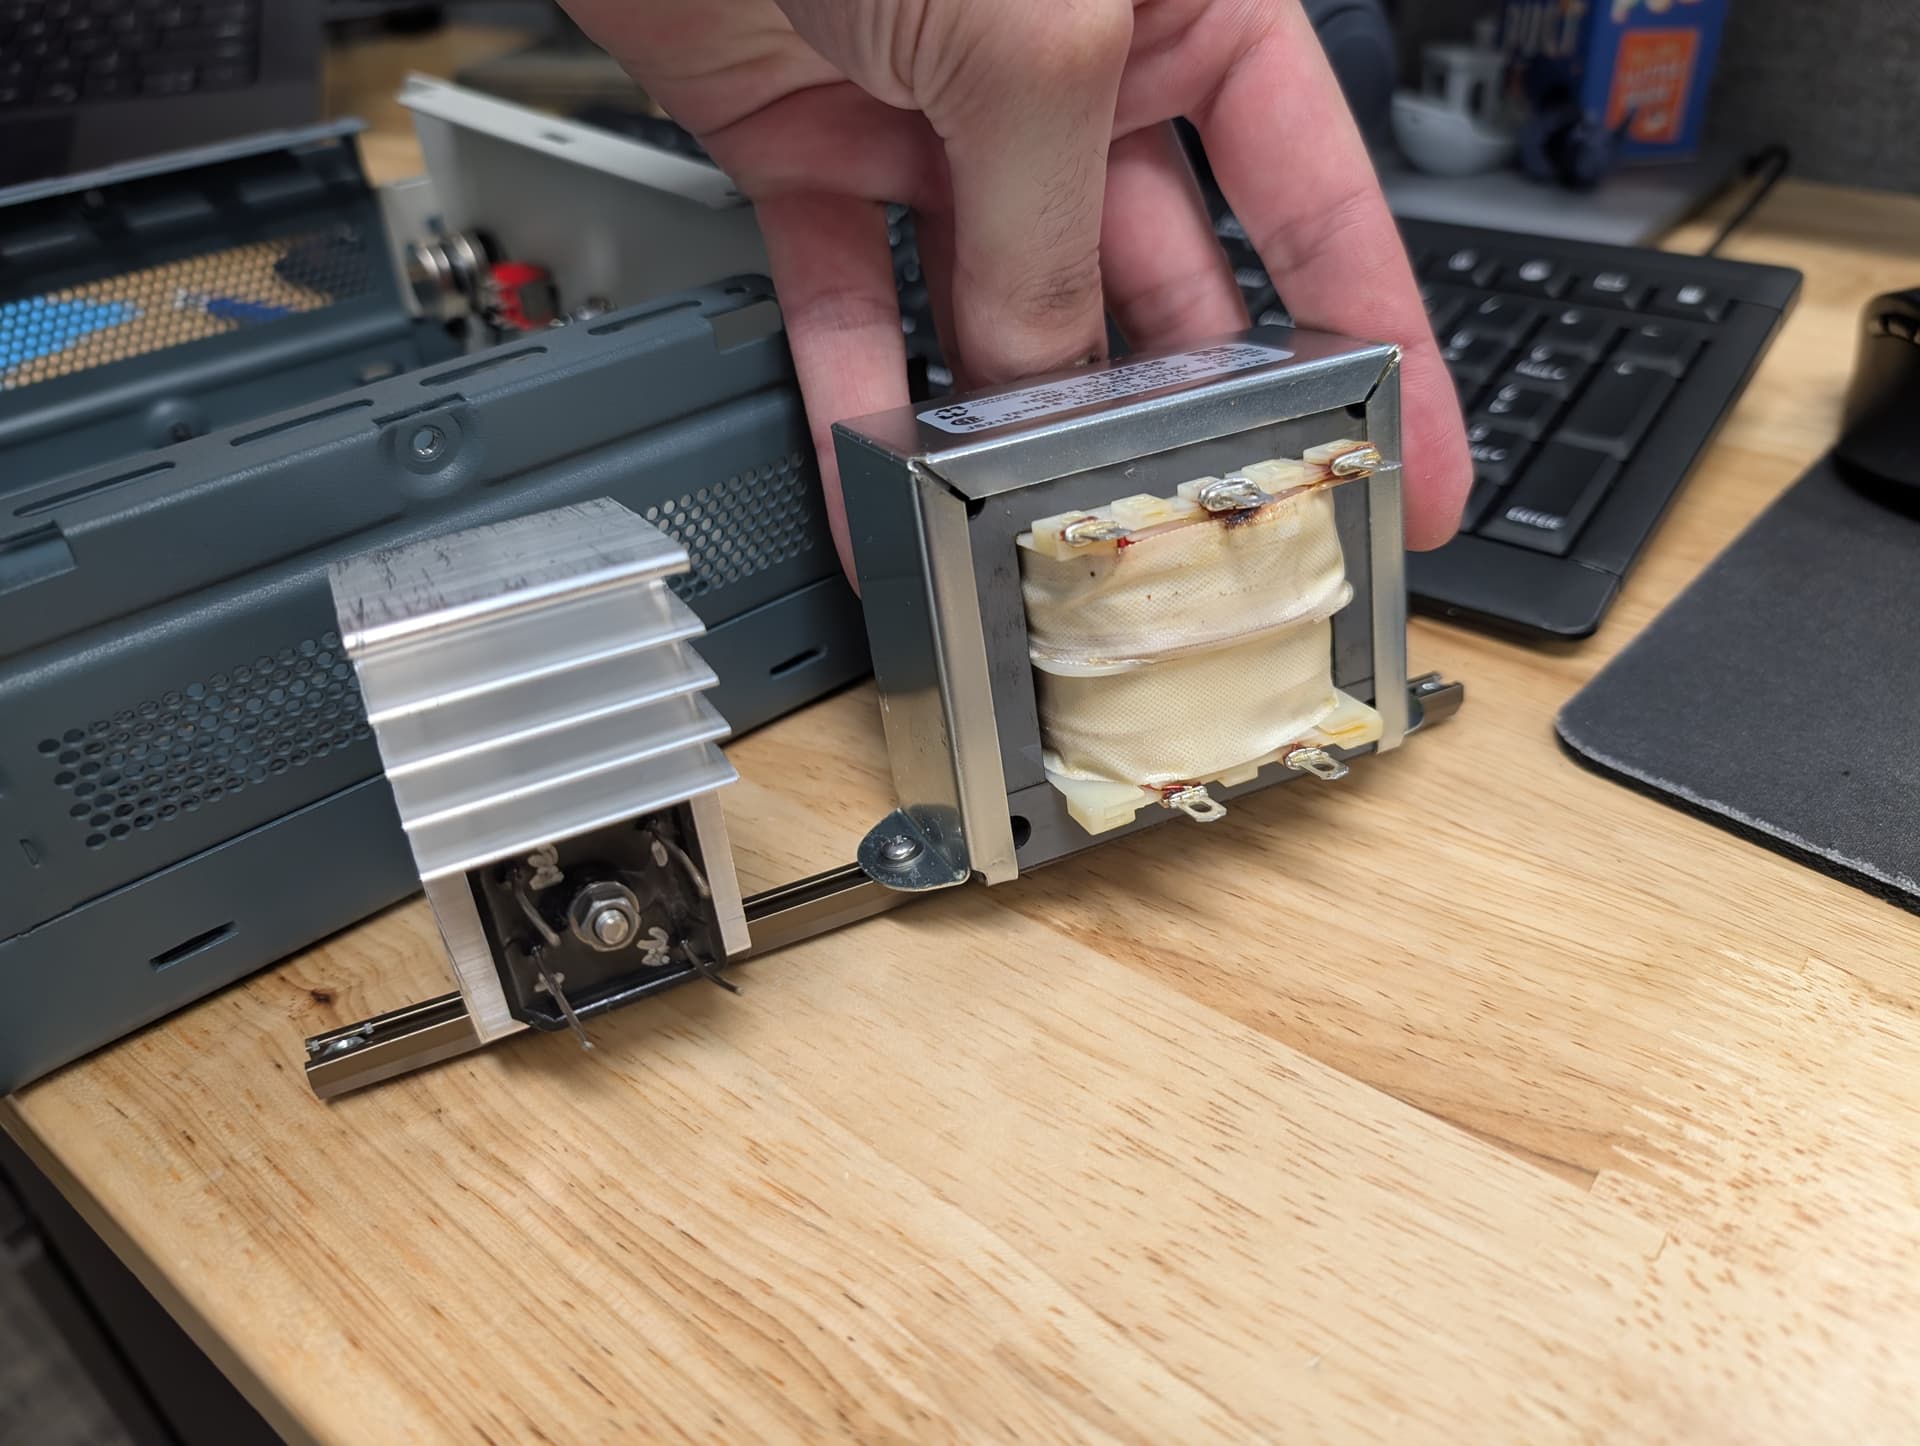
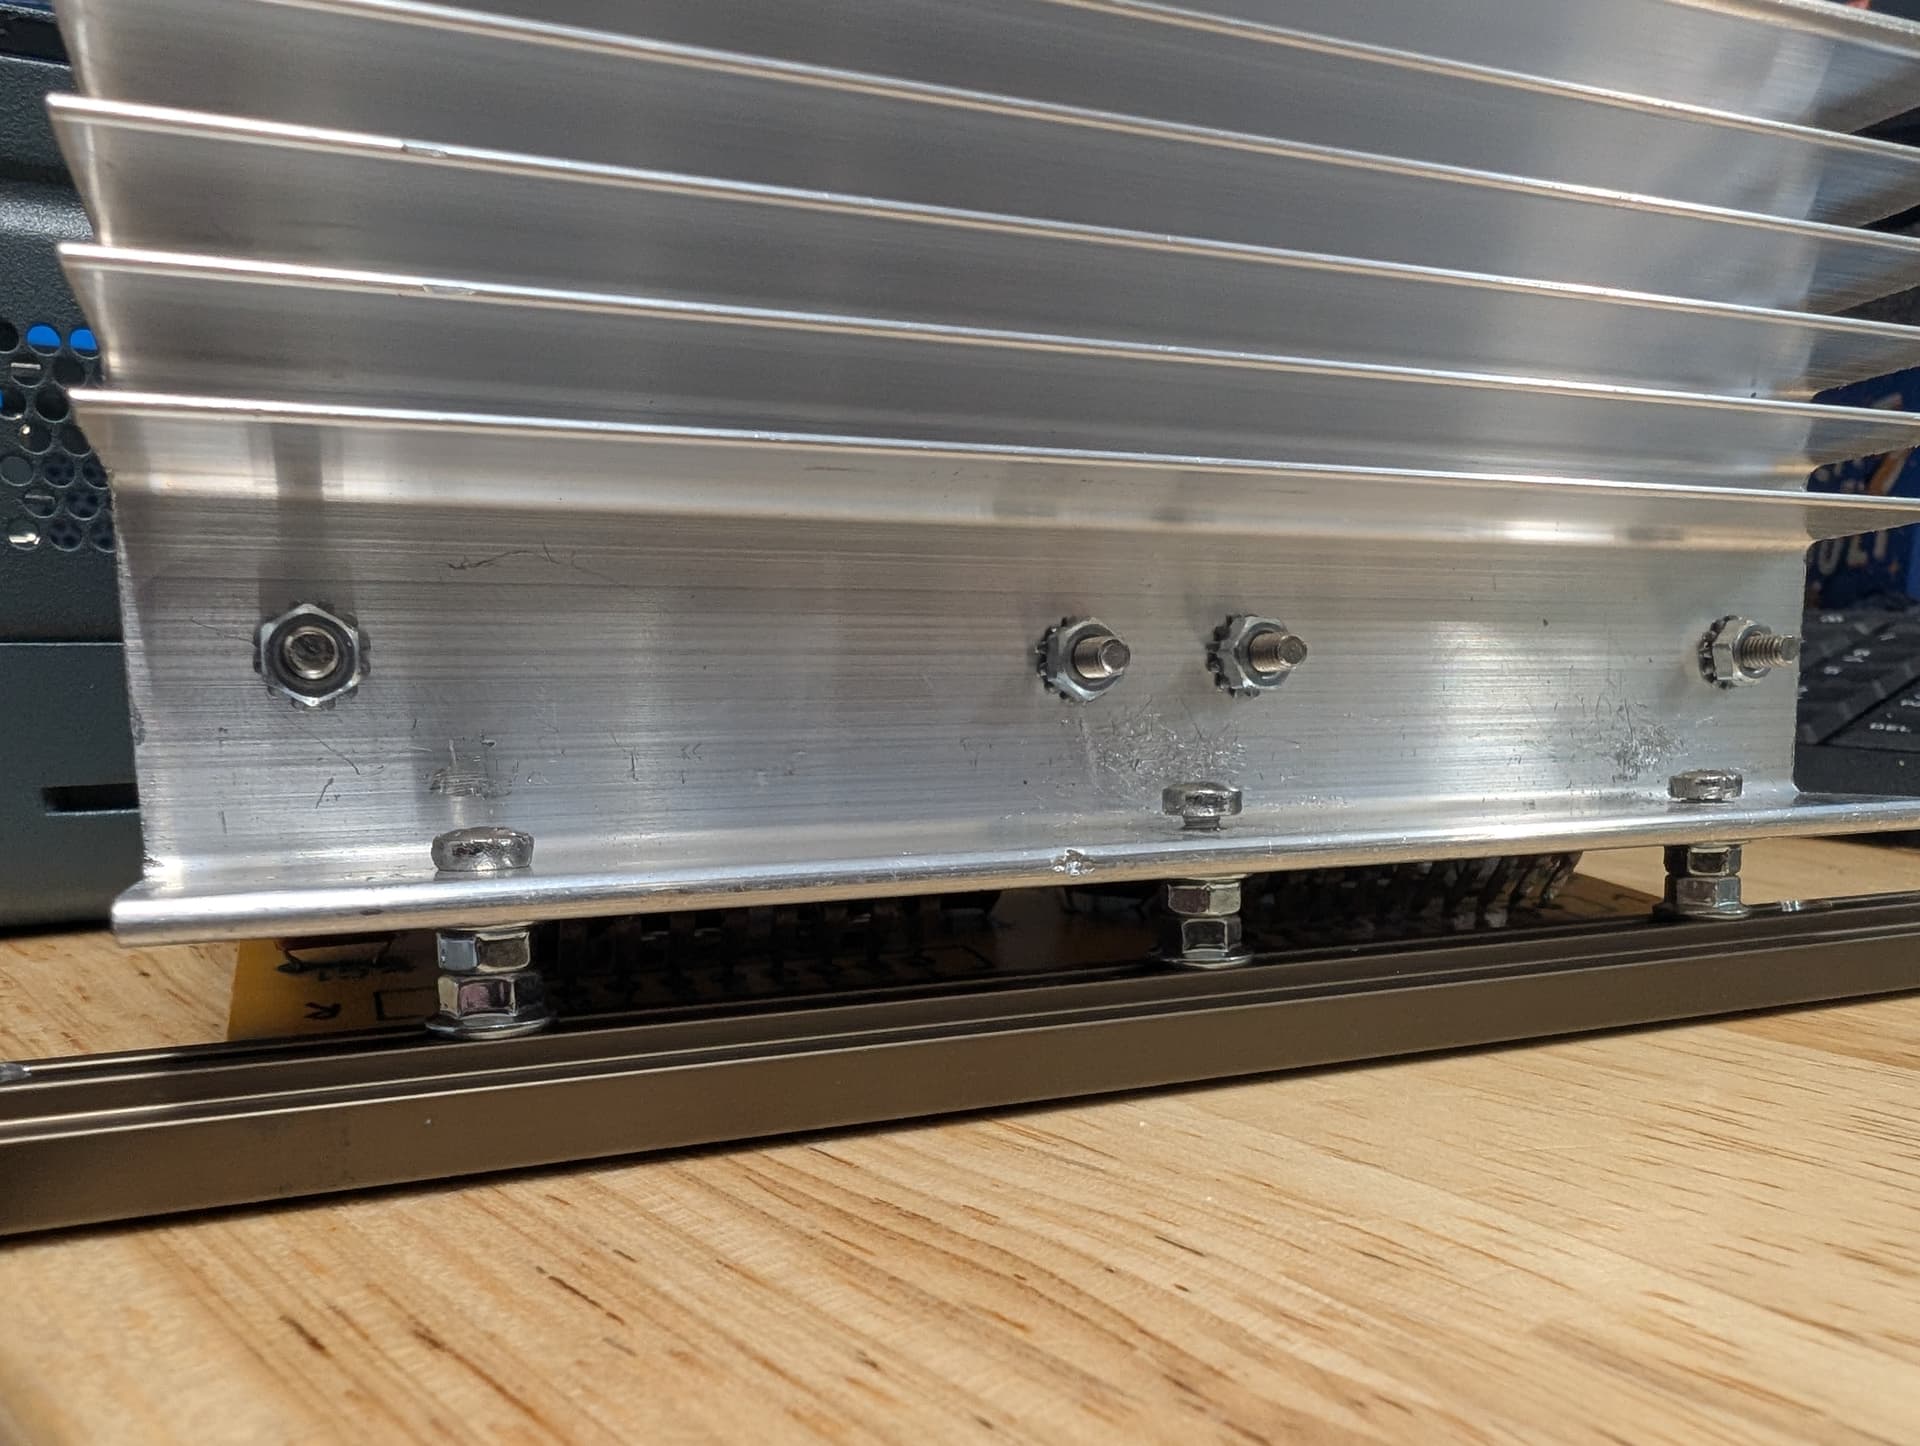
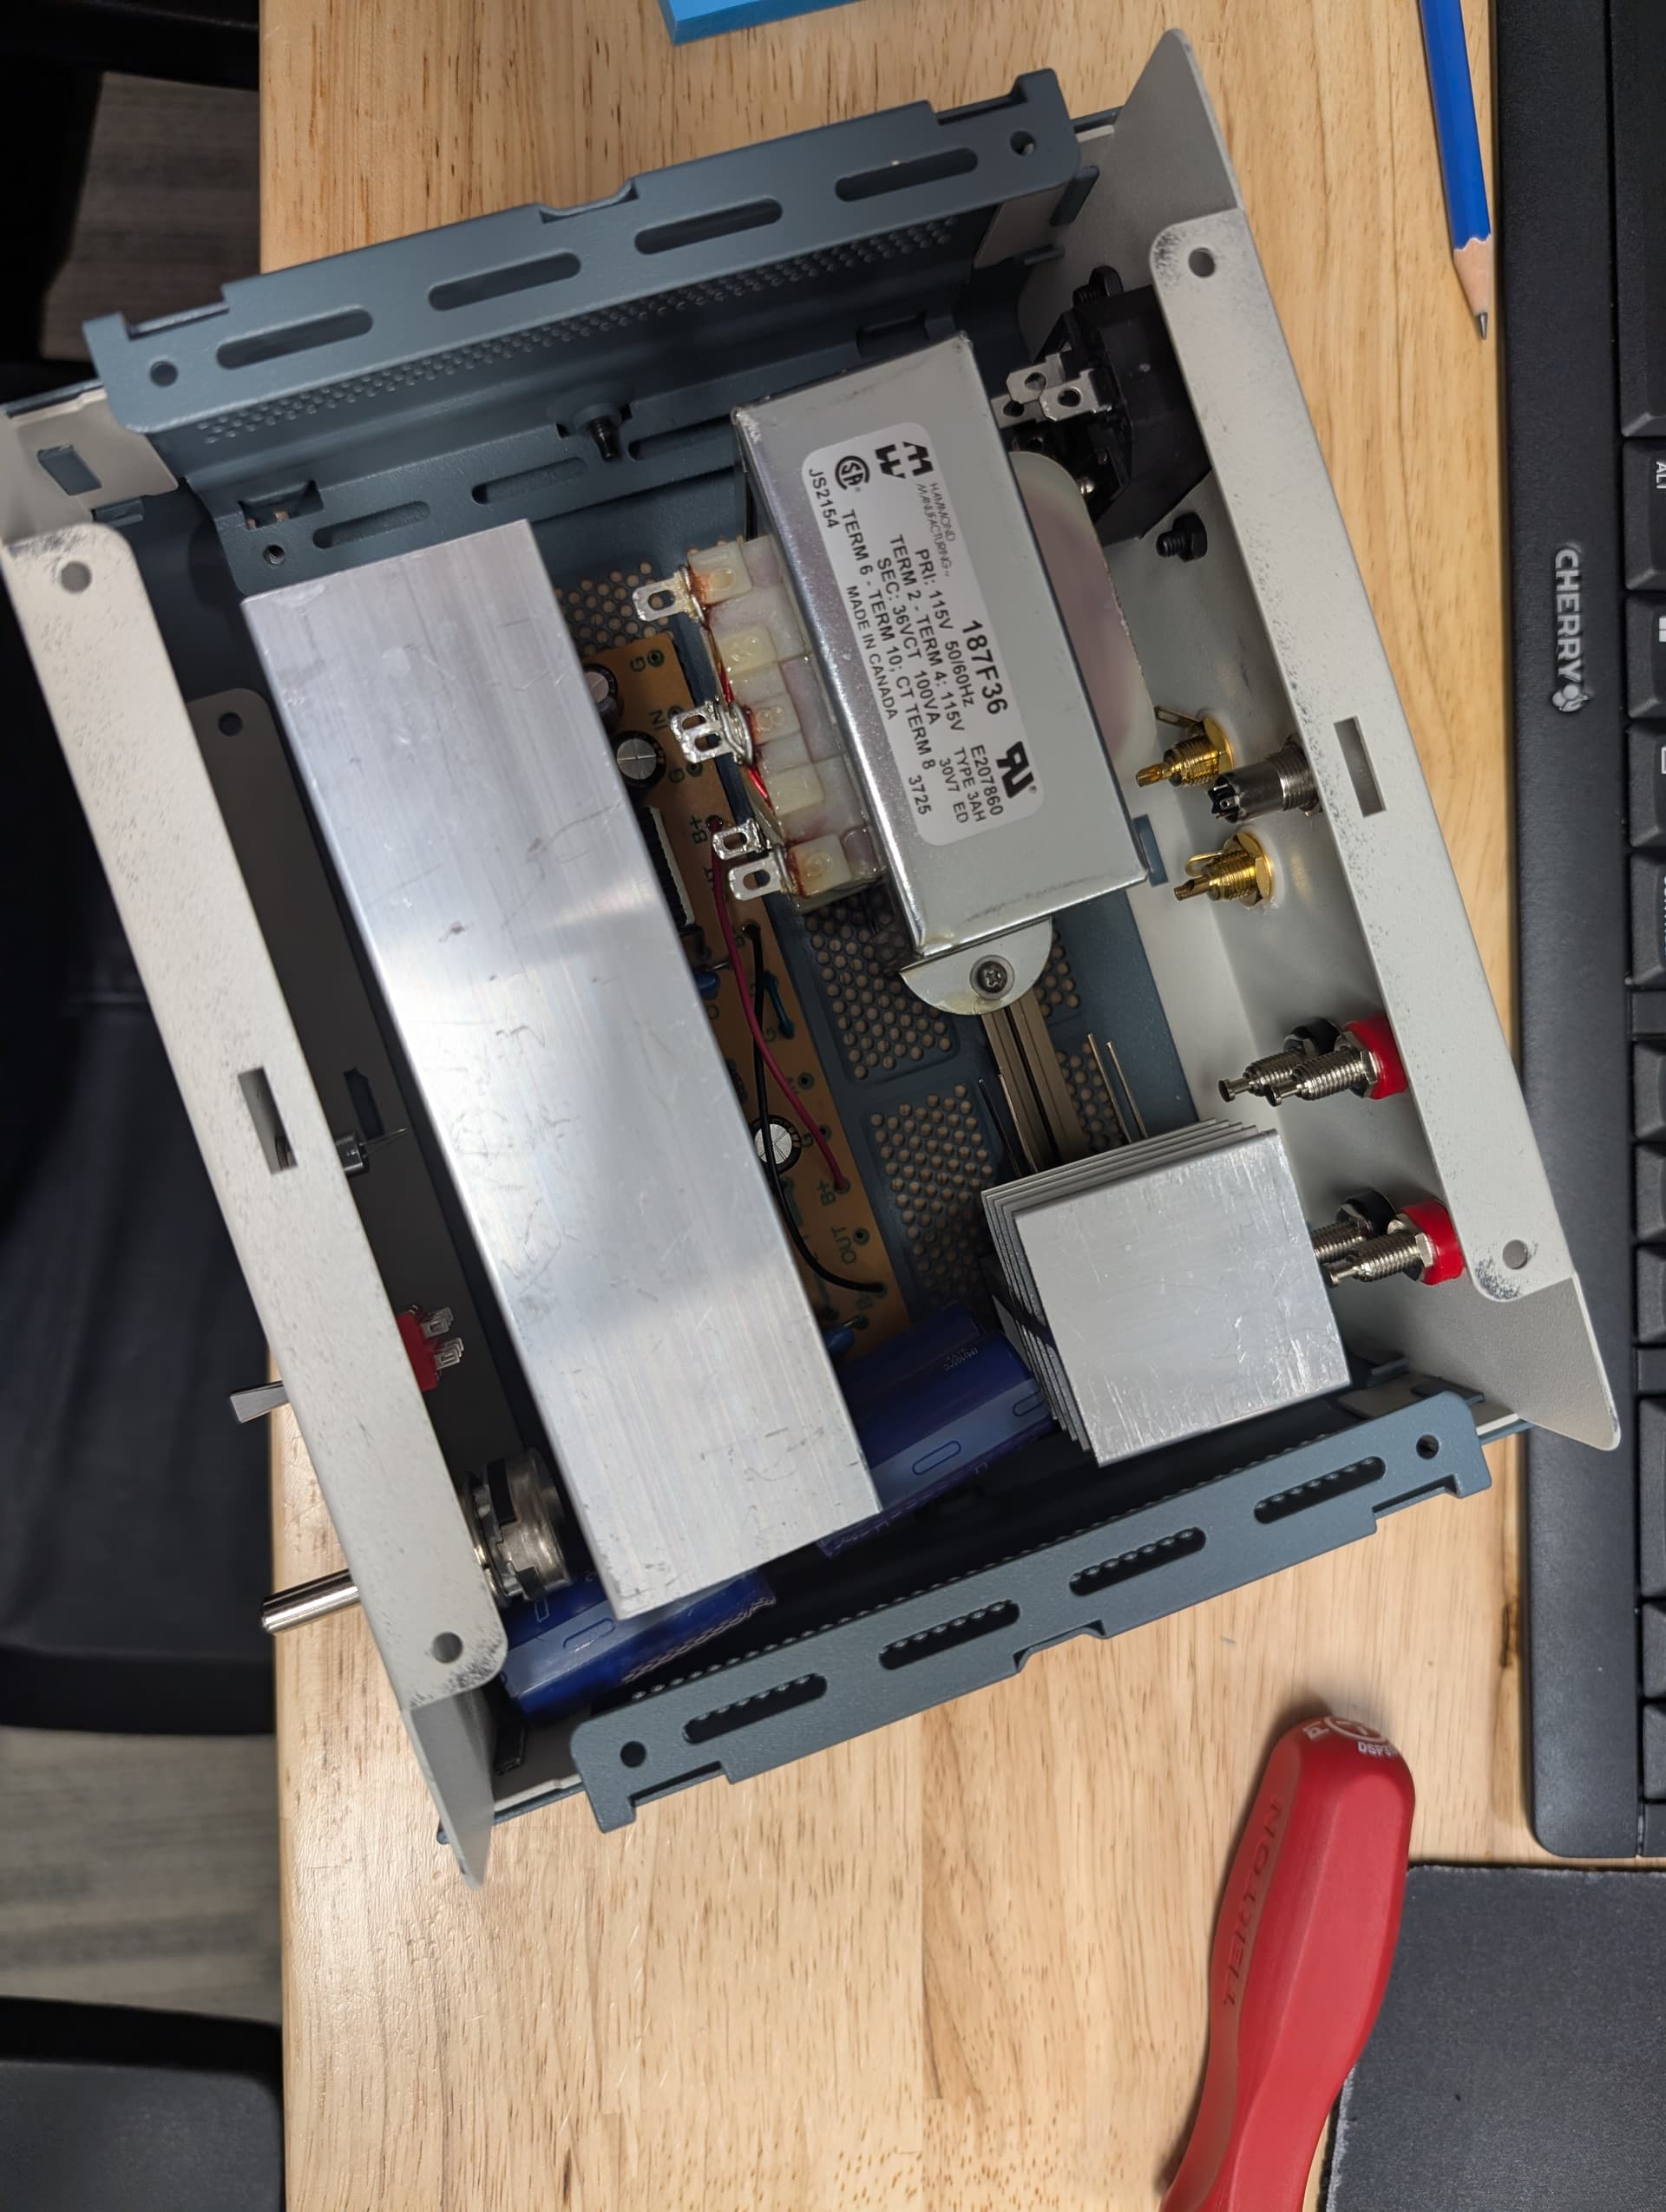
Cutting the heatsinks was an absolute pain the butt. Planned to use a jigsaw with a metal blade, but it was too big. Ended up hacksawing it, and filing the ends clean. Not the best, but it’s on the inside, no one will see it. Holes were drilled for the parts, and to mount the heatsinks on the enclosure rails. I had to raise the amp mountings a bit, so the PCB was high enough to not touch the chassis when mounting. Was a bit of a pain to get to the screws, but after some effort everything got mounted.
Testing the fit in the amplifier. It’s really tight. Should have bought a slightly larger enclosure. If anyone builds this, I would suggest a deeper enclosure, and possibly smaller heatsinks.
Yup! Eventually planning on adding a passive small subwoofer, and an SMSL A50 Pro amplifier to power it for my (home) desk set up. Have them at work in the mean time.
Good to know! I don’t have a miter saw yet, but it is on my list to eventually buy. I didn’t think how much thicker the aluminum is on the spine of the heatsink, and the jigsaw got bogged down. I would think a bandsaw would work well too.
Progress has been a bit slow. Work got quite busy at the end of the year, and all the things happen with the holidays. Also waiting on some Wago connectors that got delayed in delivery.
I also was weak on Black Friday and purchased a new 3D printer that I have been playing with. Plan is to 3D print some computer speakers for a few friends out of ASA or ABS.