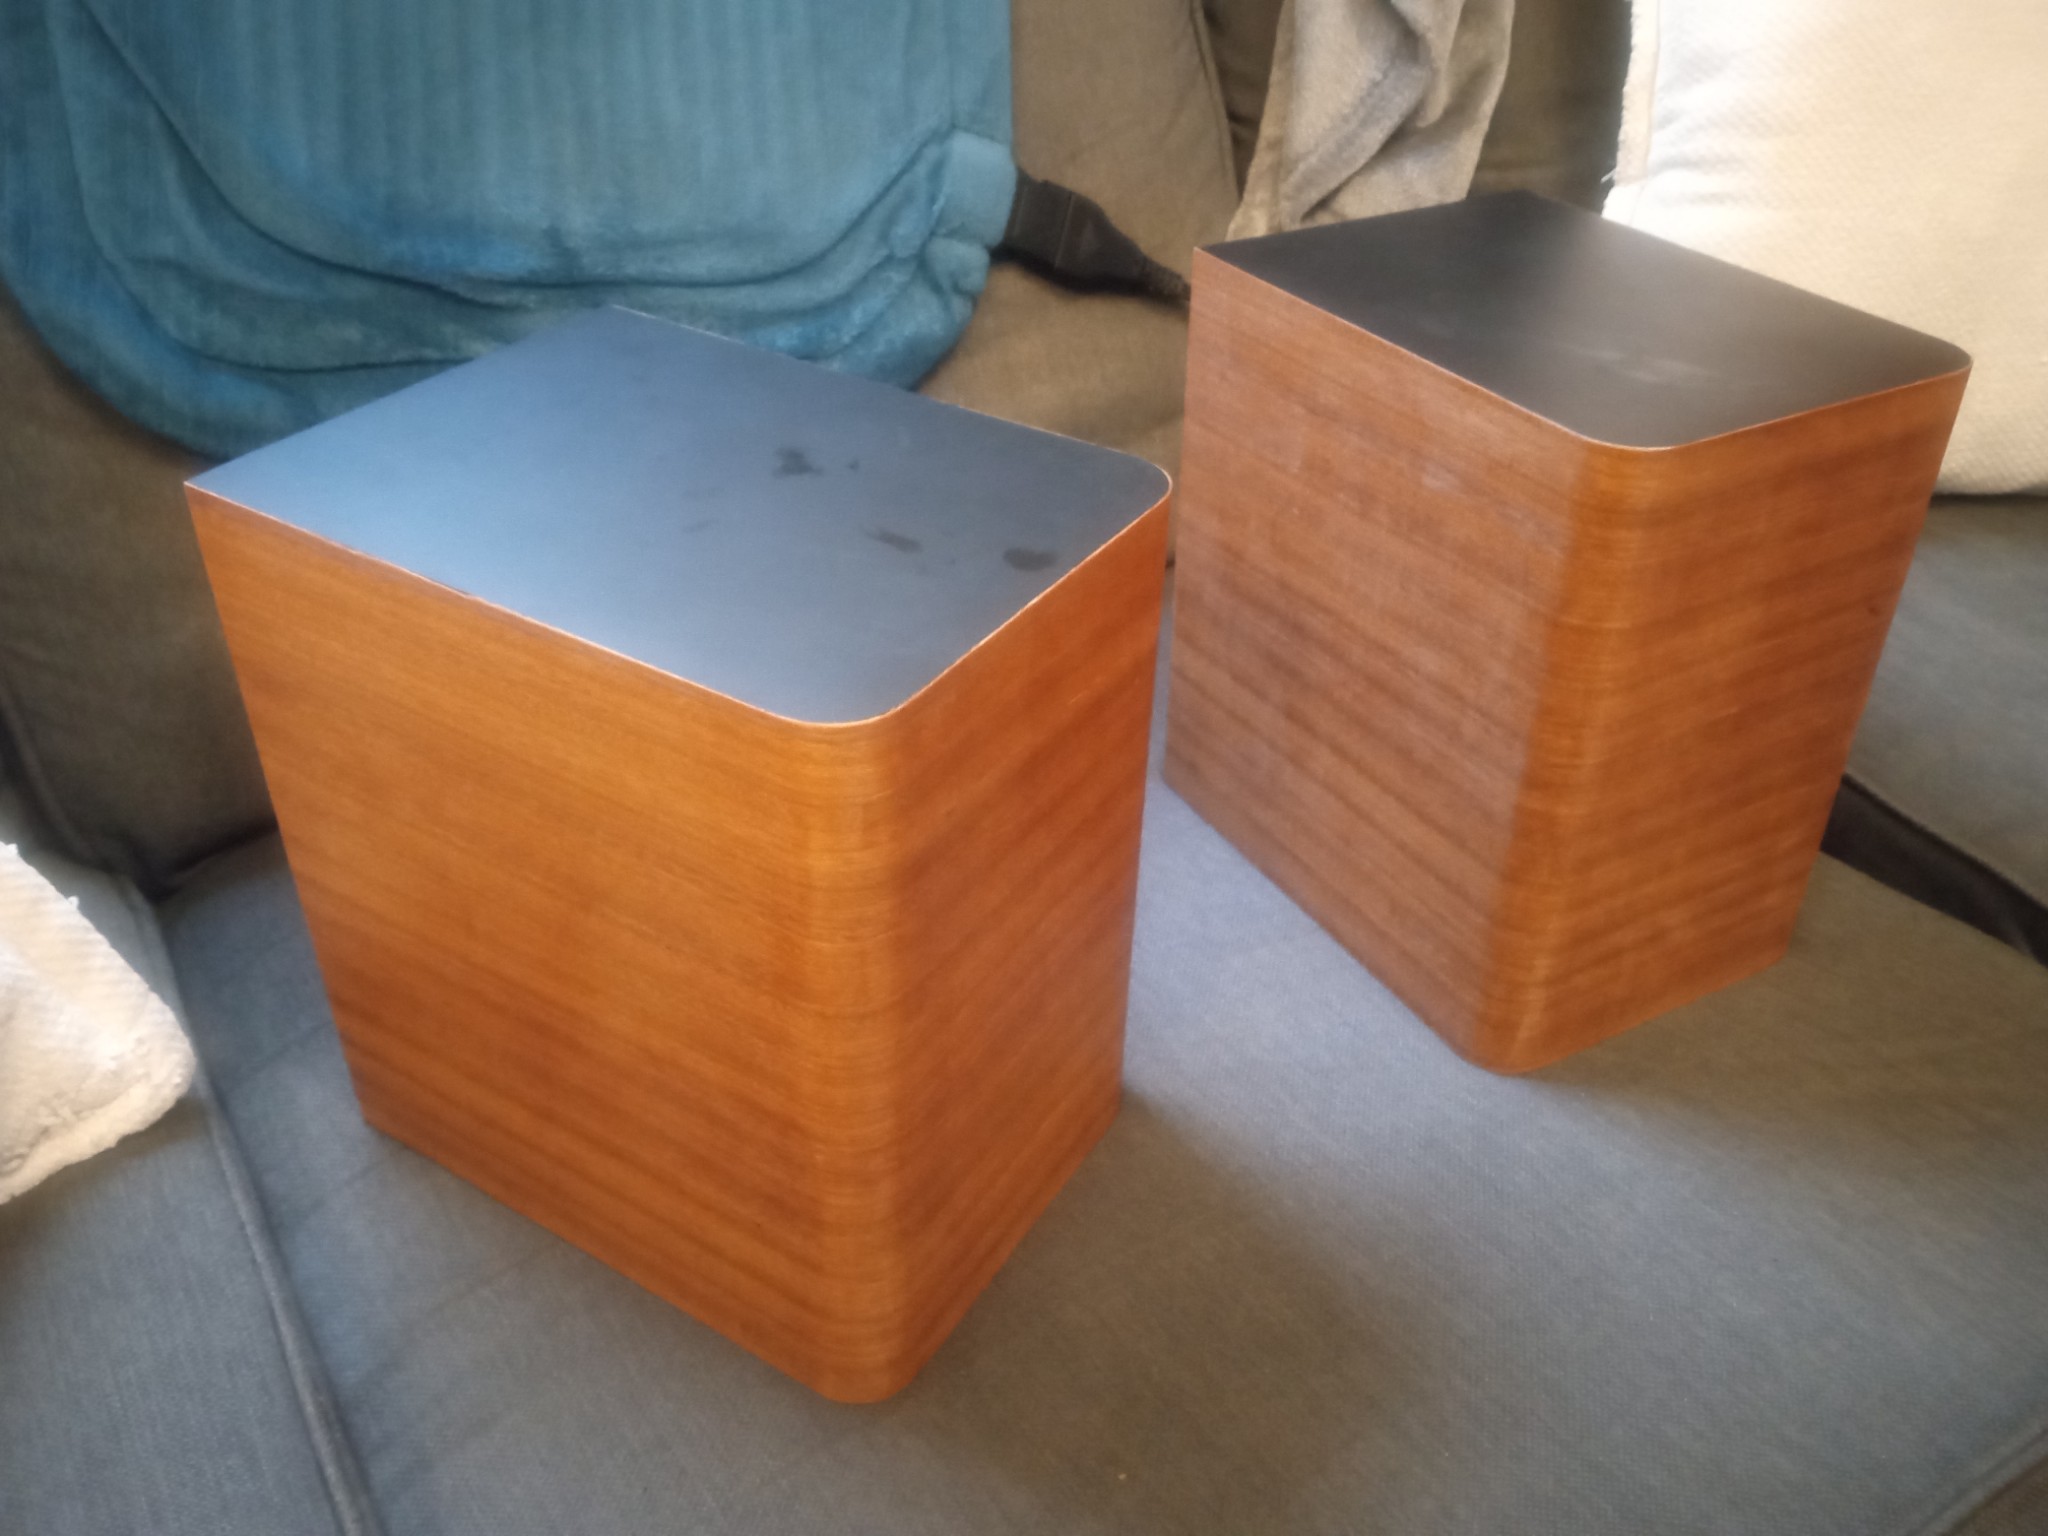
Another satisfied veneersupplies customer
I wiped some shellac on one of the trimmed off pieces that looked like it had similar wicked up glue spots. The glue doesn’t seem to show through at all, at least with one coat. So there may still be hope.
I got bored and decided plenty of time had gone by for the veneer/glue to settle and firm up. I just now got done trimming the edges with a box cutter blade. I can see there were several “checks” that opened up as it all dried. Some pretty wide ~1/32". I don’t imagine the grain filling technique can quite handle that. It is what it is. Learning alot. Messing up and adapting is all part of the process.
I’ve used scrap veneer edgewise to fill small checks and cracks. Sometimes two or more thicknesses. CA adhesive or hide glue worked well.
1 Like
That’s looking really good! Love the stripes.
FWIW, I’ve had checks open up even using their Heat Lock glue. I think that’s just the price you pay using the iron-on method with raw veneer.
1 Like
Good to know it is a common issue at least… And not ALL incompetence on my end ![]() . The water I spritzed on it probably didn’t help the issues, but it was getting some real good steam action that I can’t help but think it did the job around the 3/4" bends against the grain with this very brittle stuff. It visually appeared to dry out in seconds from the heat so I wasn’t too worried about residual moisture afterward.
. The water I spritzed on it probably didn’t help the issues, but it was getting some real good steam action that I can’t help but think it did the job around the 3/4" bends against the grain with this very brittle stuff. It visually appeared to dry out in seconds from the heat so I wasn’t too worried about residual moisture afterward.
Not incompetence. Nature of the game.
I agree. Last winter I used the iron on Tite-Bond II method with some unbacked walnut veneer. I had not read anything before that suggested it was a bad idea. I got significant cracking too. Maybe as big as or bigger than yours. I plan to use some leftover veneer to make lots of walnut saw dust and mix it with some of my base finish to fill in the cracks.
Good ideas, that gets me started. Since I have some thickness to work with on the veneer I think I’ll start with some initial block sanding to start flattening it. Then see how much that fills up the grain and cracks with dust. If it seems like enough I’ll hit it right away with some shellac to lock the dust in.
Did a little block sanding before I found a bubble. Was able to hit it with the iron again to get it back down. I then tried sanding some of the scraps, letting the dust fall on the surface and rubbing it into cracks. Rub on shellac then repeat. Going to take alot to fill in those cracks though.
3 Likes
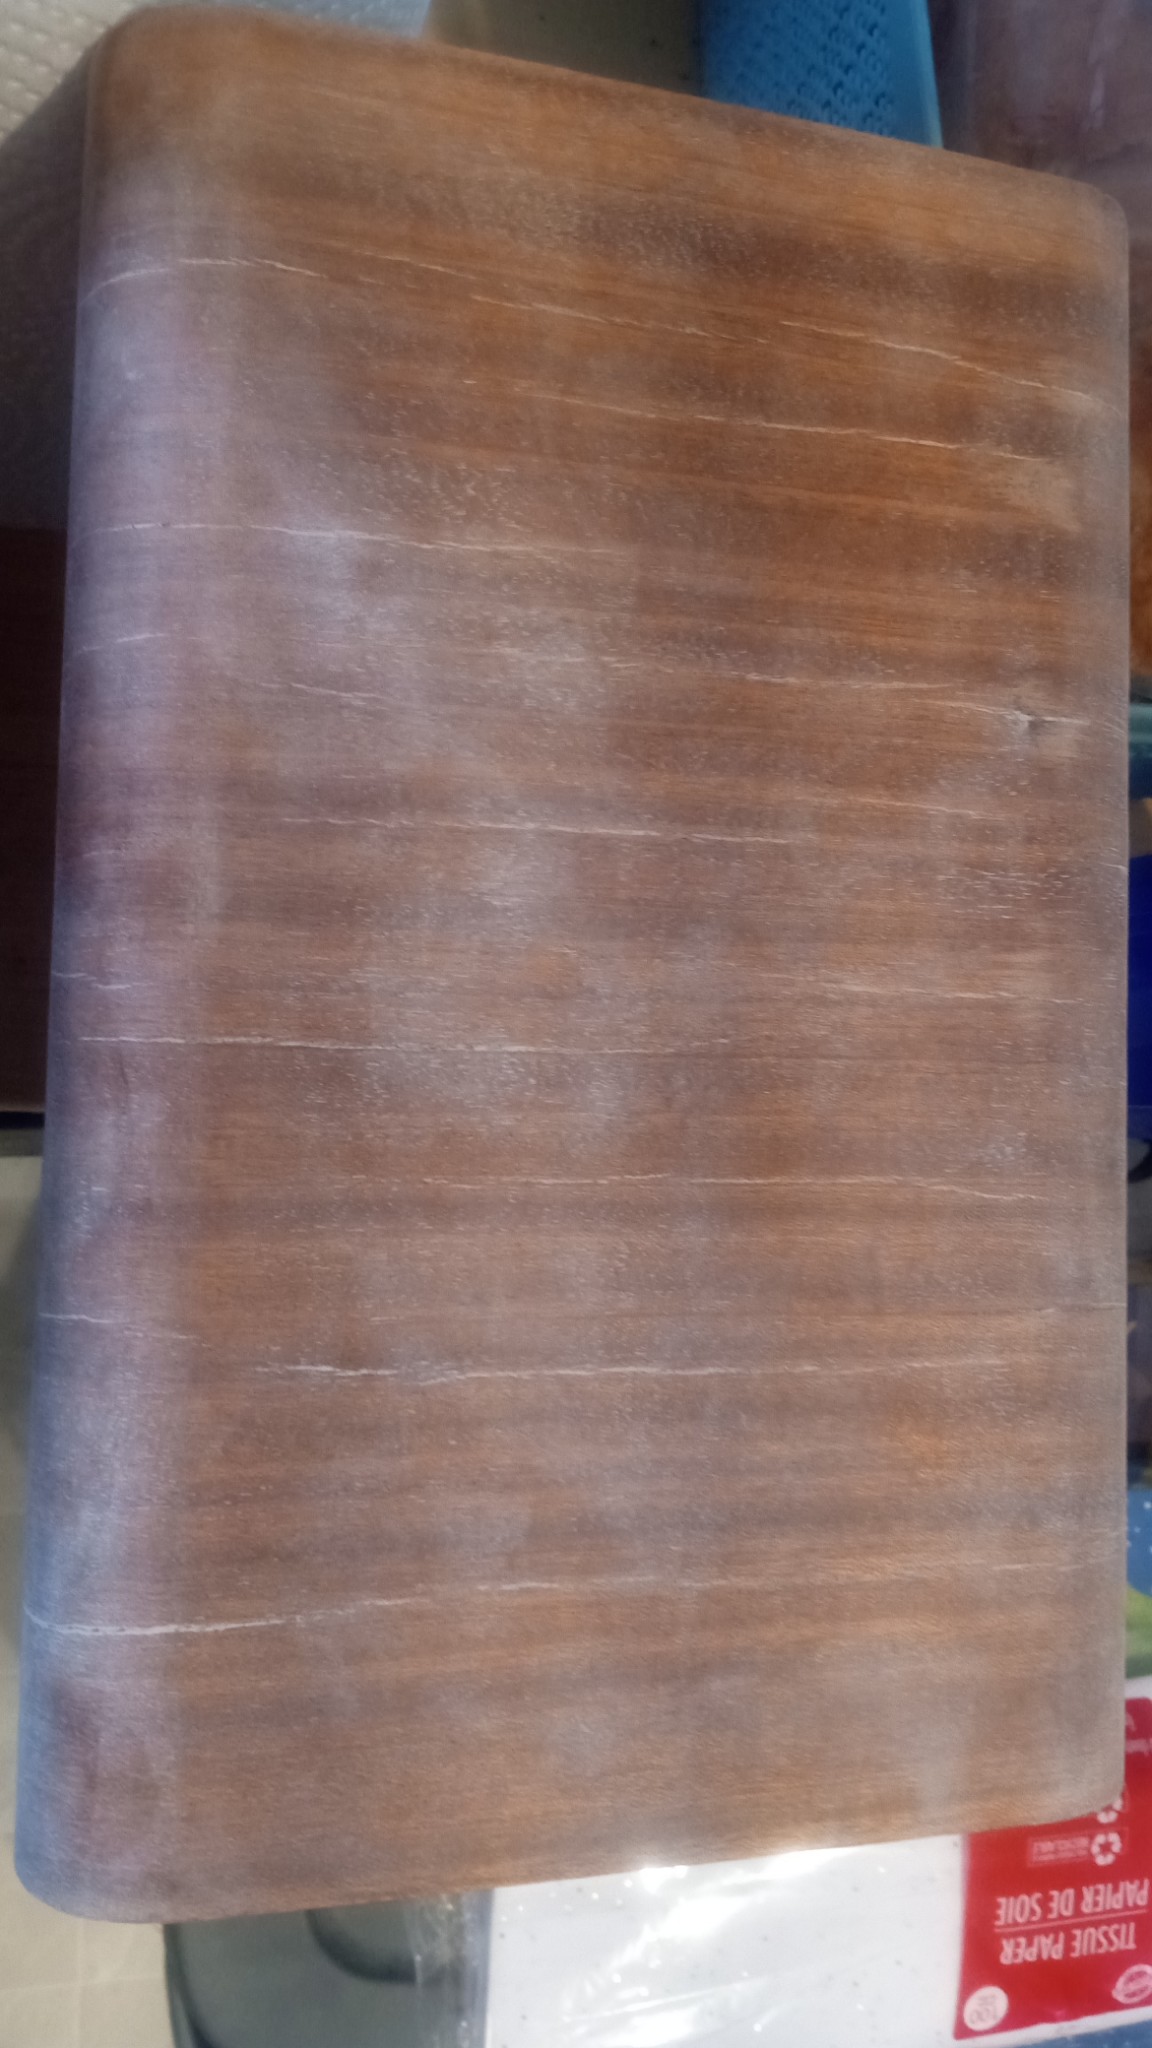
Did a few rounds more block sanding, rubbing the dust into the cracks and putting shellac over it.
This is what I’m dealing with:
Working with shellac is kindof theraputic. You are so in-tune with what is going on with the finish through the whole process. And there is very little pressure to do anything perfect. because you can always go back over it with another coat (that dries in minutes), or dissolve and rework what is already there with alcohol. The end result is just the culmination of everything you put in. And it is cool to see it “take shape” as you go.
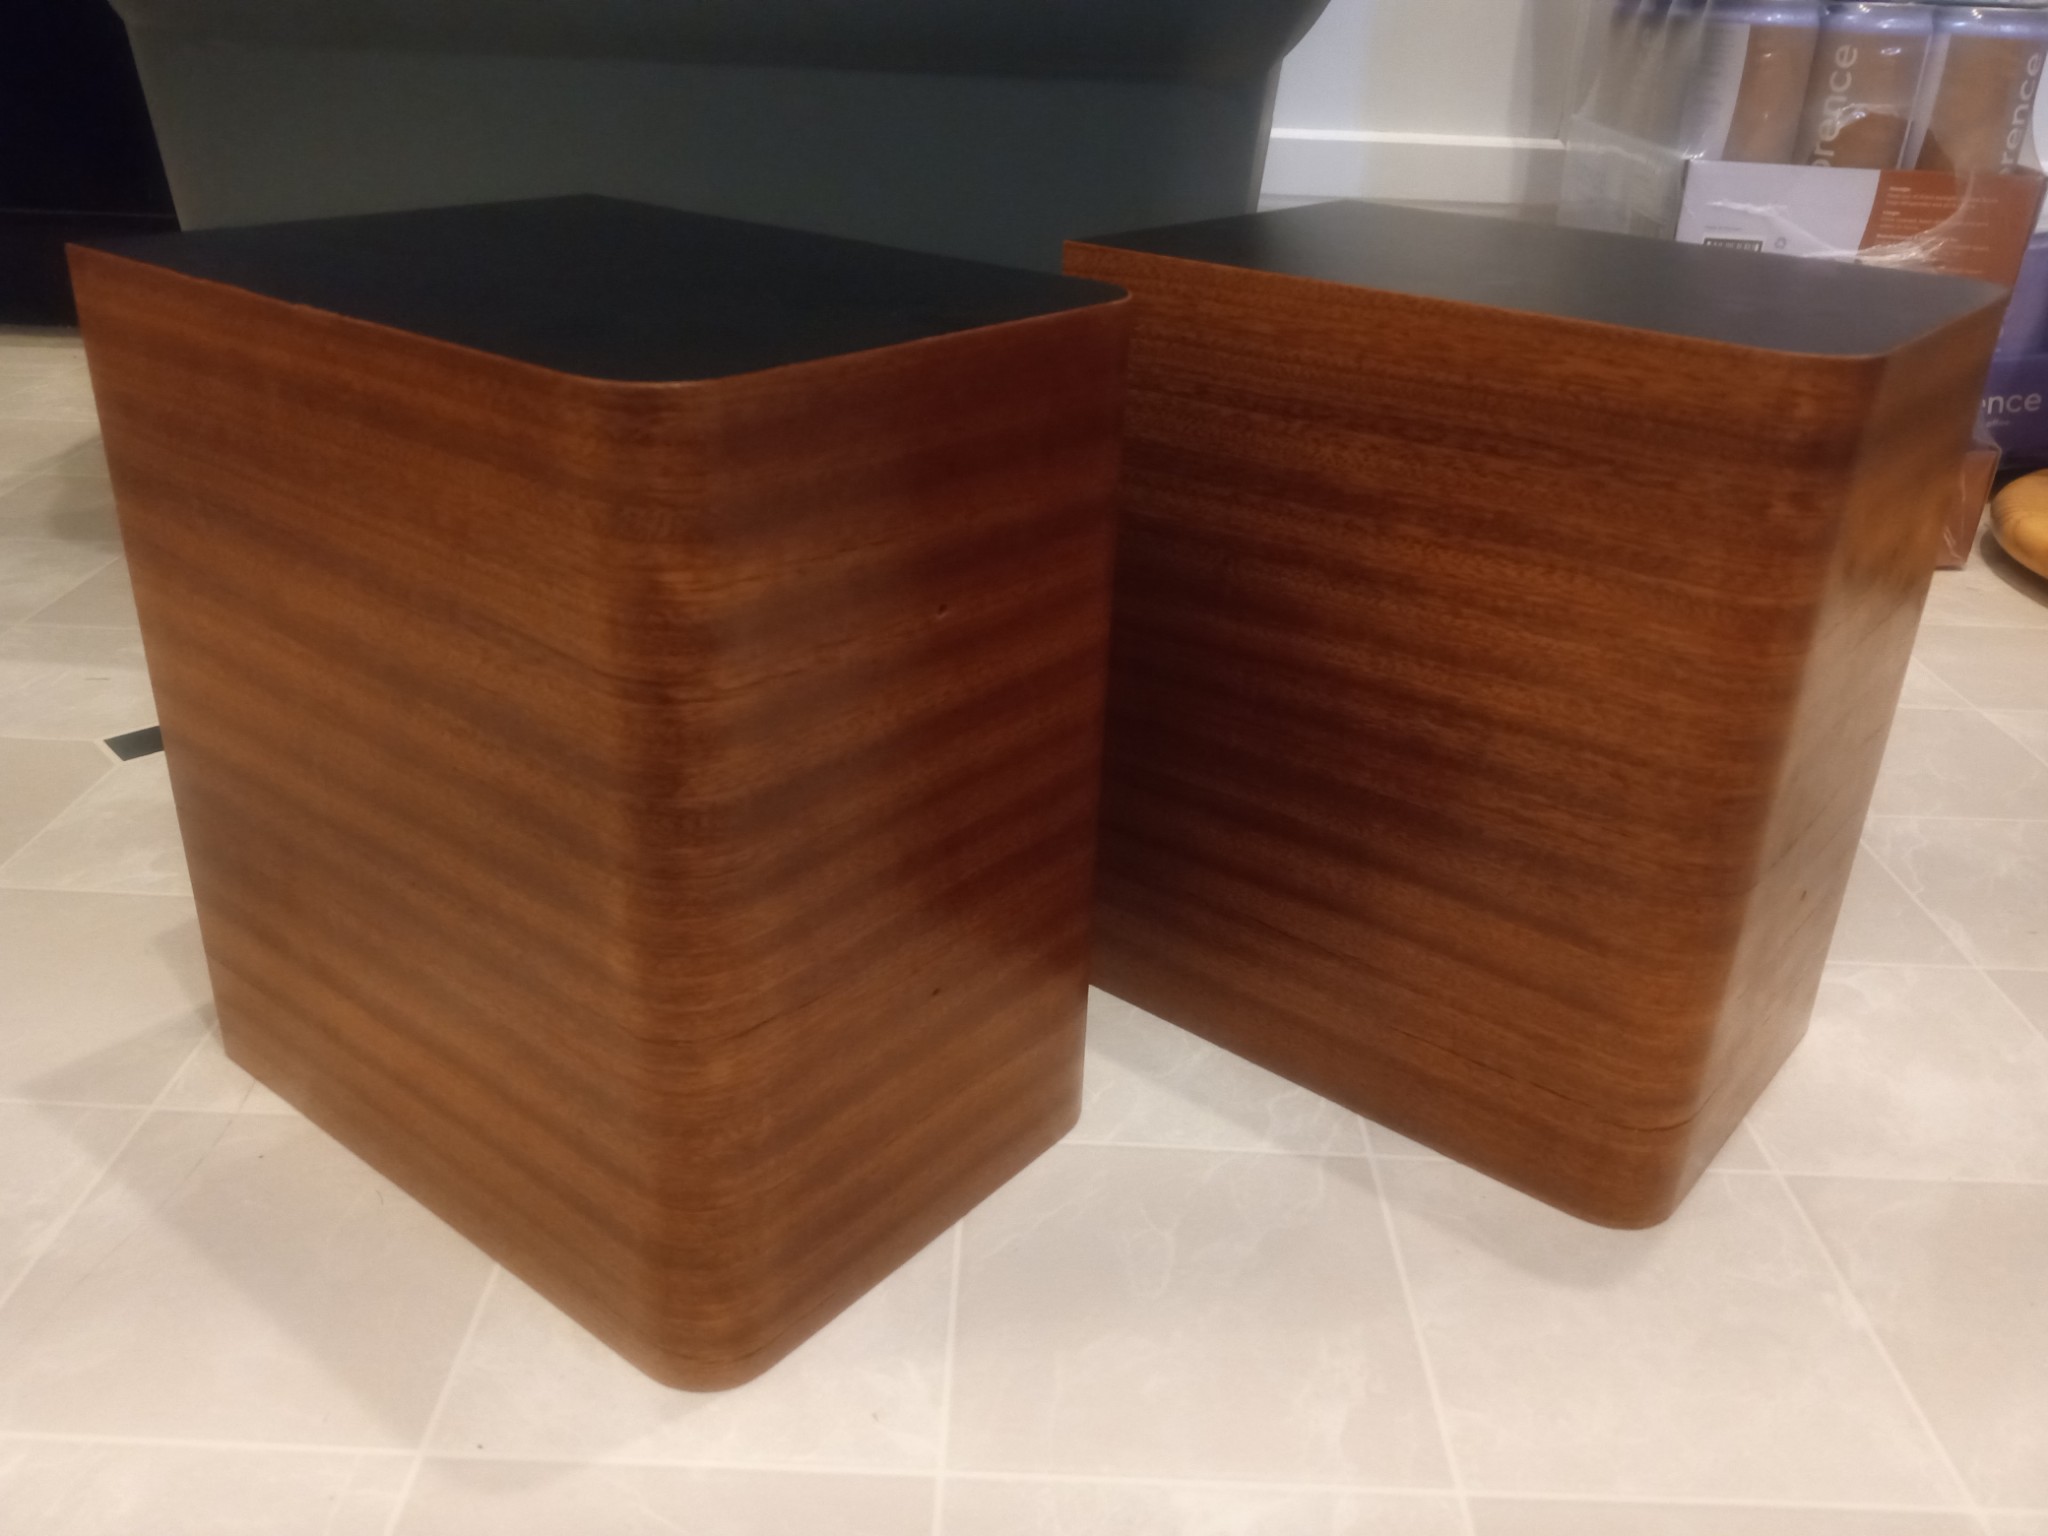
Still plenty of imperfections. Just have to decide how many I can live with. Debating if I keep going with filling the cracks. Or cut the driver holes and move on to the pumice grain filling. That probably will fill the cracks some, but doubt it will fully fill them. Perfection is usually never my intention anyway.
5 Likes
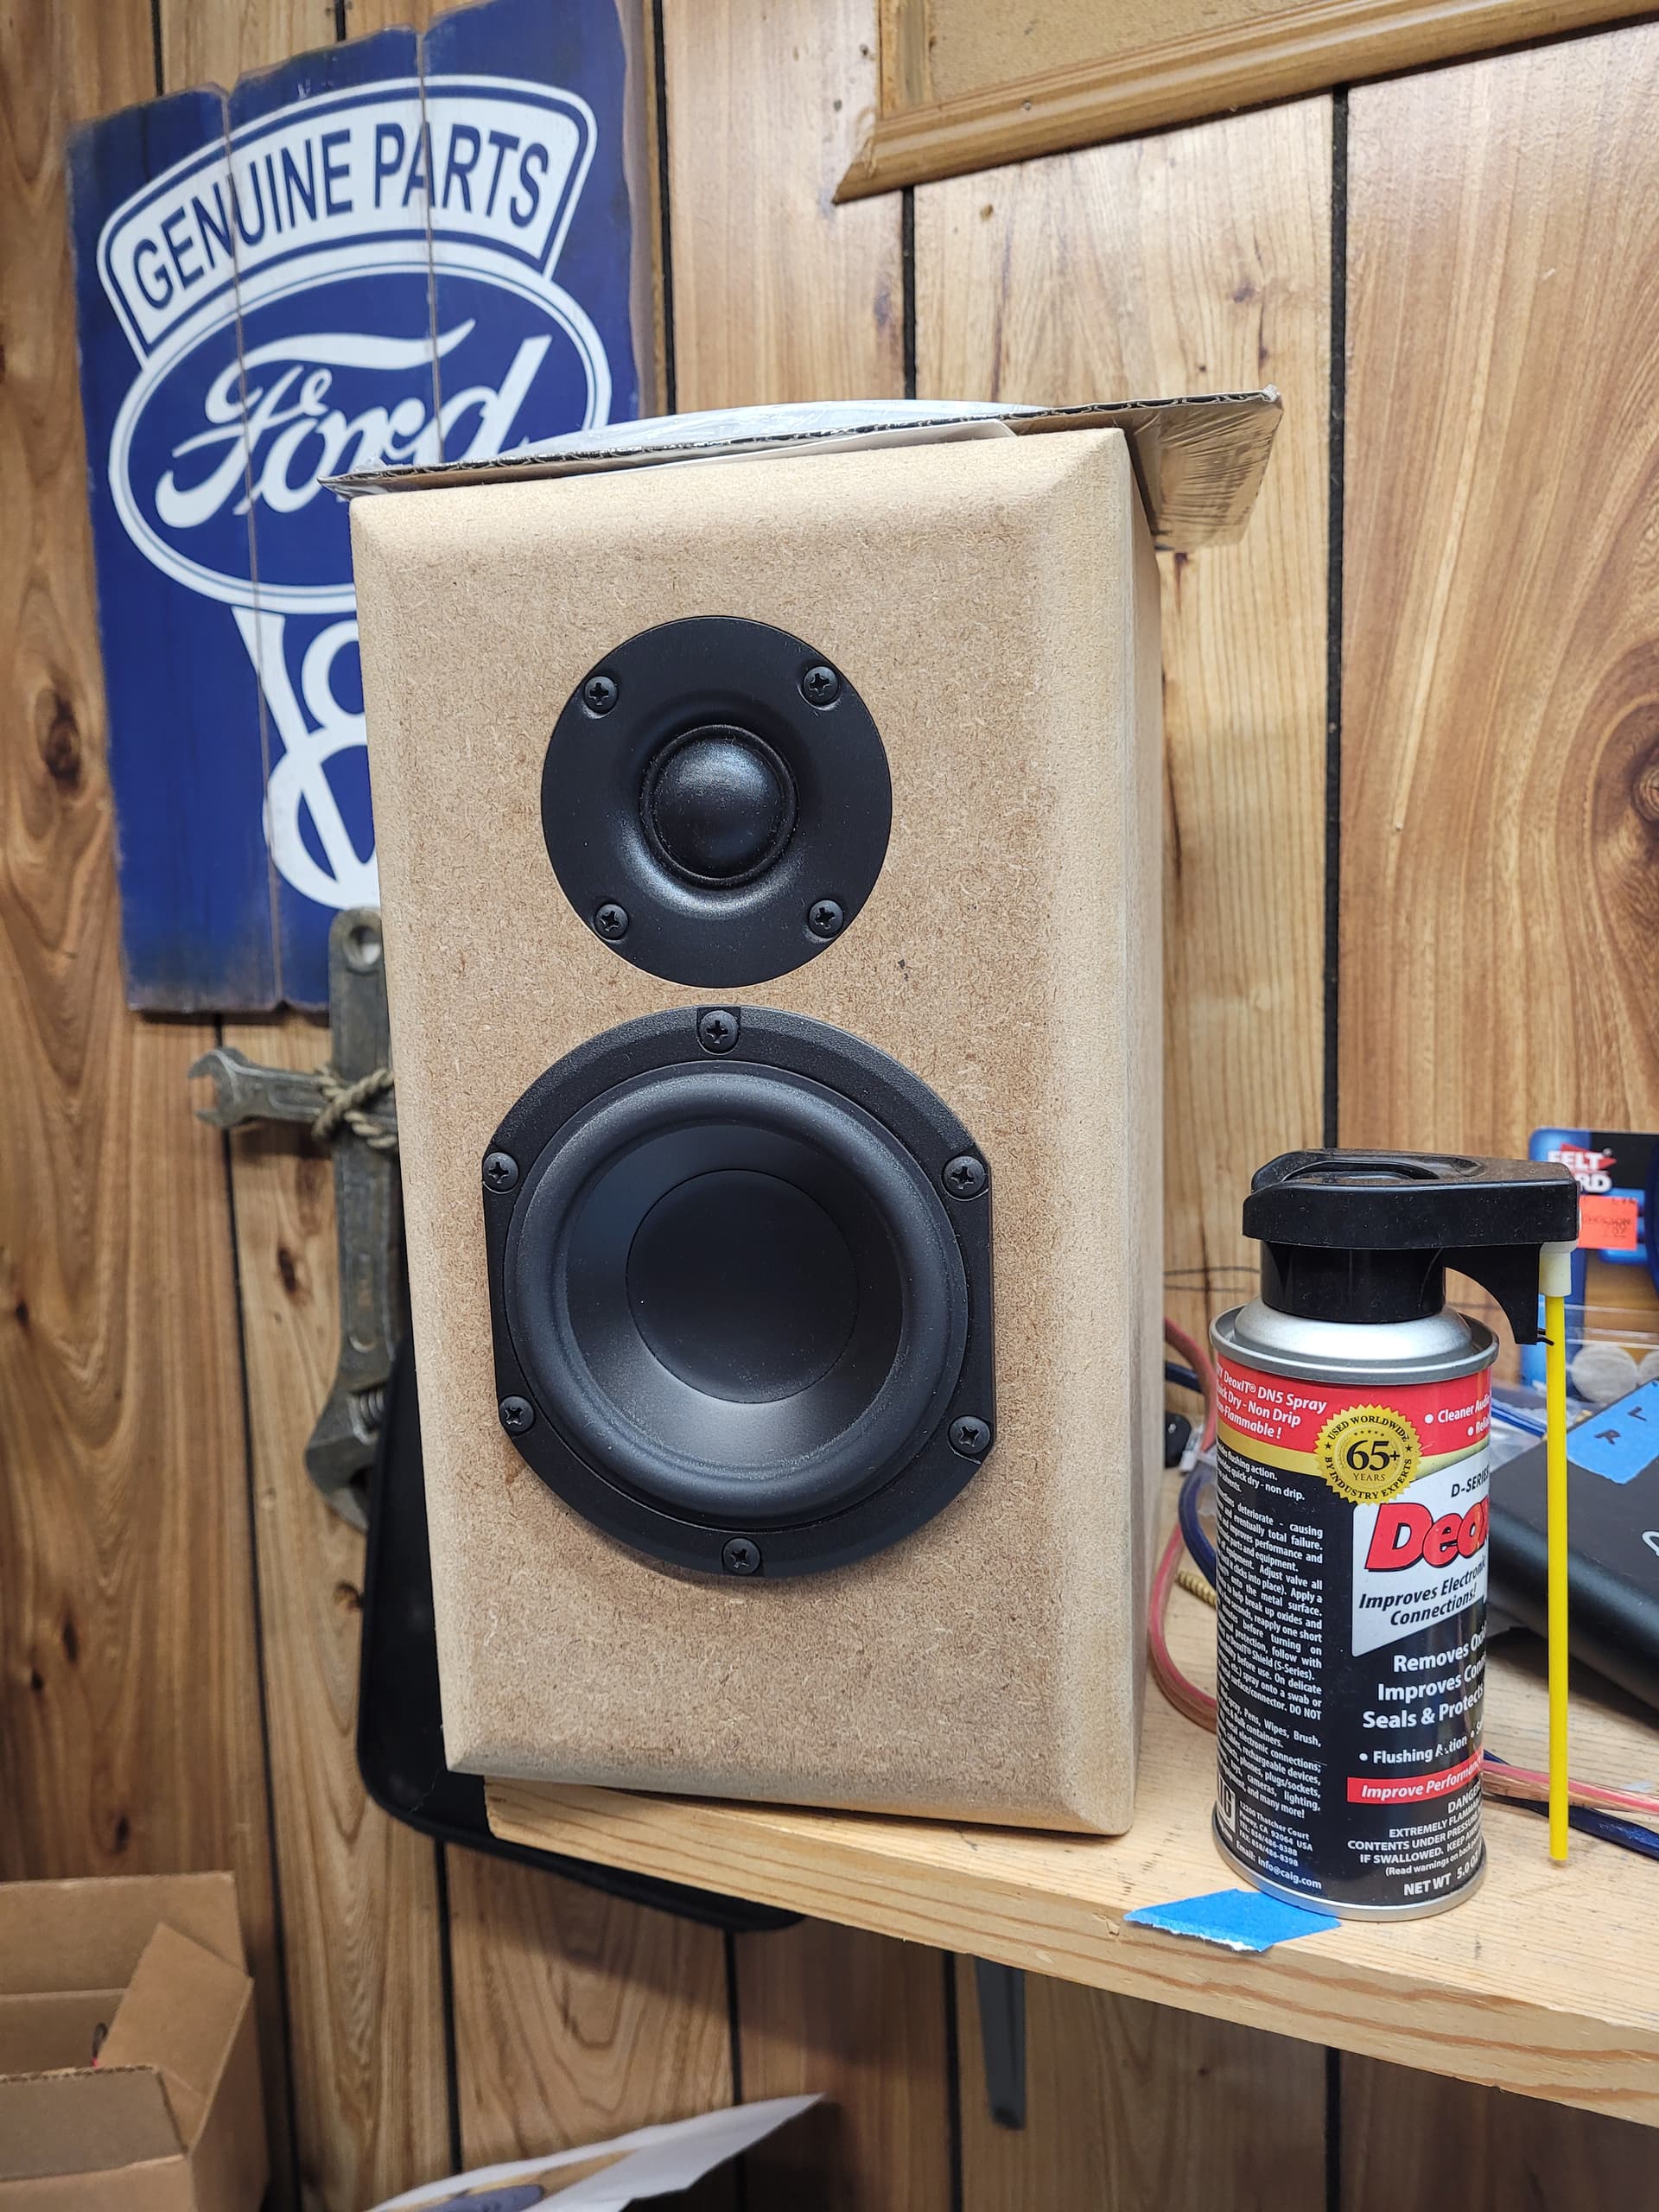
Started making more holes. I think the tweeter cutout is OK, but when I switched to the 1/4" bit it cut a little small.. Even though I checked it with the center gauge. I ran out of time yesterday to recut the woofer hole larger and chamfer the back of the opening. And temp dropped more today it seems ![]()

3 Likes
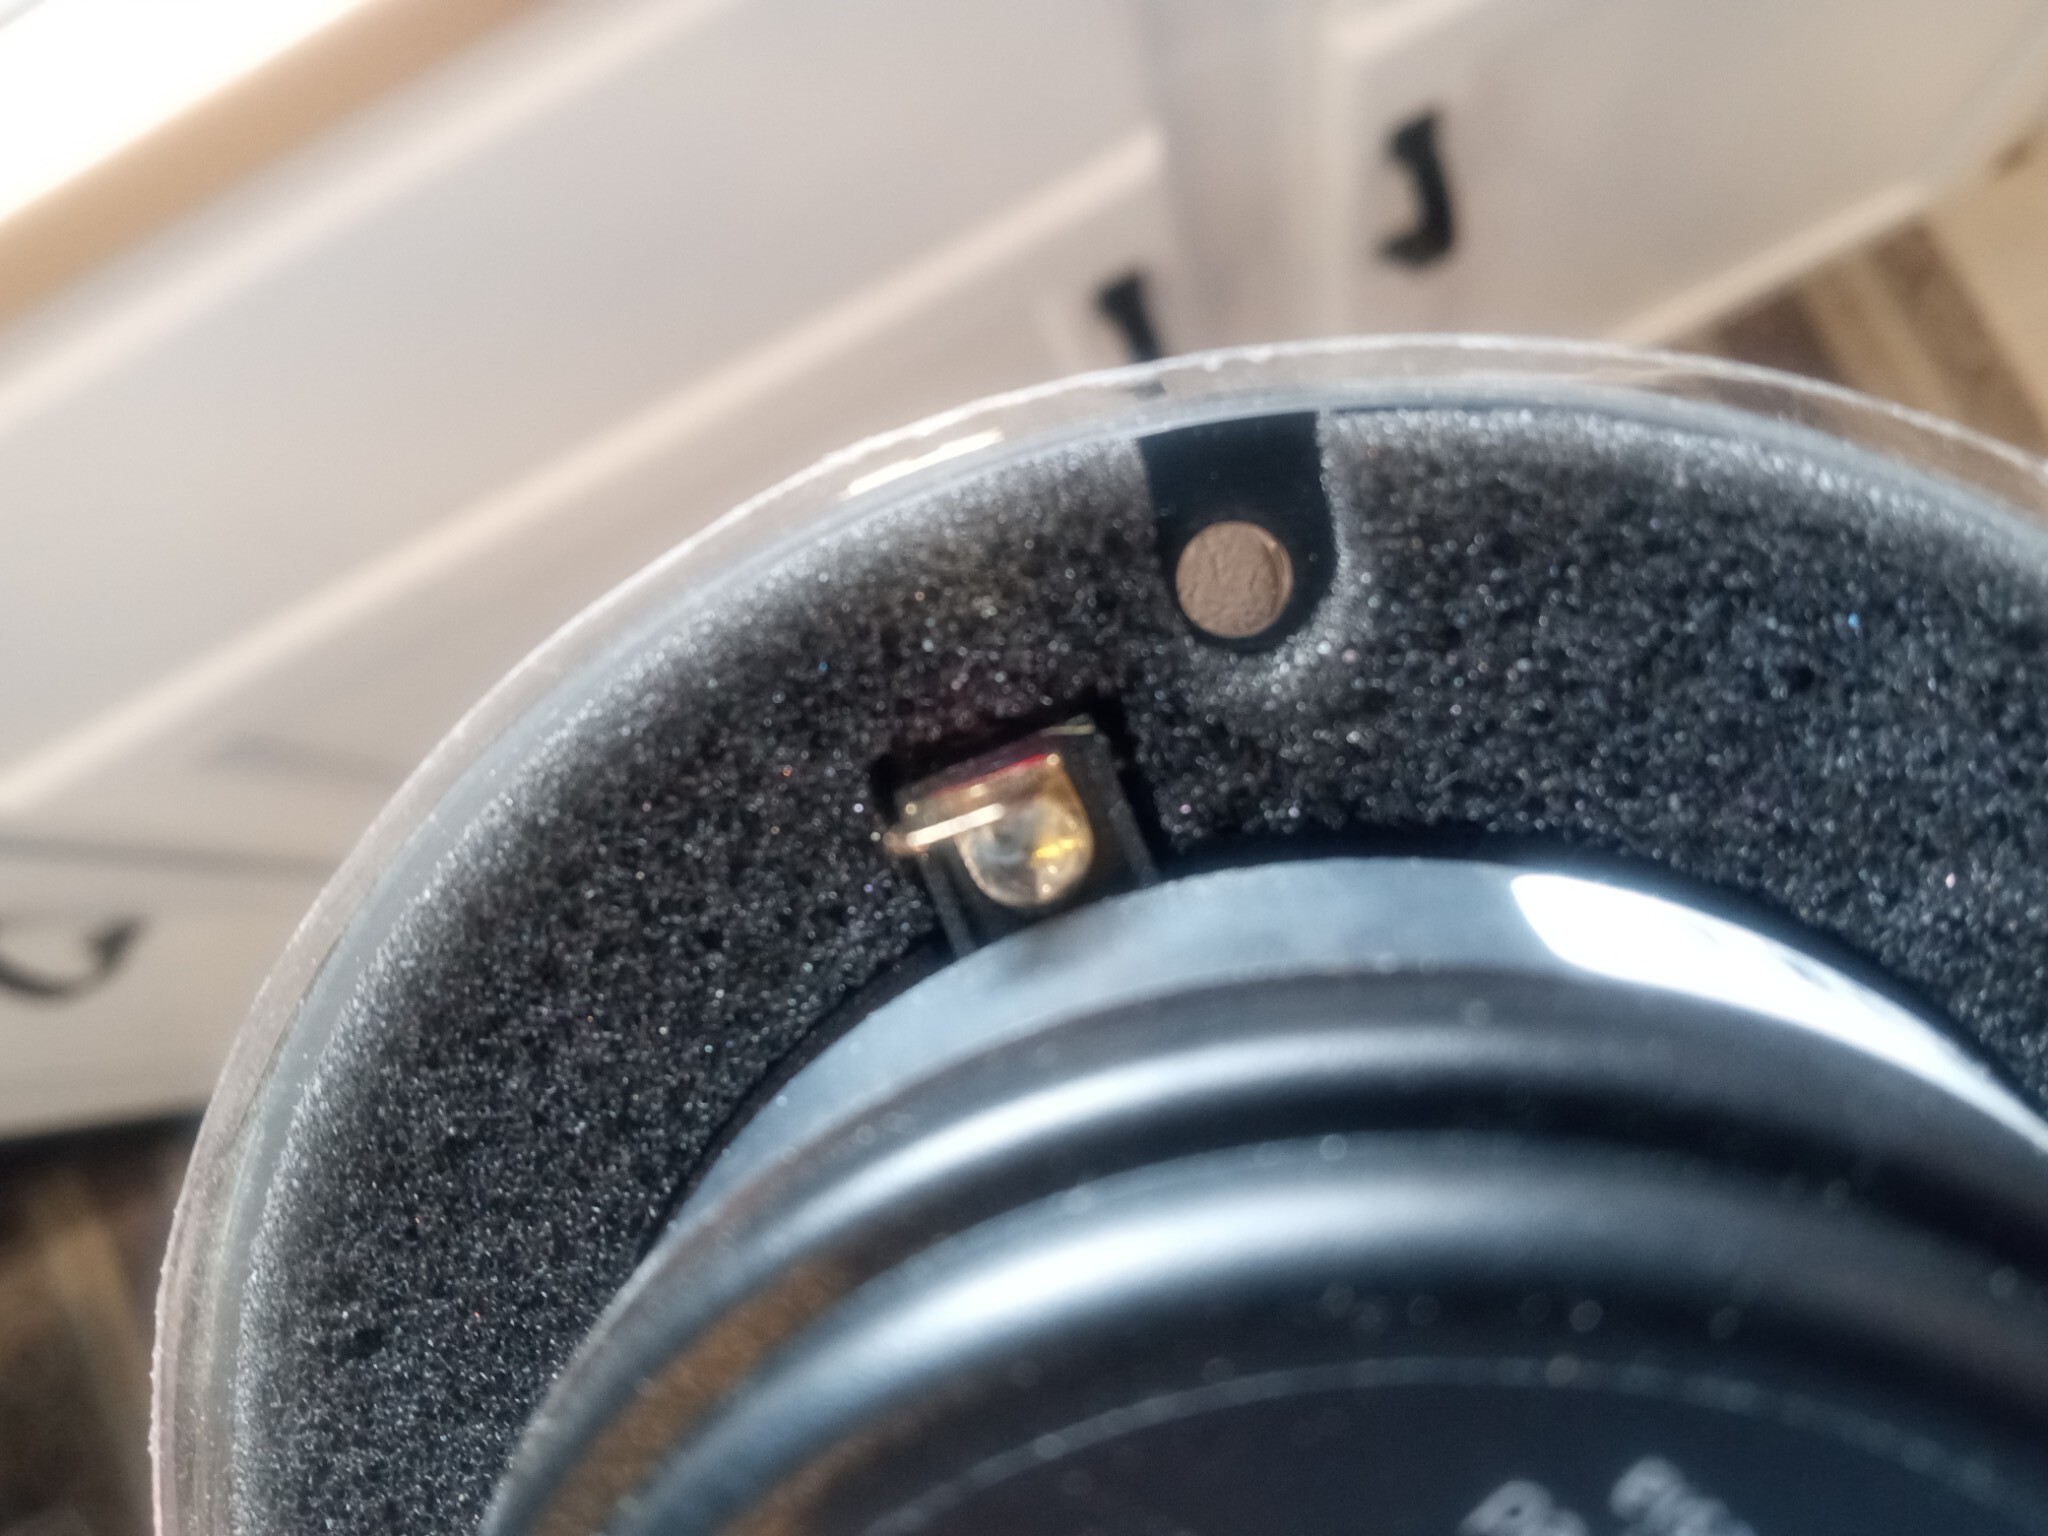
IMO SB’s orientation of the terminals on tweeters is mega-dumb. You can’t allow yourself any wiggle room to clock the tweeter. Otherwise risk having so little material the screw threads blow out the hole. And they are off at such a wierd angle that it makes it more difficult to try and measure. Come on guys either put em both on the same side, or 180deg out.
2 Likes

Yeah Wow I agree. What dumb places for the terminals.
Did you give those little woofers a generous chamfer on the rear of the baffles to breathe? The window openings in their frames are pretty tiny to begin with.
I did the best I can with my tools. I opened the hole up a bit more than the needed minimum size. That also gave room for the VC lead connections, which protrude a bit. Then I use a dovetailing router bit to give a slight inside chamfer around the whole opening.
2 Likes
I messed up. The pair of speakers over my work bench use the 830870 poly cone version of those Peerless 4” woofers. However, I have another project I built with the treated paper cone 4” woofers in an MTM configuration. Love those woofers too! Gobs of bass from just four little 4” woofers.
Oah yeah, the fancy pants cast basket ppb cone ones? ![]()
I’ve still got a pair of the 830874 (ppb 6.5") lying around.
Not sure which ones have fancy cast baskets. My 4” polys have the same stamped steel, truncated frames:
2 Likes
That project uses my favorite small frame tweeter, the SB26STNC. Those drivers were just meant for each other.
1 Like