The Gurkhas are Nepalese soldiers who, during British colonization, became known for their kukri sidearms and fearless tenacity in combat. Which more than made up for their typically shorter stature.
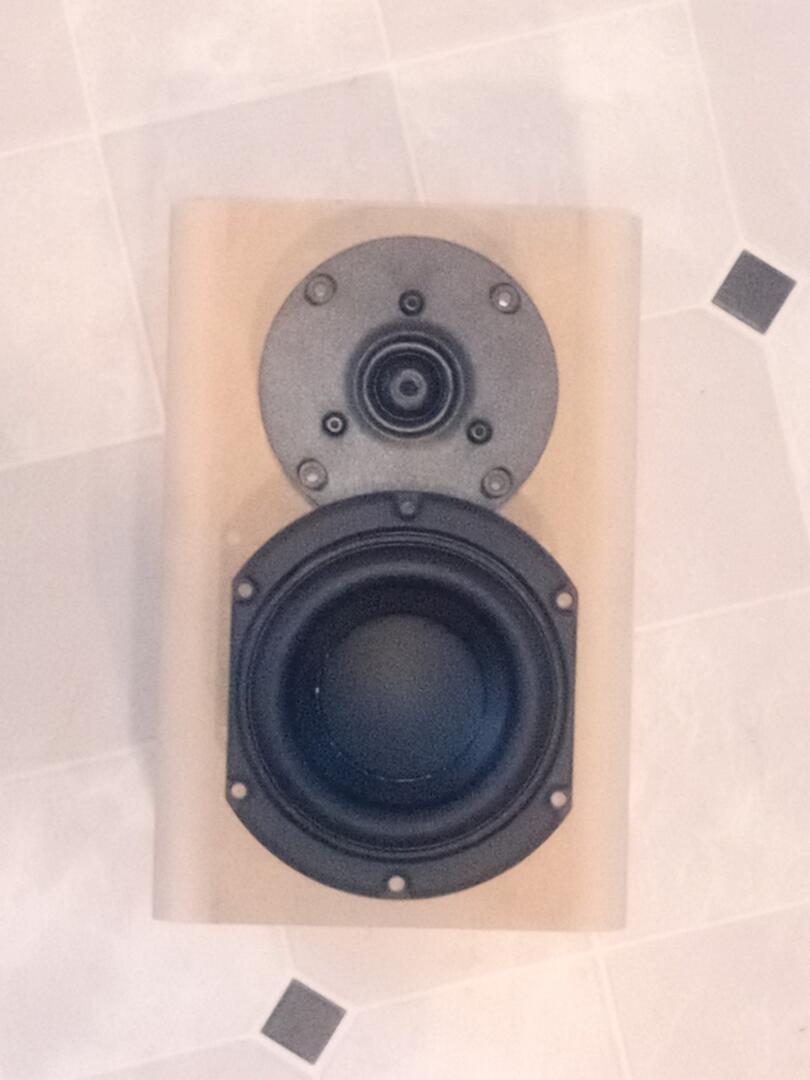
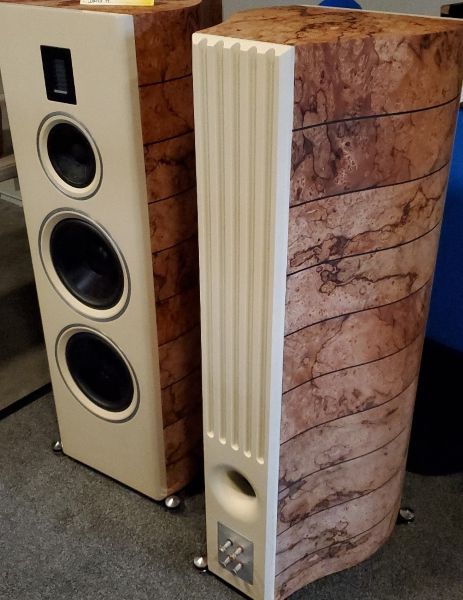
The speaker: A 2way, 5liter bookshelf using SB21RDC and Peerless 830855.
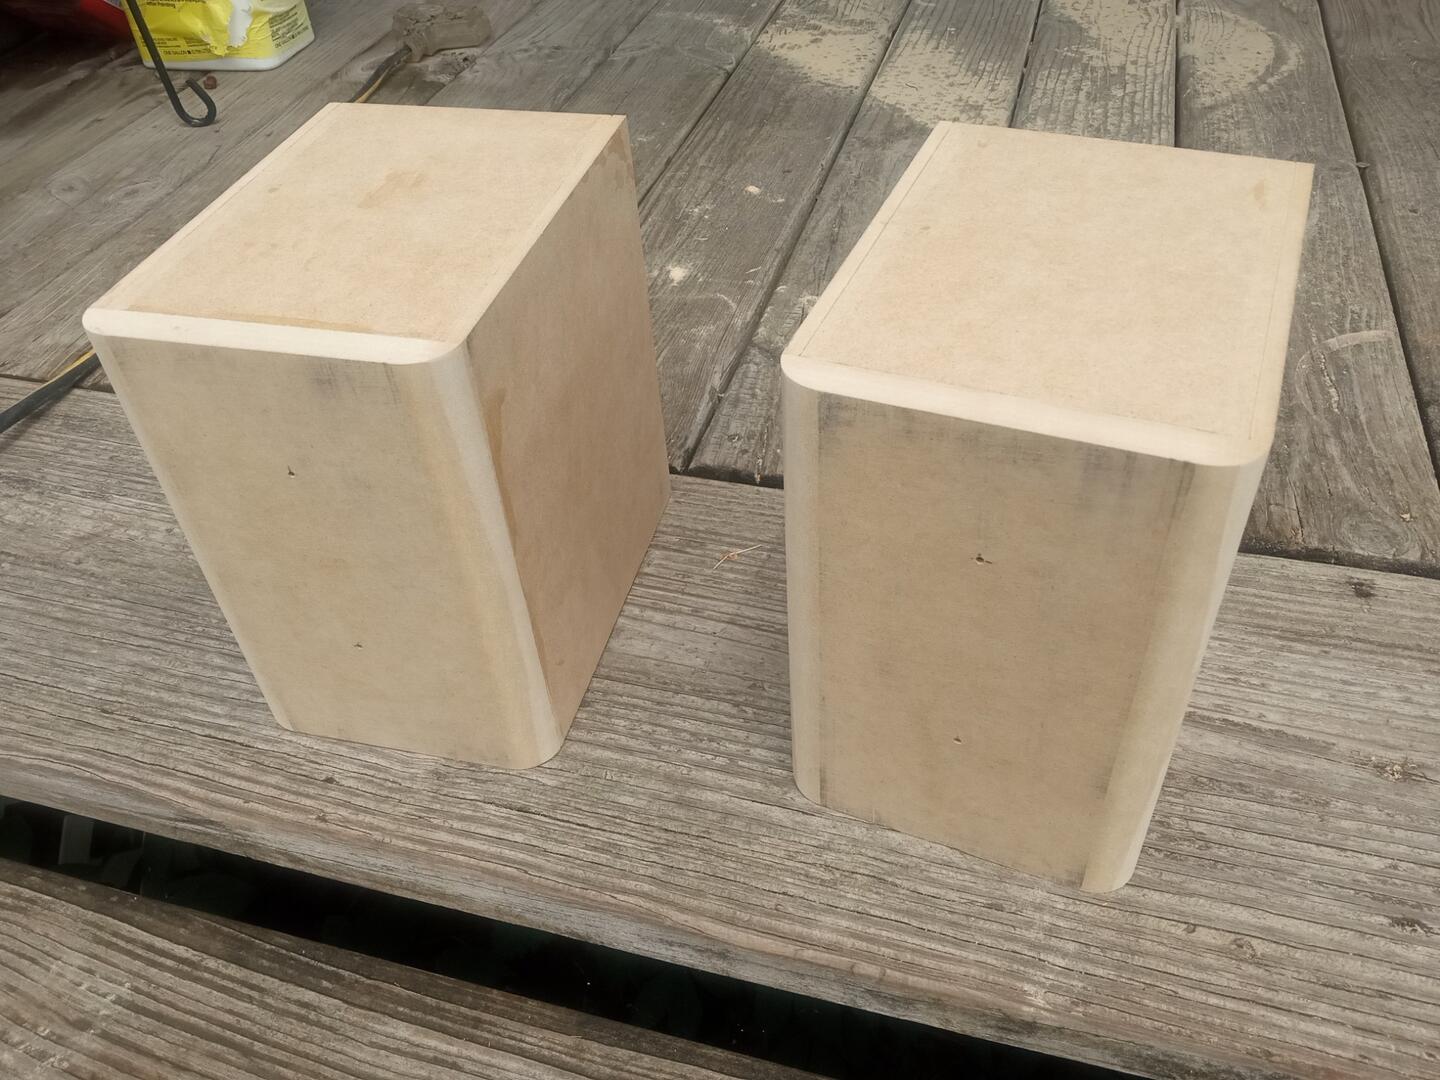
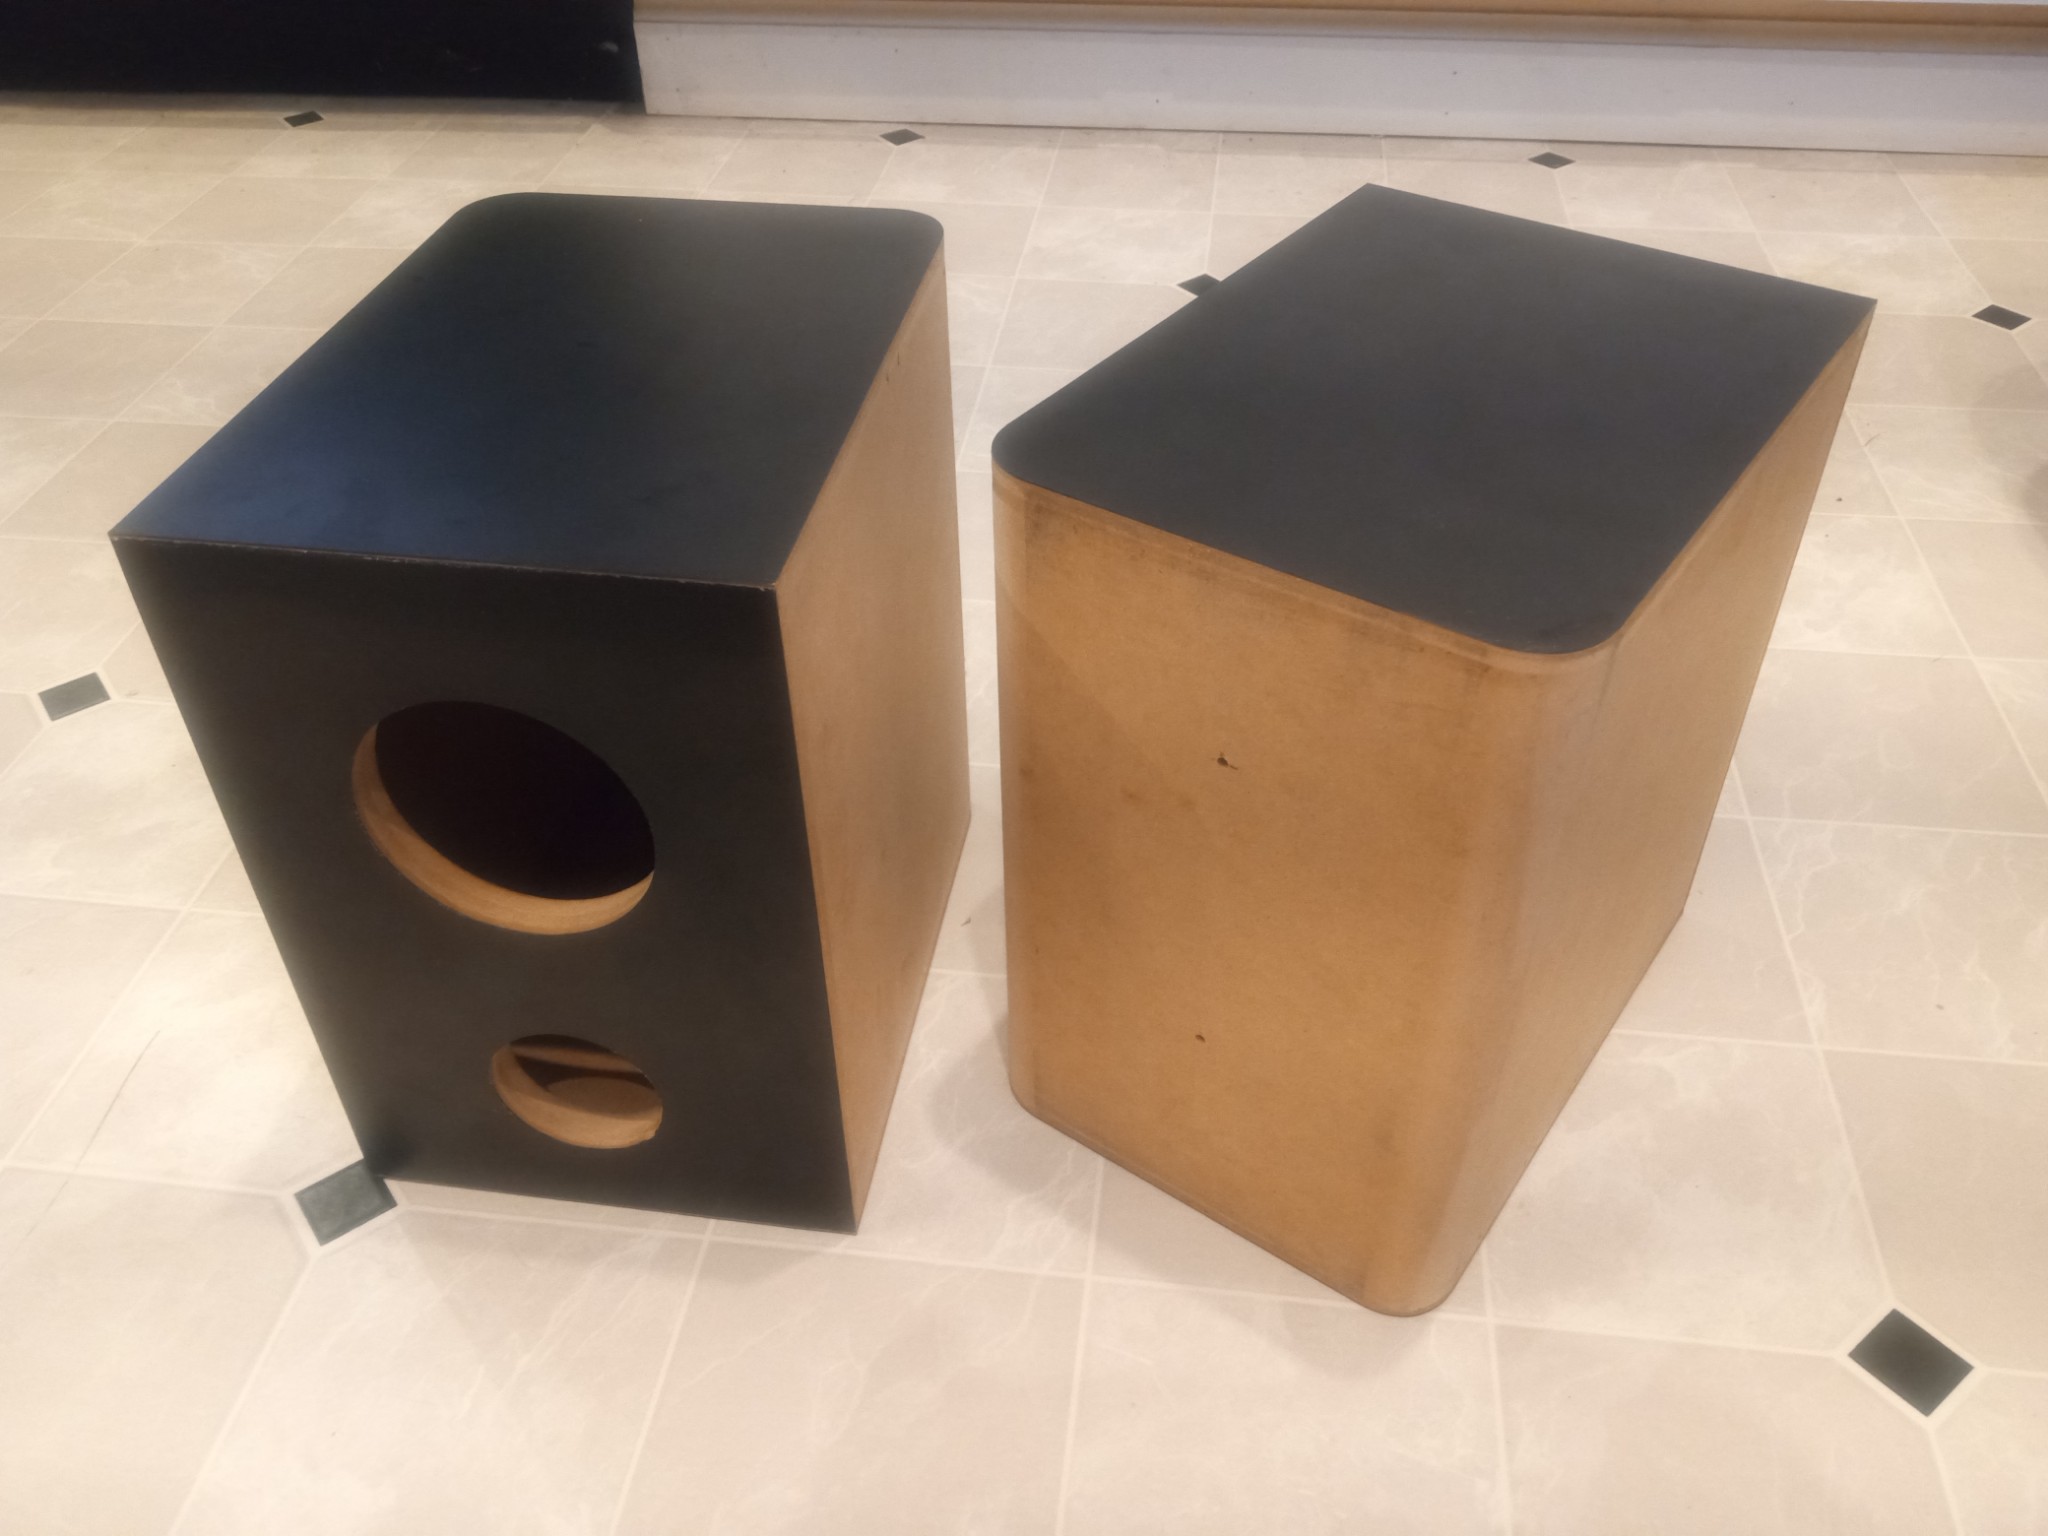
The enclosure is some 5liter/.18cf knockdown cabinets I got at one of the gatherings. I hit the sides with .75" roundovers.
I was thinking of going with ND140 PRs, but would require two and they would only fit on the sides. To hide the stamped pincushion frame I’d rear mount them… Which would require doing a removable rear panel to install them. It quickly became a slippery slope.
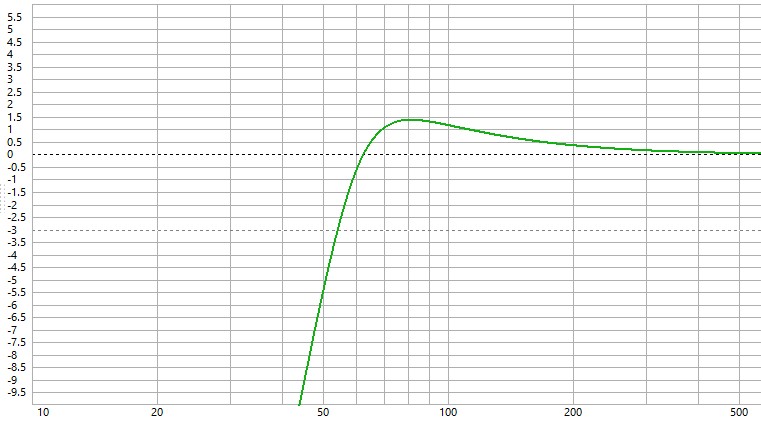
Instead I’m going to try the PE 1.4" (1, 13/32") curved+flared press in ports. F3 estimated around 54hz and a ~1.5db peaking around 80hz (some series coil DCR was added). 10Watts puts the initial excursion hump right around the “rated” 3mm xmax and unloads right around the F3 point. This puts it at ~94db/1m output before baffle step losses. Port air speed stays under 20m/s. Should be alright for a double flared port.
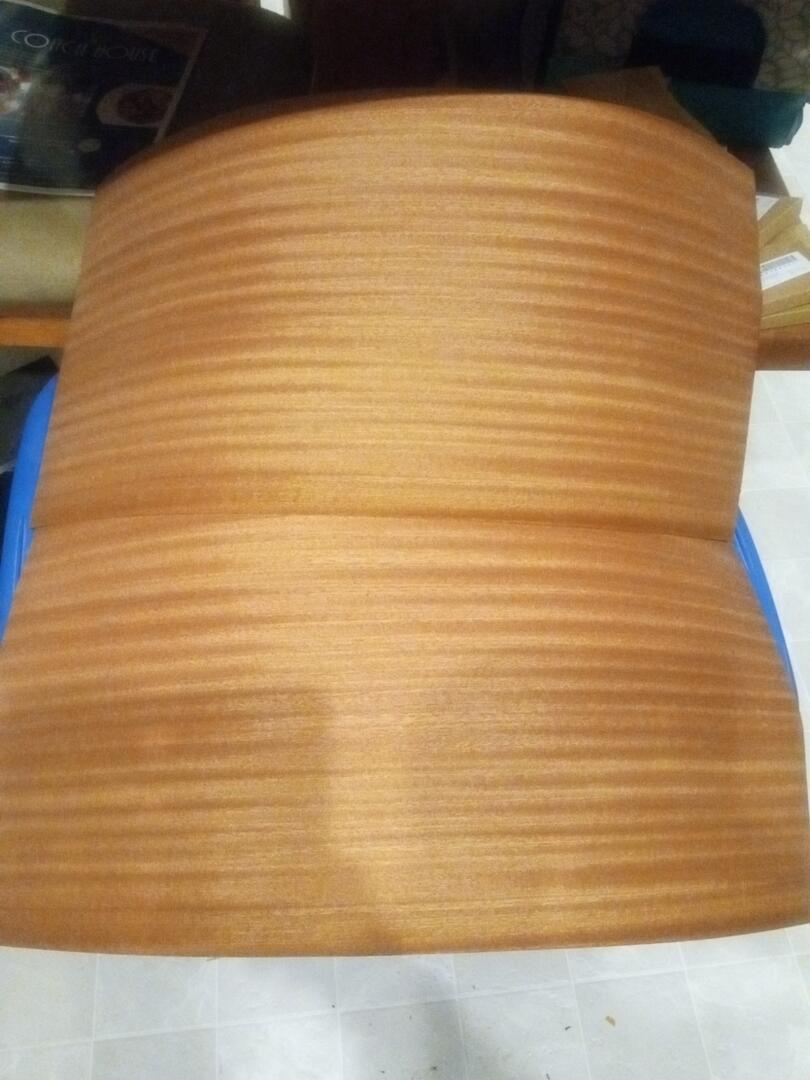
I got some 1/43" (.6mm) bare/unbacked stripe-figured Sapele veneer to wrap around sides and front (against the grain). Planning for TB2+iron method for the veneer, but still worried about splitting around that radius. Weighing options if there is something that can help the bending. I’ve not worked with unbacked veneer before, and this stuff is close to the thickness of paper backed stuff. For some reason I like playing with the boundaries of what is possible. Eventually it is going to bite me.
They do make veneer softener to make it bend, but my experience with it…..it became veneer wrinkler. It’s good that its thicker because sometimes the adhesive can come through the raw veneer and get on your roller/scraper then mess up the finish side of it. Do you have a large roundover bit? I tried a 3/4 roundover to make 2 bends on the finalist I build with paperbacked and it was a tough job to make the bend. I’ve had them a really long time and the veneer is starting to peel up a bit. That was the only veneer job I had peel up on me though.
I do have larger roundover bits. Problem is those would encroach on the woofer too much. So .75" is about the max I can do on these small enclosures.
I have some glycerin that I used to make my own softener (glycerin, isopropyl, water). I used it on a 1/2" radius I did with paper backed walnut against the grain. I think that was even peel and stick stuff. Sofar it has held up for 2+years.
I just wasn’t sure if that softener would affect the adhesion of the tb2. My current idea is maybe just spritz on some water so the iron heat will effectively steam bend it as I go? Possibly the heat dries it out enough to not dilute the tb2 too much. Just a running theory.
The pieces are large enough I can trim some. I might use the trimmings to do some tests.
I’ve used that Peerless woofer and really like it. They are sitting on a shelf right over my workbench in the basement and I listen to them a lot power by an 8 wpc tube amp. IIRC mine are about 5 liters too.
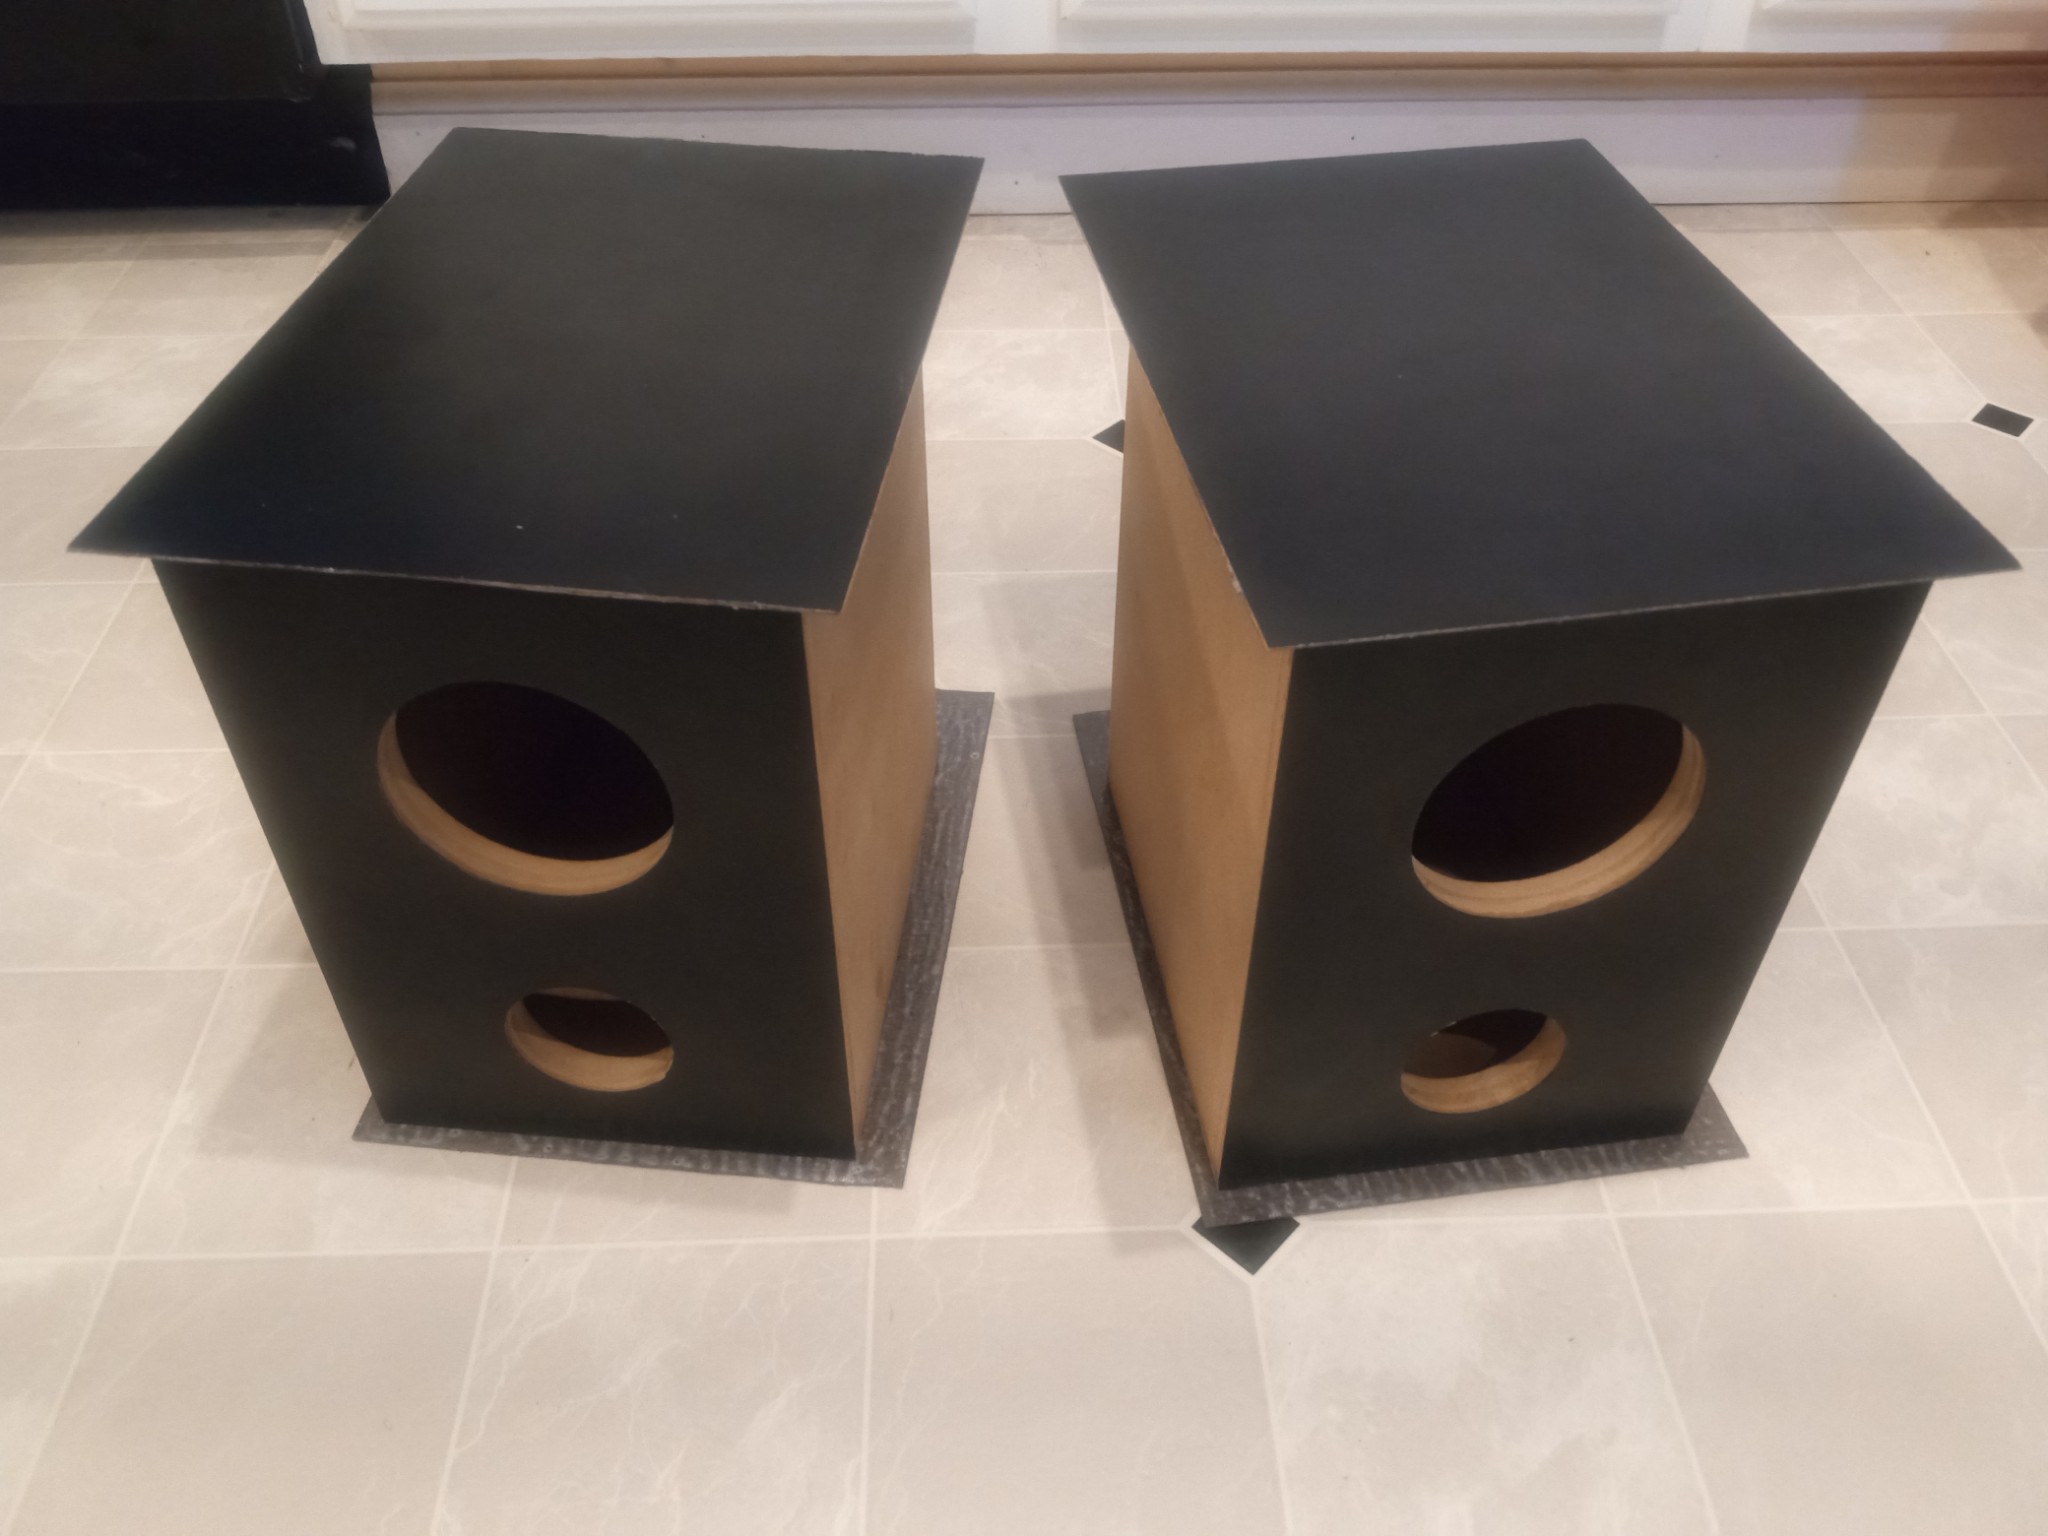
So much easier and quicker to work with than trying to get a nice paint finish. At least for non curved surfaces. Super durable too. The edges get a very sharp burr from the router bit. I’ll knock it down with a jewelers file, then run a sharpie down the edges where the pieces meet to hide it a bit.
Those look great Drew! How hard was it to get the veneer to bend around the roundovers? I agree with the finishing. Veneer ends up being way less work and stress than paint. And 90% of the time ends up looking way better than rattle can orange peel. The veneer route might cost a bit more… not positive about that as I’ve never really added up all the material costs for each method. Might be a wash.
Just the laminate sofar. Veneer is next. Thinking I might spritz with water on the front of the veneer then lay the Titebond II on the back (and on the MDF). Spritz the veneer with water again just before application and let the iron steam it into submitting to the final shape.
After recieving the veneer and having it sit, it has started to wrinkle slightly along the stripe lines. Hopefully water and heat flattens it back out while the glue locks it in place. The veneer should be thick enough that I can sand minor fluctuations back flat.
5 liters would need 2x of those and ~5-8g added ea for my taste. A single PR would tune too low.
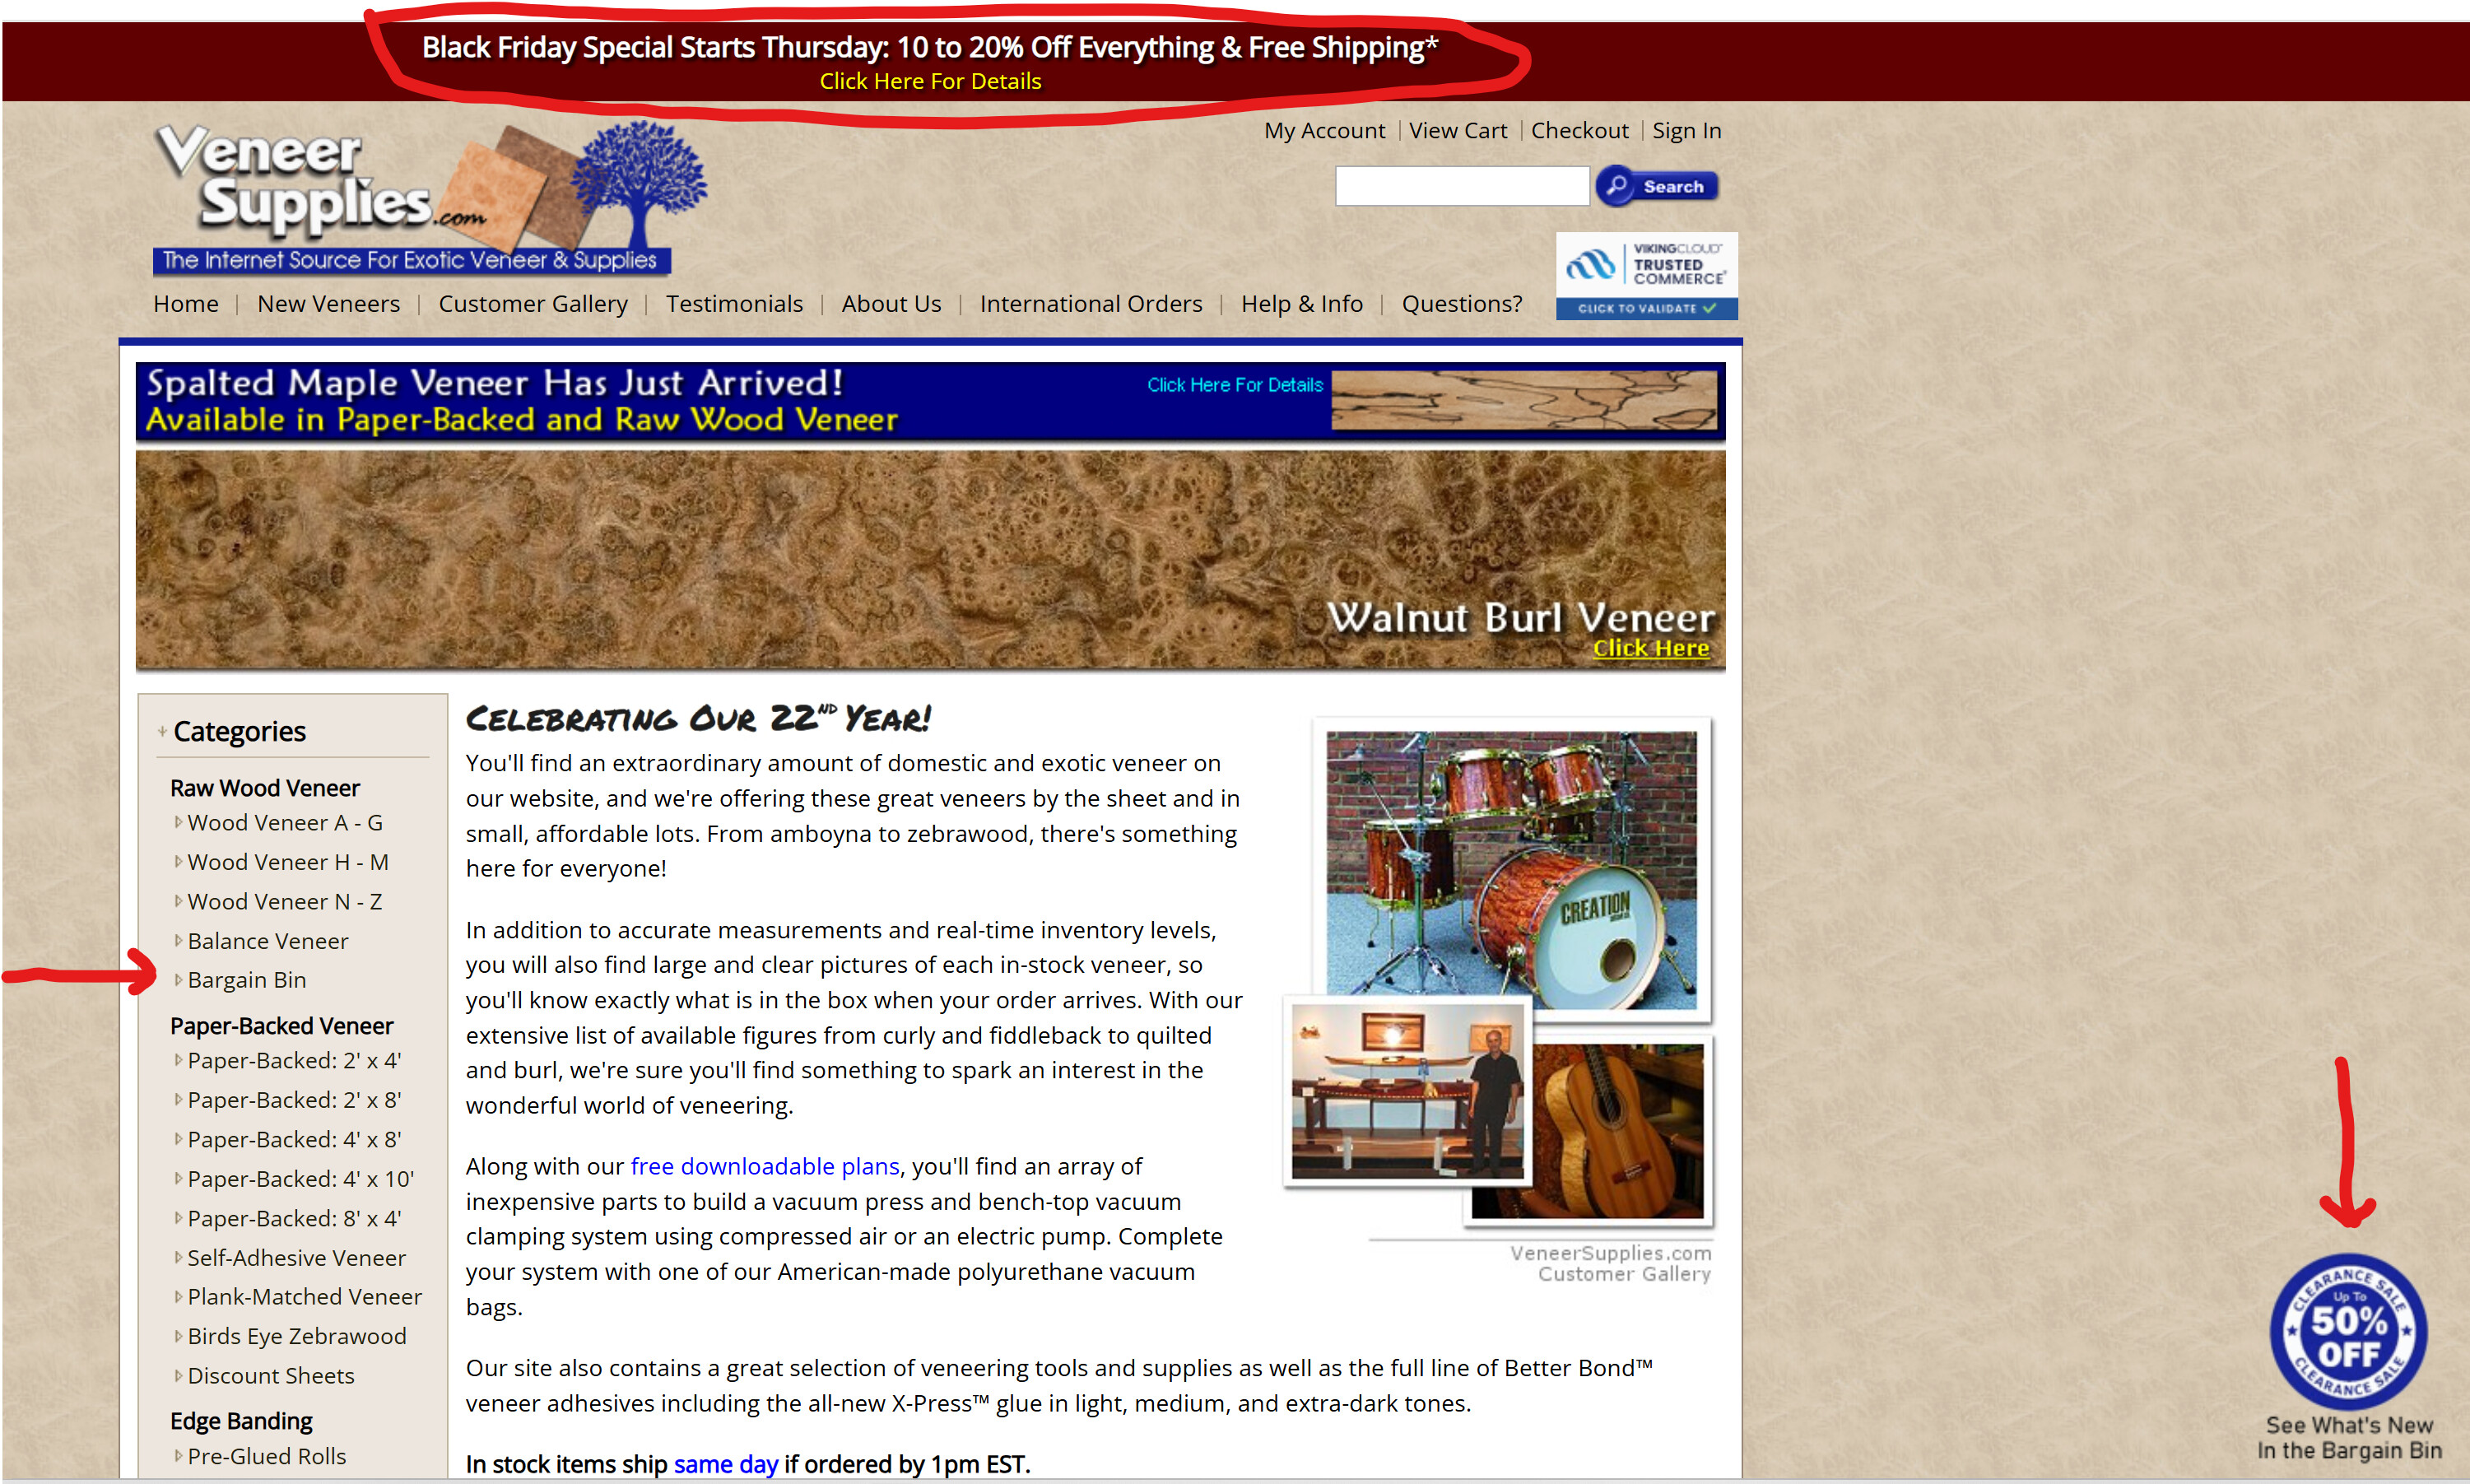
I’ve done 3 or 4 speakers using veneer from the Bargain Bin at Veneersupplies.com. It was cheaper than rattle can. I am always amazed at how much I have spent painting a speaker…it starts out fine…but then I need just another can or two of primer, and/or paint, and/or clear coat. I have also bought 2 premium veneers and that was a lot more than paint.
@PWRRYD - Most of the Bargain Bin stuff is raw veneer lots. I usually have a specific build in mind, so I figure out the dimensions I need and look for lots that have sheets that size. Sometimes I’ll skip the bottom or back and paint it black if the Lot that I am looking at isn’t quite enough. Sometimes I’ll mix veneer and painting if I couldn’t get the size needed. Sometimes I use smaller strips and create an intentional black line. (I feel I have mastered the art of being cheap.)
Sorry, Drew, not trying to hijiack. But I know you use veneers too, so I figured the bargain bin might be useful to you too if you didn’t know it was there.
I started applying Titebond on the veneer and worried I’ve messed up already. It is indeed soaking through in some areas. Probably need to stick with weldwood (red) for unbacked veneer. Oah well. All I can do is continue and see what happens.
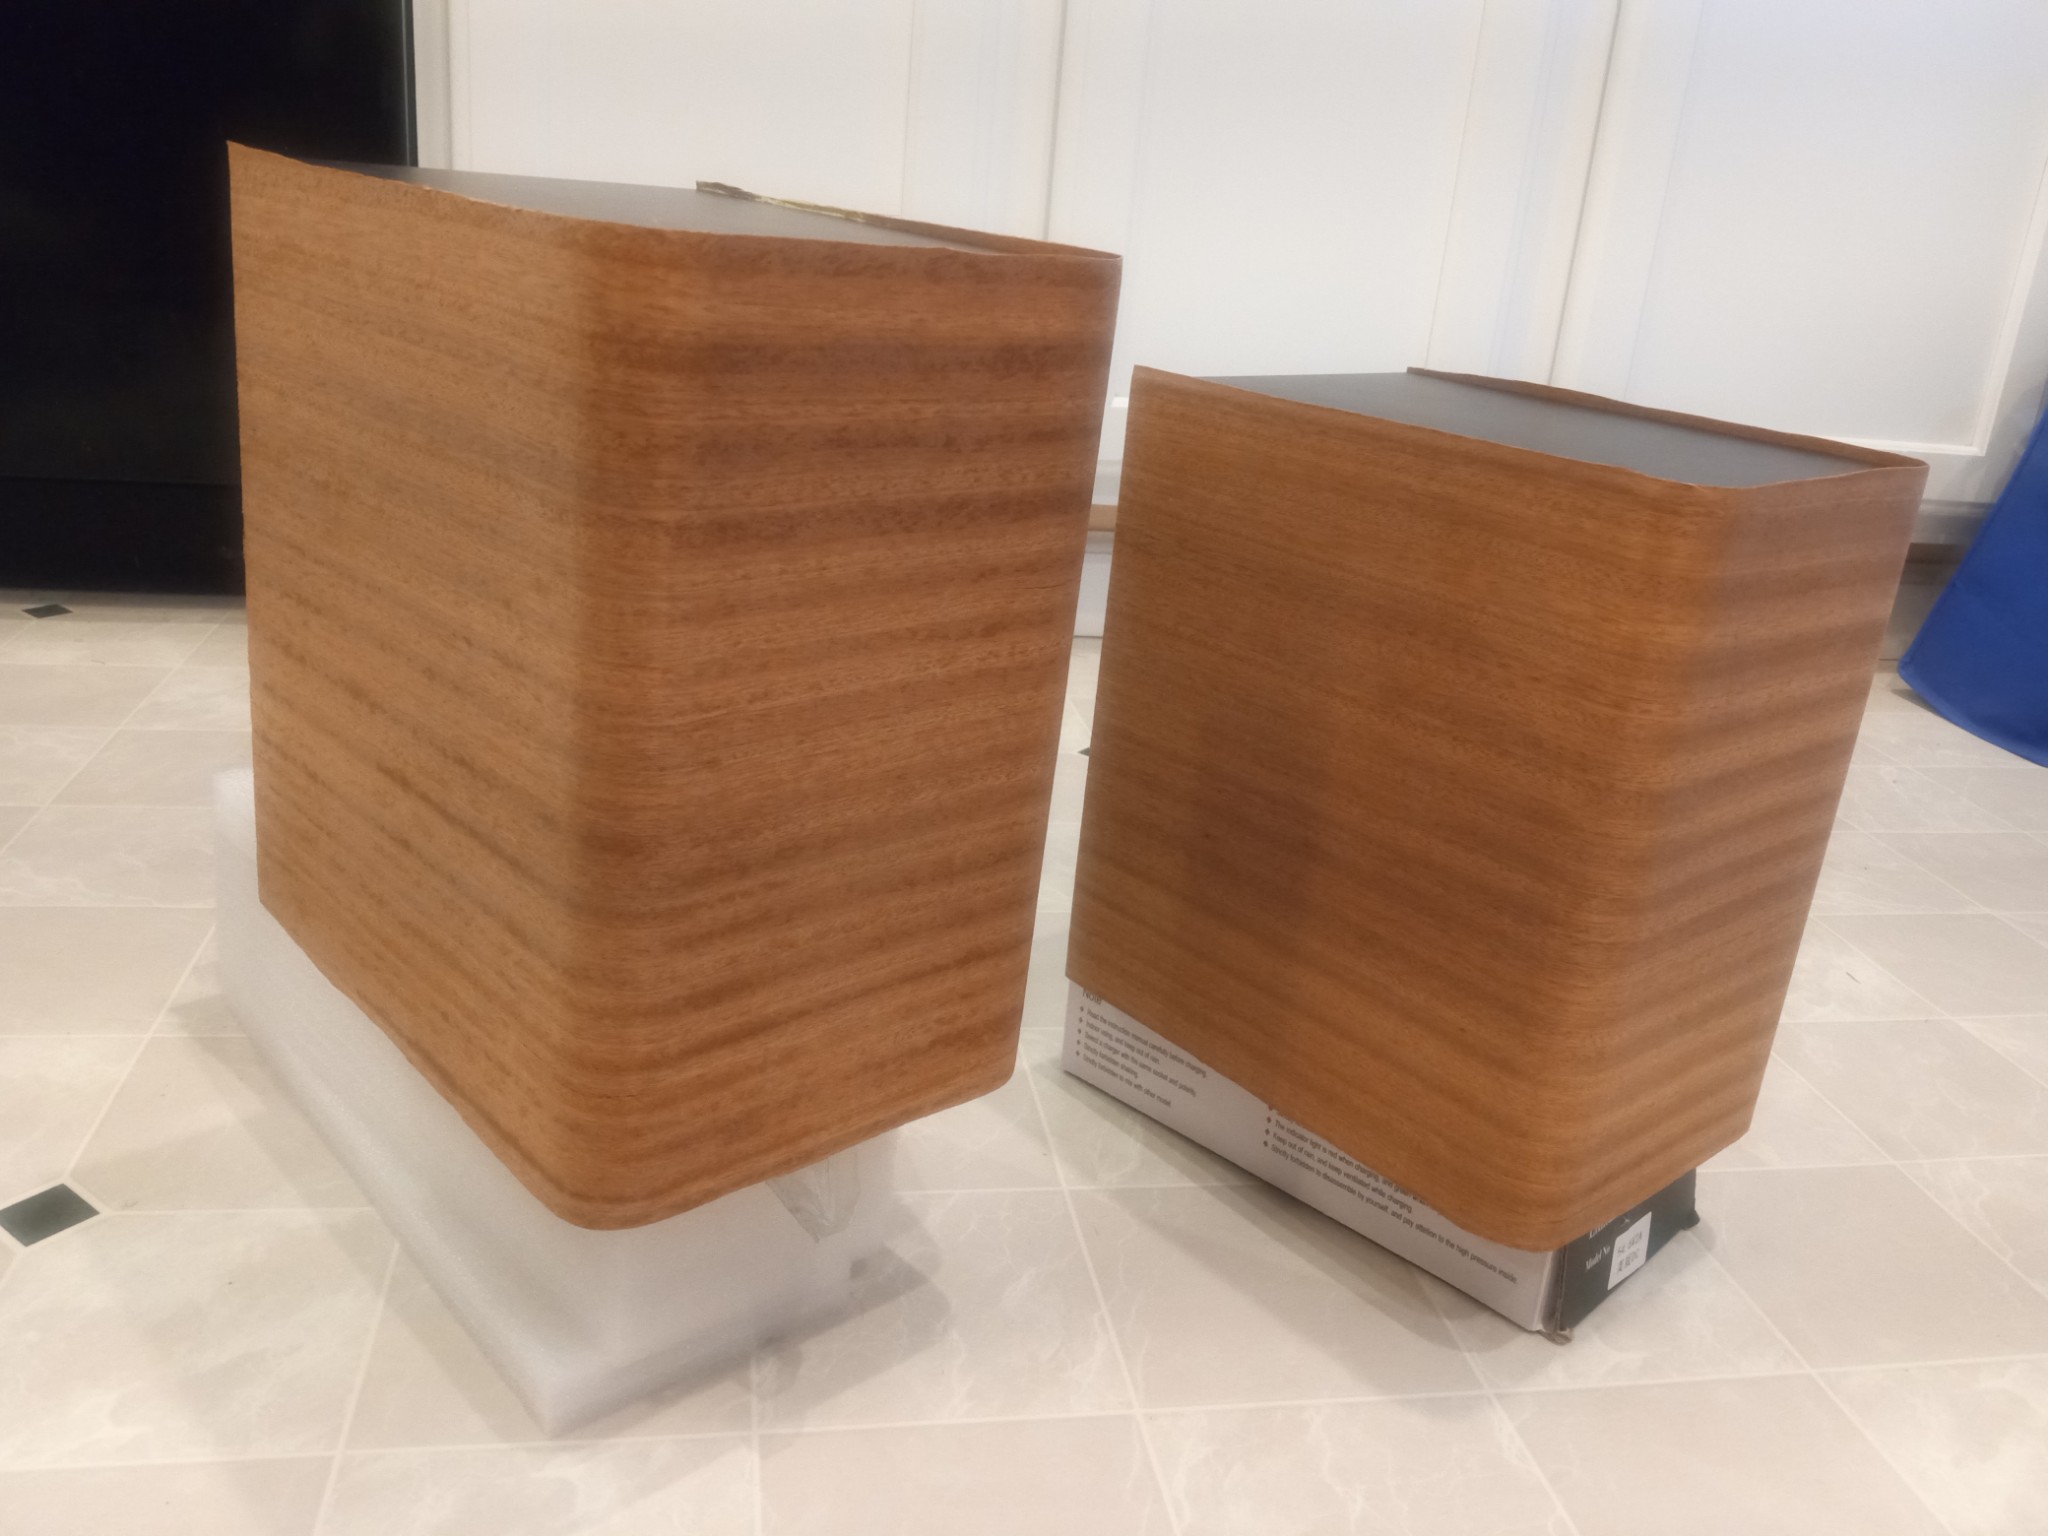
Application went alright. I trimmed off the majority of the excess. I’ll let it sit until probably Friday to let everything settle in before final trim.
In the photo, the left one about half way down the side.. There are some darker lines. You can only see it in certain light angles, but I think that is an example of where the glue seeped through. I saved some of the trimmings to test finishes. I was planning on using this smaller project to try out the grain filling french polish technique. If the glue shows through, then that may not be in the cards.