Thanks much Bill. I will say I think the above 10k dropoff maybe looks a little worse on the first graph since it goes to 40k and the second graph only to 20k.
Good info on the off axis measurements. I haven’t assembled the test crossover yet, hope to this weekend. I will definitely measure off axis and wouldn’t have if you didn’t say anything.
based on off axis sims the outside vs inside off axis will be different, I assume due to the offset mid. It looks better panning right than left, which I guess makes sense as the coils are better aligned that way.
I’m going to keep tweaking on the computer tonight yet.
If I do measure and get bunching, what usually is the fix for that?
On the speakers that I have designed thus far, the bunching tends to be “baked in,” so to speak, for the most part. I say “baked-in” because the problem seems to be mainly determined by individual driver directivity characteristics. The best fix is to change to different drivers that have a better directivity match throughout the crossover regions. The shape of the baffle and roundovers, and individual driver placement decisions can also affect the bunching, but not as much. You can also modify the bunching somewhat by moving the crossovers higher or lower or by changing the crossover slopes, or by using asymmetric slopes. But, based on my limited experience, it is mainly determined by driver selection.
The bunching area is a concentration of acoustical energy that produces a bulge in the power response over a narrow band of frequencies. So one workaround would be to create a slight depression in the on-axis response over that same band of frequencies.
The net result should be a more even tonal balance at the listening position.
I’ve been working on this non-stop. Lots of changes since November. Ran into some things that really threw me off. Those included measuring on the tweeter axis when listening axis ended up being pretty much perfectly centered on the midbass, as well as a somehow mis-calculated and/or mis-measured acoustic offsets, which I was able to correct based on overlaying the actual measurement over the sim.
Also, there were some problematic issues present when measured at the listening position, like a 5k bump that gave listening fatigue in short order.
Ended up putting a noticeable “BBC dip”, which really worked out well. Also, the midbass/midrange crossover point was dropped significantly. Part of me thought this made this remove the point of the four-way, but covering the small window of 100-250hz with the 8” really transfers a fair amount of excursion off of the 6” mid. It also is nice being able to dial that area in with simply a level change on the l-pad.
Here is where I landed. I am still doing some very fine tuning on the l-pads, but the crossover is done. I’ll post some squiggly lines and final pics later when I am done tweaking levels.
The tweeter (or should I say diffraction) did some interesting things, requiring some specific places to be pulled down, hence the notches. Same with the mid.
Frankly though, I am very happy with the result, to my ears at least. Even at very low levels it is enjoyable to me. The drivers really did come through to bring through low-level details. Perhaps others would say meh, but it makes me very happy lol..
I do wonder though, what would the difference in sound be with similar but less expensive drivers, such as a silkie, alpha 6a, and beta 8a. Might be an interesting swap some day. I am fortunate to have gotten these drivers for a good price - free tweeters, great deal on the AEs used (thanks again Charlie!), and the Dayton drivers were from before driver prices went crazy, with the woofers being repurposed from a previous project.
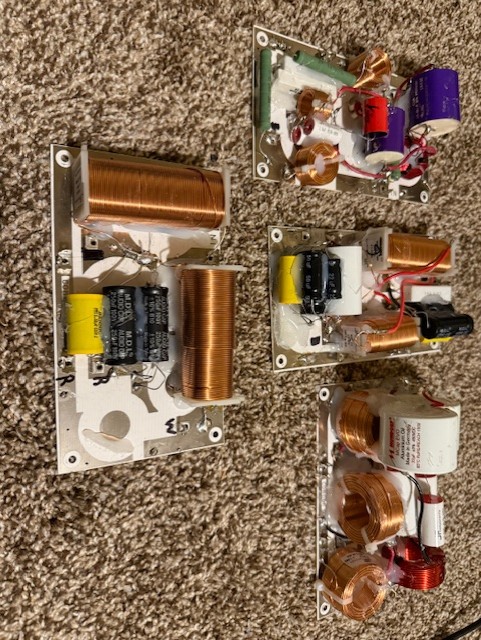
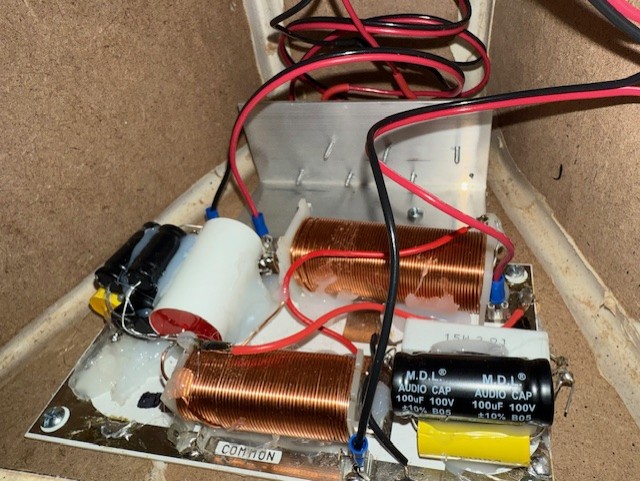
The crossovers are obviously parts-heavy, but I got a ton of parts from Brad at Jule Fidelity. The prices on his parts are incredible, and the parts were all of good quality. Any measurements I did of parts were at or very close to spec, well within the specified tolerances. He also offers parts that are more size-friendly which is nice.
I did use up some used fancier caps I had laying around in critical points since I had them in the parts bin, being the project is higher-end. I didn’t get to try any A/B listening of the JF caps compared to others in regards to subjective sound, and these crossovers are stuffed tight enough and hard to get at that I will save that experiment for another time and project.
If it looks like the crossovers have had parts glued on and removed ten times over, you are right. I had so many variations of these crossovers that I thought were the final version only to be changed, sometimes significantly.
I had some zisters laying around and this was a perfect place to use them. The resistor in the woofer circuit dumps a ton of power, and the resistors on the front end of the mids work a little hard too. When beating on them in the proto phase, a 20w on the woofer would get hot, and the mids plenty warm. Granted this was with Tool-Pneuma (very long and energy-heavy track) on the Adcom 5800 to the point of just blipping the clip indicators..
With the zisters on the heat sink (Menards 2” aluminum angle - worked great!) the aluminum gets just slightly warm on the woofer and unnoticeable on the mids. Conveniently Best Buy stocks heat sink grease in the computer department. Cheapest stuff worked fine for this.