Titebond II rolled on to both surfaces and left a few hours to dry. Then used a clothes iron to reactivate the glue. I like that method because that glue is pretty cheap, clean up with water, and there is no smell.
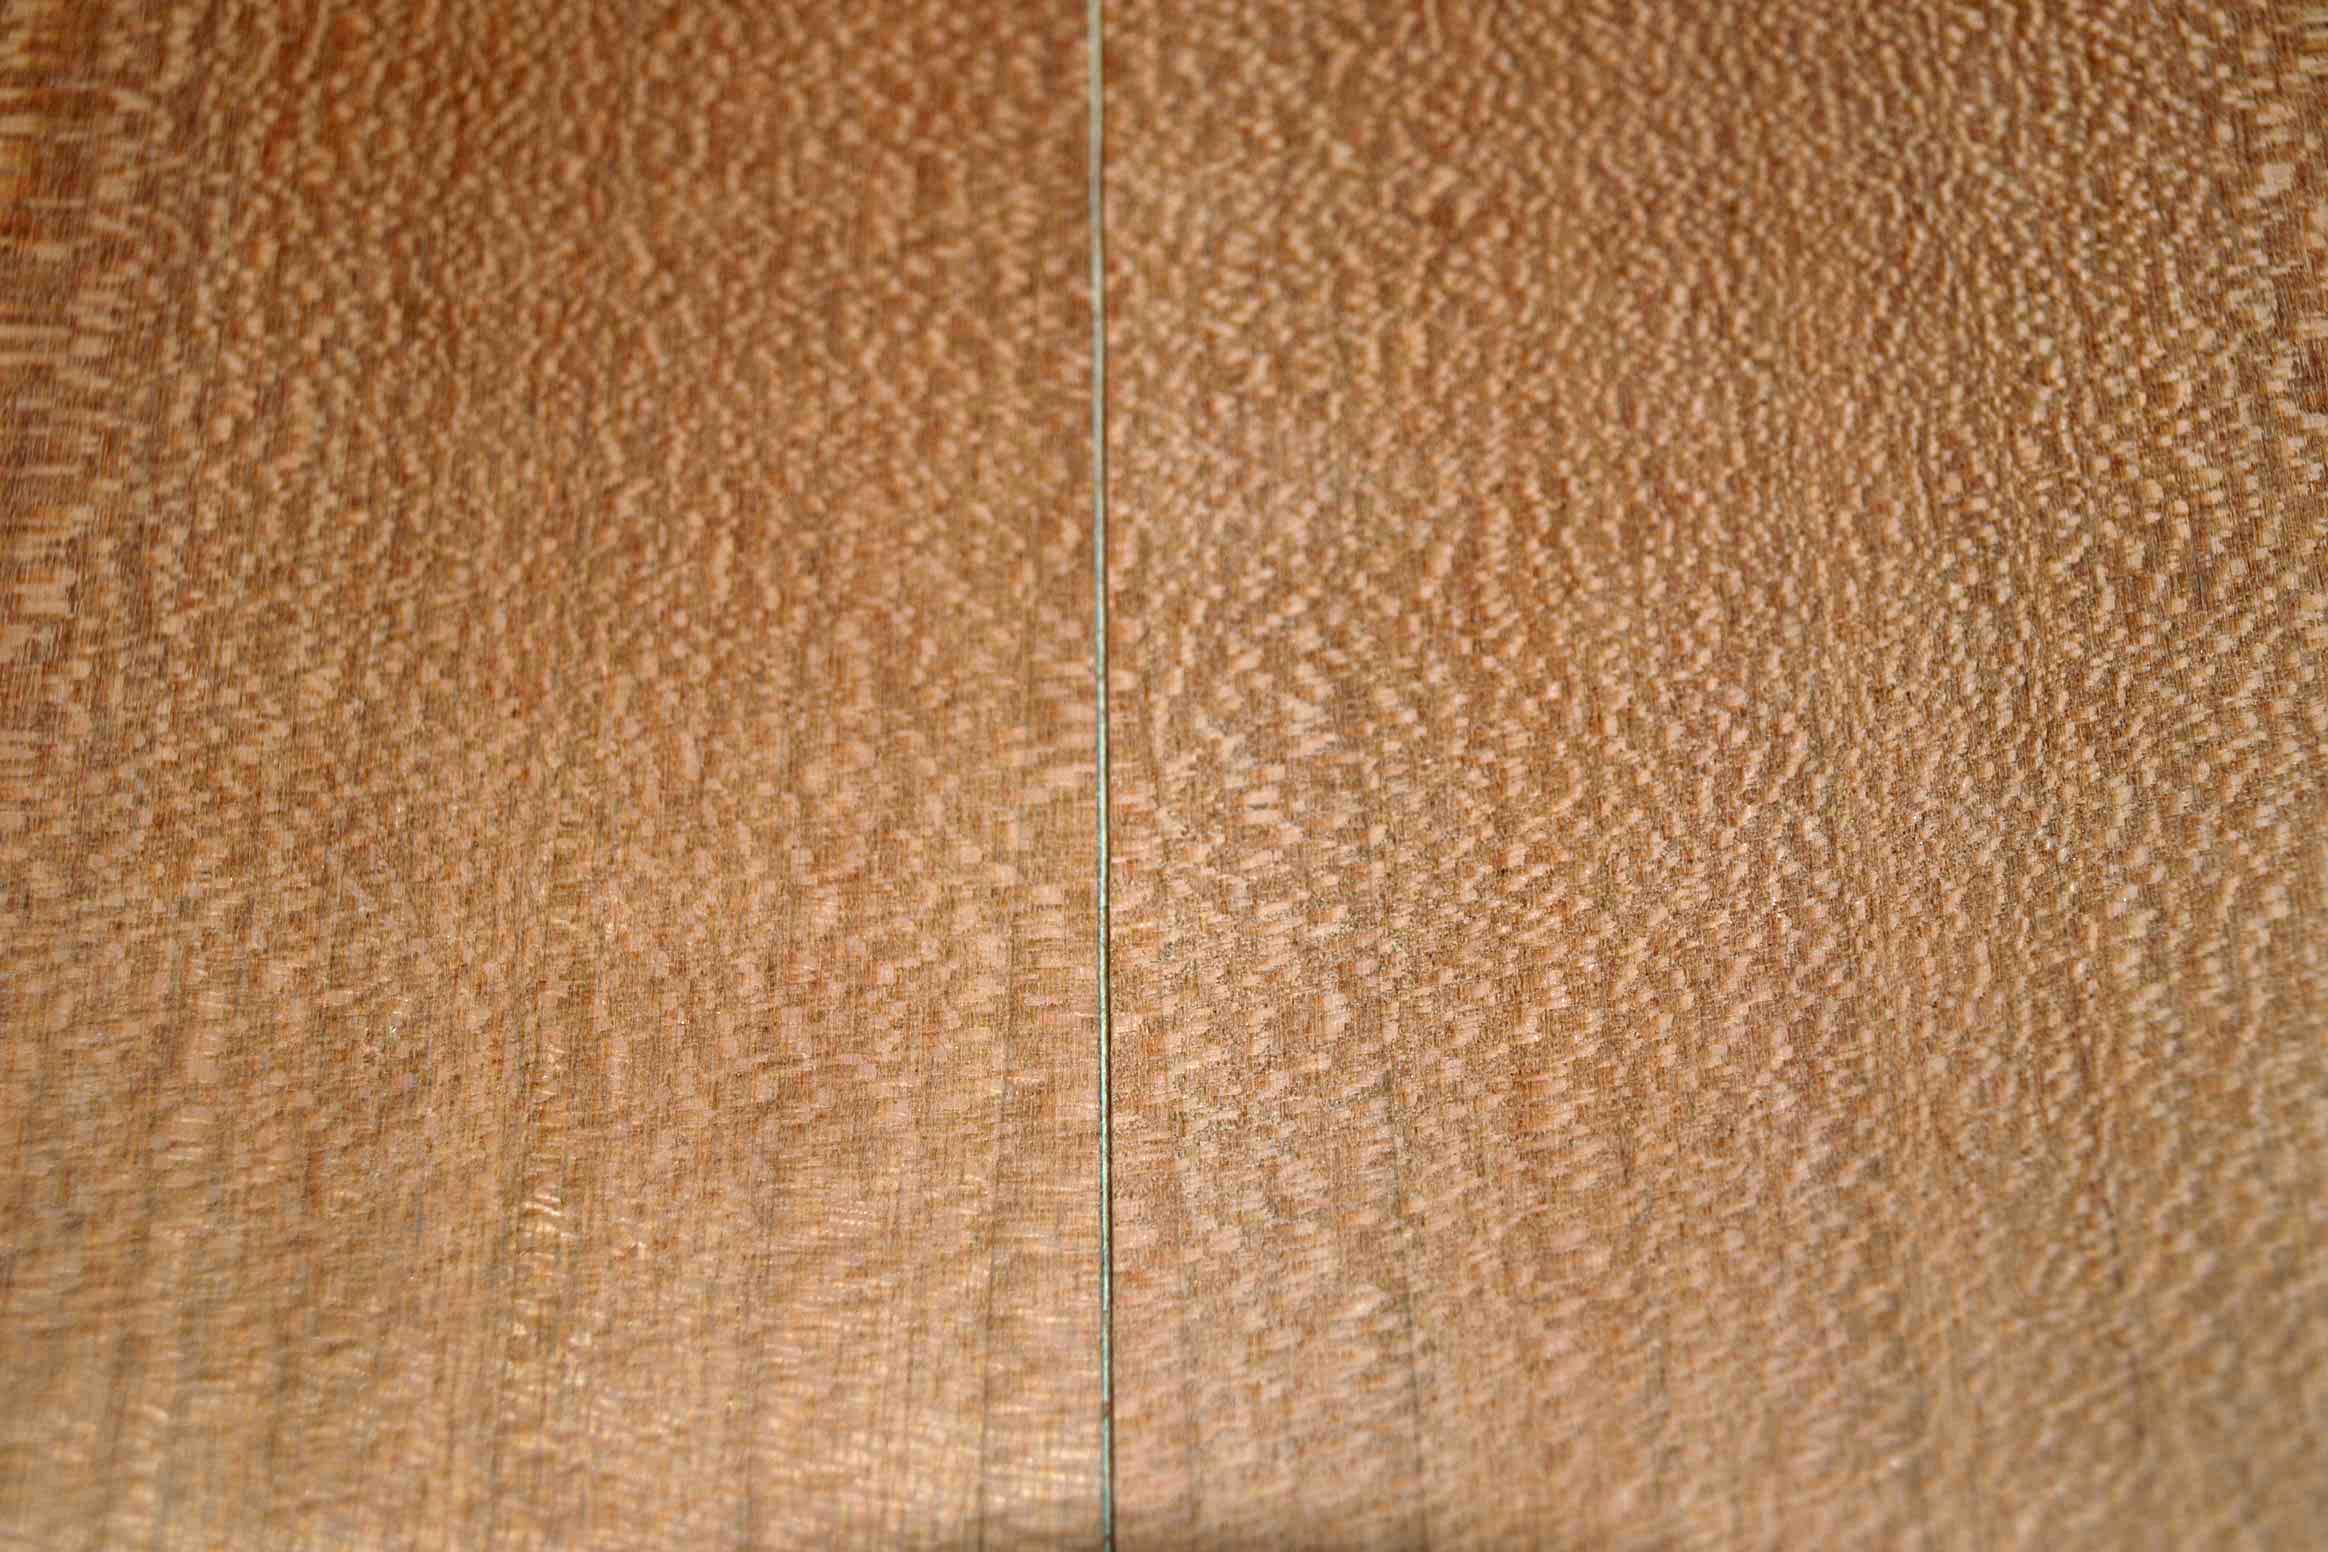
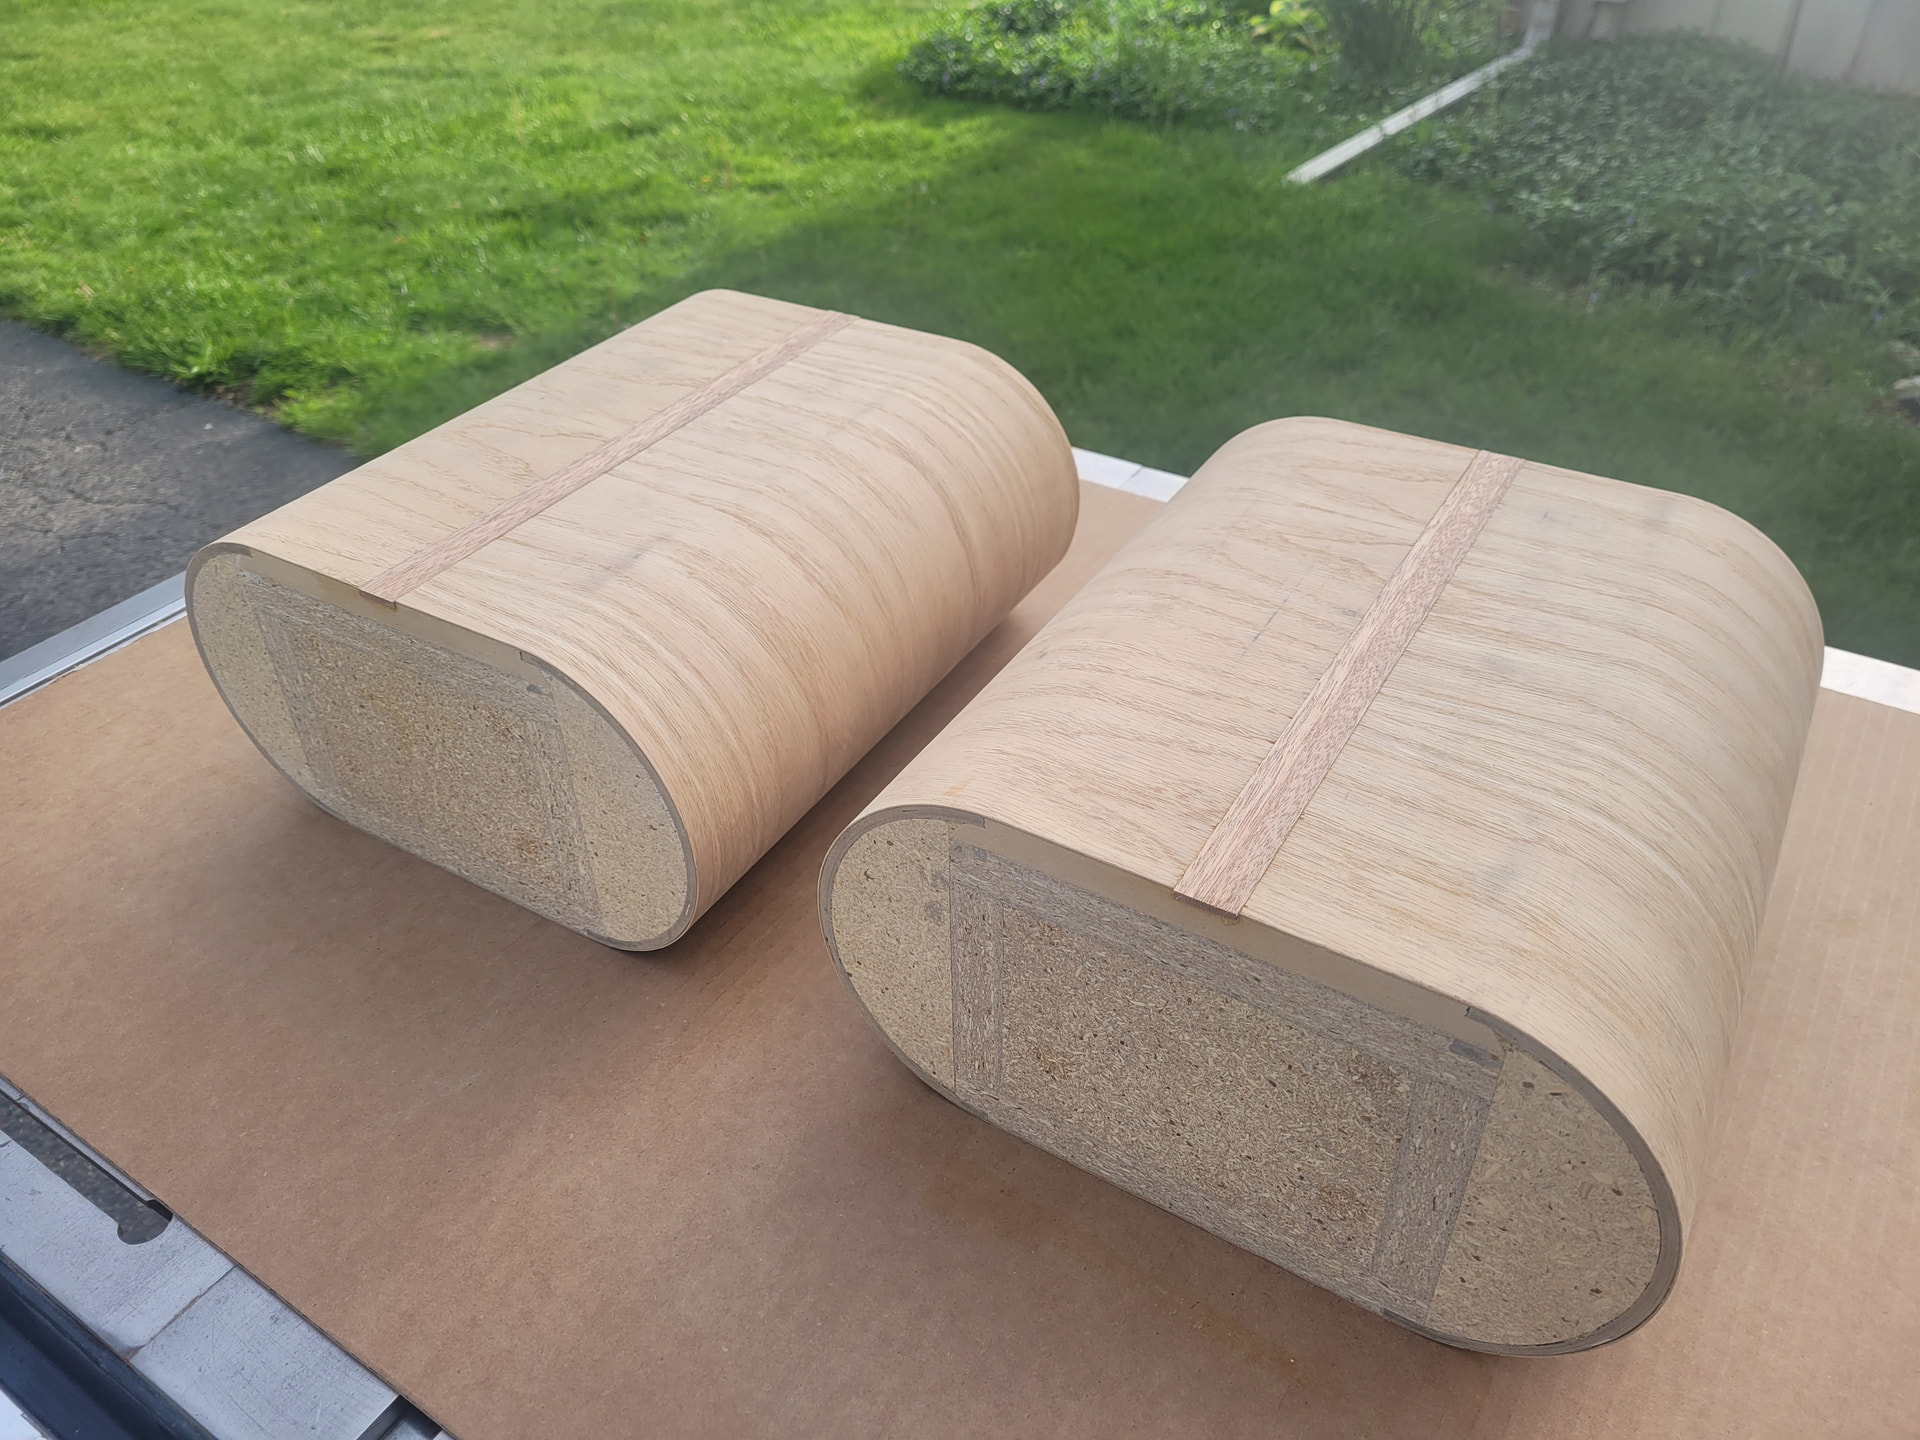
The seam didn’t turn out good enough to leave it as is. So I will dado a slot to receive a piece of mahogany inlay.
I took these outside and flush trimmed the over hanging veneer on the tops and bottoms. I noticed when moving them around I could hear that the kitty litter had settled a bit So now they are down on my work bench with a couple of old buyout Peerless of India 5.25" drivers tacked to their tops and humming along nicely at 60 Hz via my variac and step down transformer “driver break in rig”. That should aid in the settling. I’m going to add as much pool filter sand as necessary to completely pack them solid.
When I make seams using the glue and iron method I end up with a gap when I just over lap the veneer and cut it with a strait edge and utility knife. It’s fine until you iron it down. I think the heat of the iron shrinks things. I leave the ends loose enough that I can put 2 or 3 bamboo skewers or something equivalent under one side before I cut the seam. That gives the veneer a little extra length for when you iron the veneer down. I’d make a practice seam before working on the finished cabinet.
I just read a post on another forum recently where the person pre-irons the veneer before actually adhering it to the speaker, to pre-shrink it. He puts a sheet of wax paper over it to protect it. I’m going to try this the next time I veneer.
Yes, he just laid it out flat and ironed it with no glue to pre-shrink it. However, his main concern was cracking of raw veneer rather than shrinking creating the seam. Since Craig is using paper backed veneer, it may not be relevant to this build, but I use a little of raw veneer that cracks with the iron method.
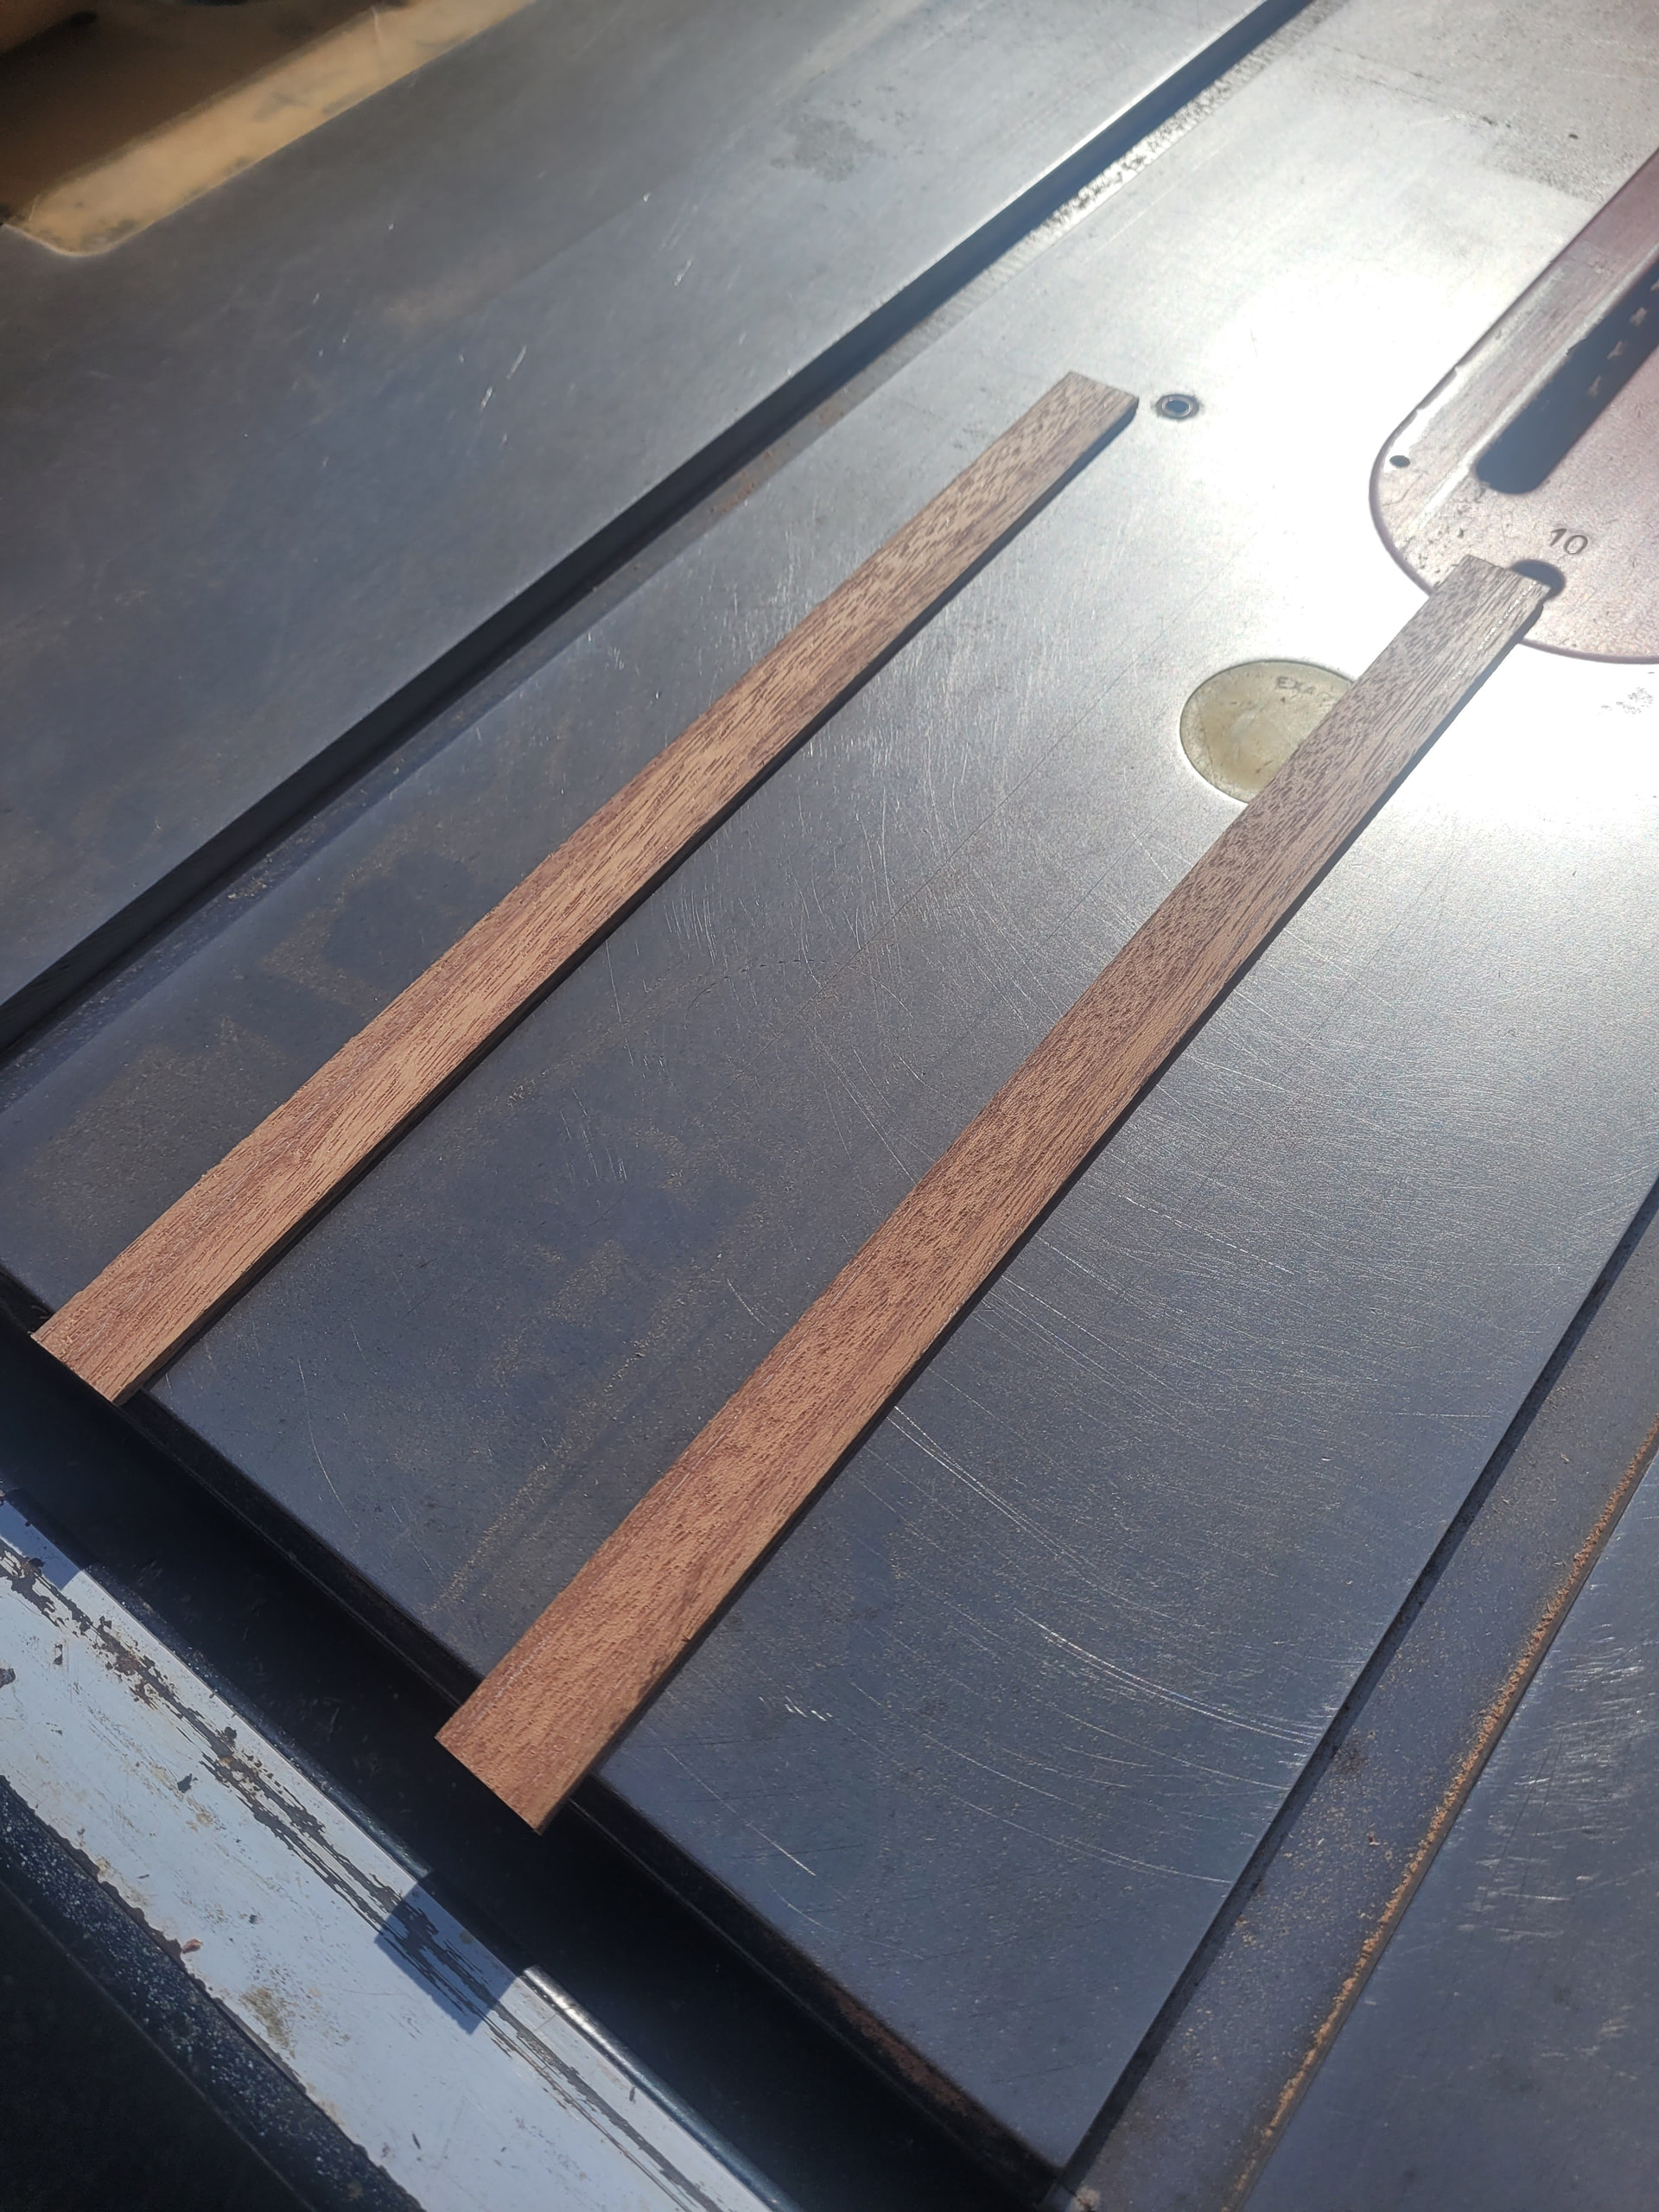
Then I set up my tablesaw blade height to that exact depth minus 0.010". Cutting the two slots on the back sides was pretty straight forward.
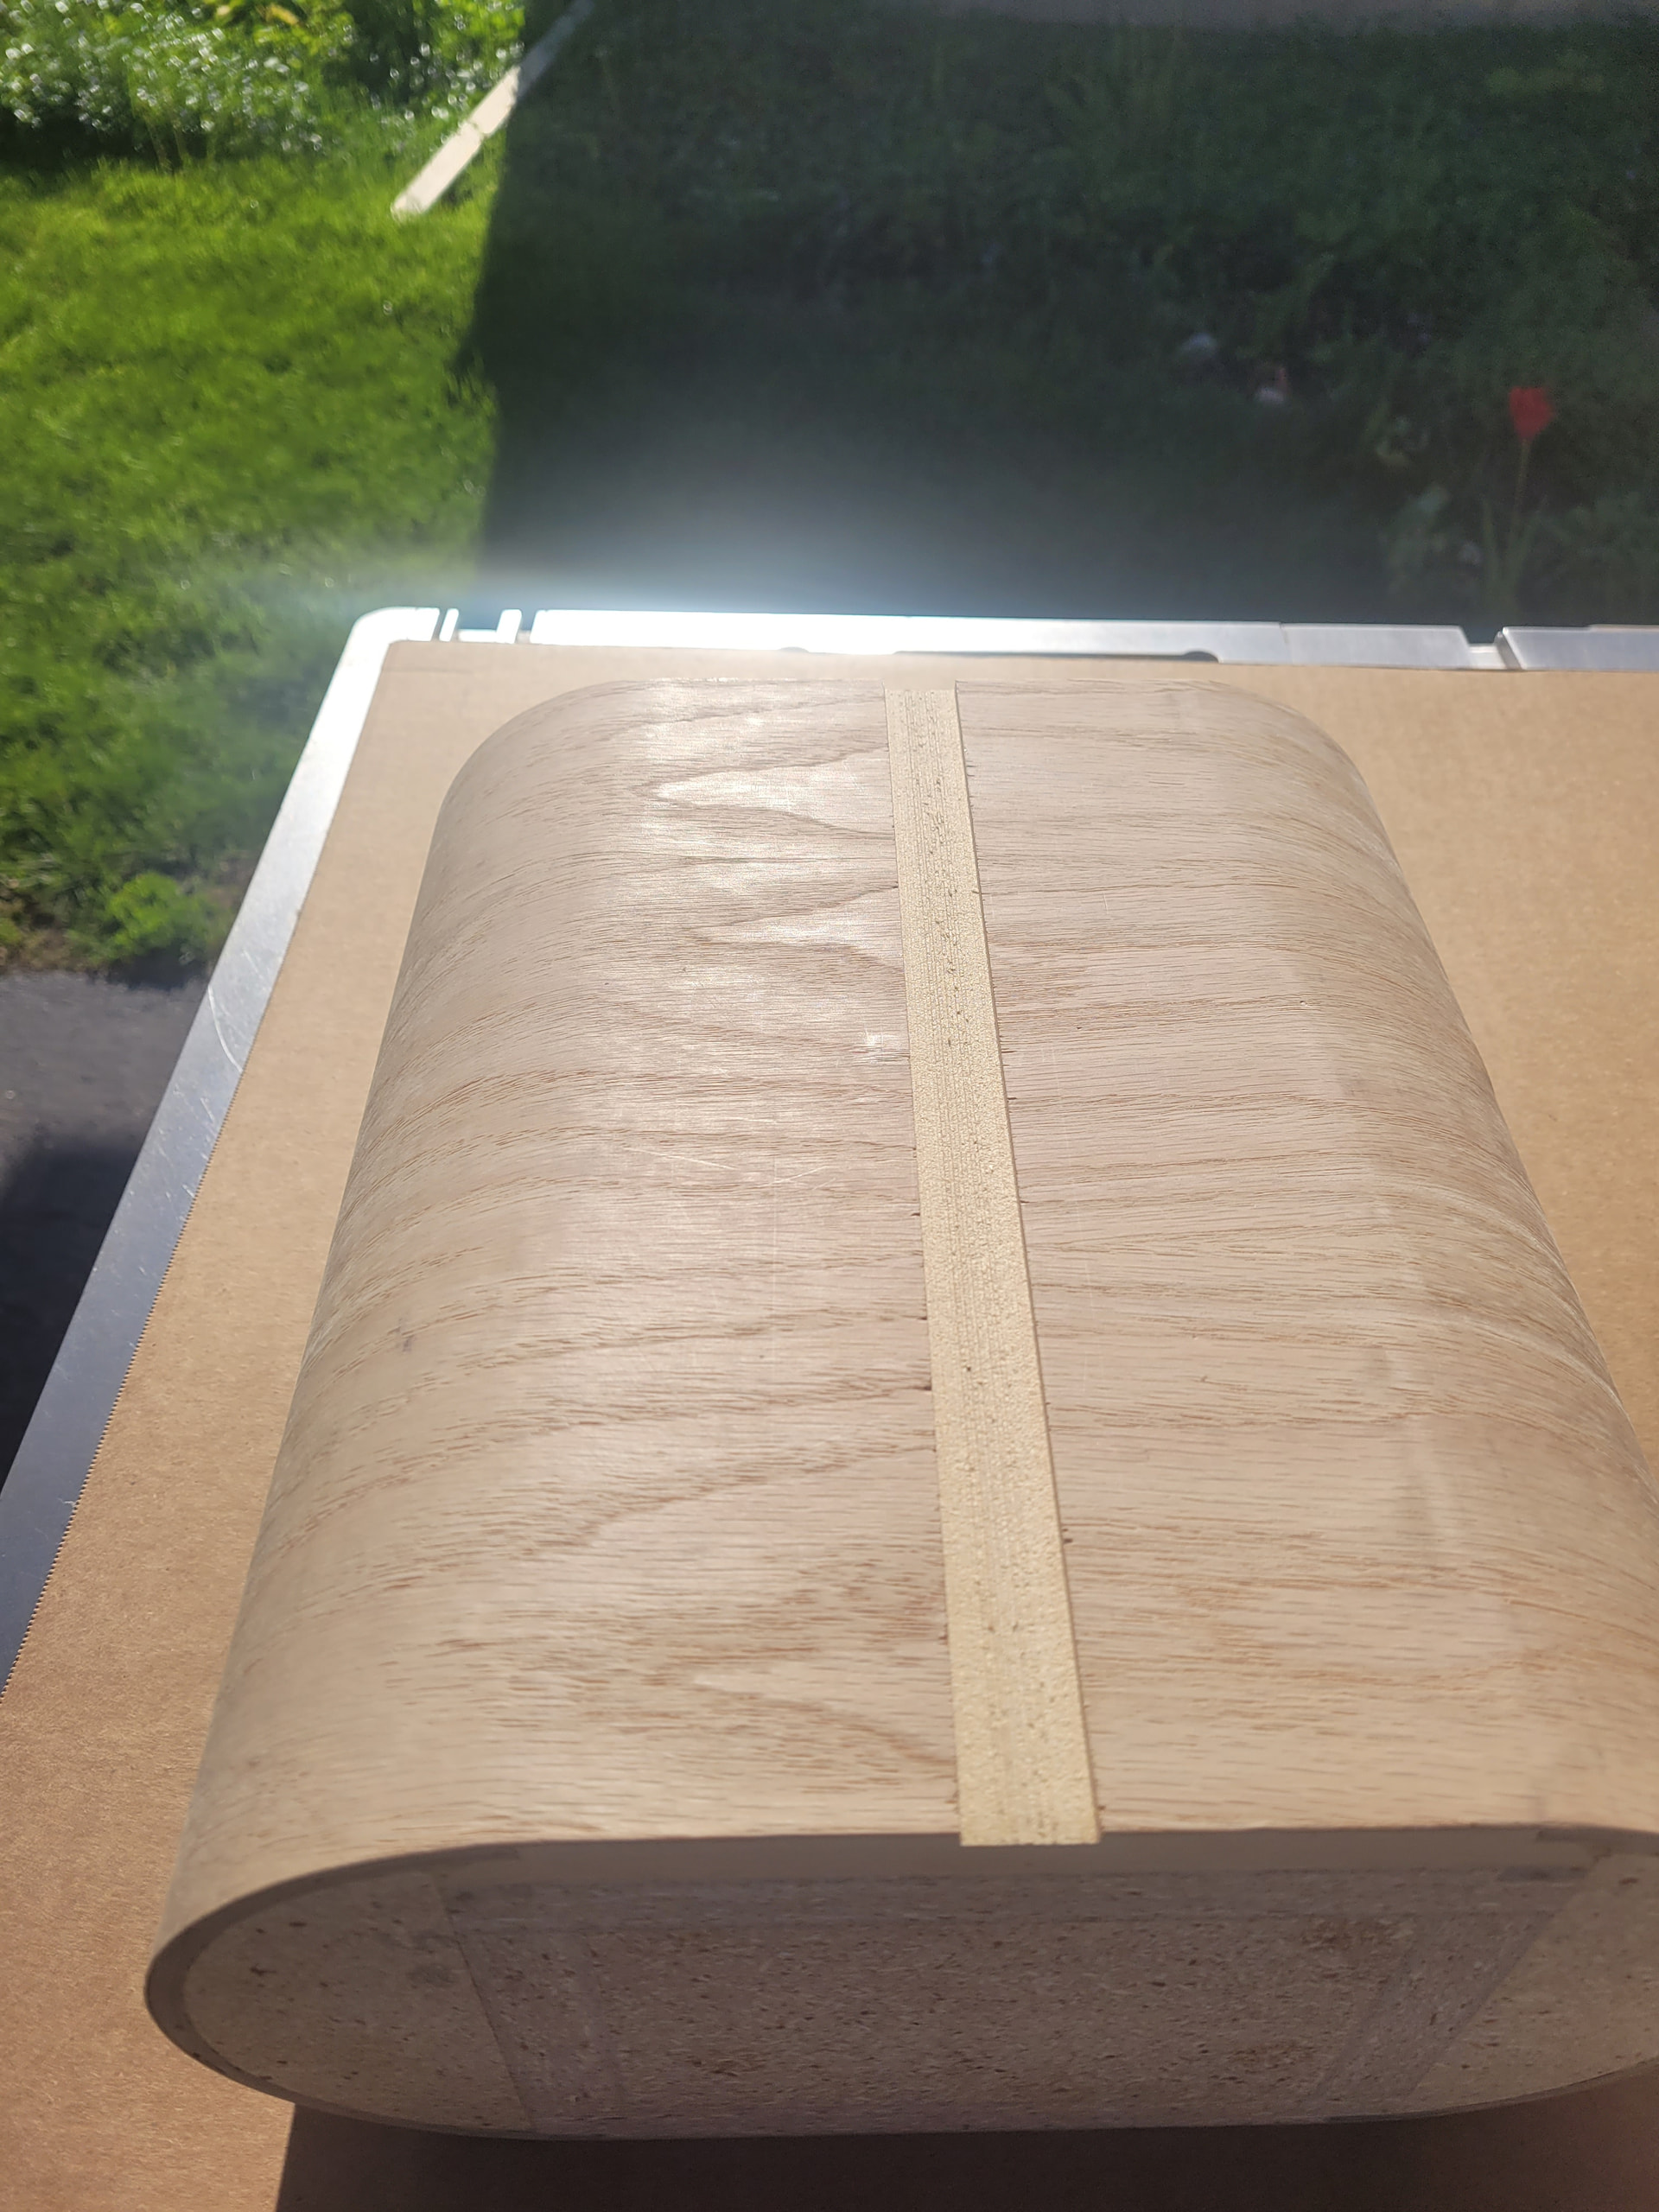
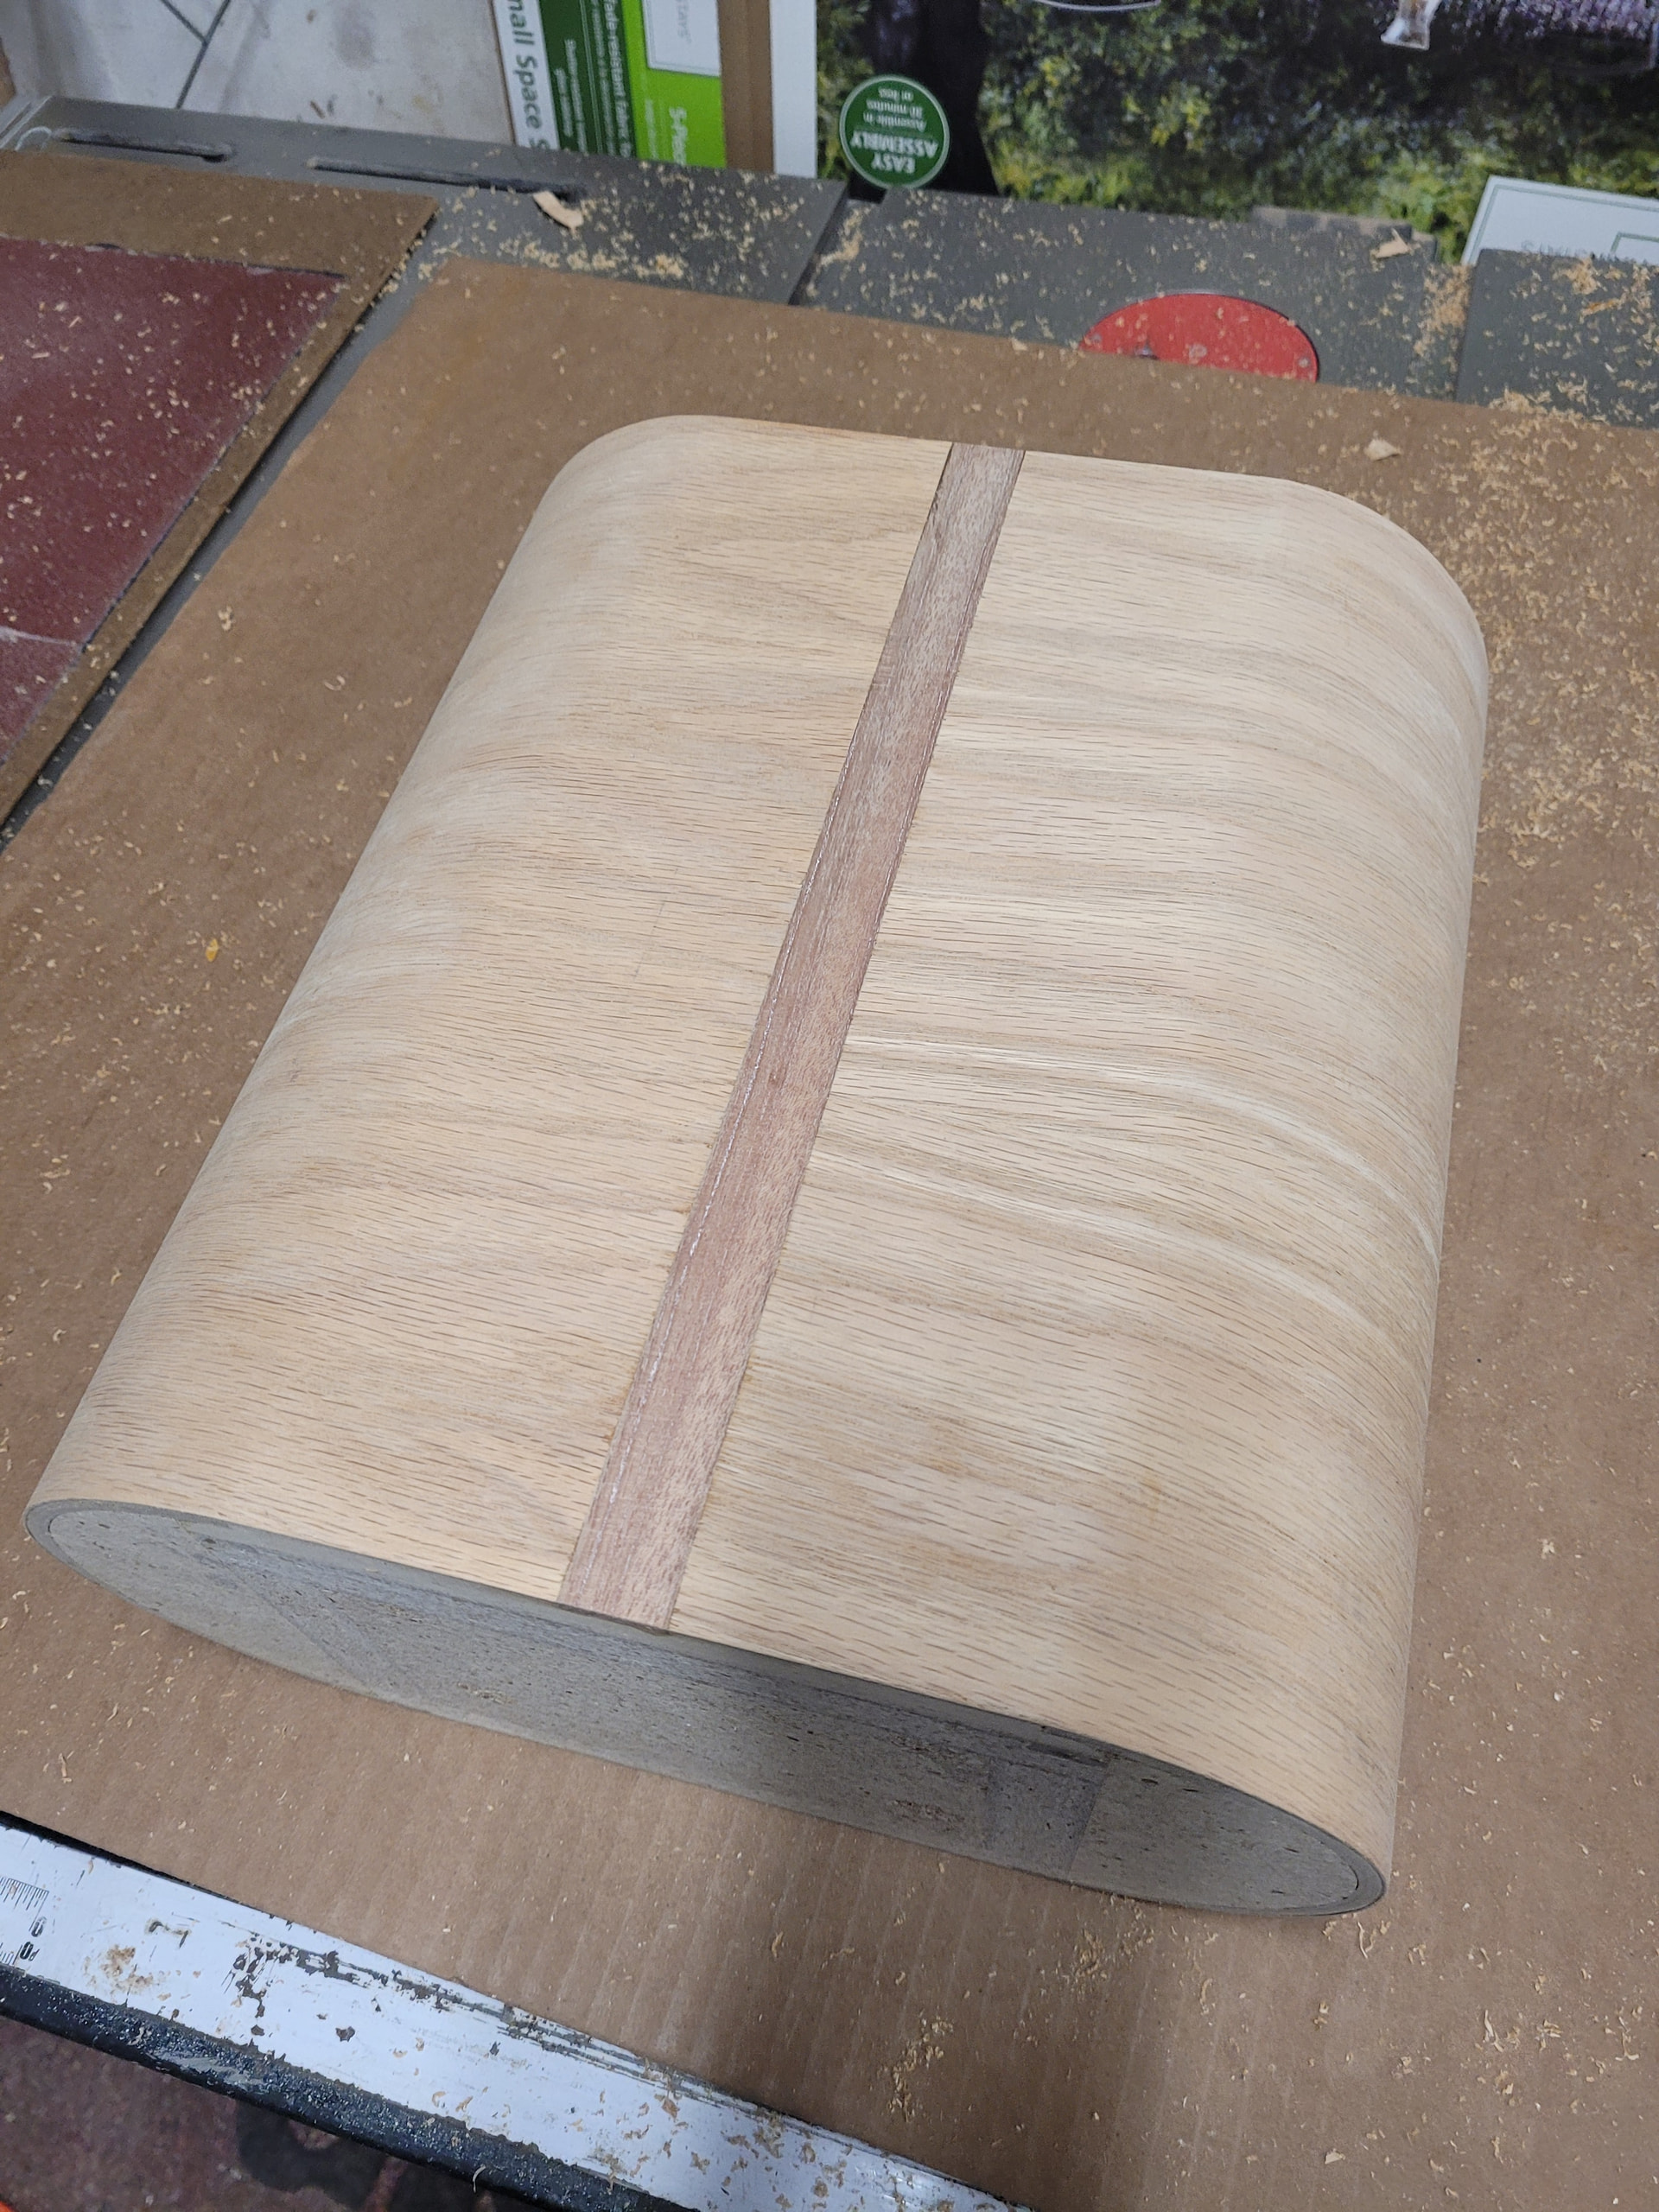
I just slathered the slots up with some Titebond II and clamped the strips down into the slots. I’ll snap another picture in an hour or so when I take the clamps off. The strips sit just proud. Should be super easy to sand them flush.
I flush trimmed the ends off the inlays then sanded them down to flush. They turned out pretty good with just a slight glue line showing. Oh well… all that is on the back. Can’t see it from my listening seat
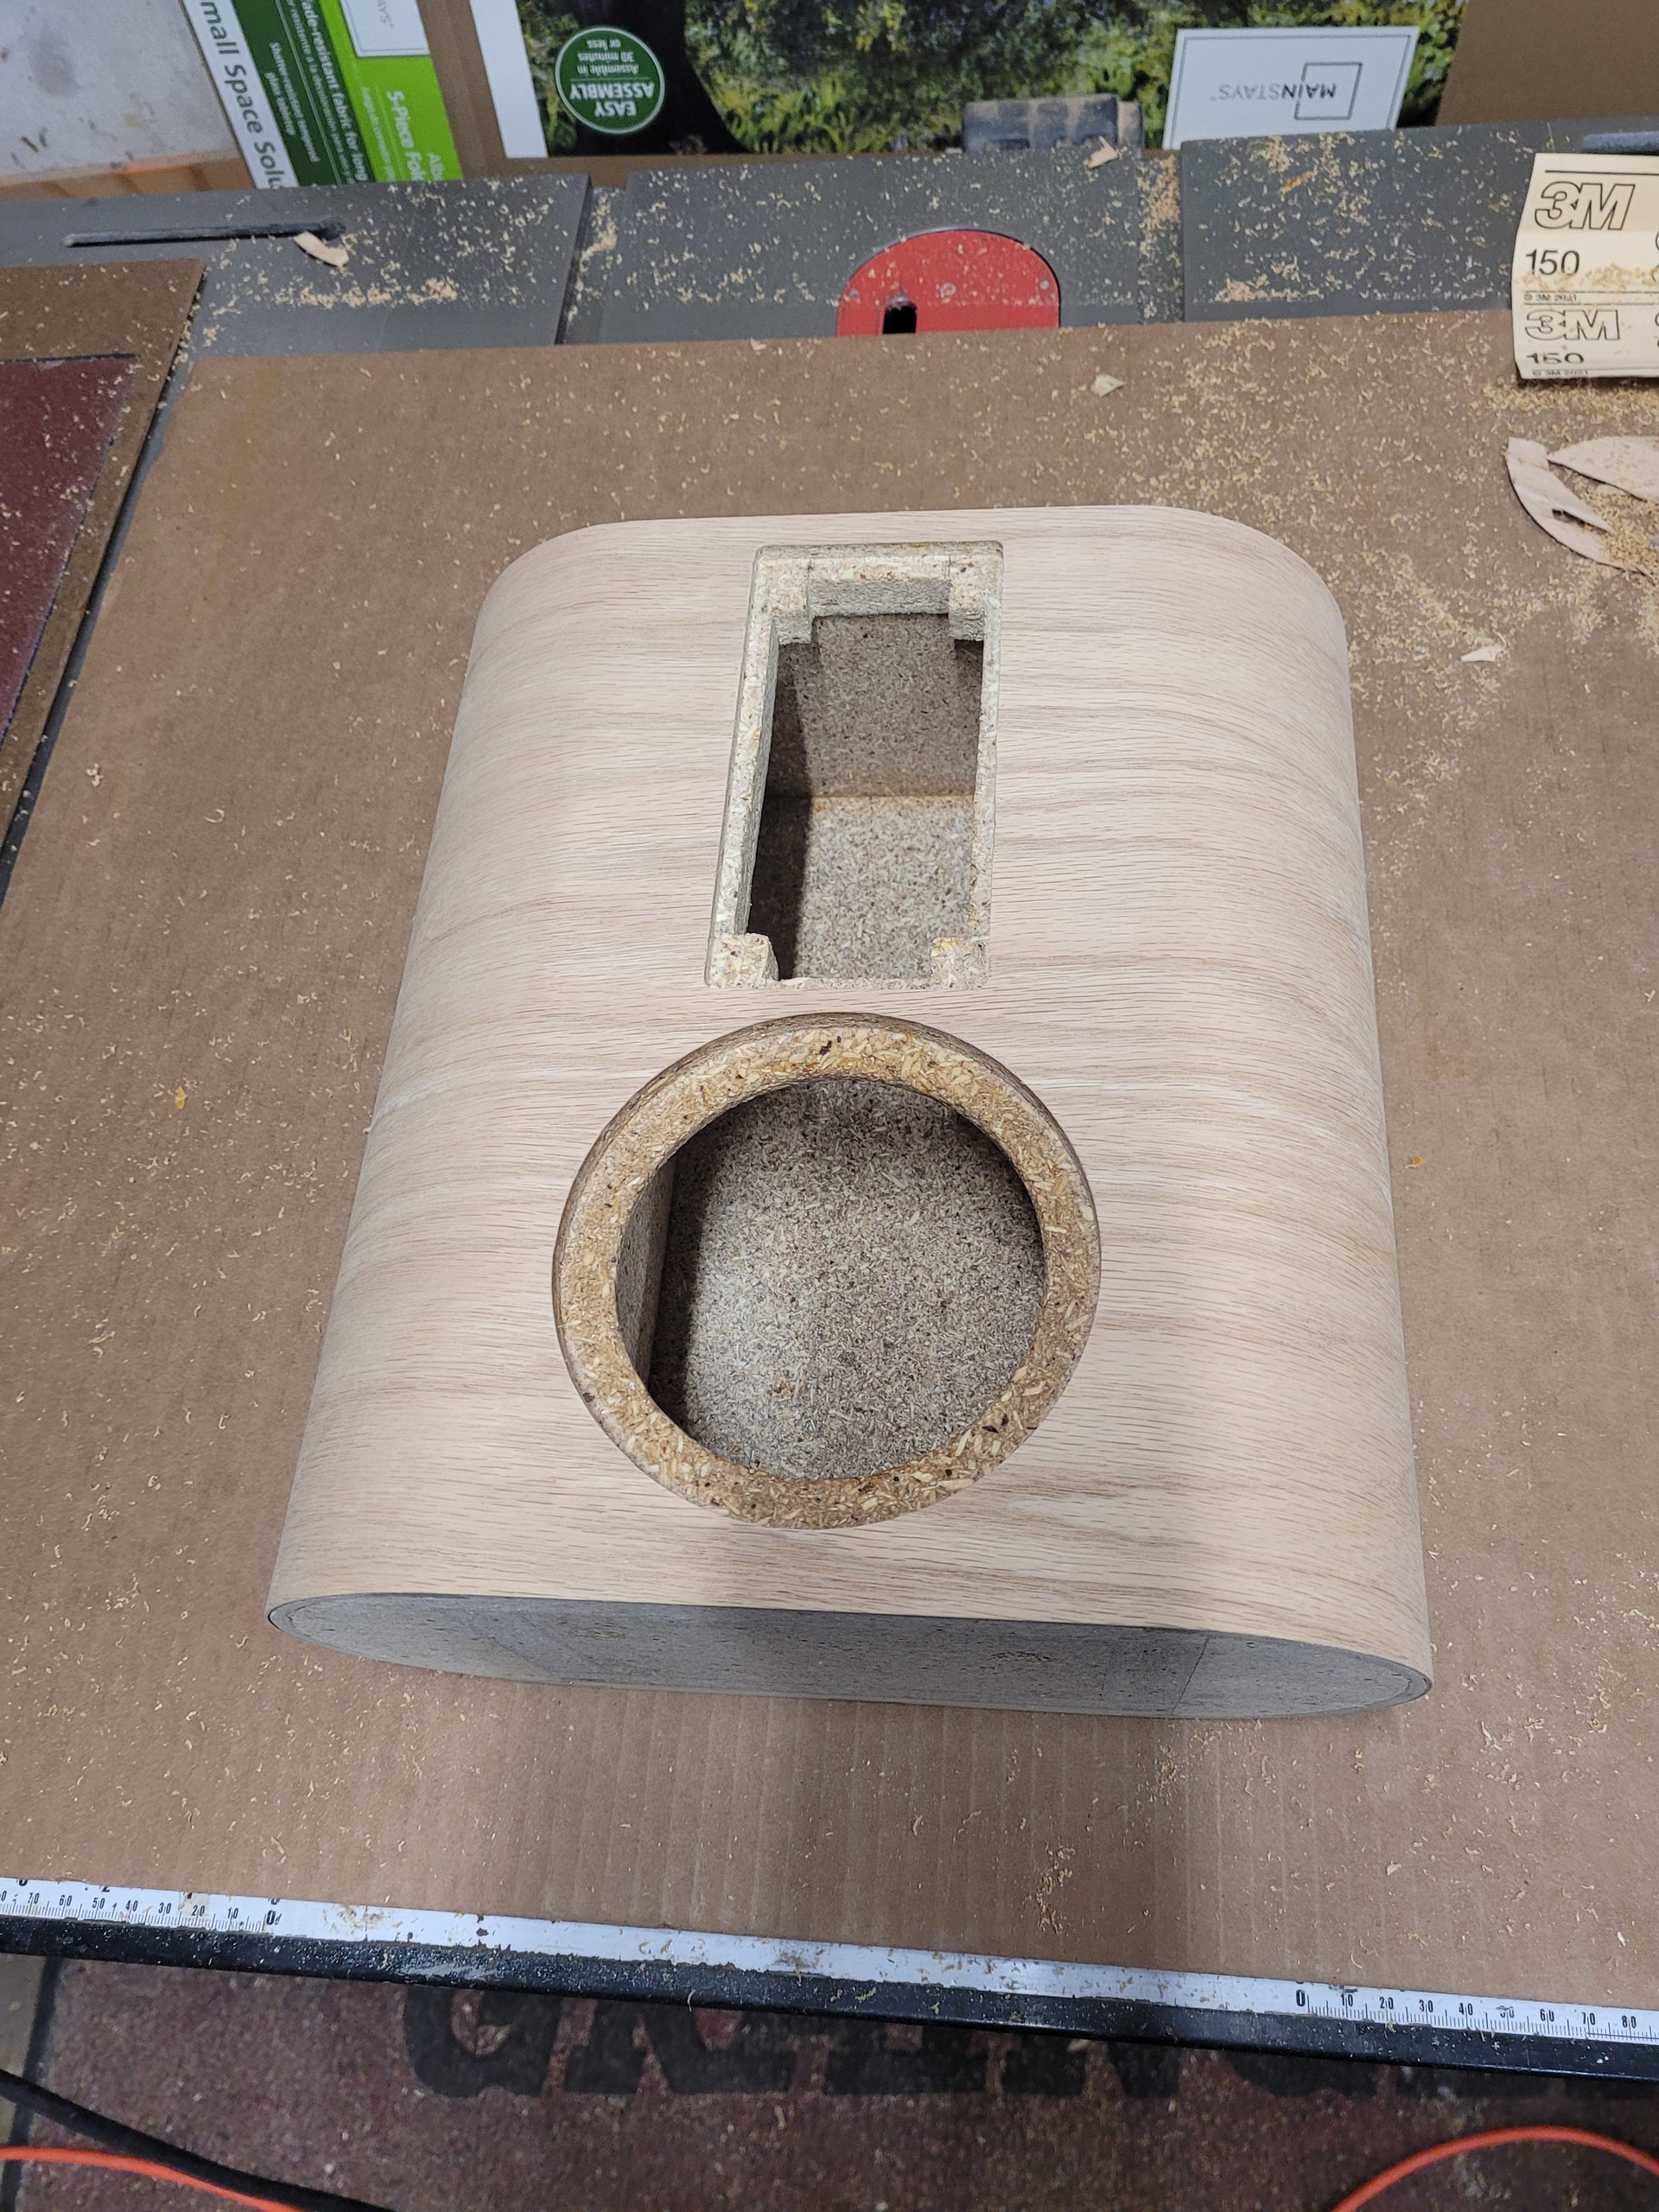
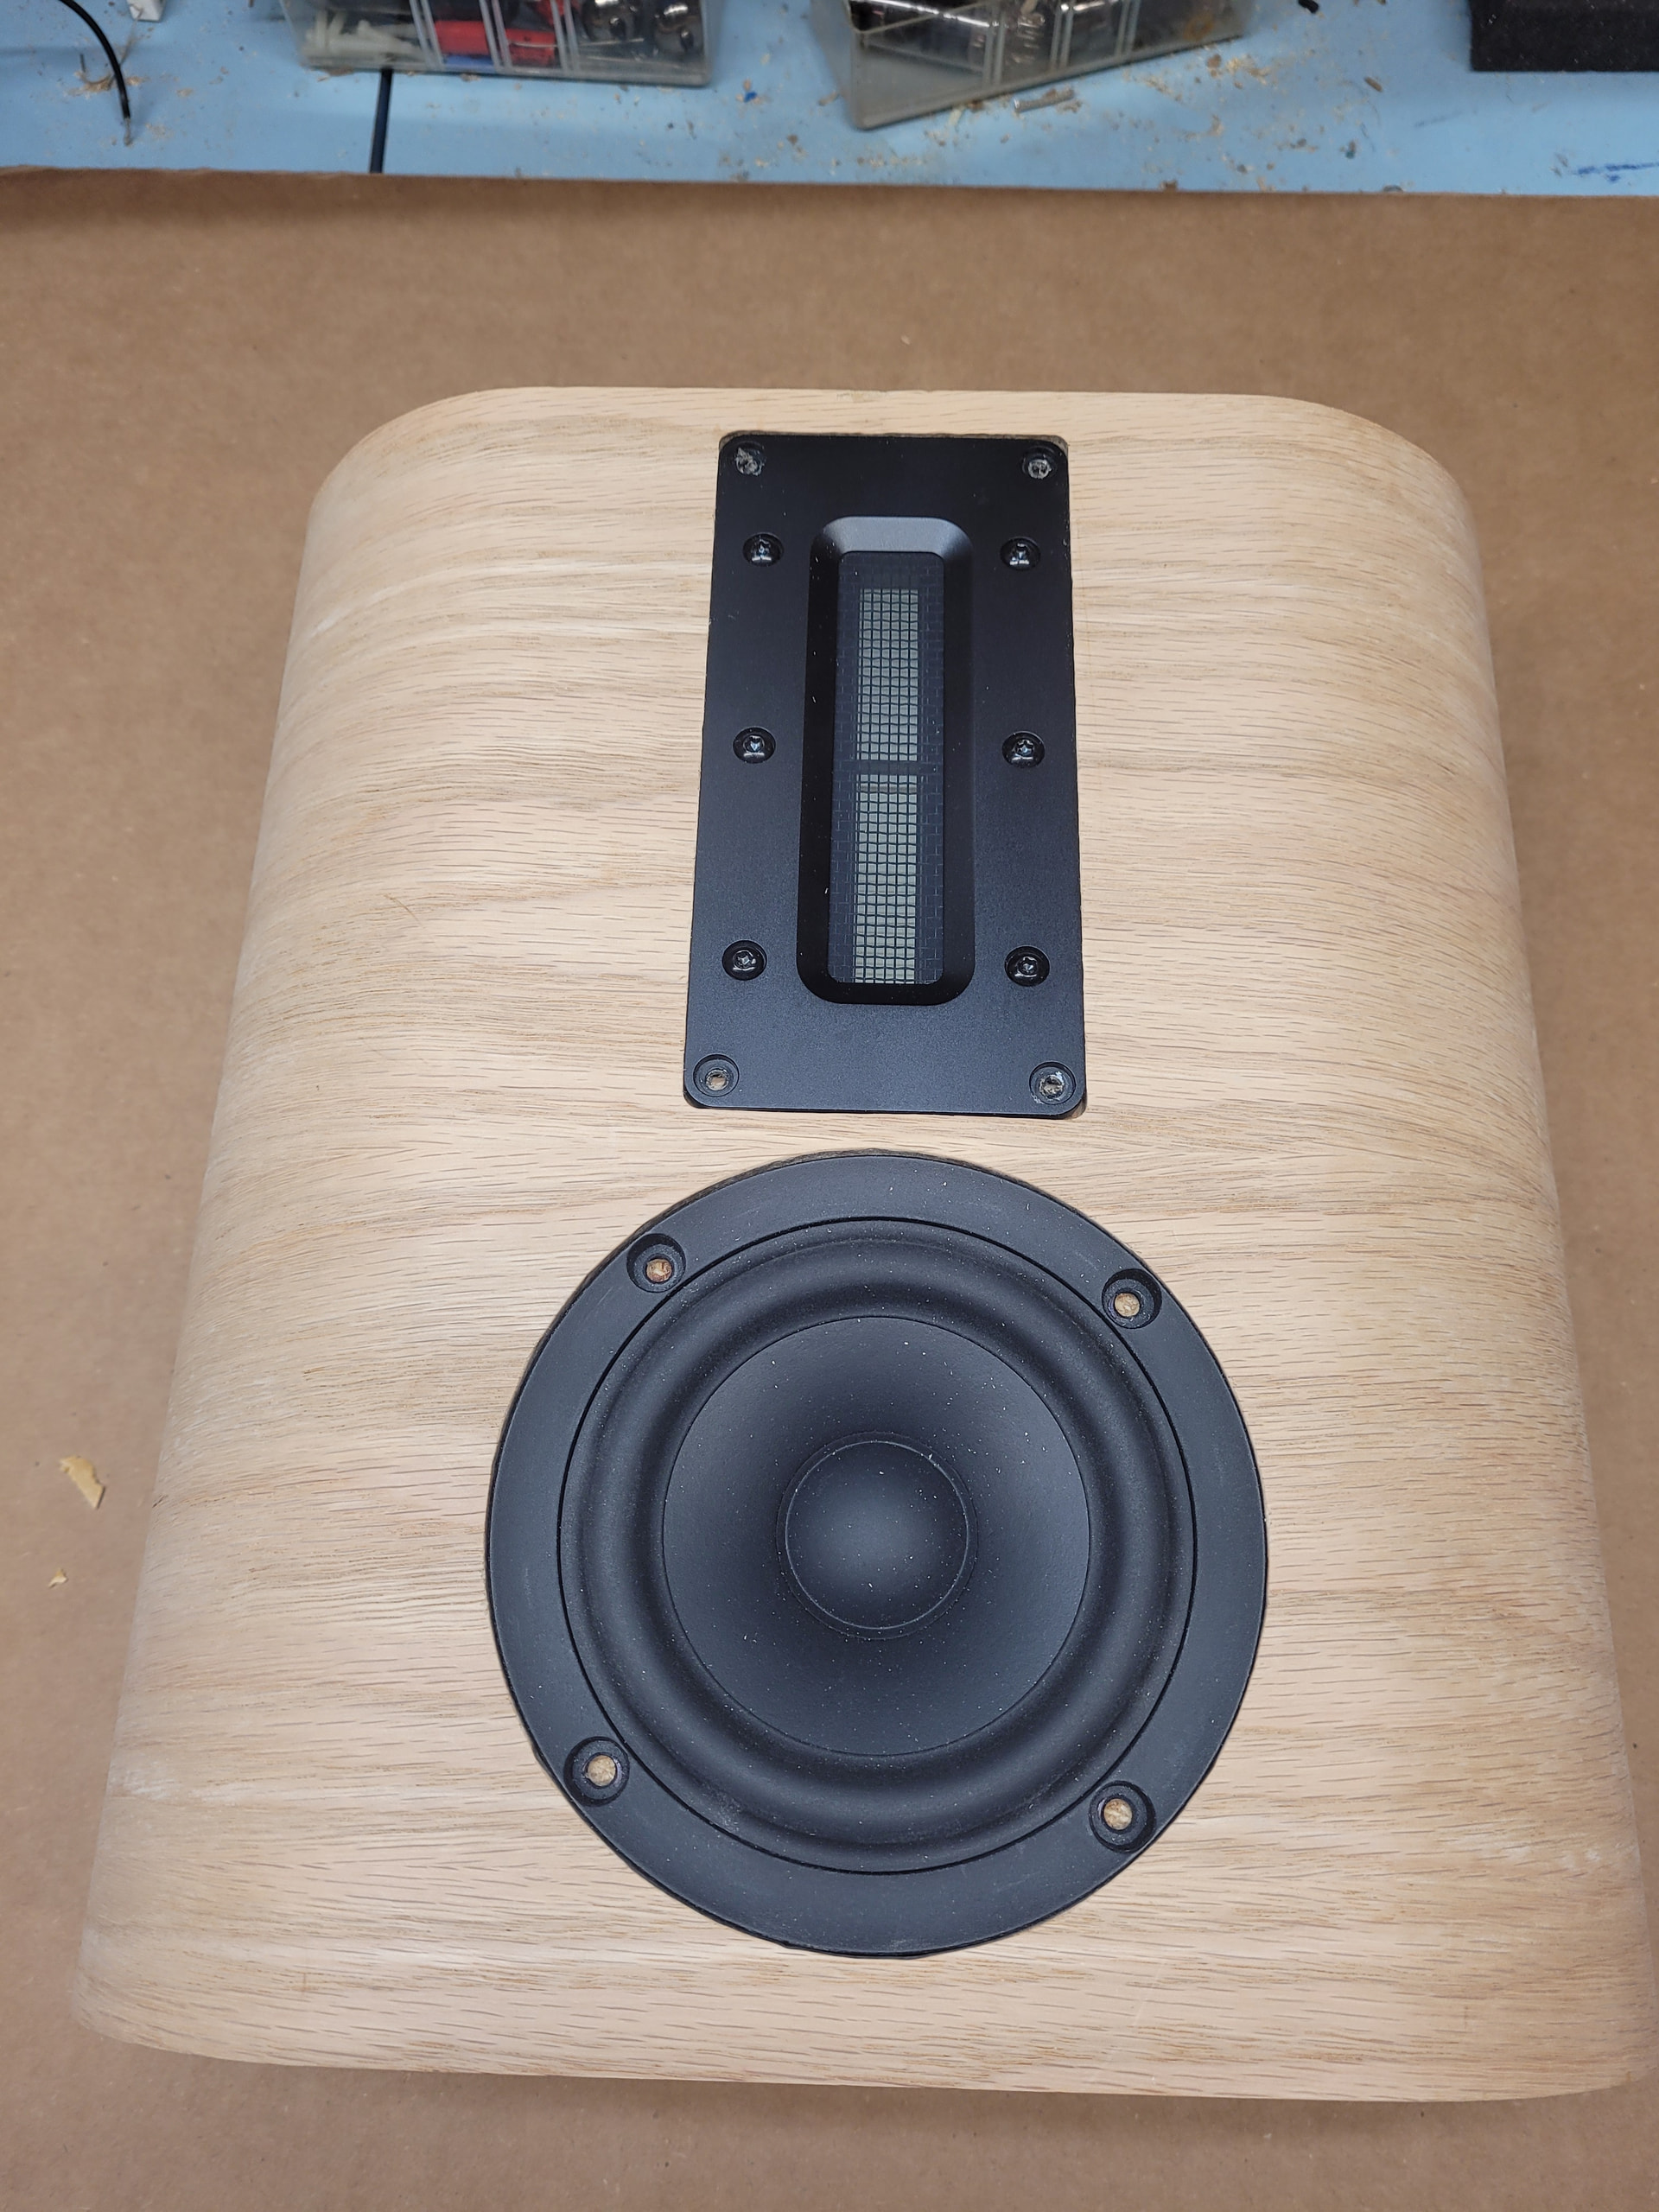
Got brave after work today and flush trimmed the veneer to the driver rebates. They need a bit of fine tuning (hand sanding). I’m happy with how they turned out:
That’s tricky. It wouldn’t hurt my feelings if I never veneered a speaker. Probably because I have the stuff to process solid wood, and a buddy with two sawmills.
I was pretty intimidated by veneer until I tried it. Honestly, if you just do flat surfaces with no radius and paper backed veneer, it is extremely simple and easy to do the titebond+iron method.
I totally agree with Drew. That said my only veneer failure was my project using raw (not paper backed) walnut veneer with the Titebond II iron on method. My fault, I should have done more research first. The raw veneer shrank and produced a few pretty significantly wide cracks. I still have plans to try and fill those cracks and save those enclosures. I put a ton of hours in those boxes and that project is using some of the nicest drivers I have ever used.
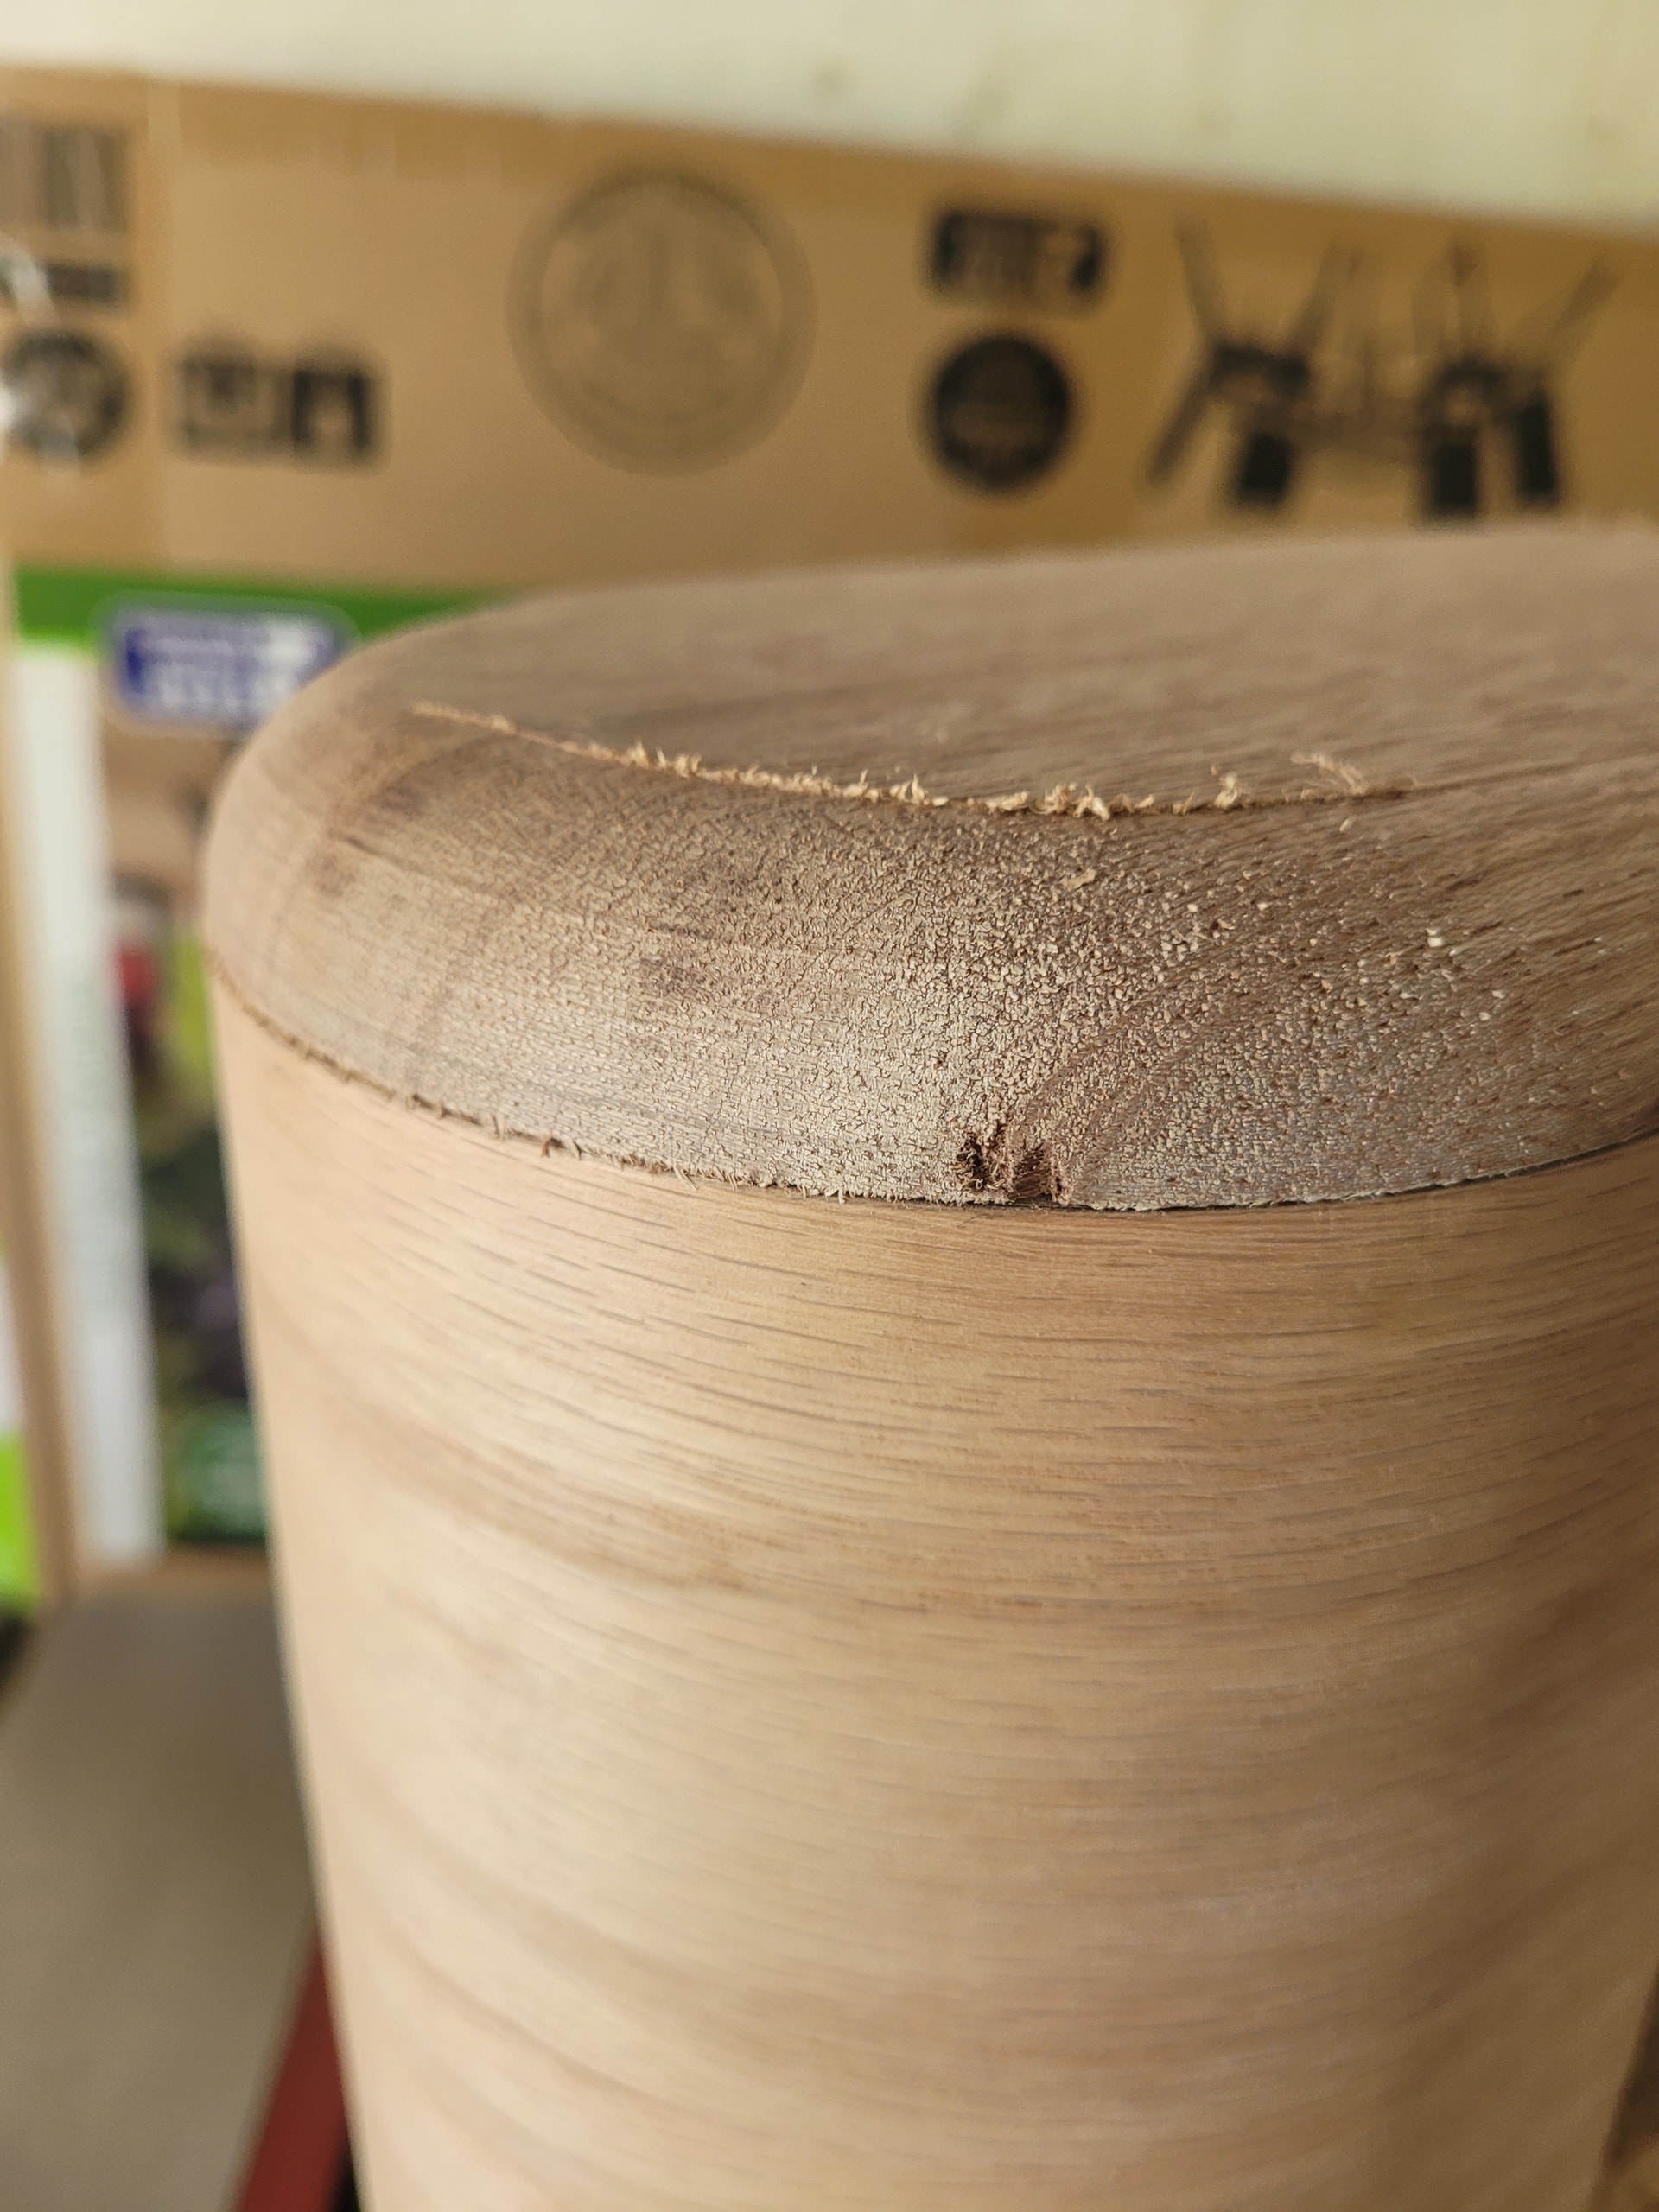
Sometimes real wood goes your way… sometimes it doesn’t. This is the last time use the cheap crappy Mastercraft hardwood boards from Menards. I was flush trimming and doing round overs. Very light cuts and this crappy wood ruined my day!