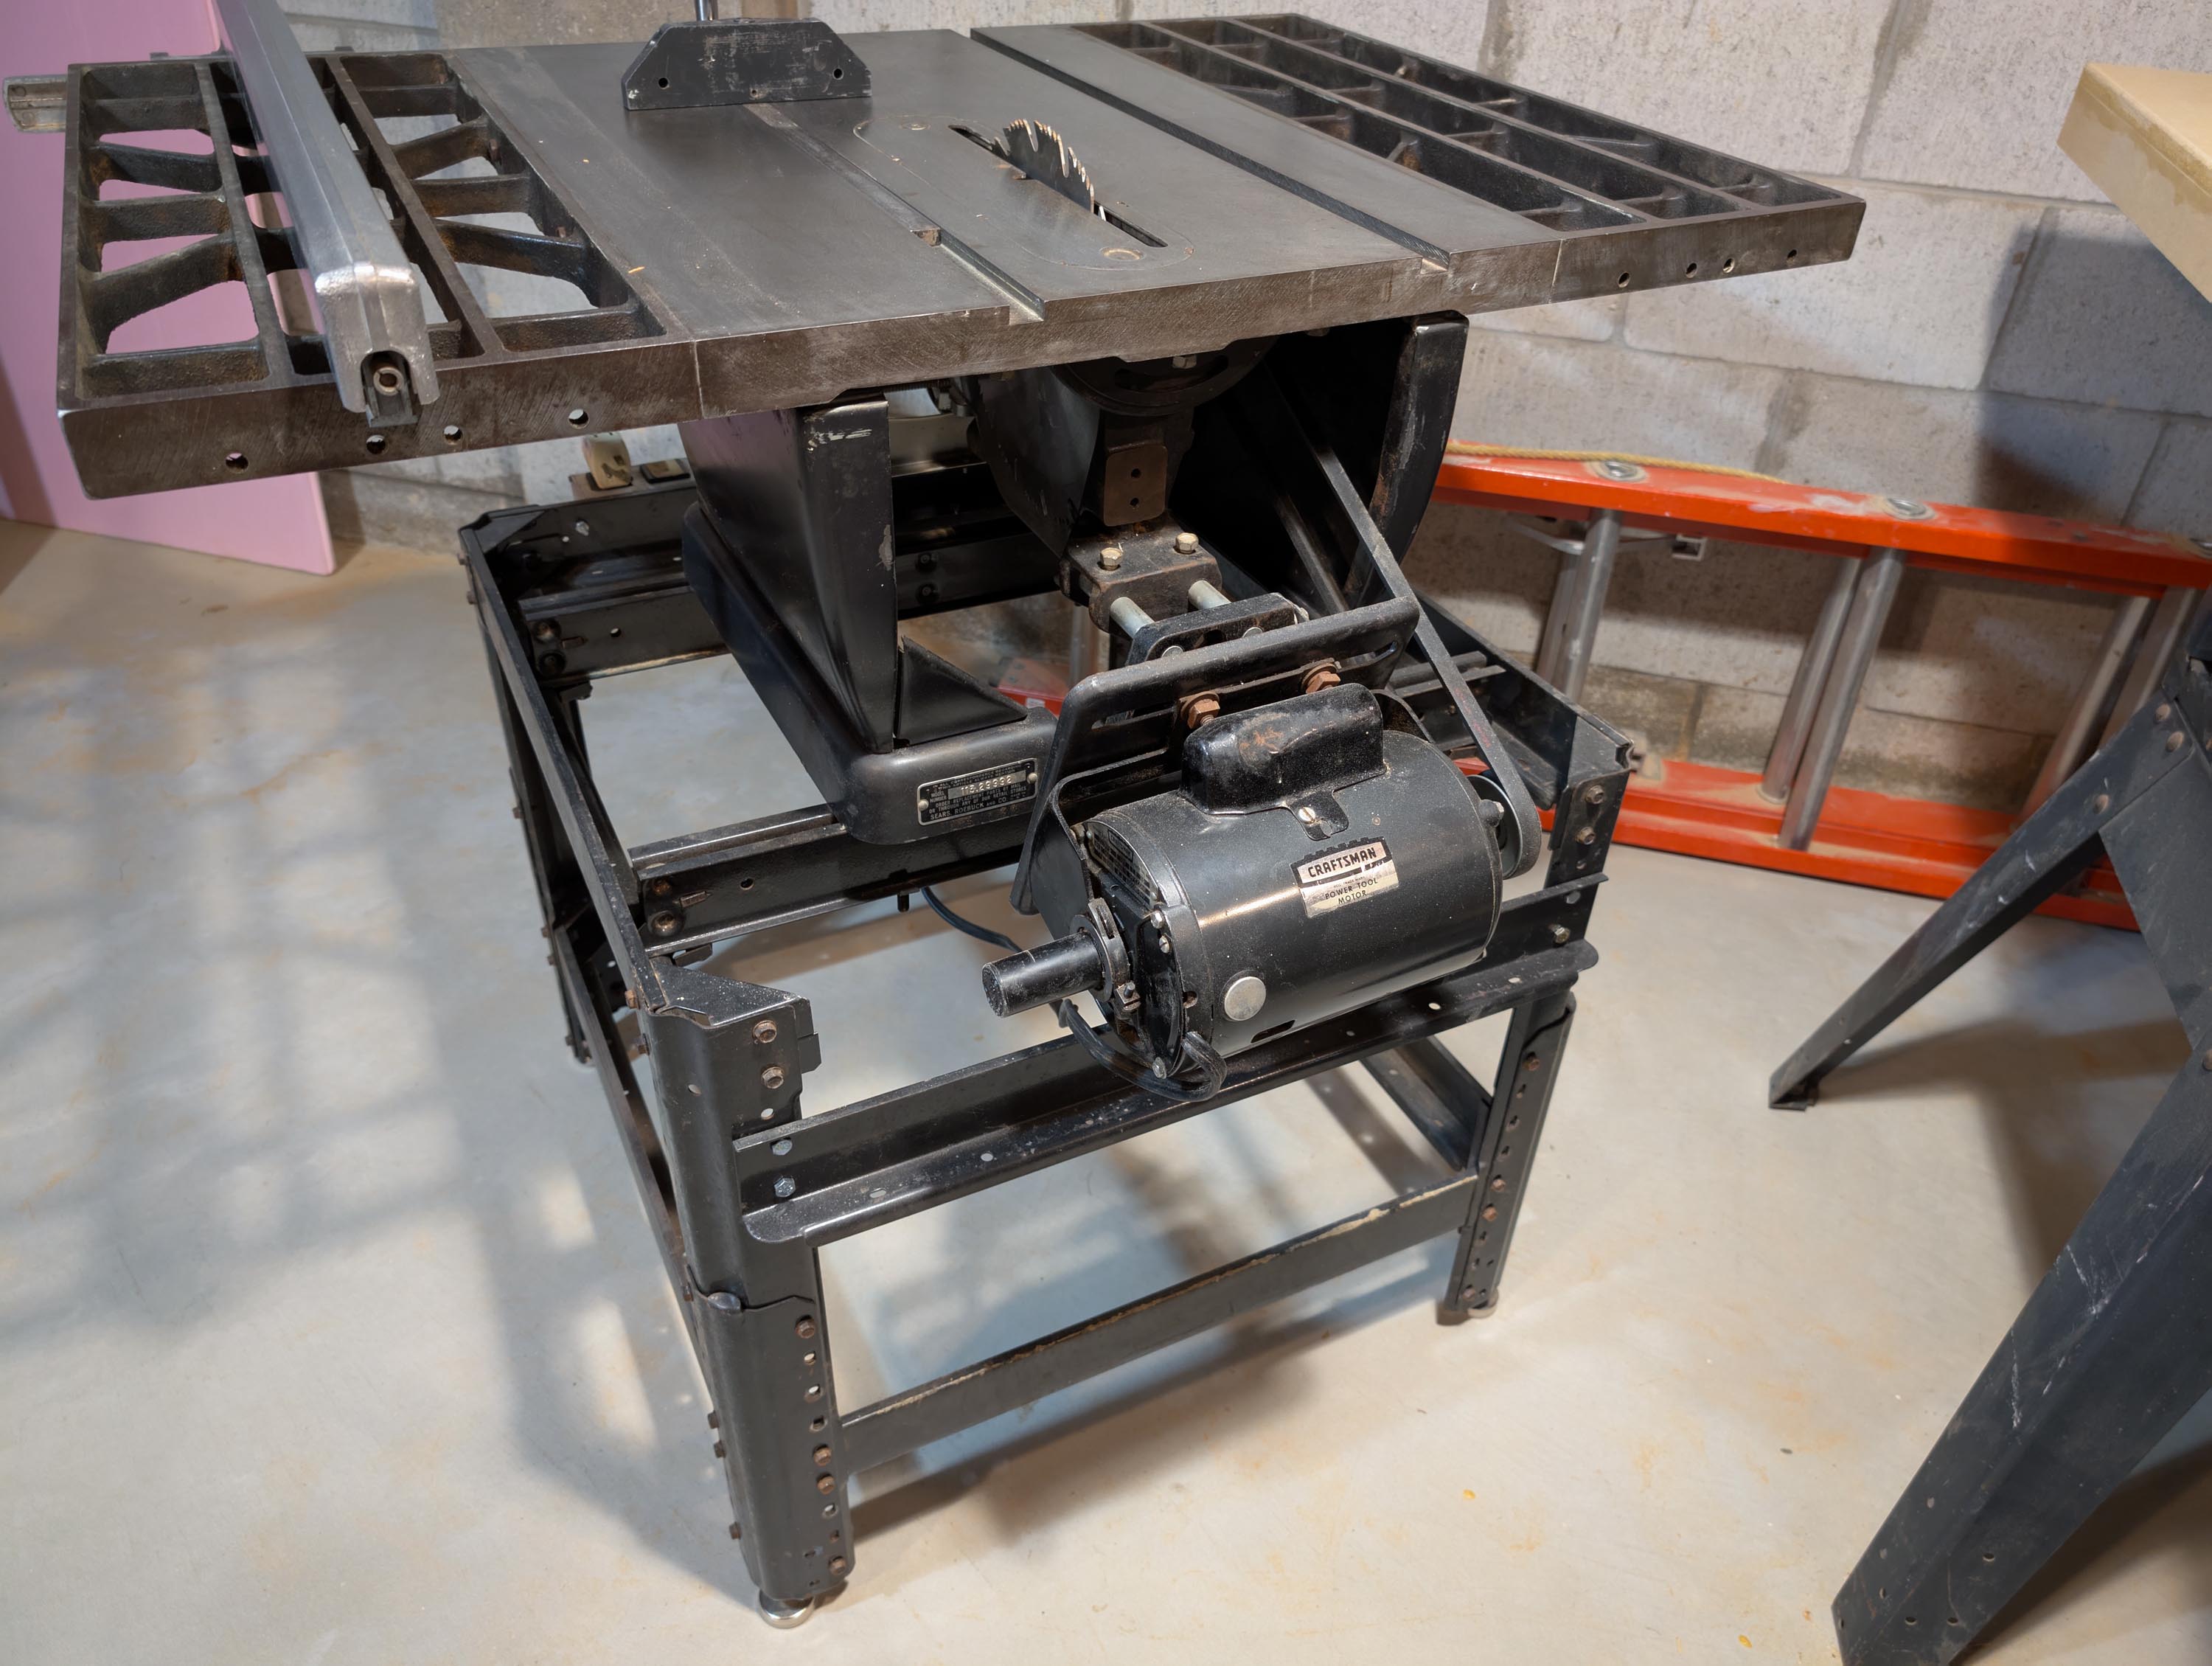
I picked up a vintage (1963 to 65 era) Craftsman table saw at my local Habitat Restore this past weekend. $68 with 20% off. Decided to pull the trigger because the sight of it brought back alot of good, old memories from the 1970’s. You see, my Dad bought this exact same model from Sears when I was a kid and I remember using it for projects. In the early 70’s, my brother and I used it to build a pair of Altec Lansing A7-500 Voice of the Theatre (VOTT) speakers. So I had to buy it and attempt a full restoration.
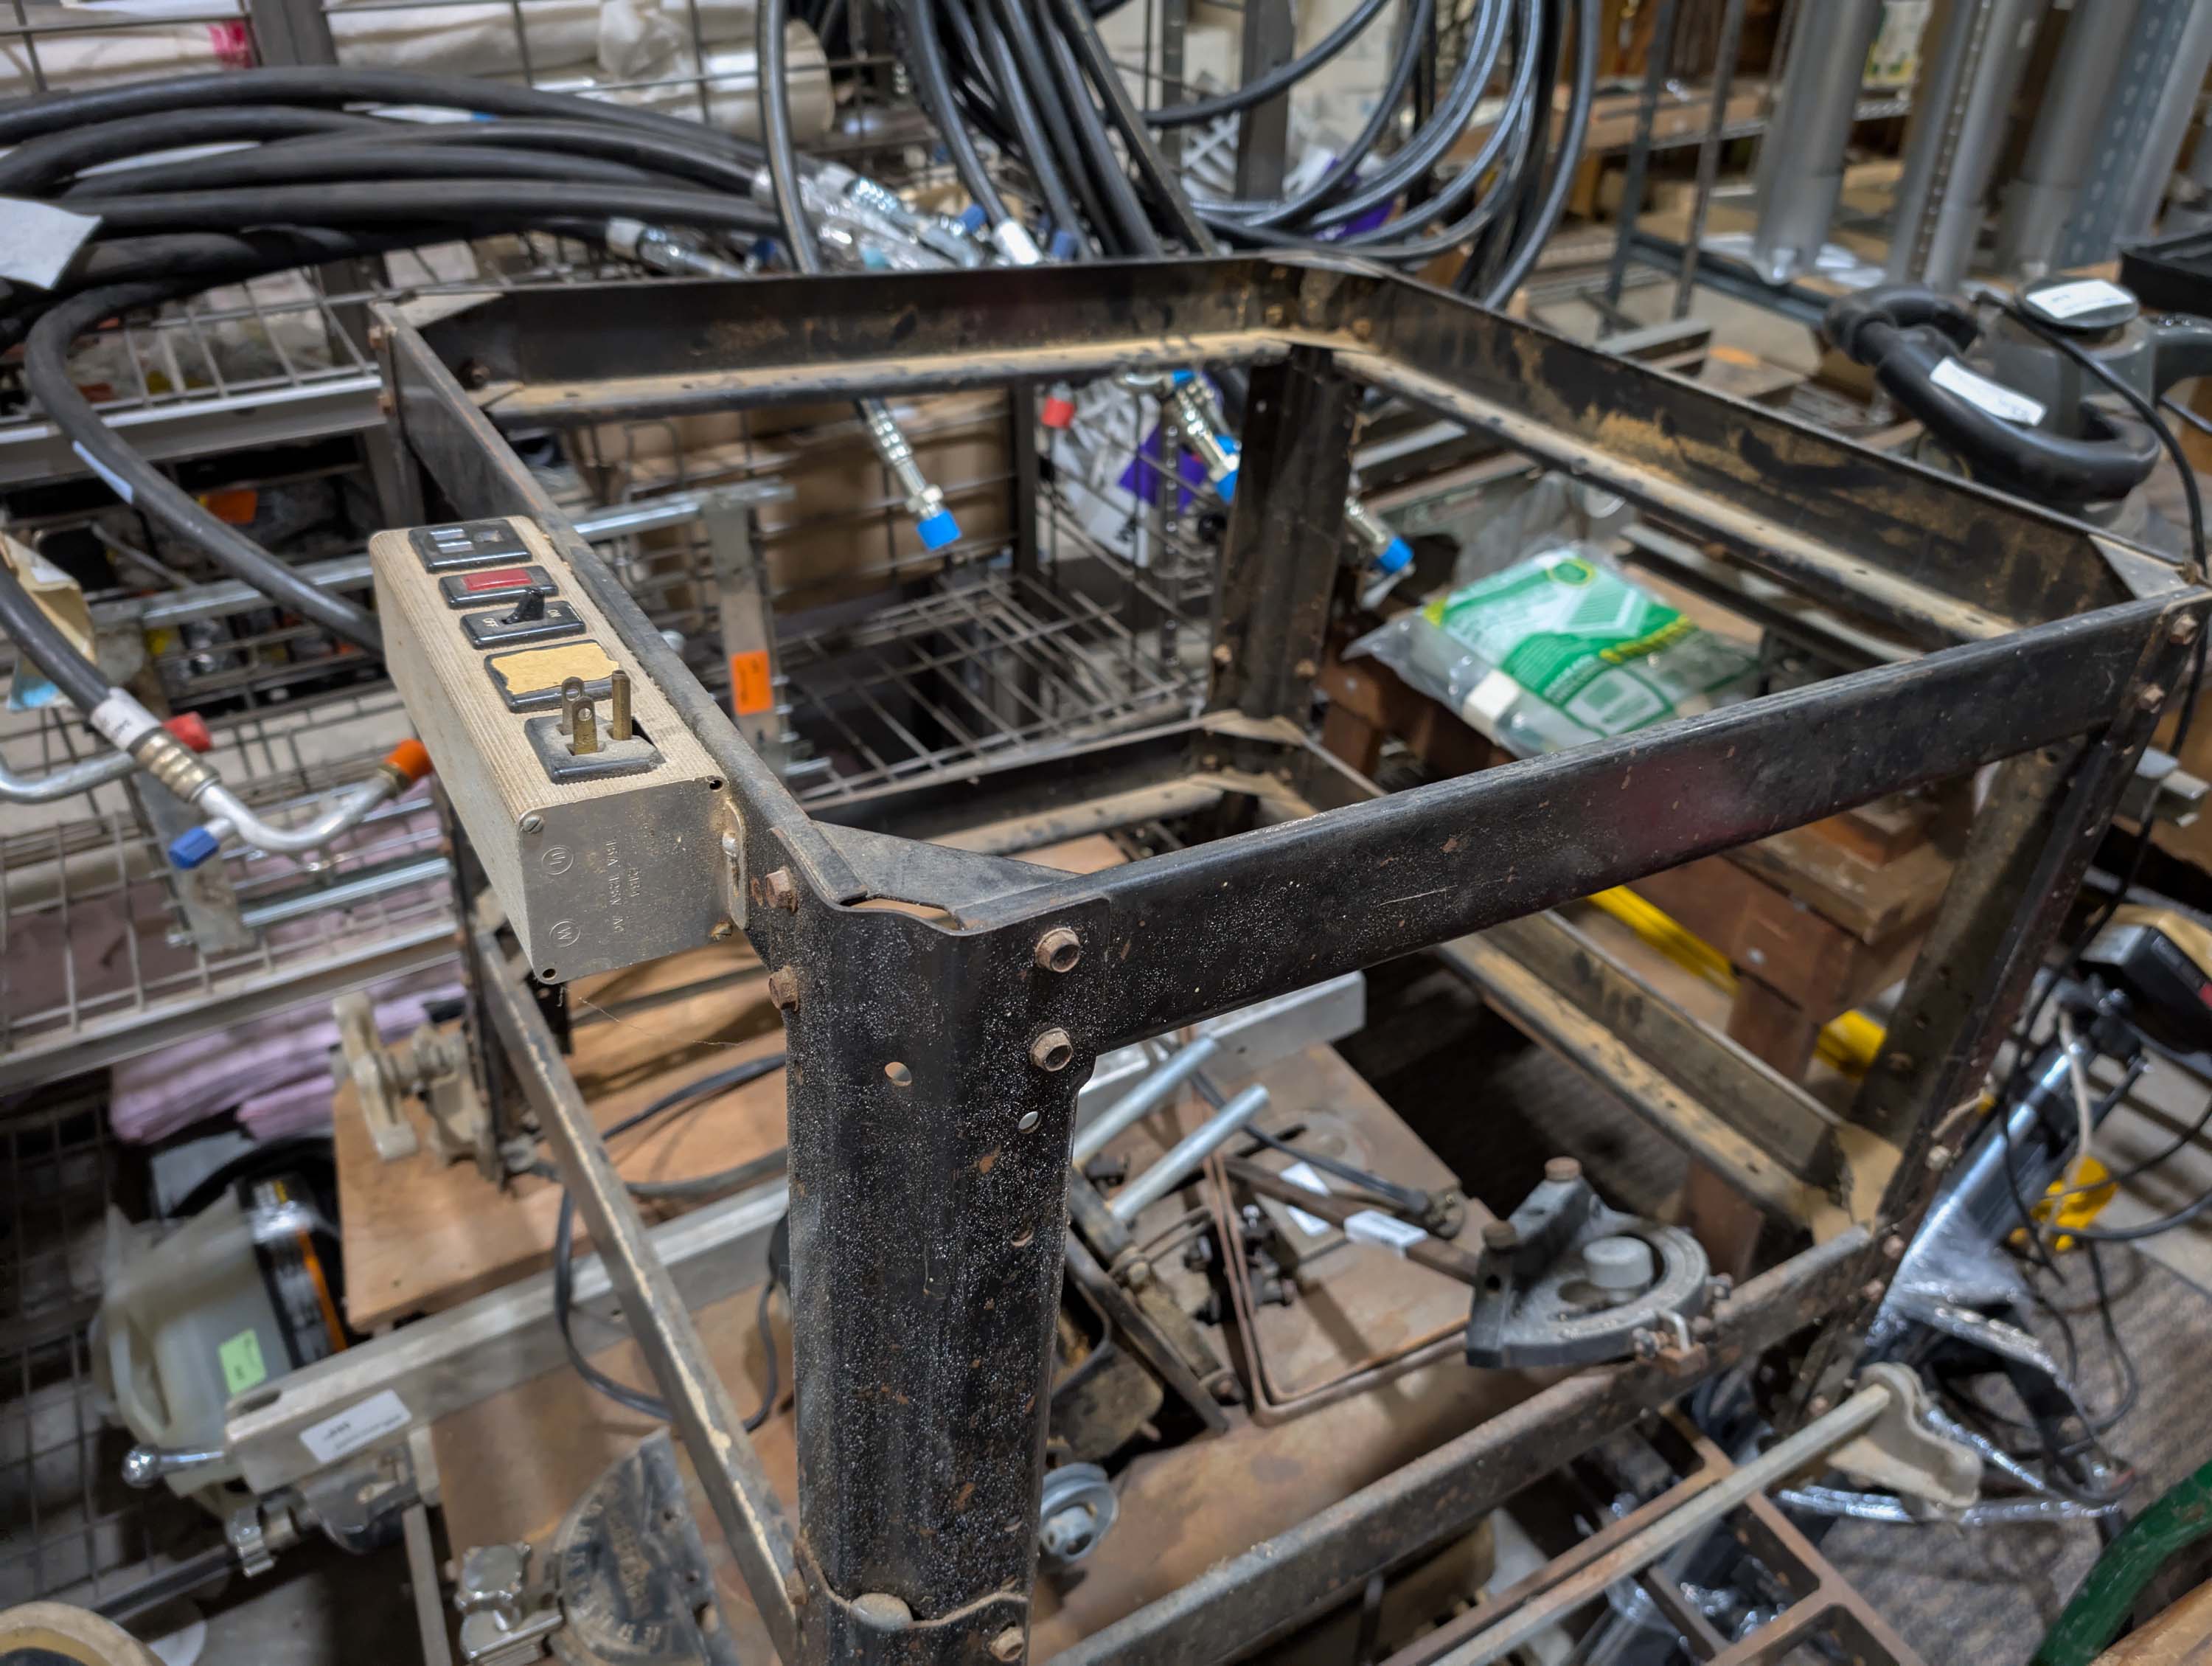
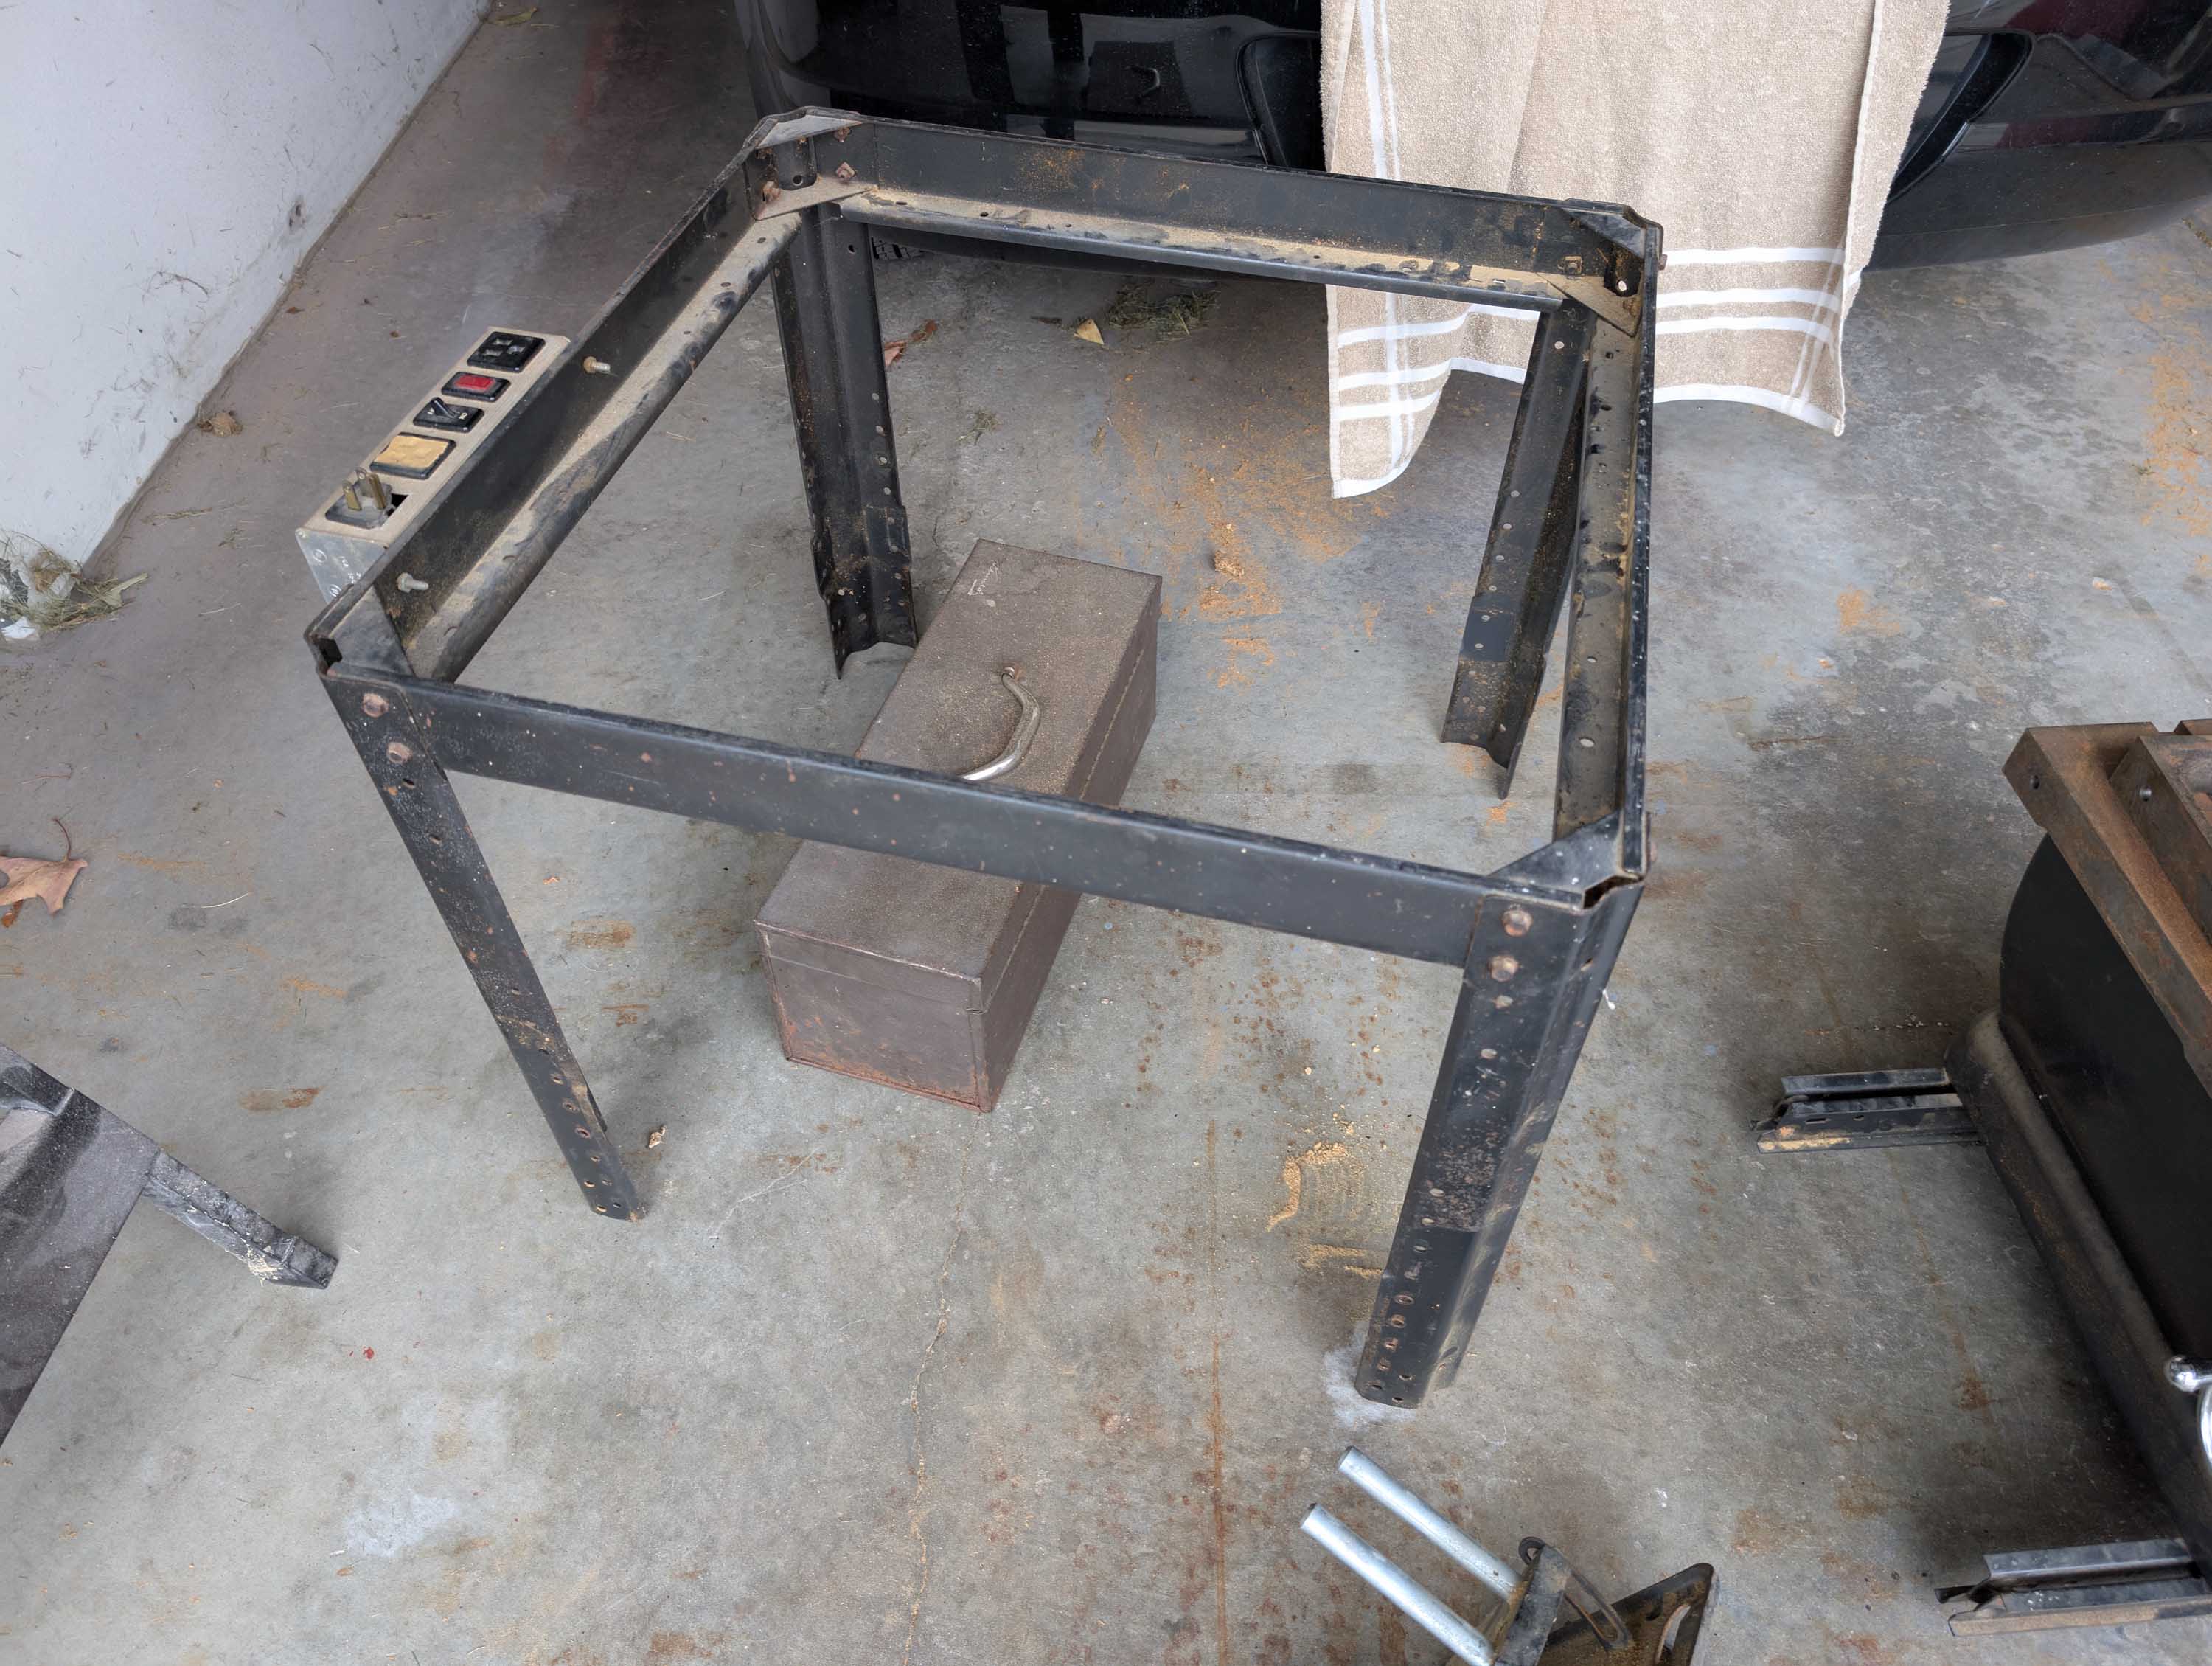
The previous owner had dismantled the saw for donation. This saved me alot of time, as I was able to roll the parts out to my car, piece by piece. It’s hard to see the table saw in the attached “in-store” photos, but all the parts for a complete table saw are there.
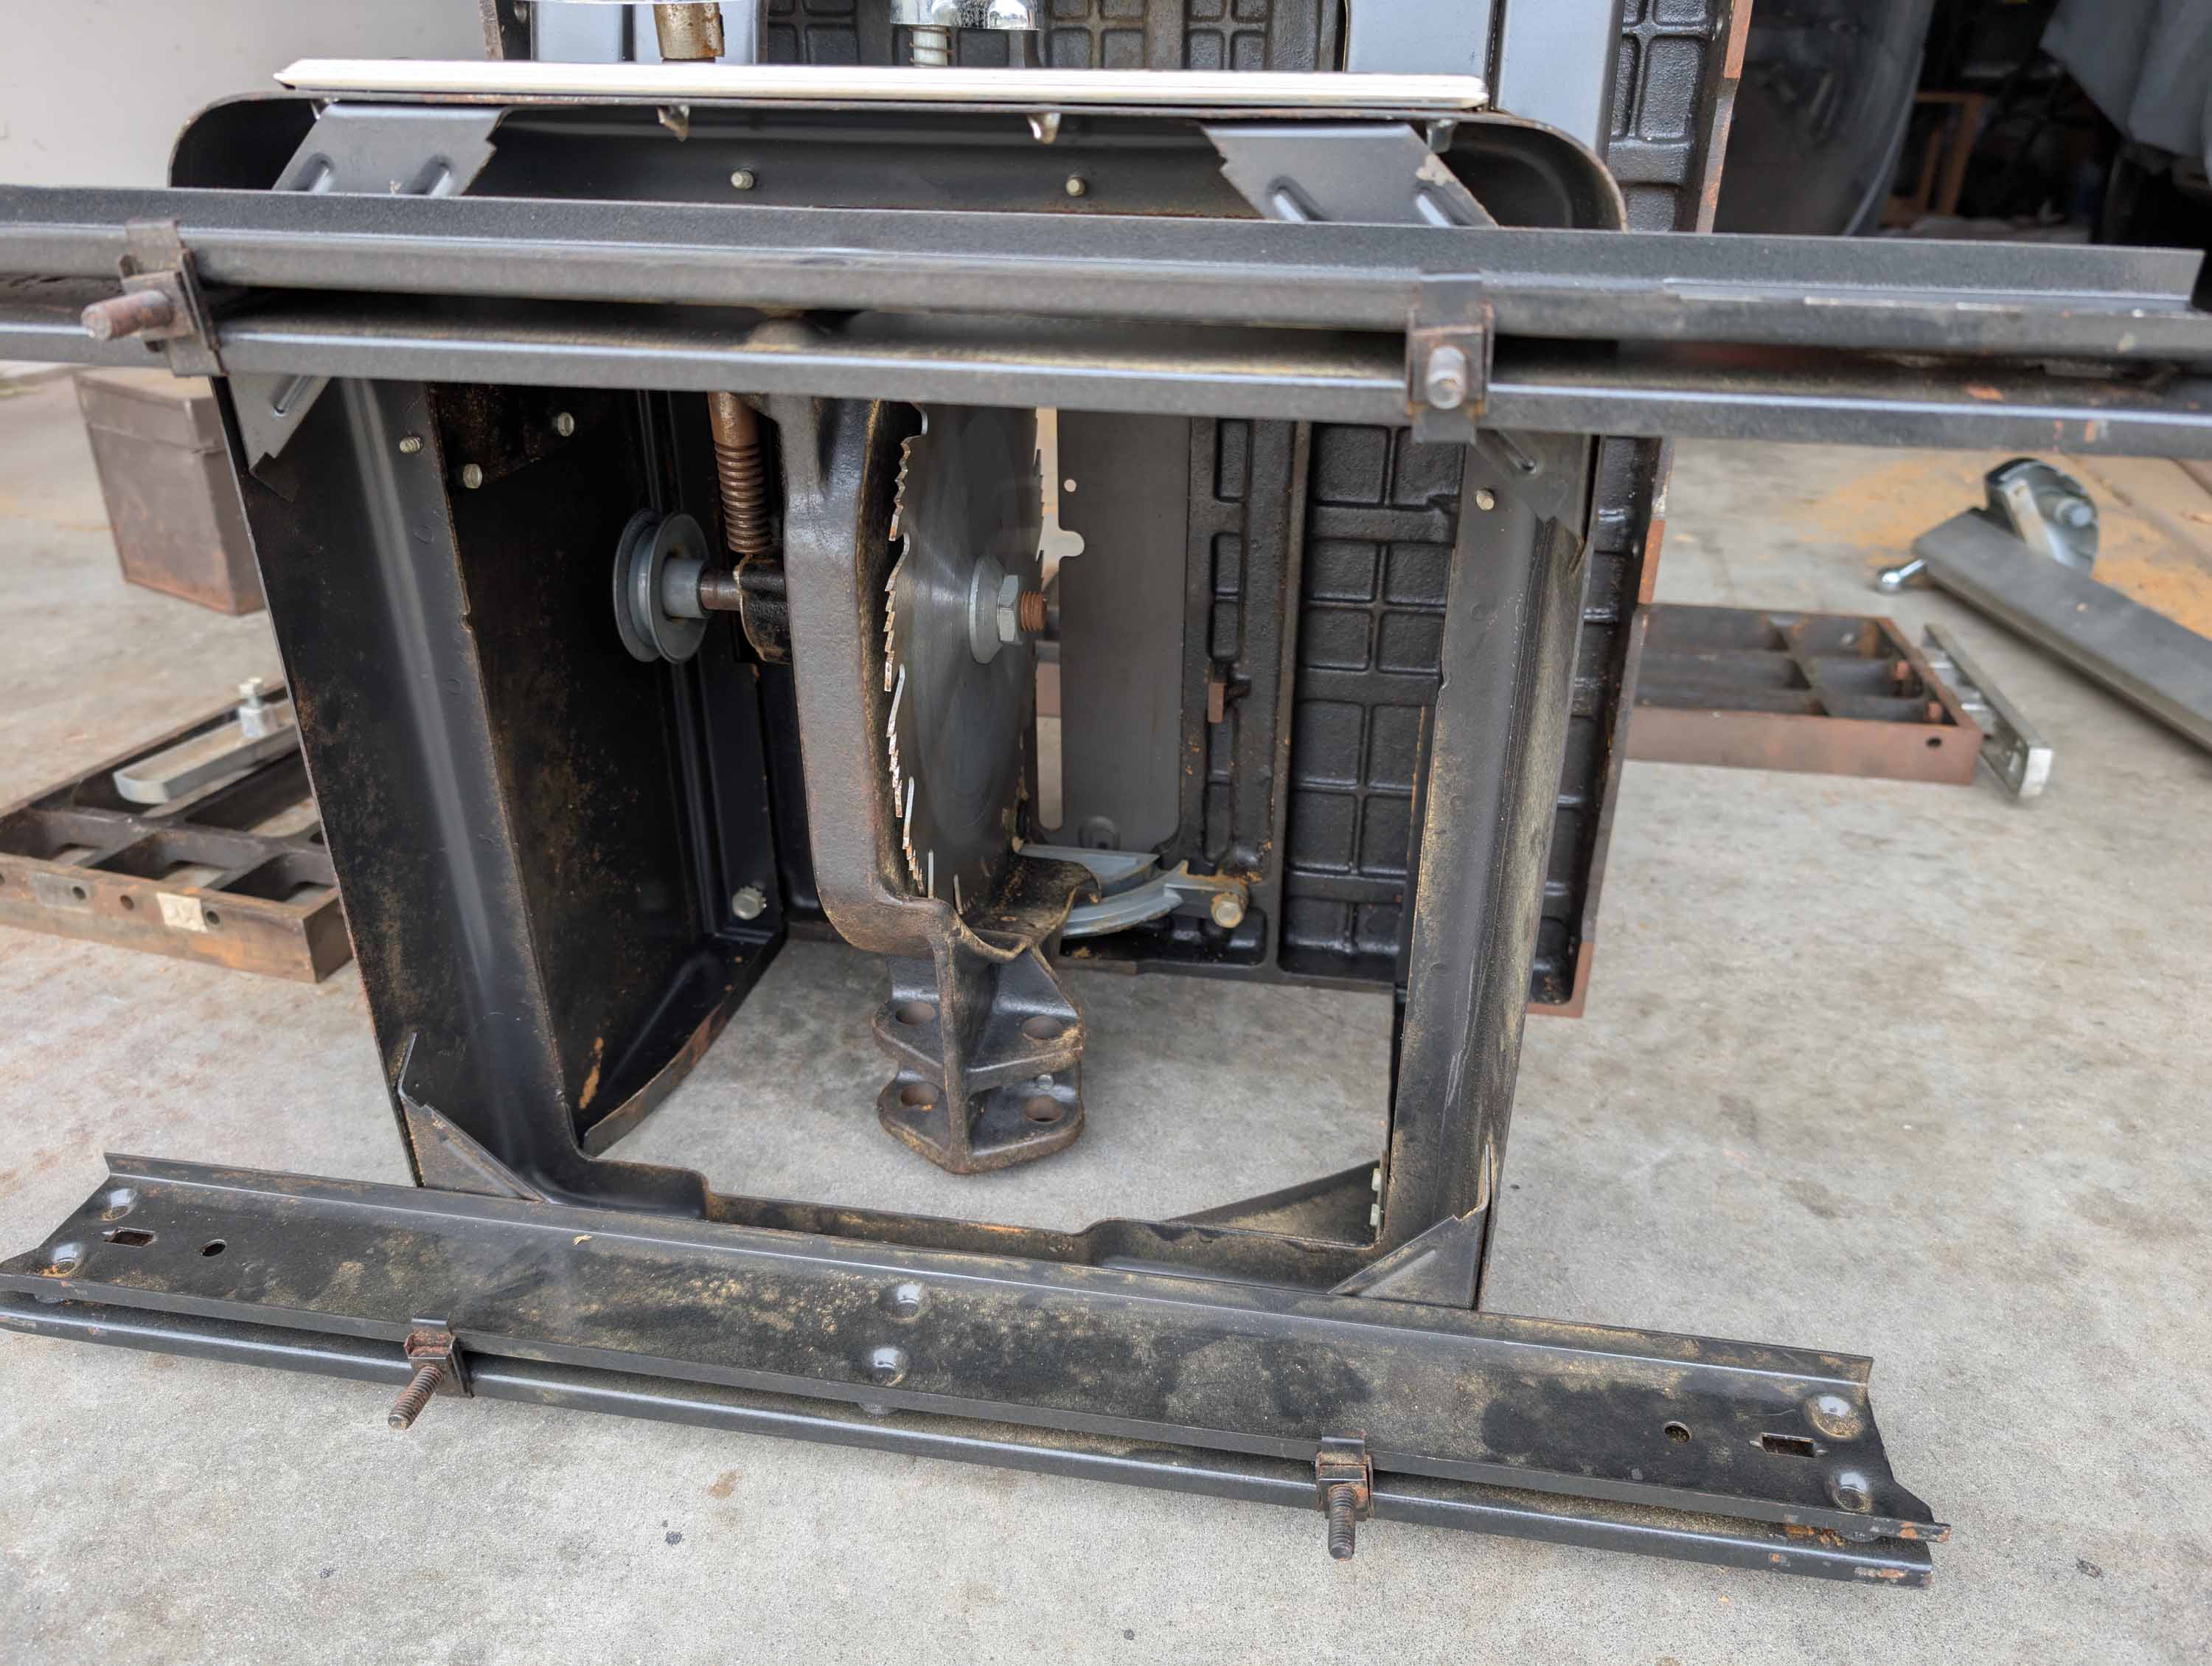
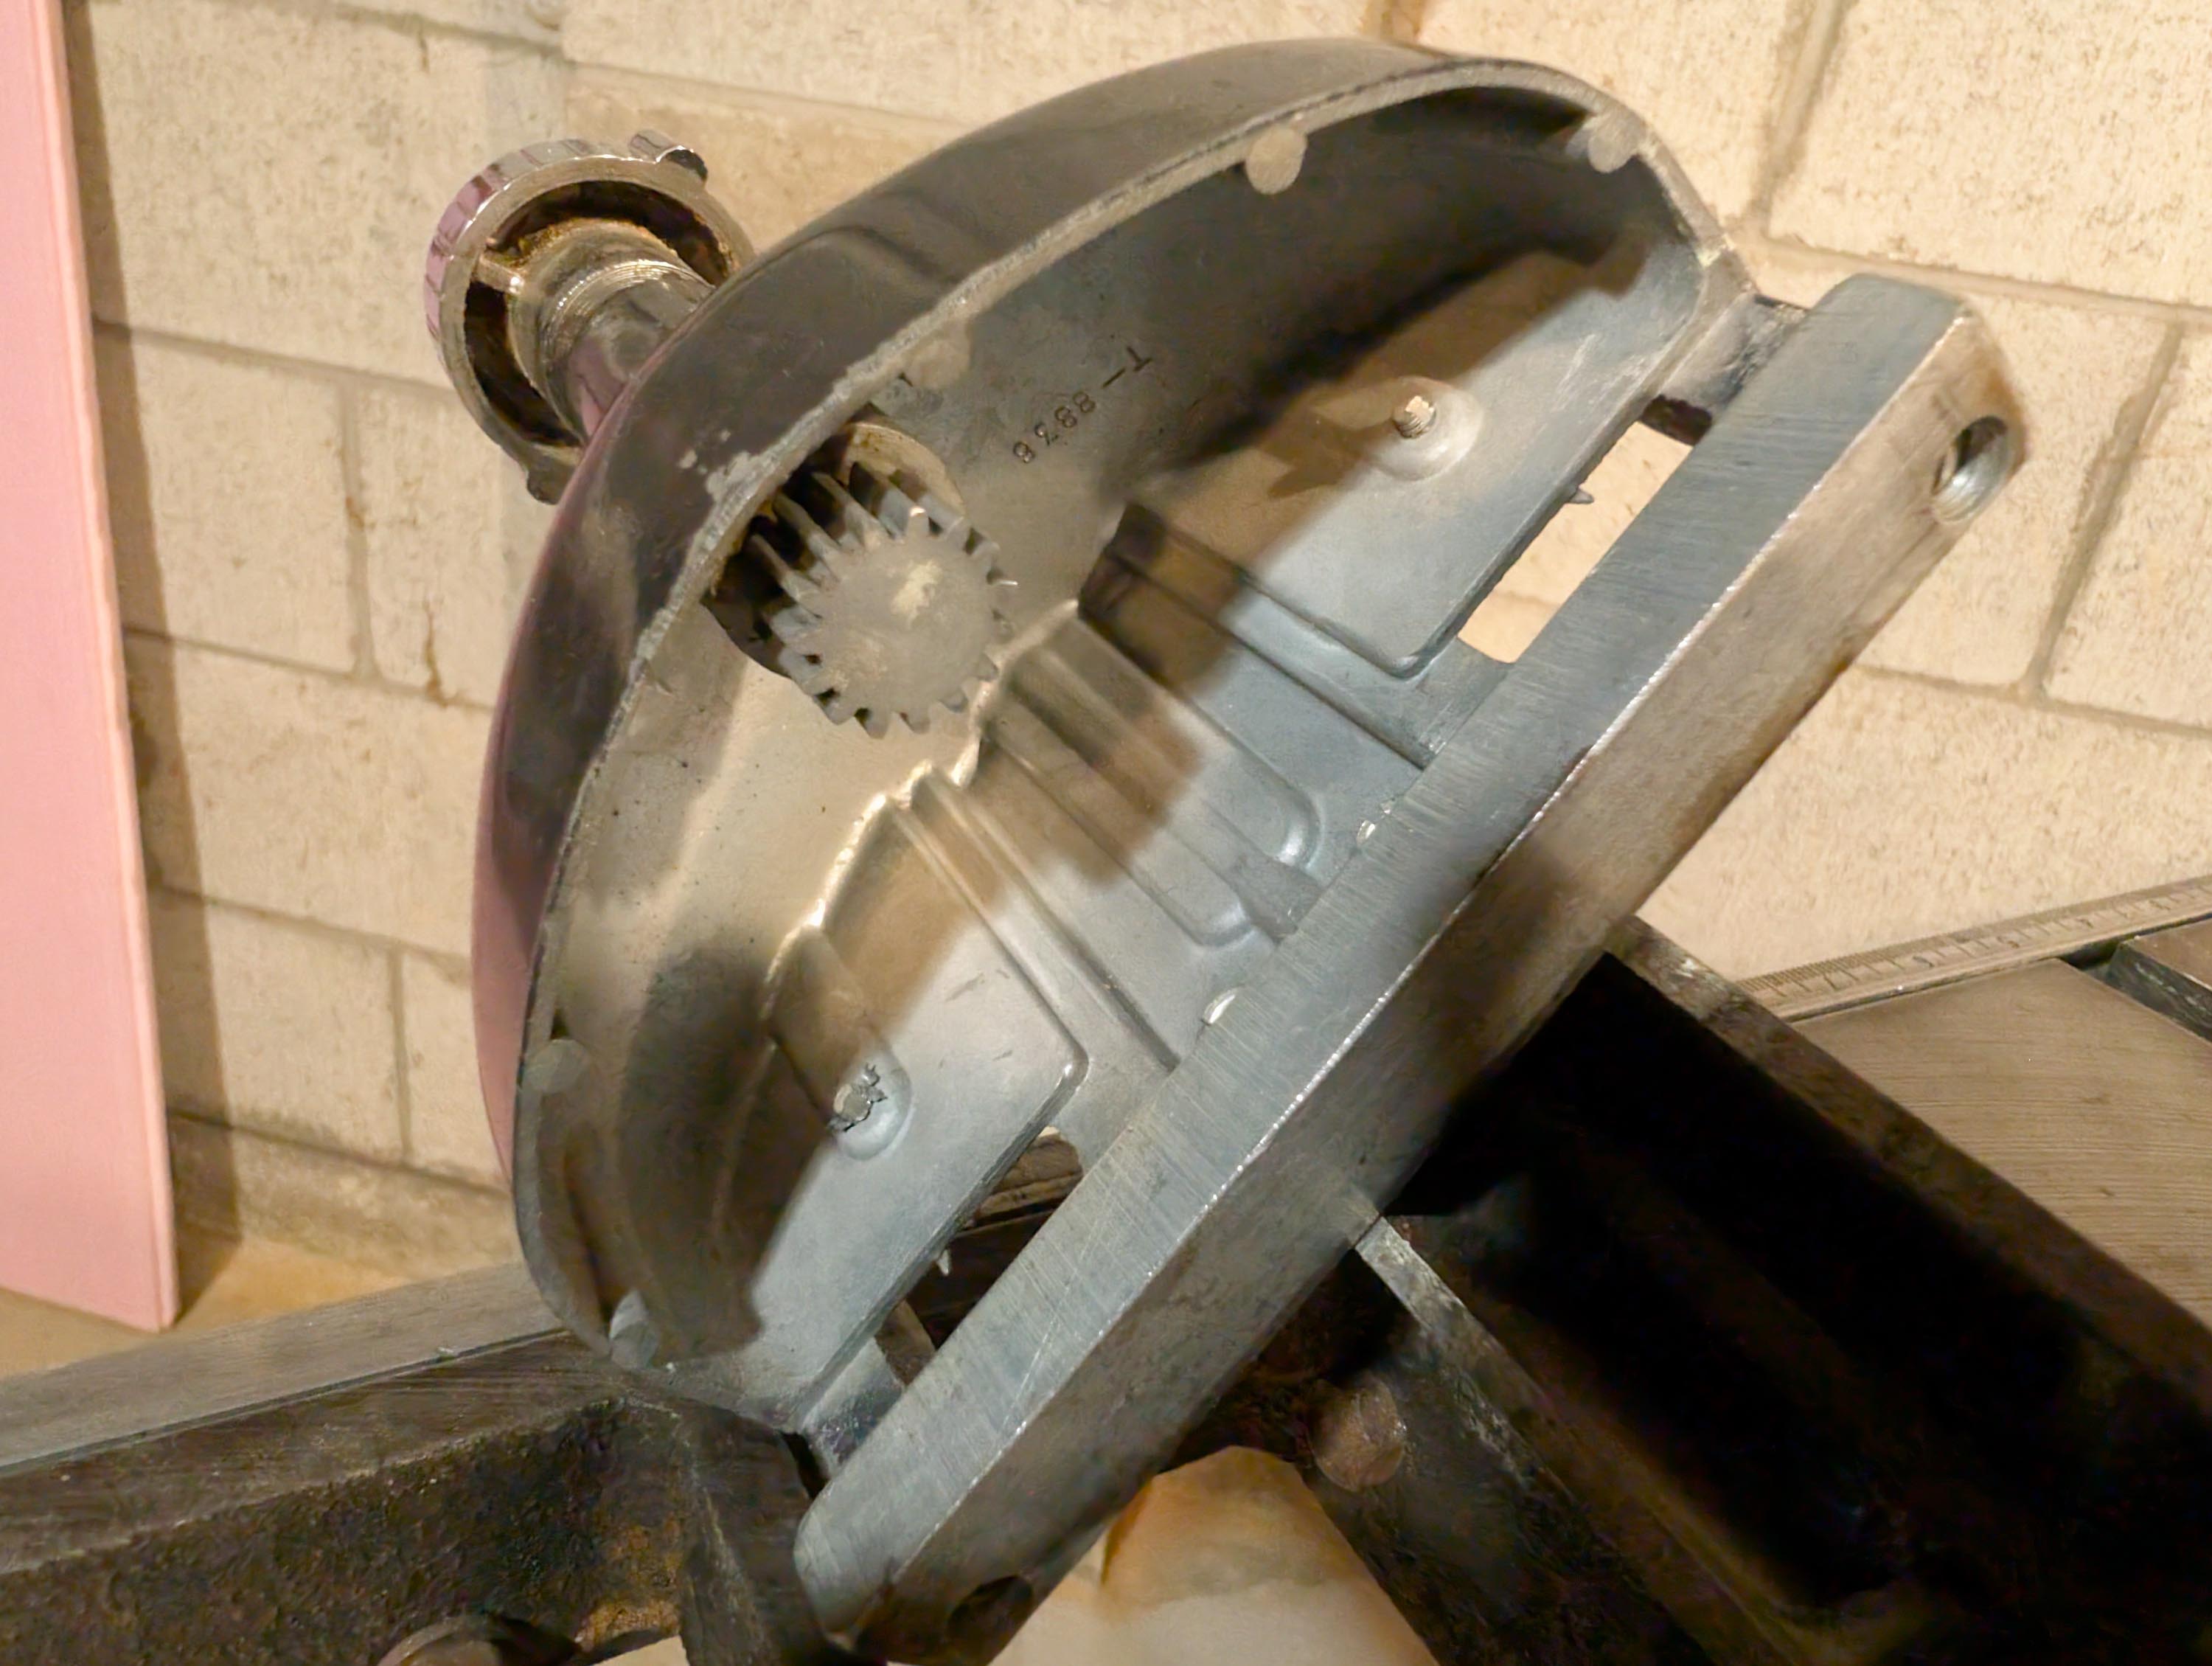
When I got home, I inspected the underside and it appeared very clean with little rust. The tilting arbor and knobs were very smooth with no signs of binding or wear. Raising and lowering the blade was very smooth. I tested the motor and it ran like new. No play in the main bearing. The saw appeared to have very low hours. The blade in the saw was the original combination blade supplied by Sears and it was still sharp!!
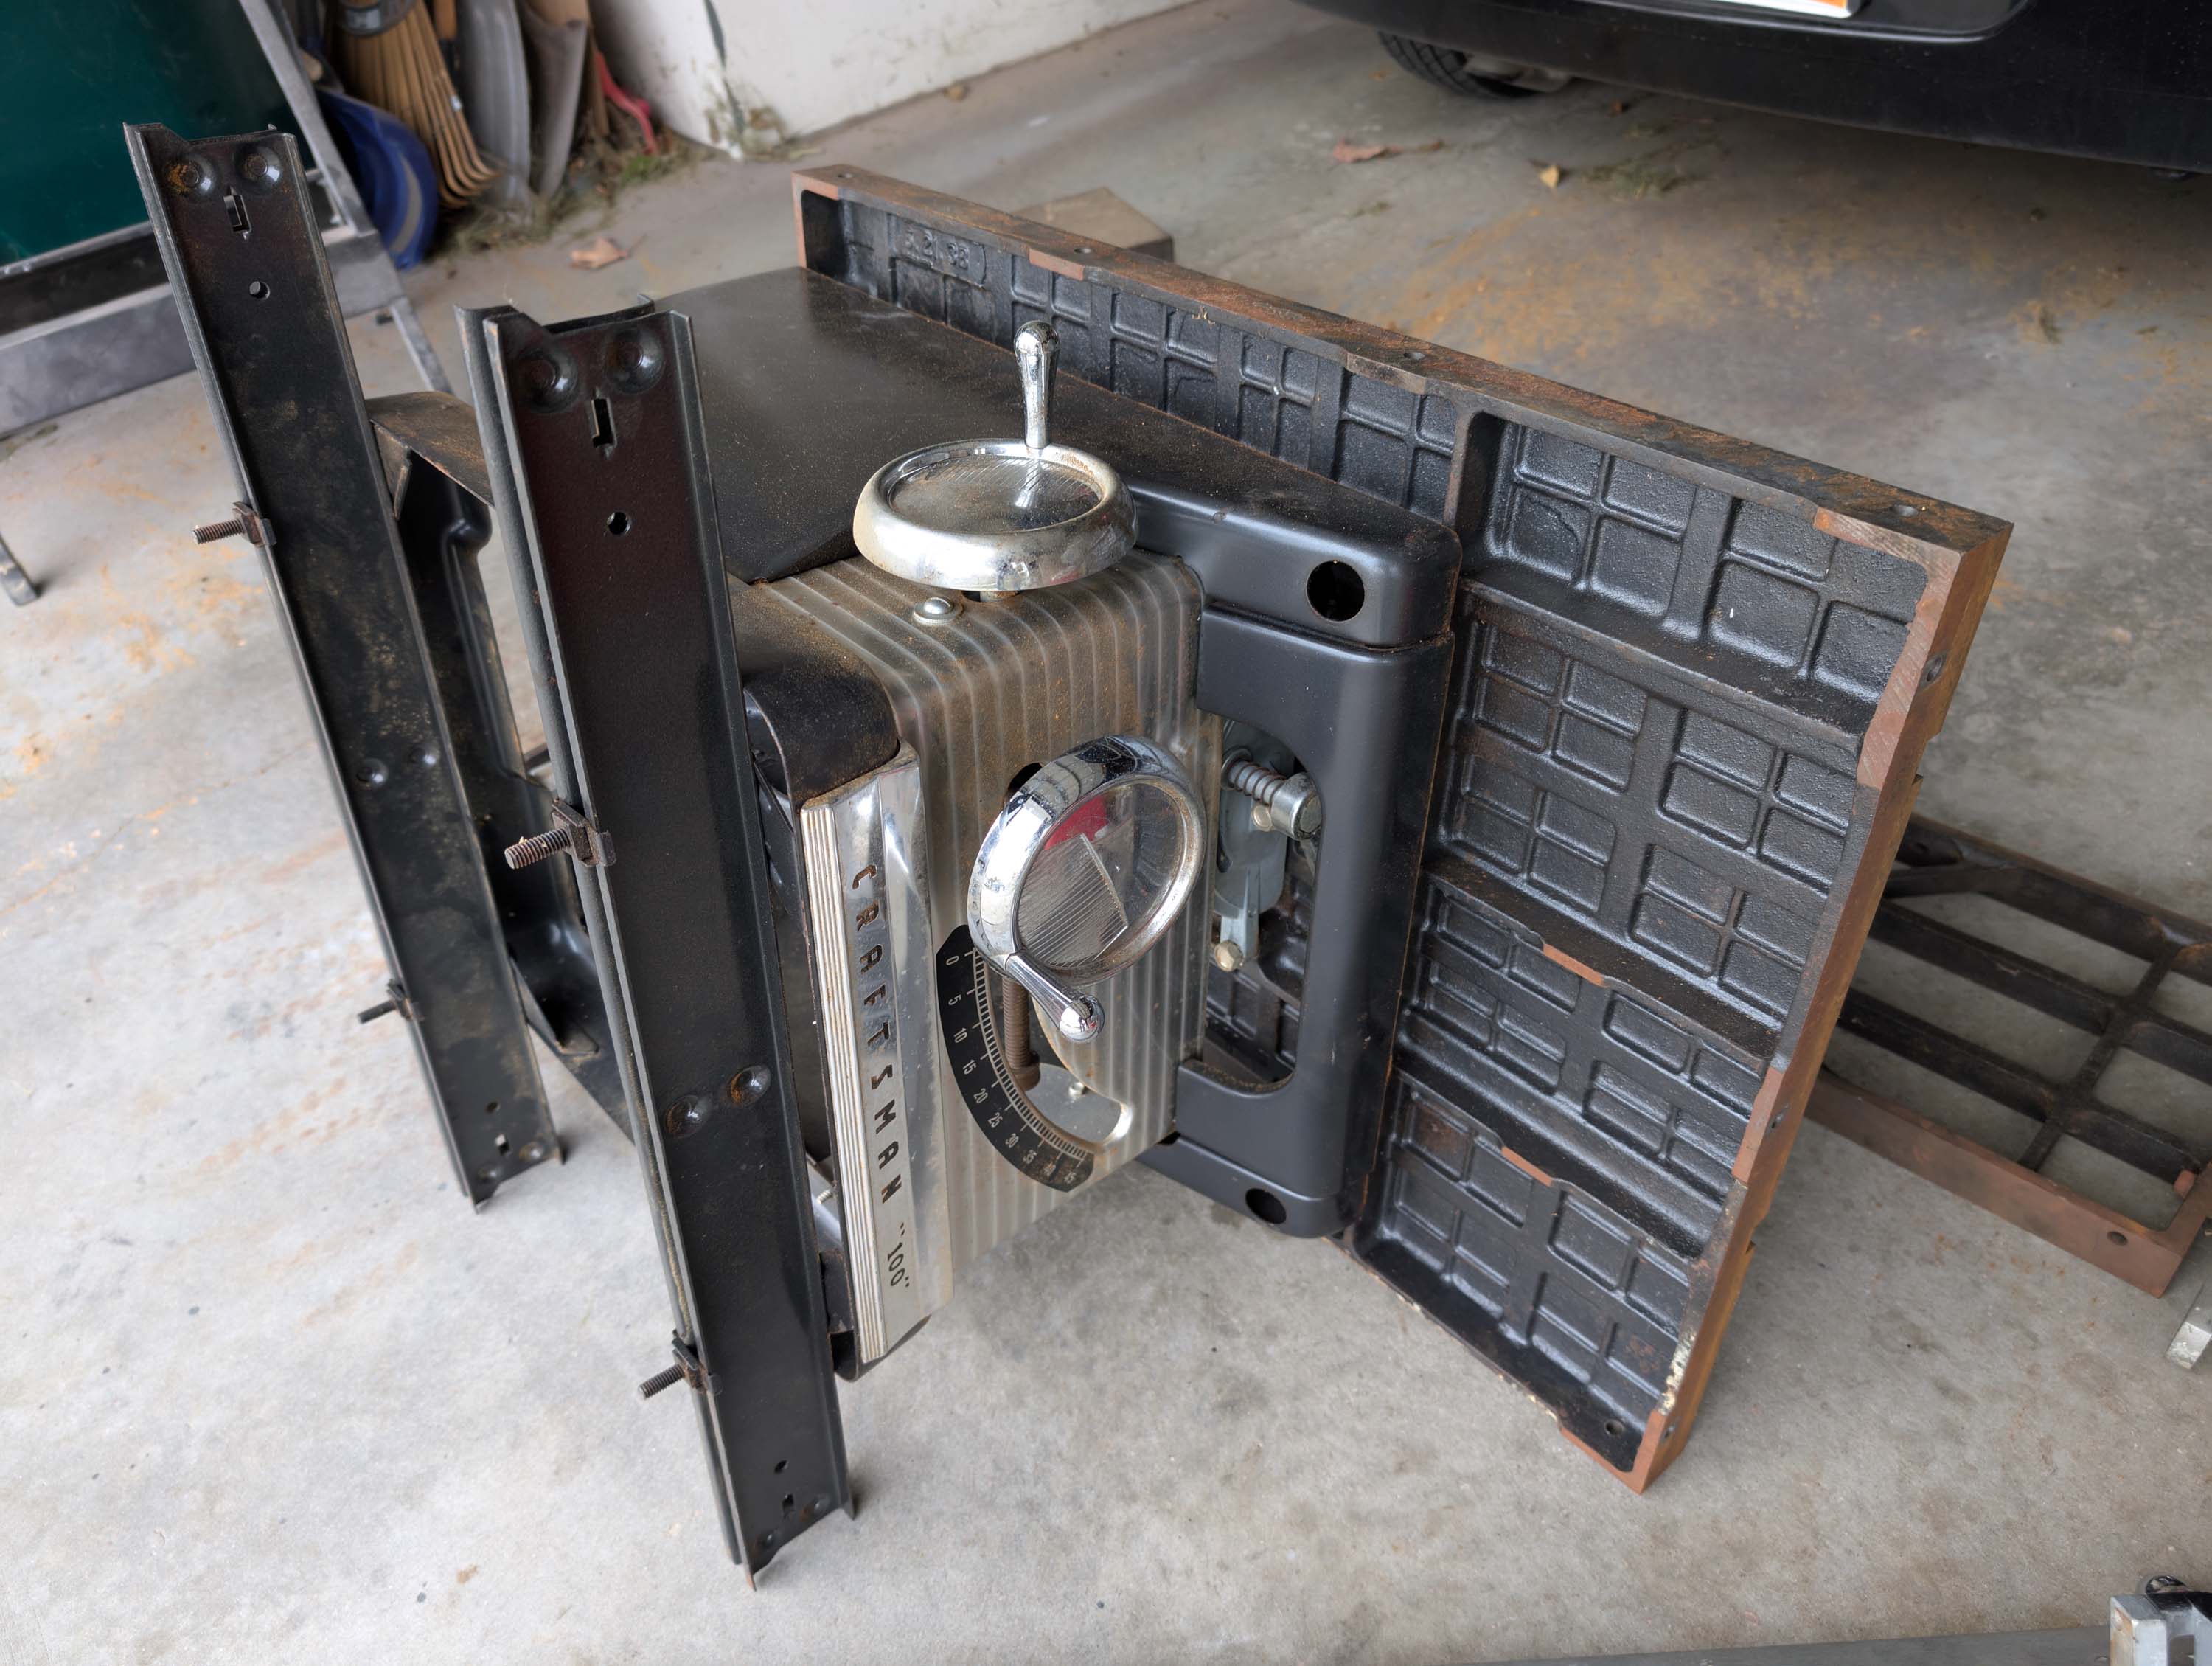
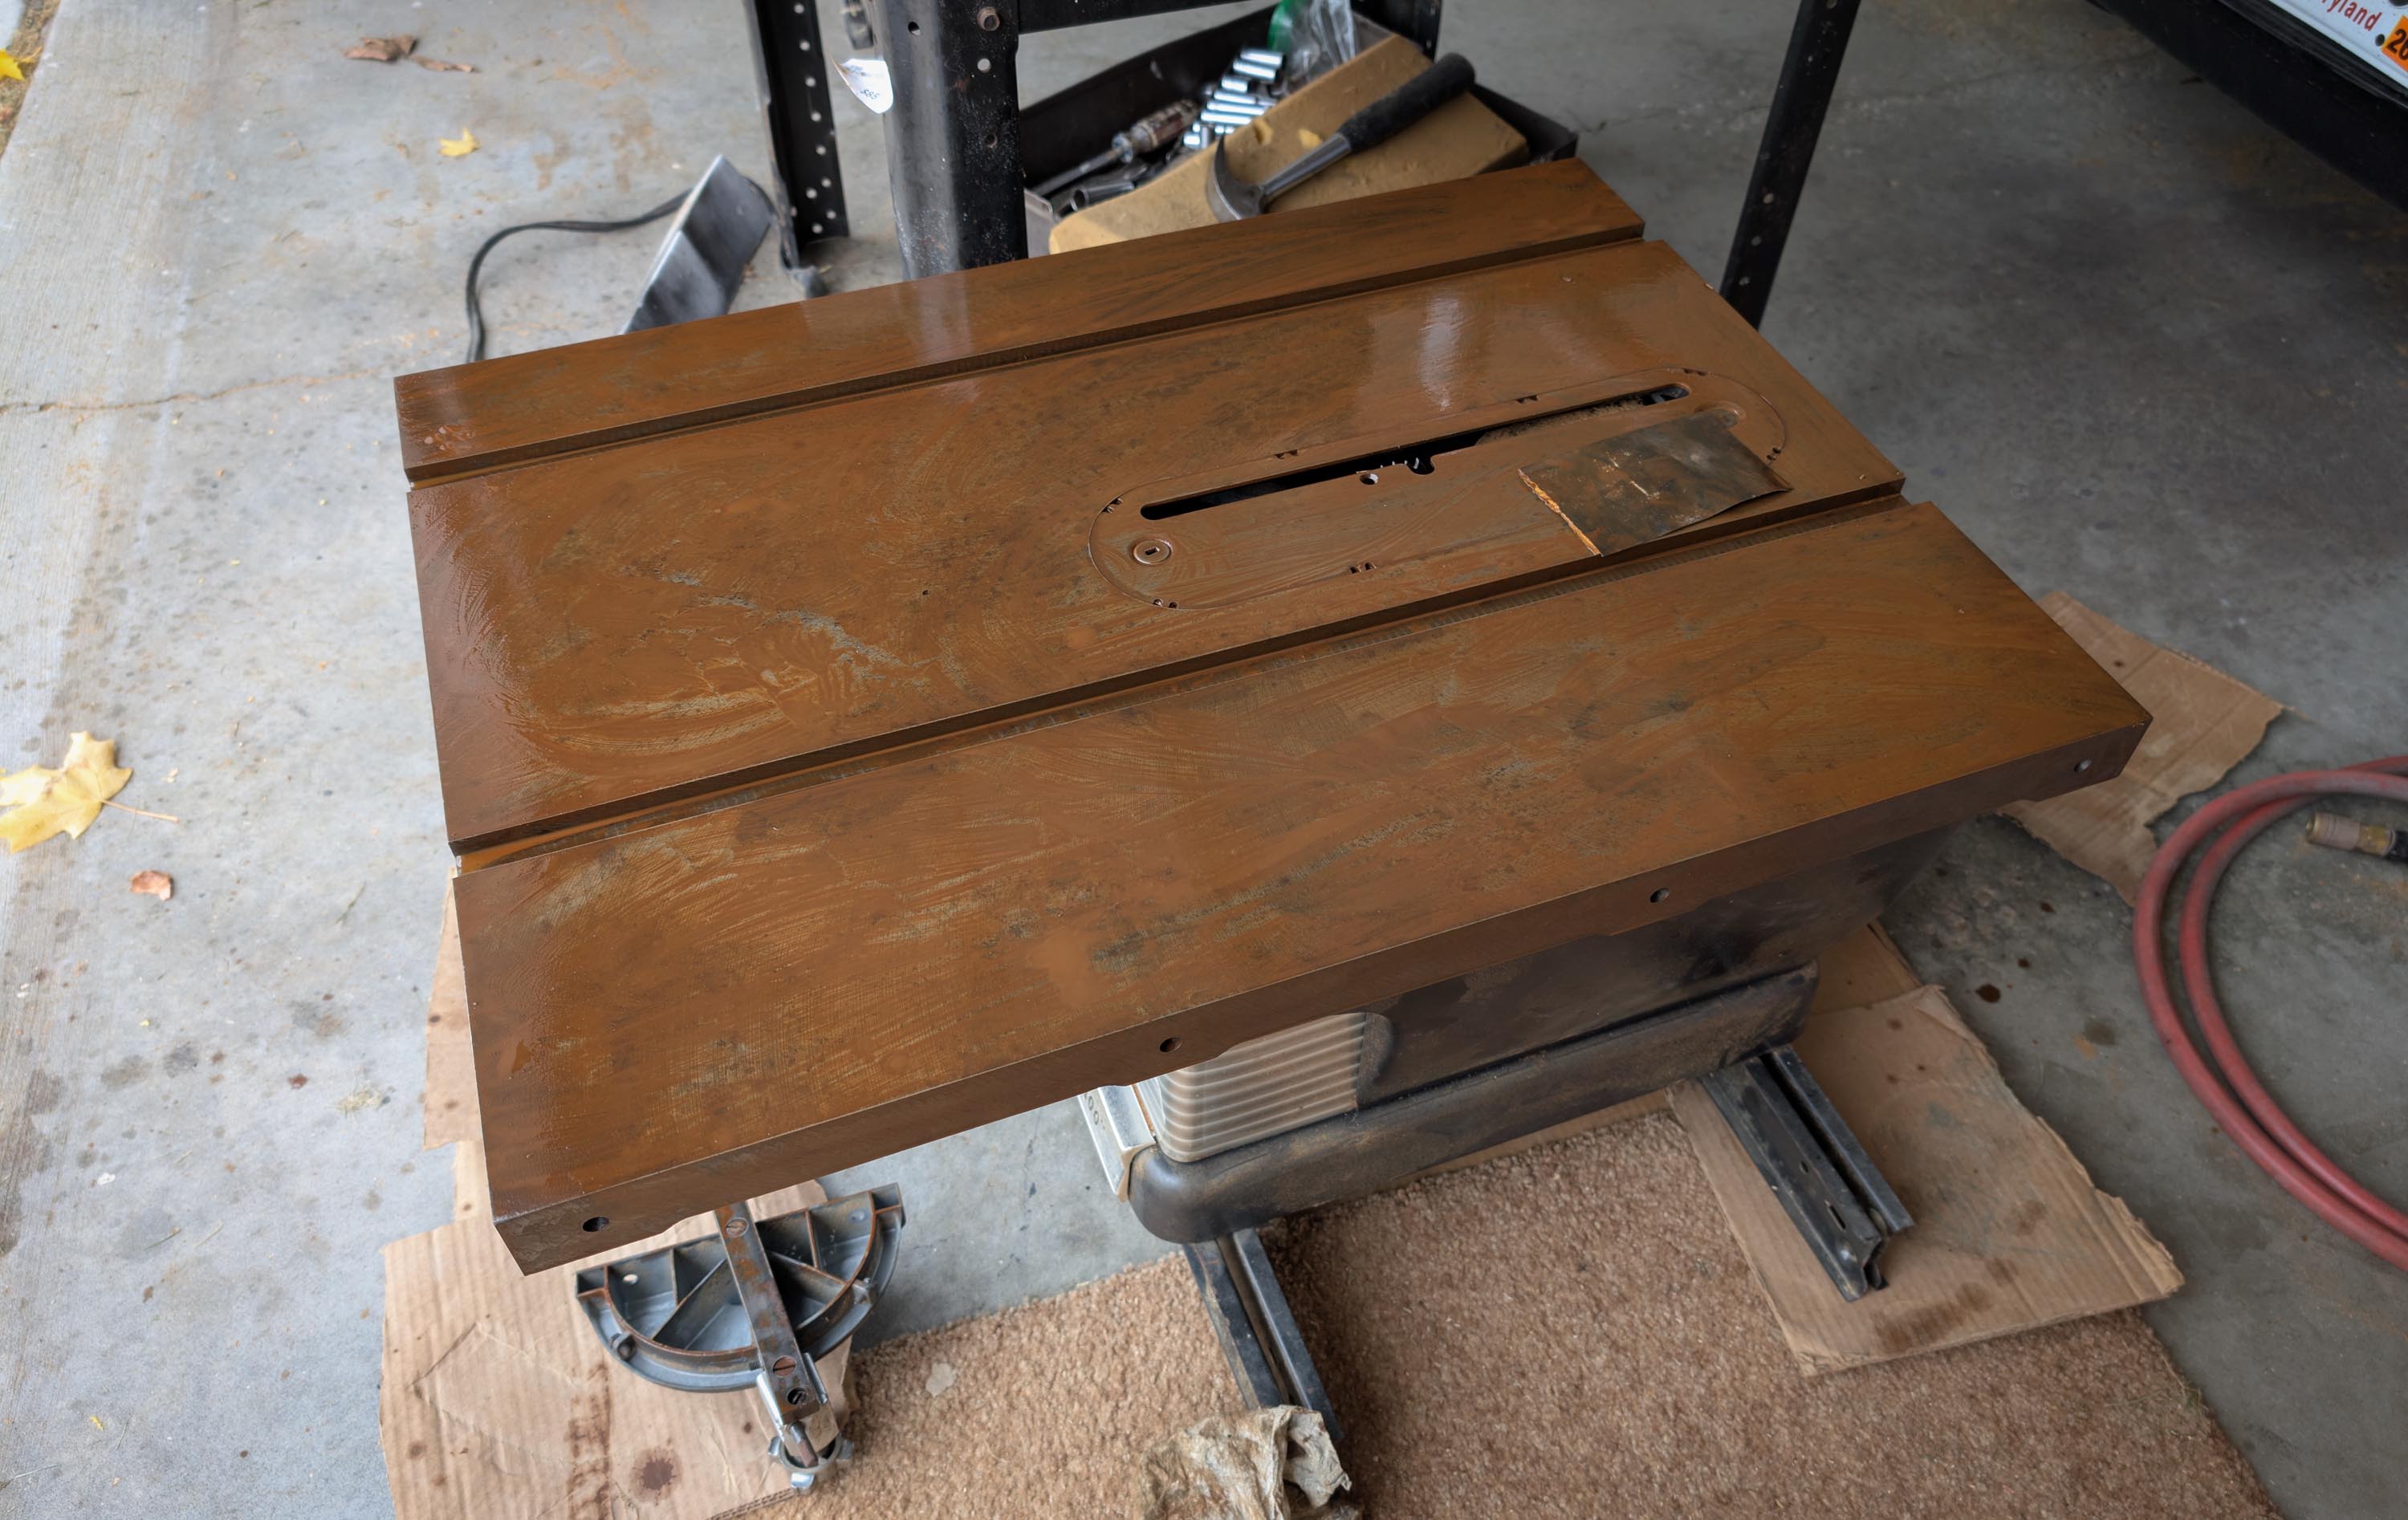
The top of the saw, however, showed significant rust. But it looks alot worse than actual in the photos. Turned out to be just a very thin layer of surface rust with no pitting. Cleaned up easily with mineral spirits, penetrating lubricant, and a very light 400/600 grit sanding. Once I had all the rust removed, I polished it with a thin coat of wax.
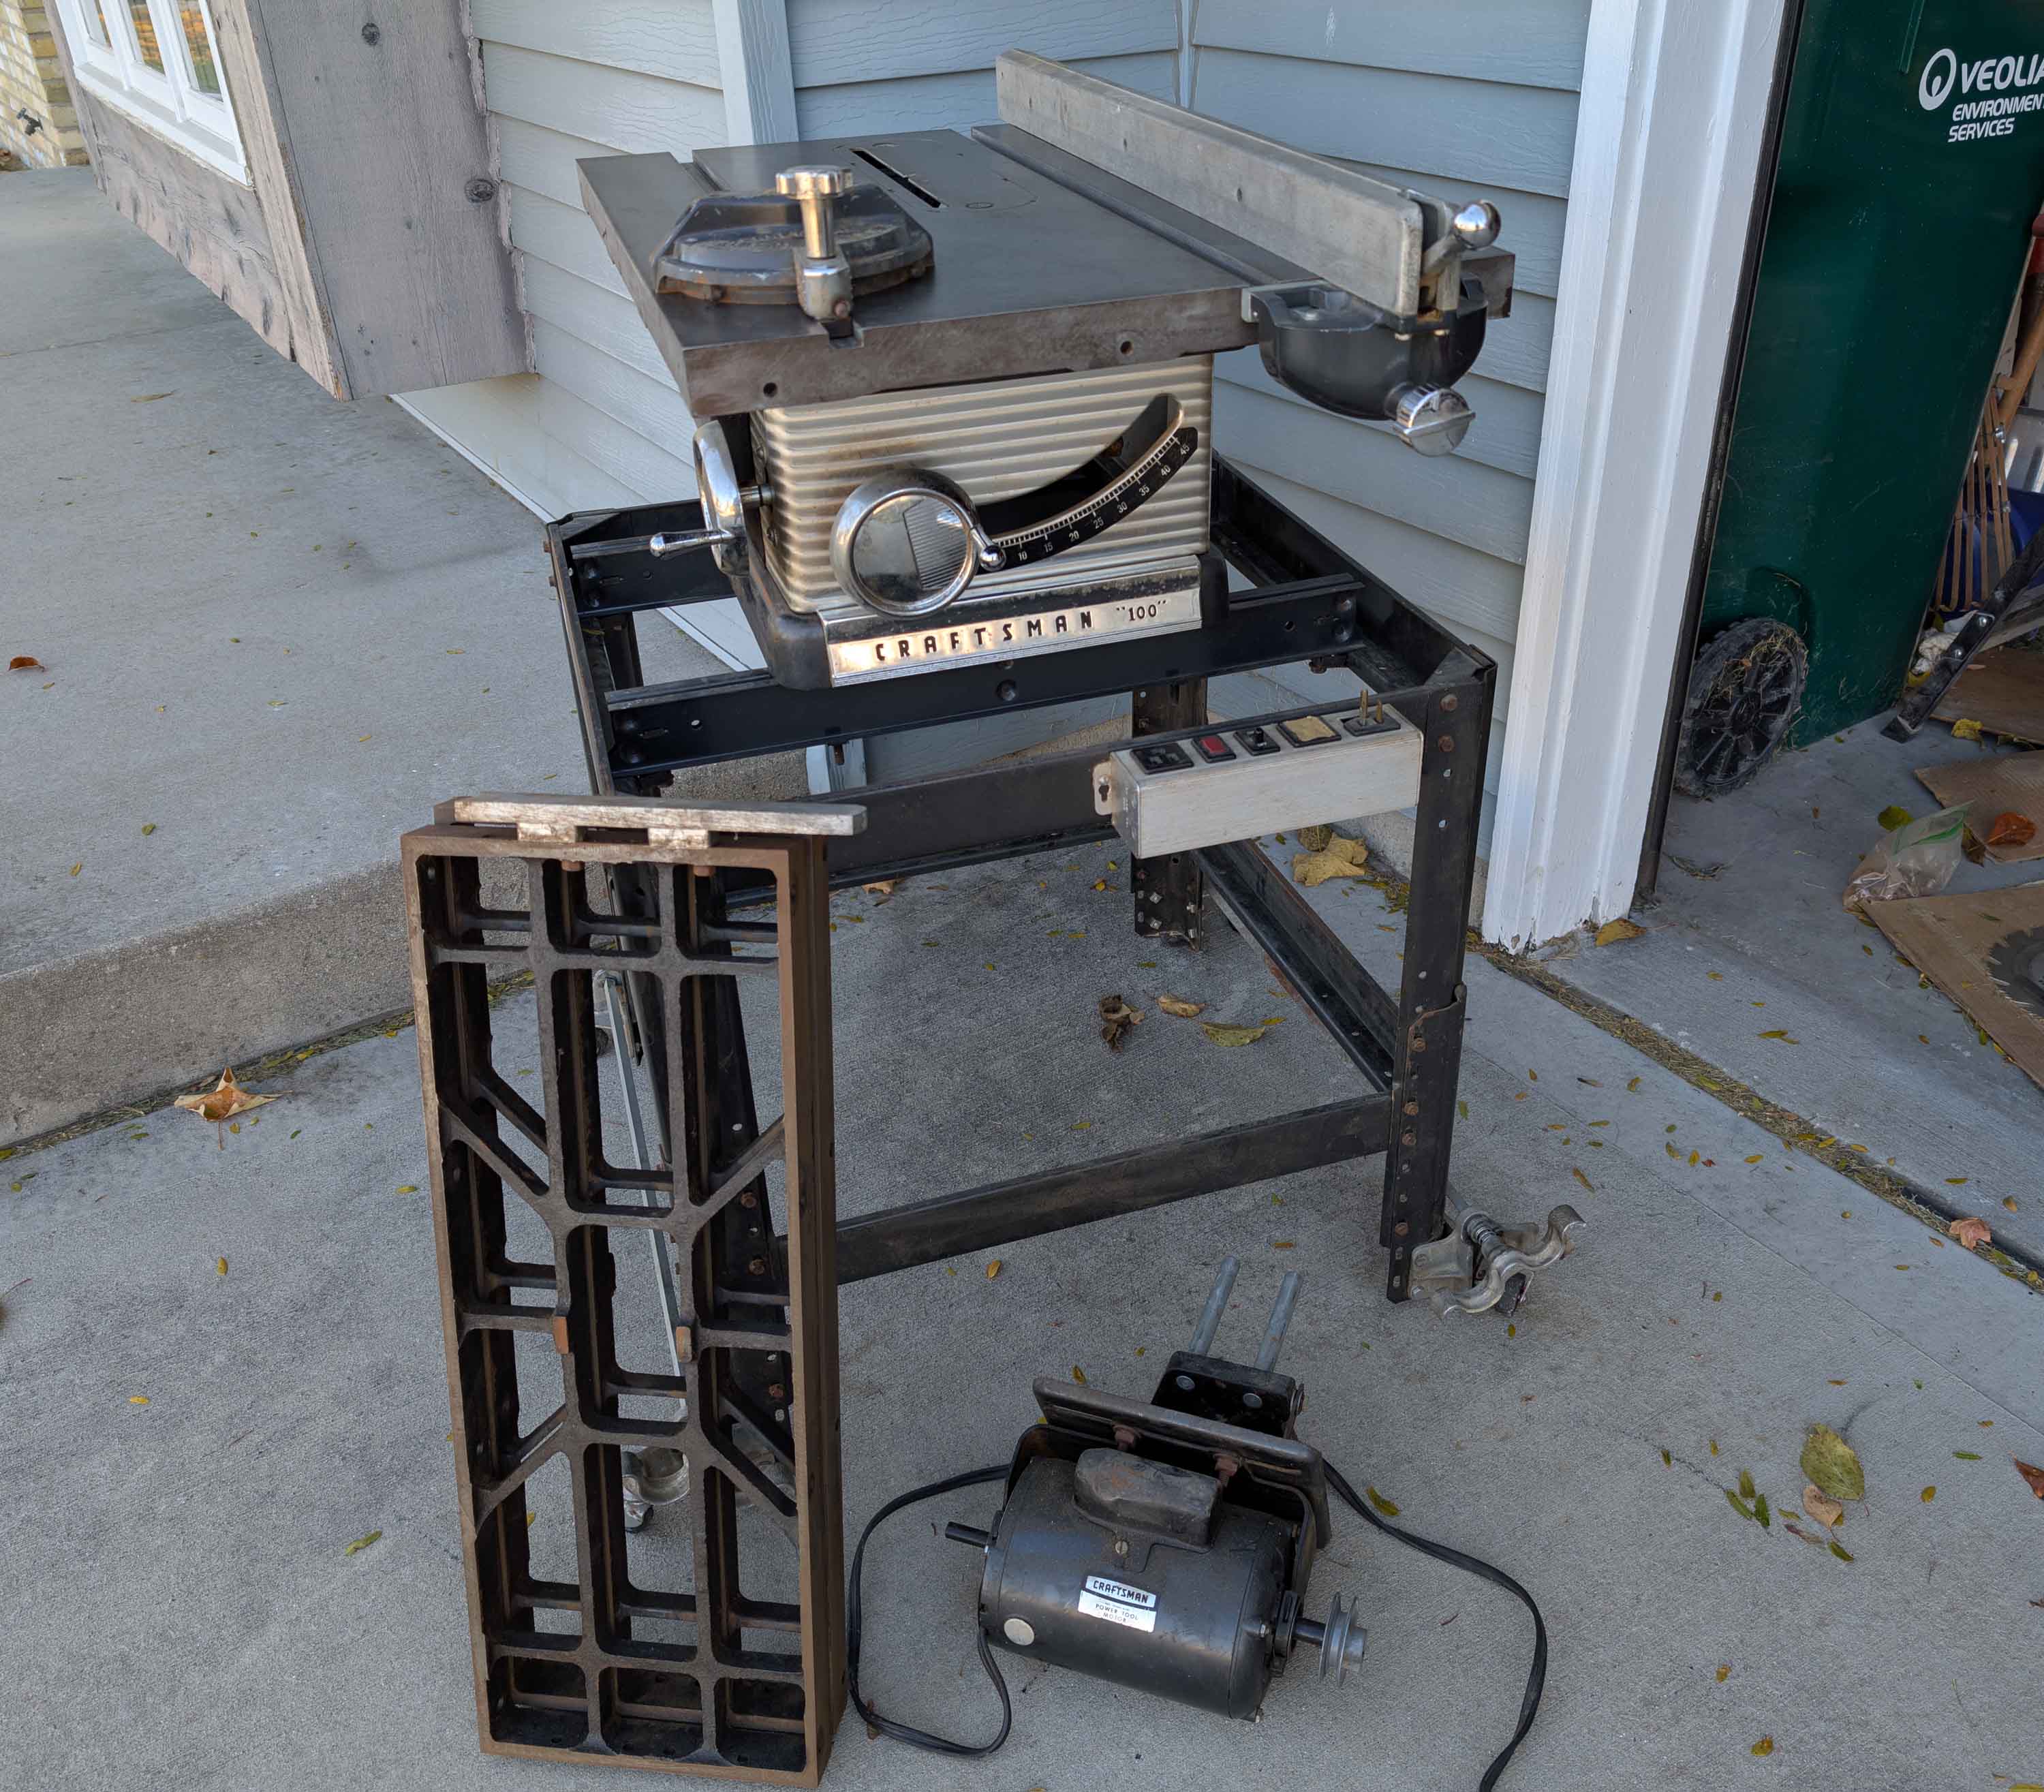
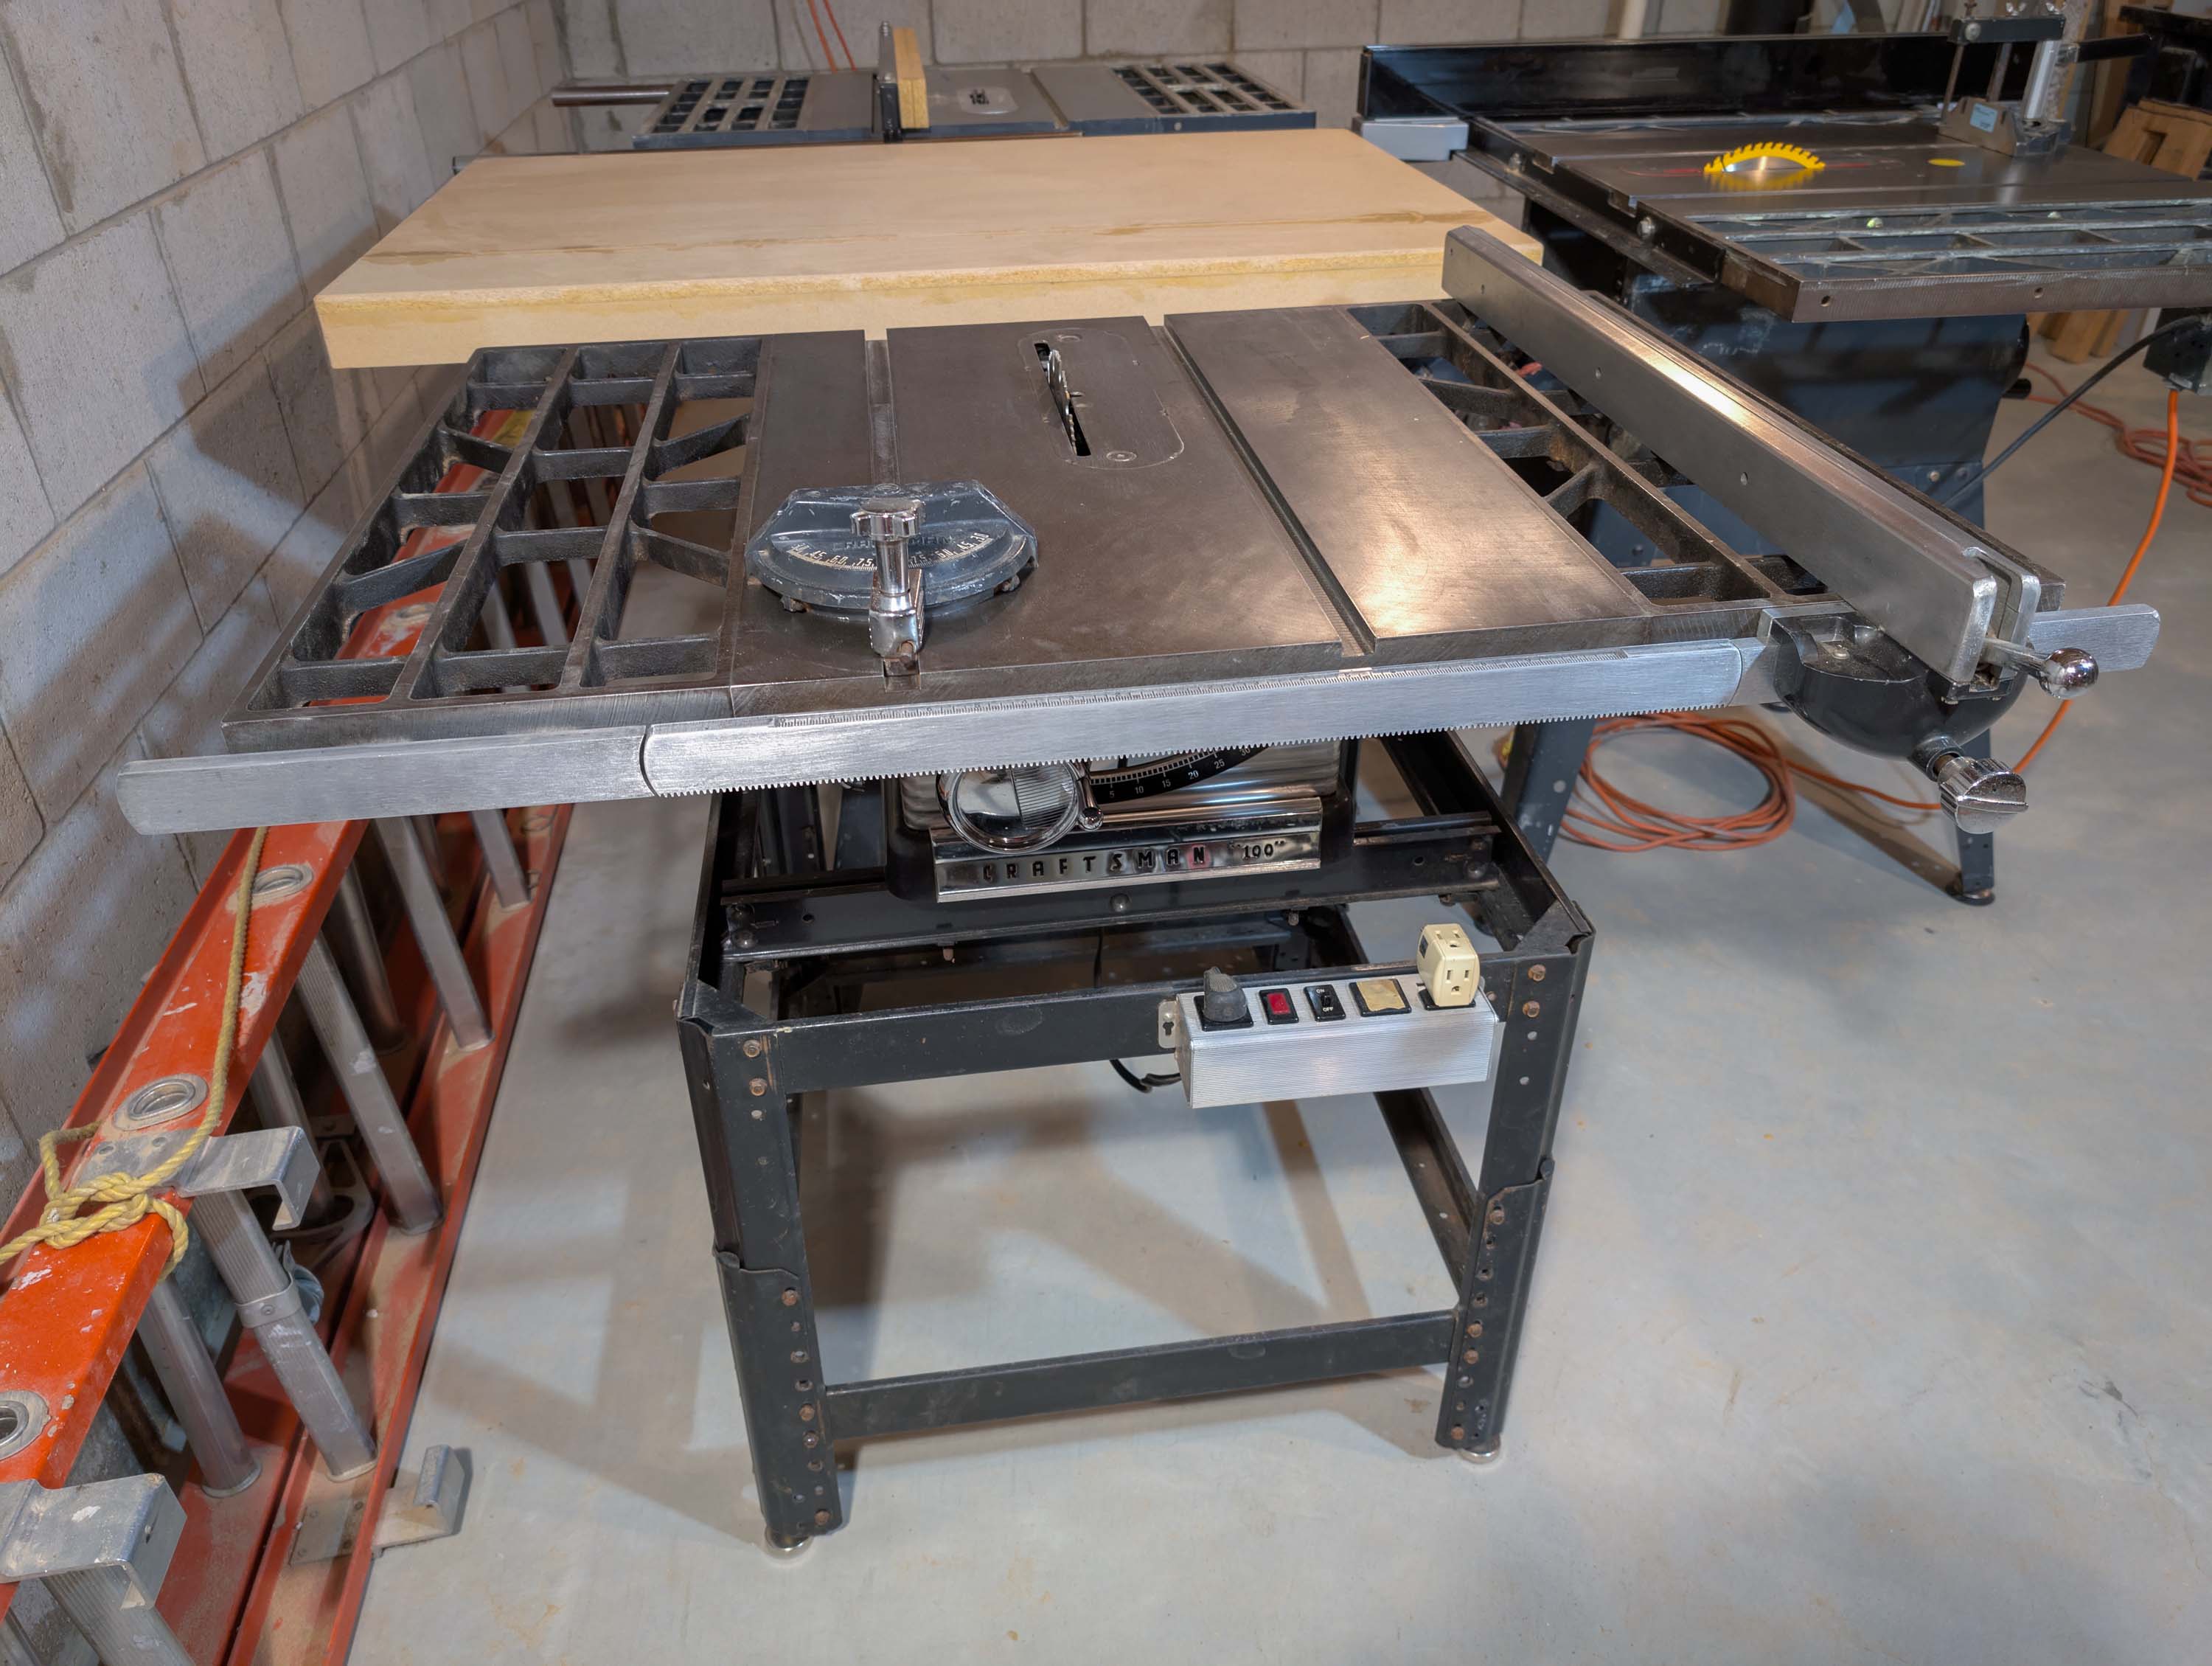
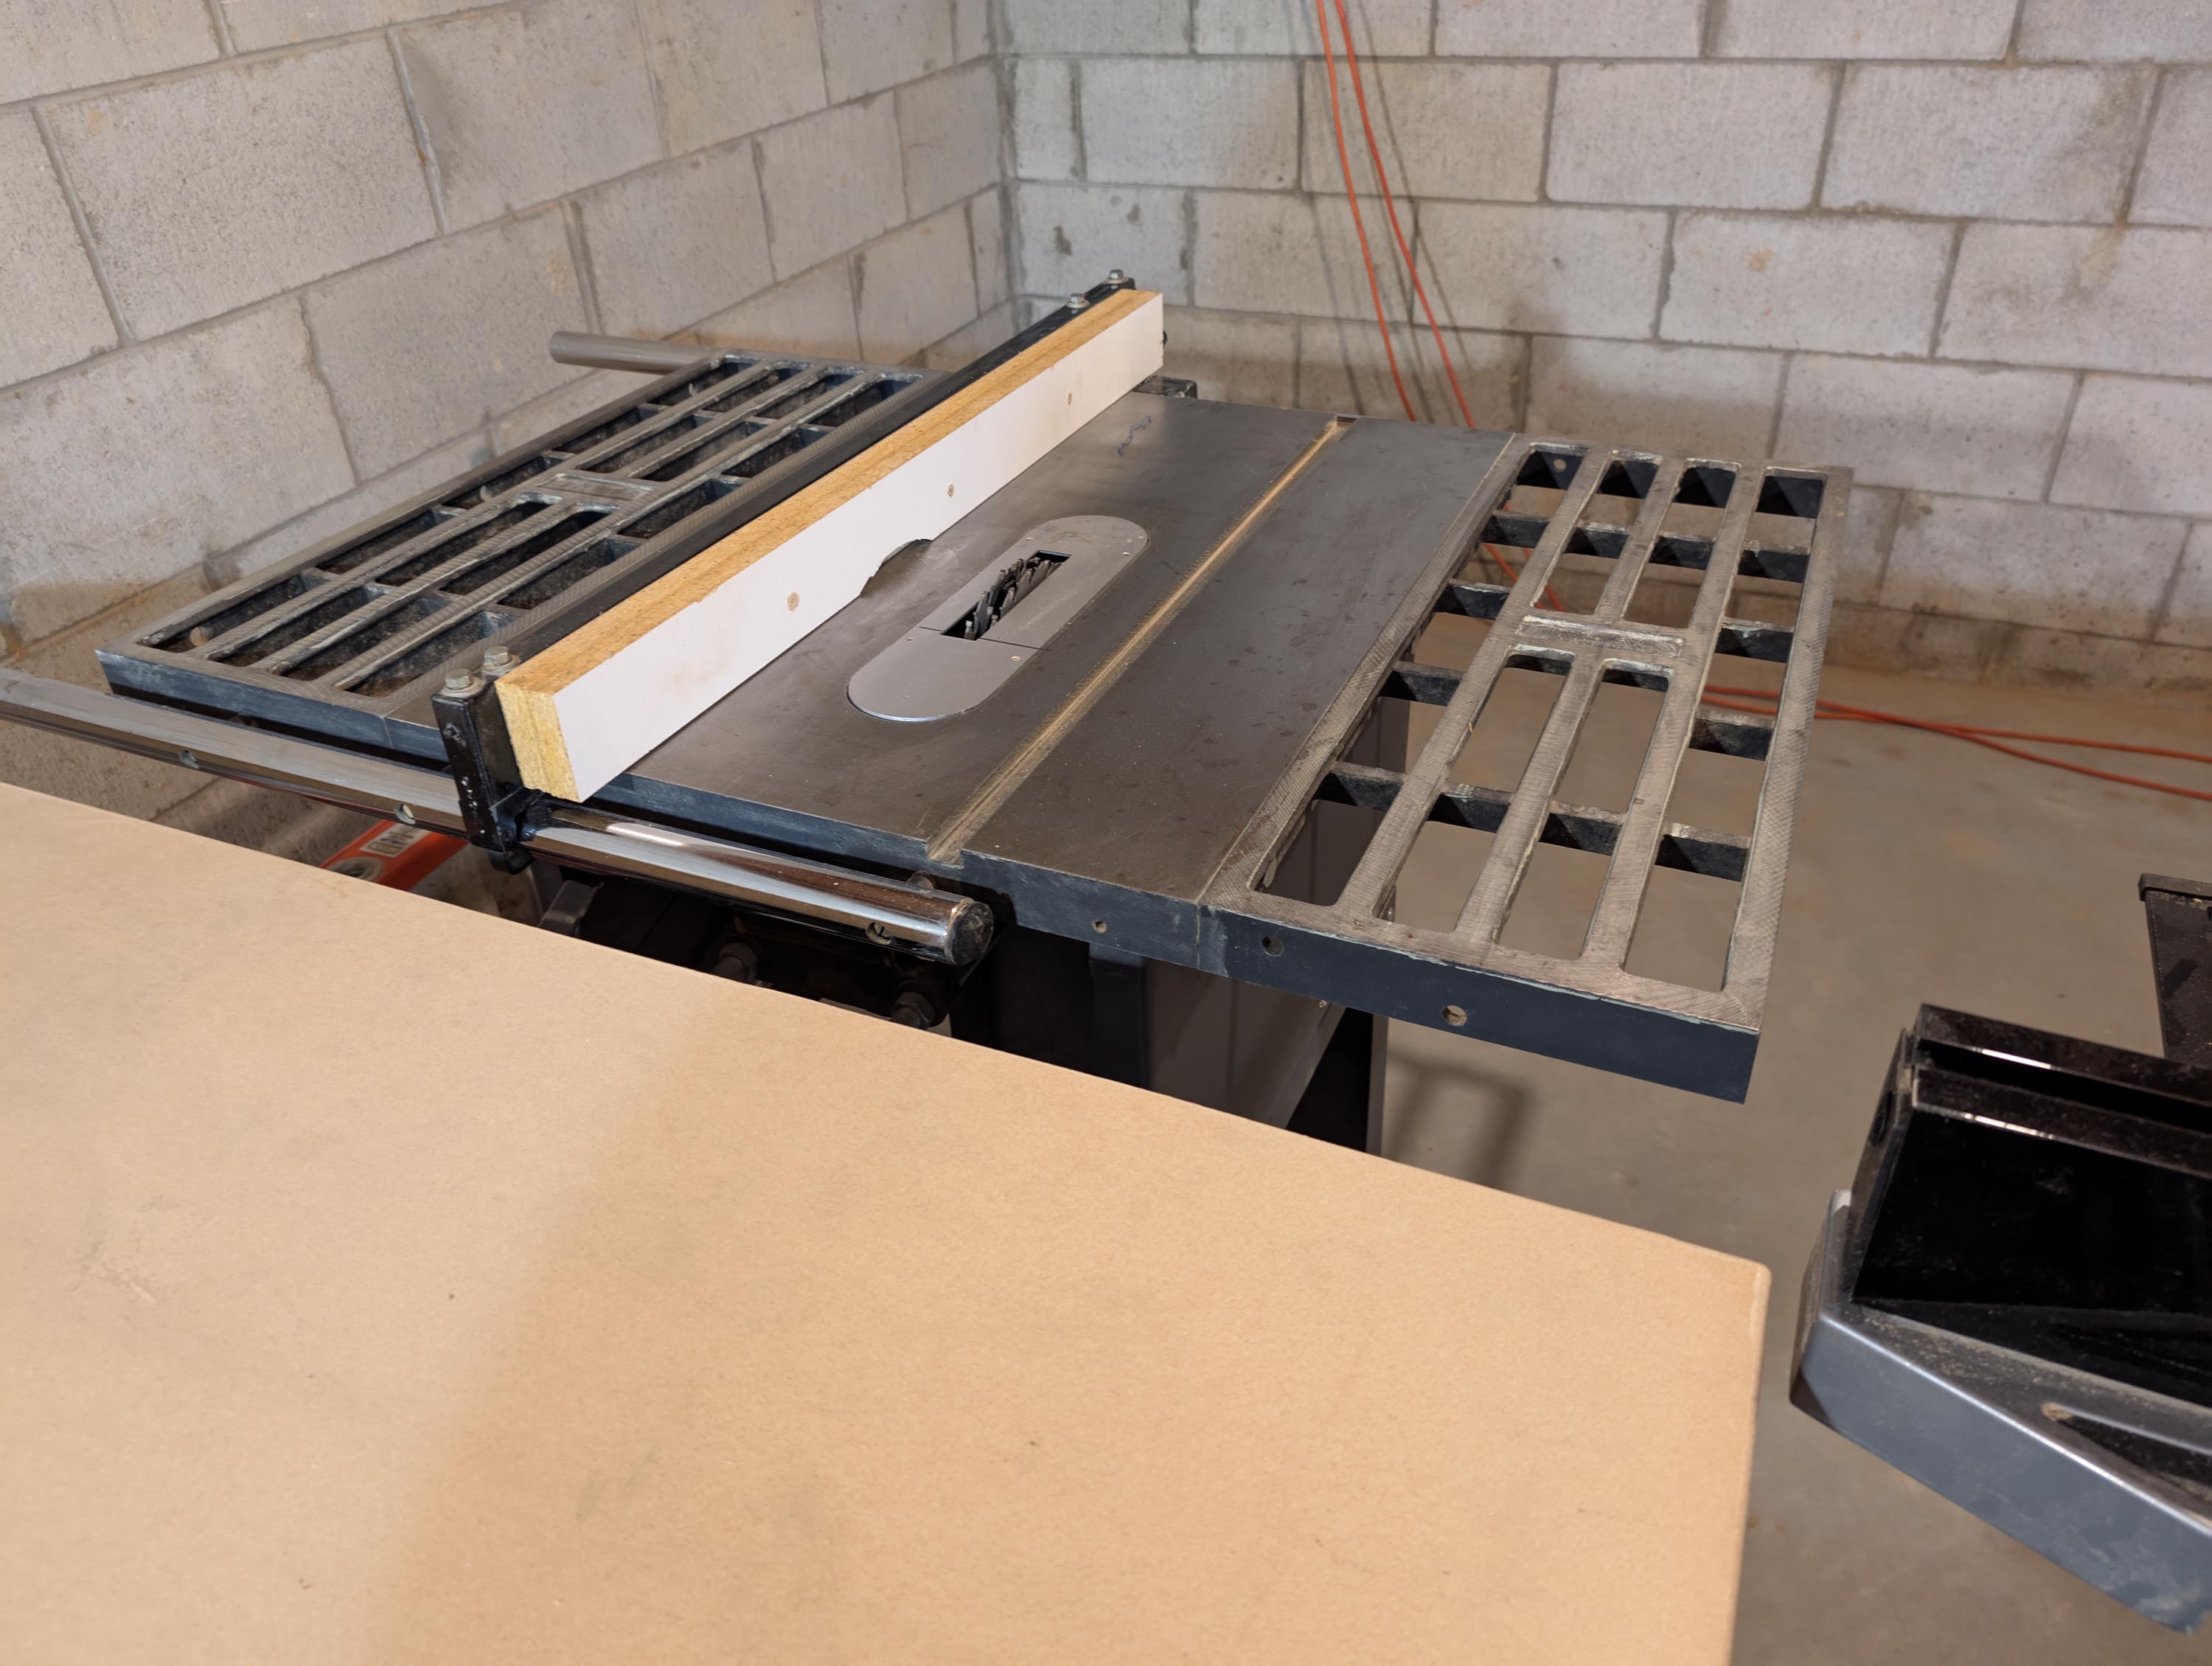
Restoration is very close to completion. I still have to install the motor, the two cast iron wings and the fence rails. This fence looks cheap, but it is actually usable and much better than the ones Sears sold later on. I’m not going to replace it, as I want to keep this table saw all original. Period correct 60’s parts only.
Thanks Craig & JR. I just weighed the base unit alone, without stand, fence, or extension wings, and it came out to 105 lbs. When I measured the same thing on the newer (1992) Craftsman table saw that I restored a few months ago, it came out to only 80 lbs. Both table saws have cast iron tops that measure 20x27 inches. But the knobs on the older saw are metal compared to cheap plastic on the newer saw. In addition, the mechanism inside the older one seems much higher quality with better parts. So, if you see one of these older ones for sale somewhere, grab it.
This is really amazing Bill! My dad owned the very same saw on which we built a pair of A7’s in about 1972! I loved that thing! We used it for tons of projects! We also used a big carpenter square to square up the fence for every single cut.
I had one similar to this as a young boy, and purchased one of these when I lived in California in the late 1990s. I didn’t have a fence, so I welded one and the saw served me well for perhaps 4-5 years. Eventually I burned out the motor and abandoned the saw, but the old craftsman saw served me well. Great Project !
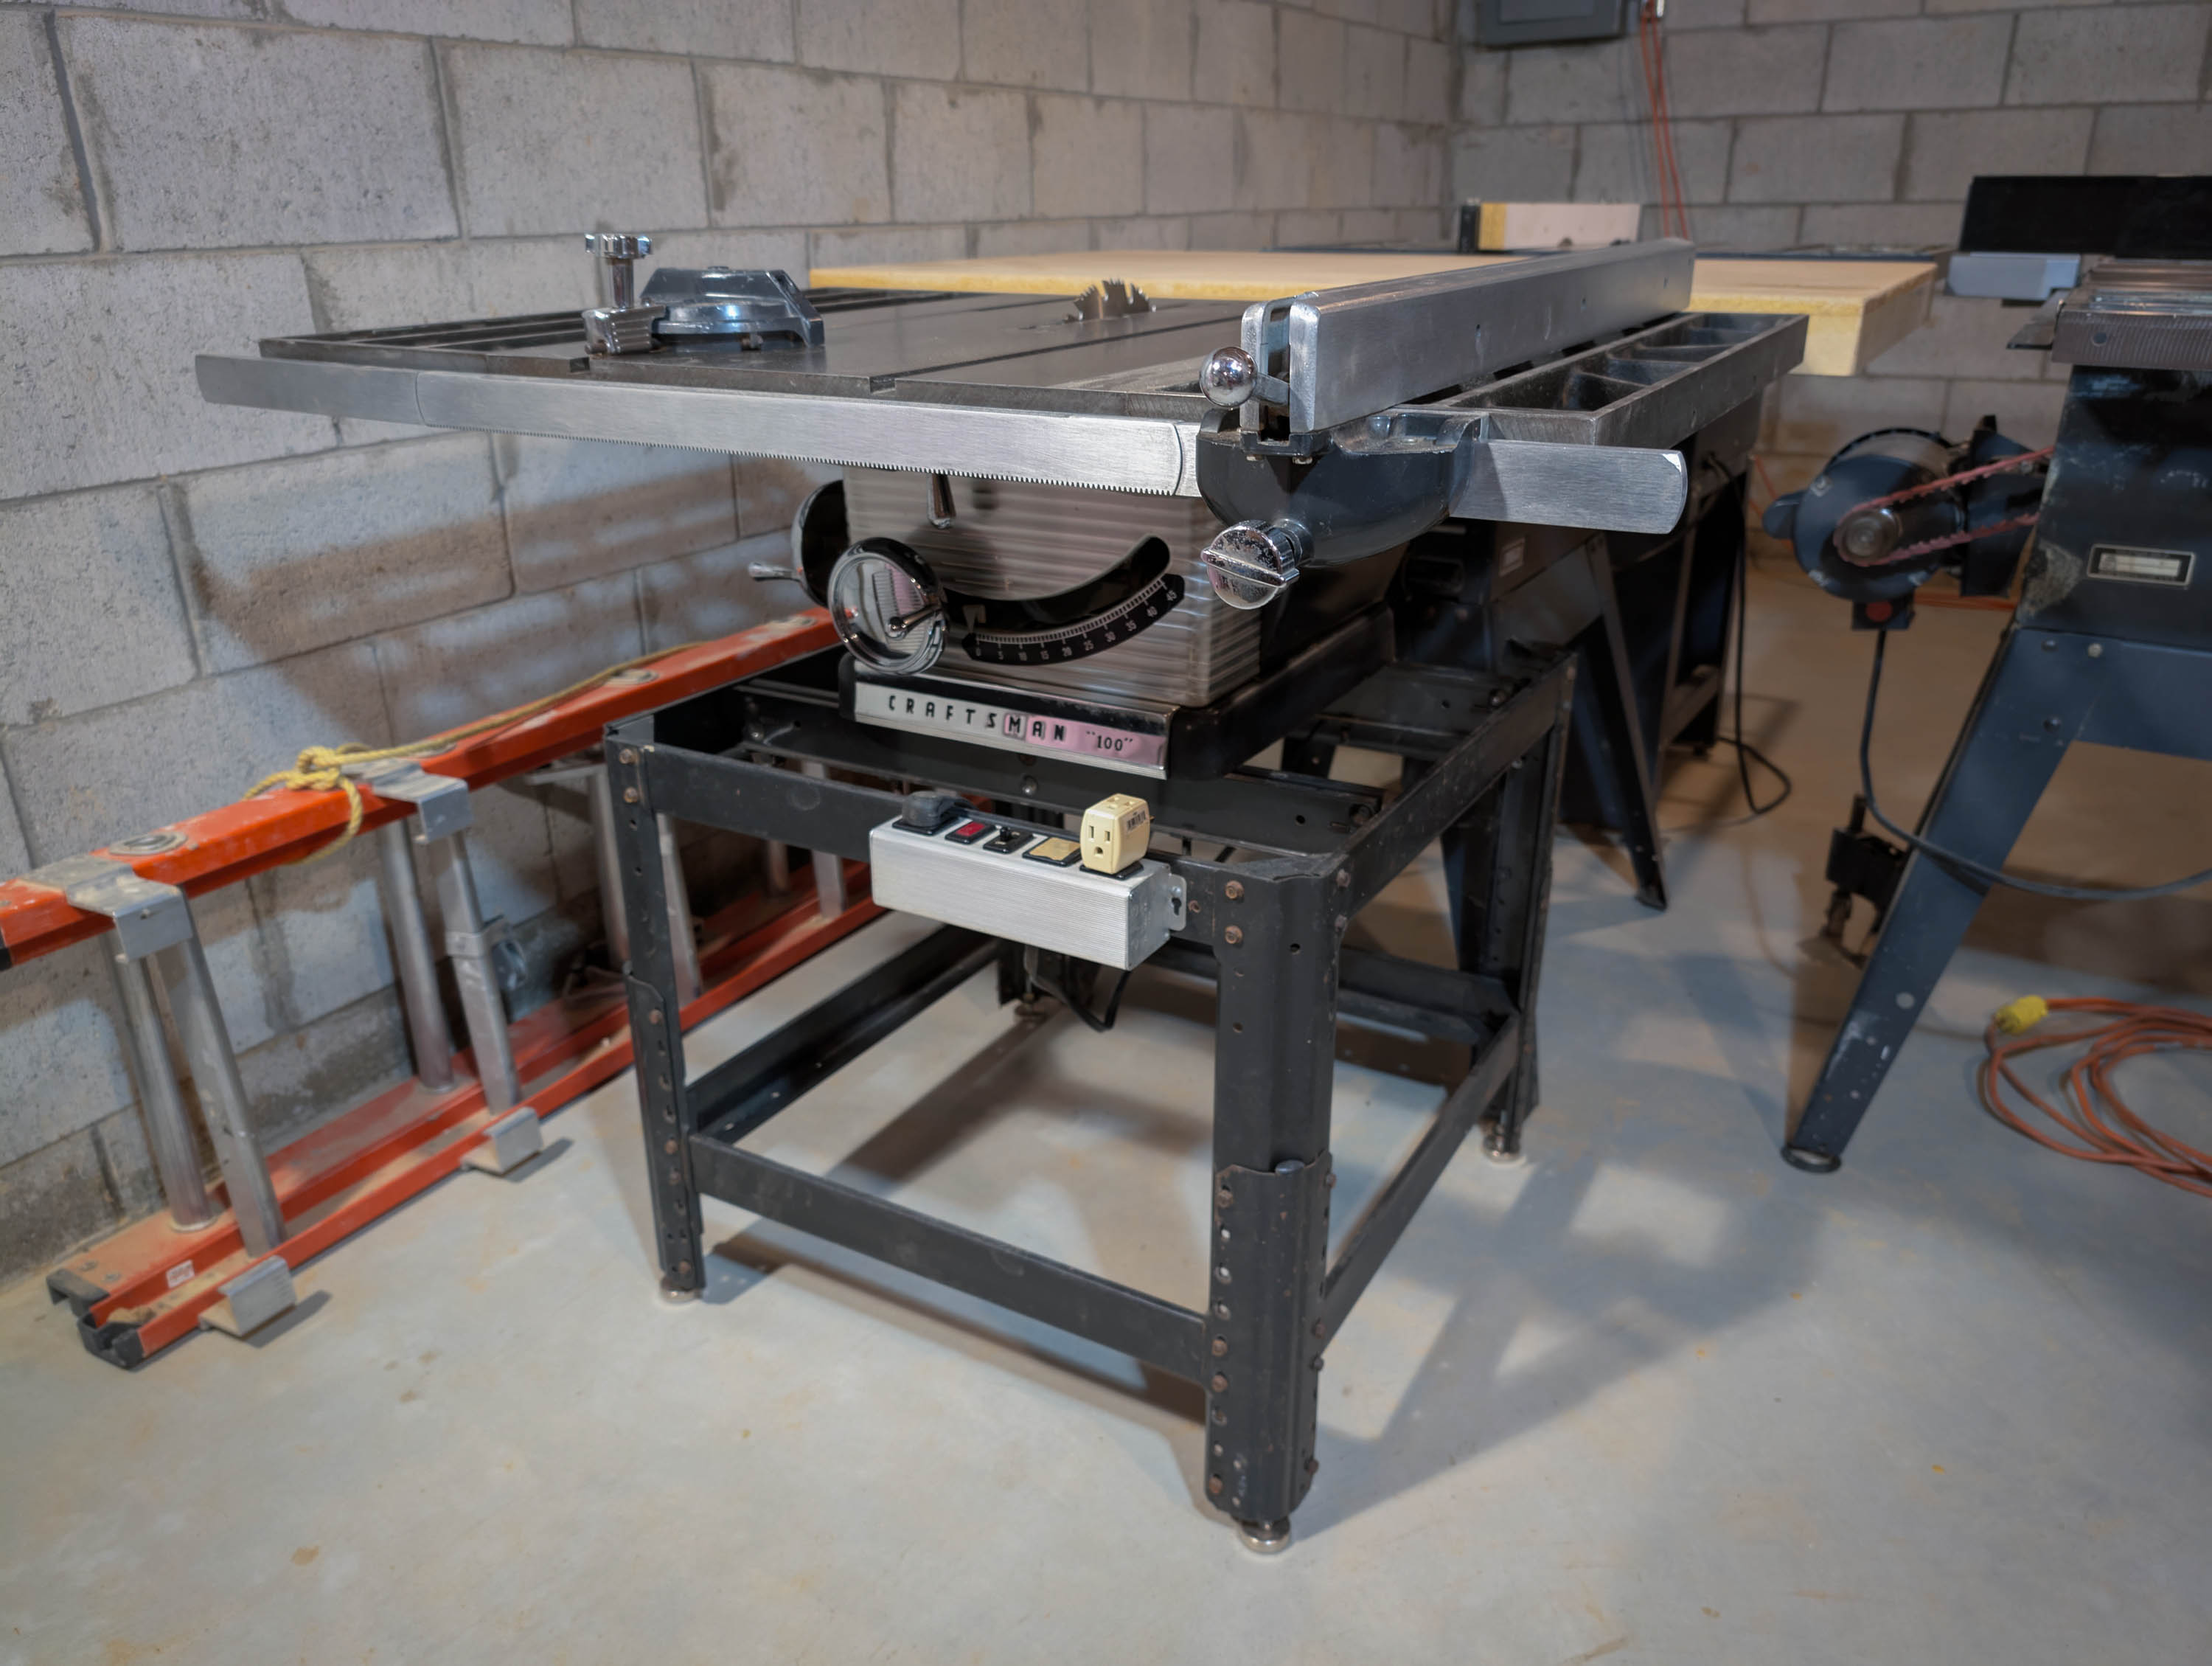
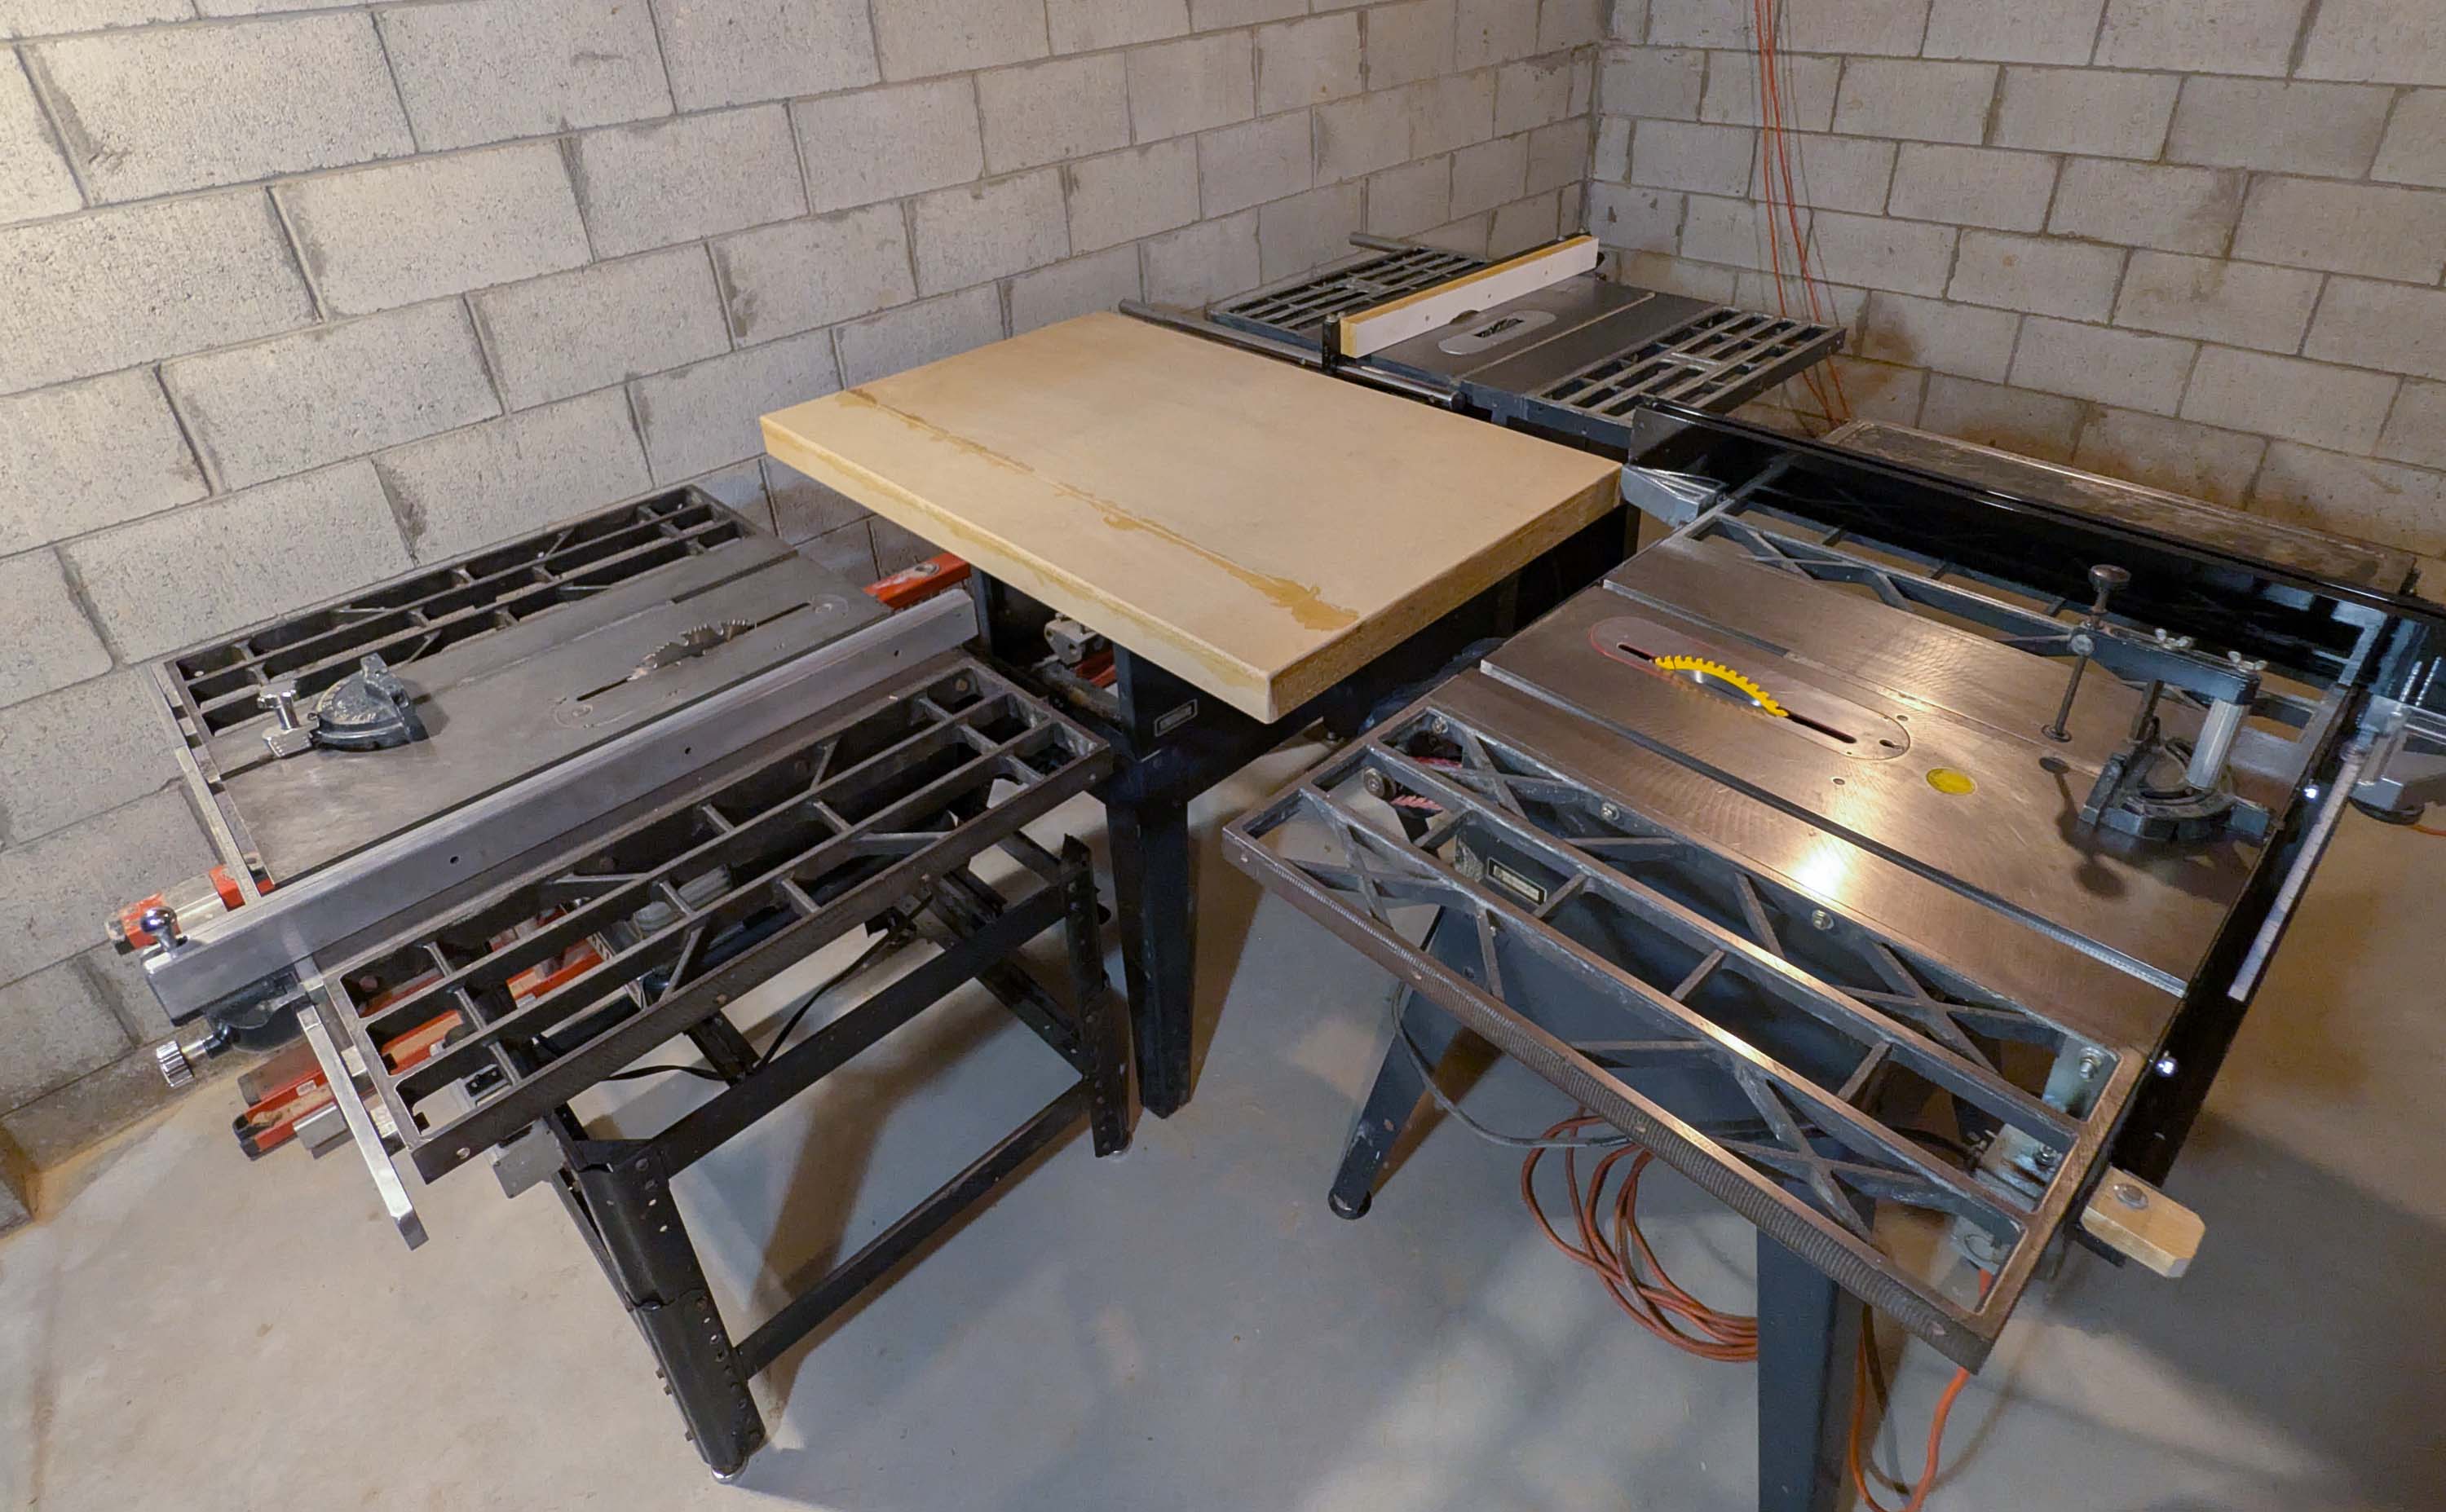
Finished the restoration project. Very happy so far. Everything seems to function properly and run smoothly. I cleaned, lubricated, de-rusted, waxed, polished, adjusted, and aligned almost every part on the saw. I replaced the 4 damaged casters with adjustable height leveling feet so that I could match the 36" bed height to the height of my other two table saws. Then I set the three table saws up in a “T” style configuration and carefully adjusted the heights so that they could all use a single, common off-feed table.
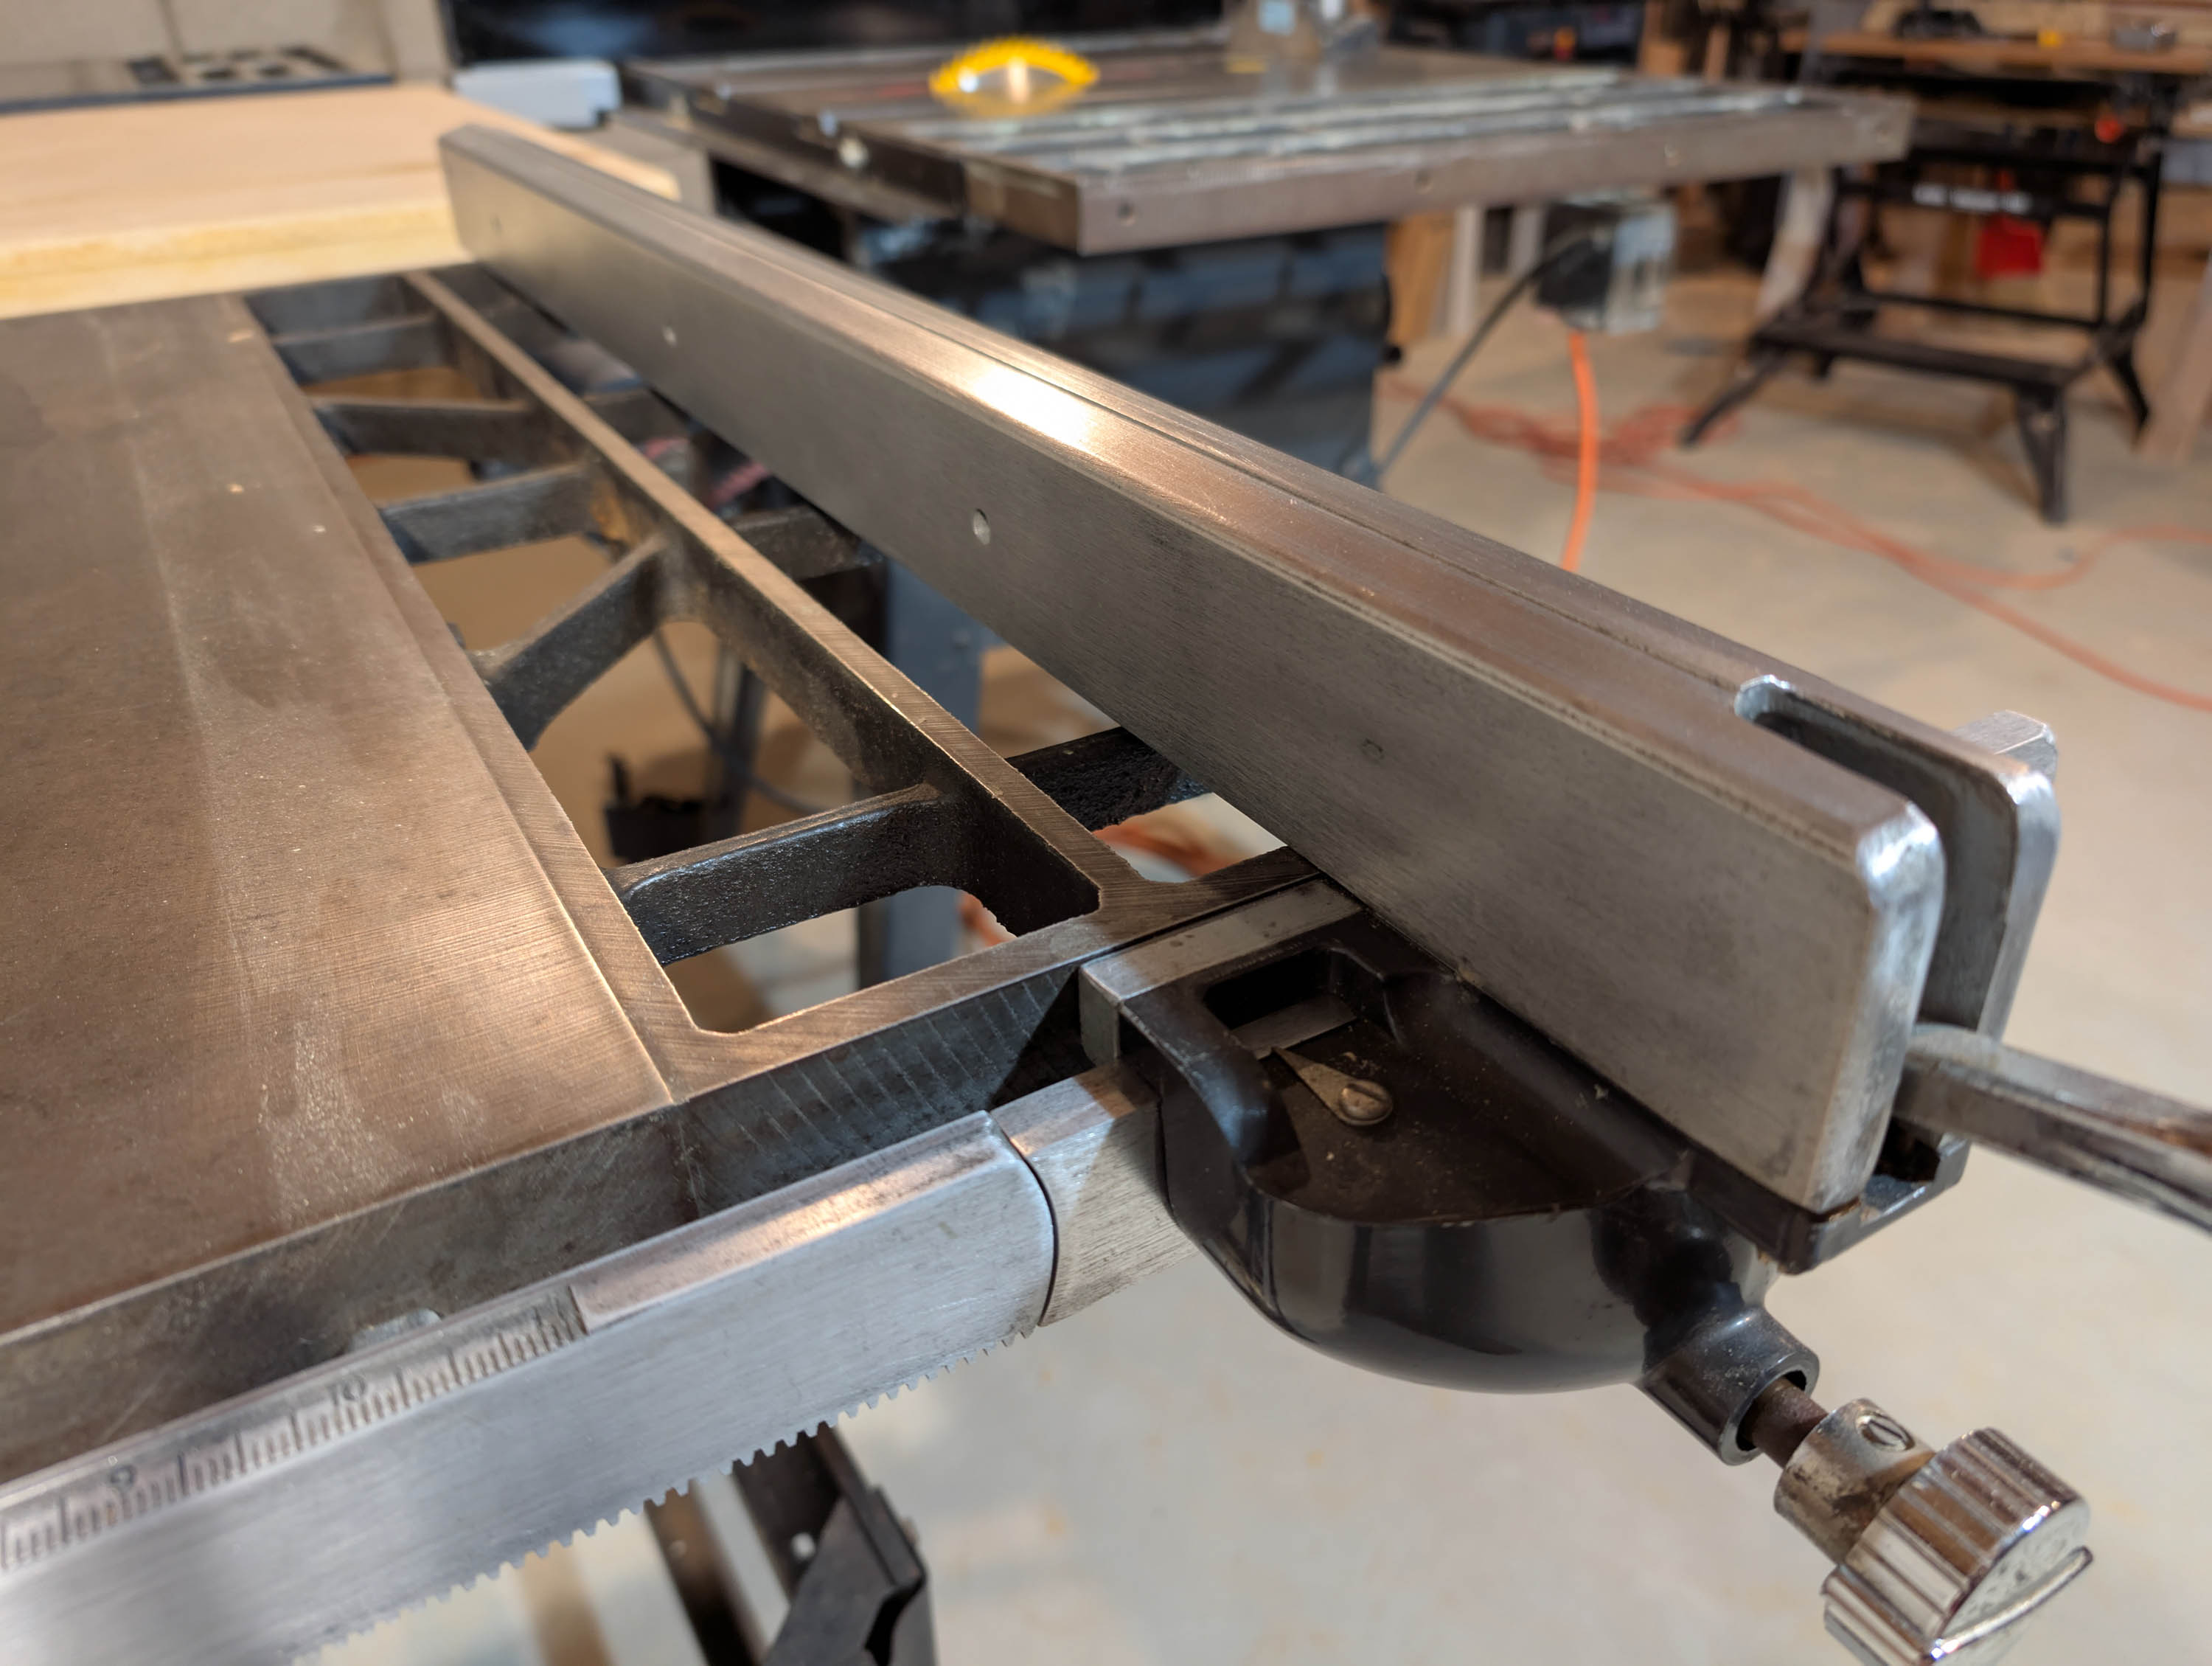
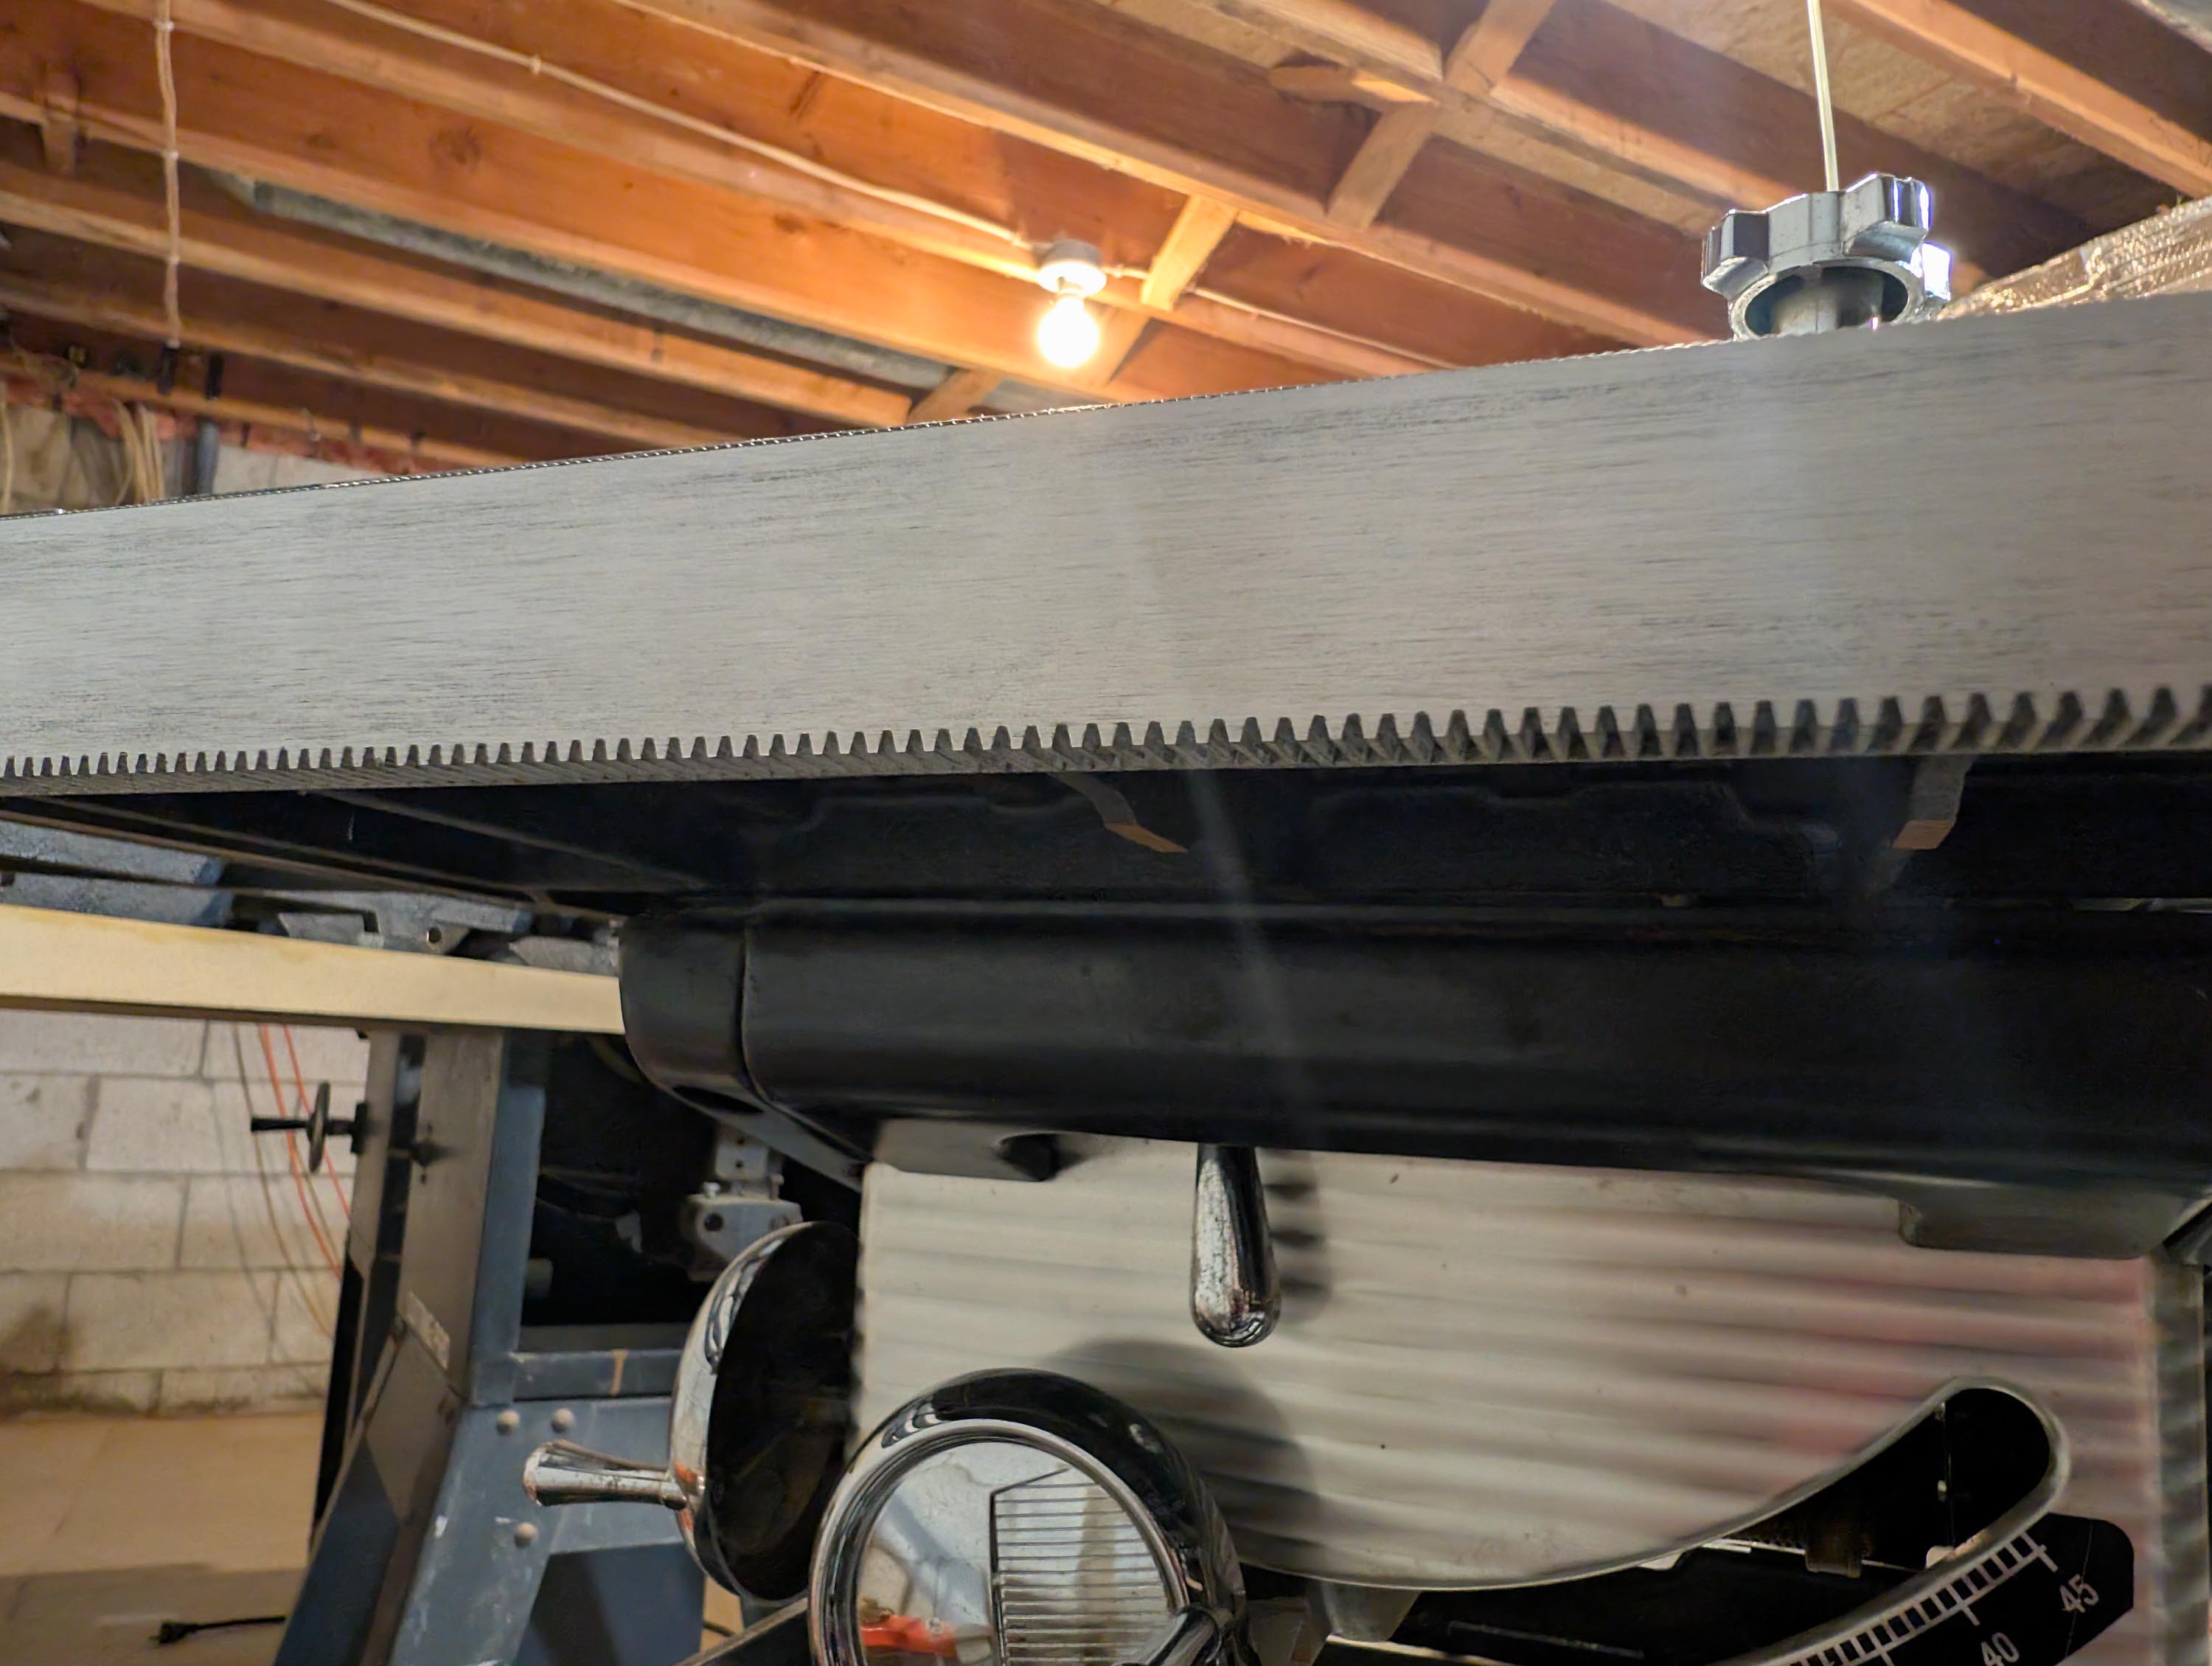
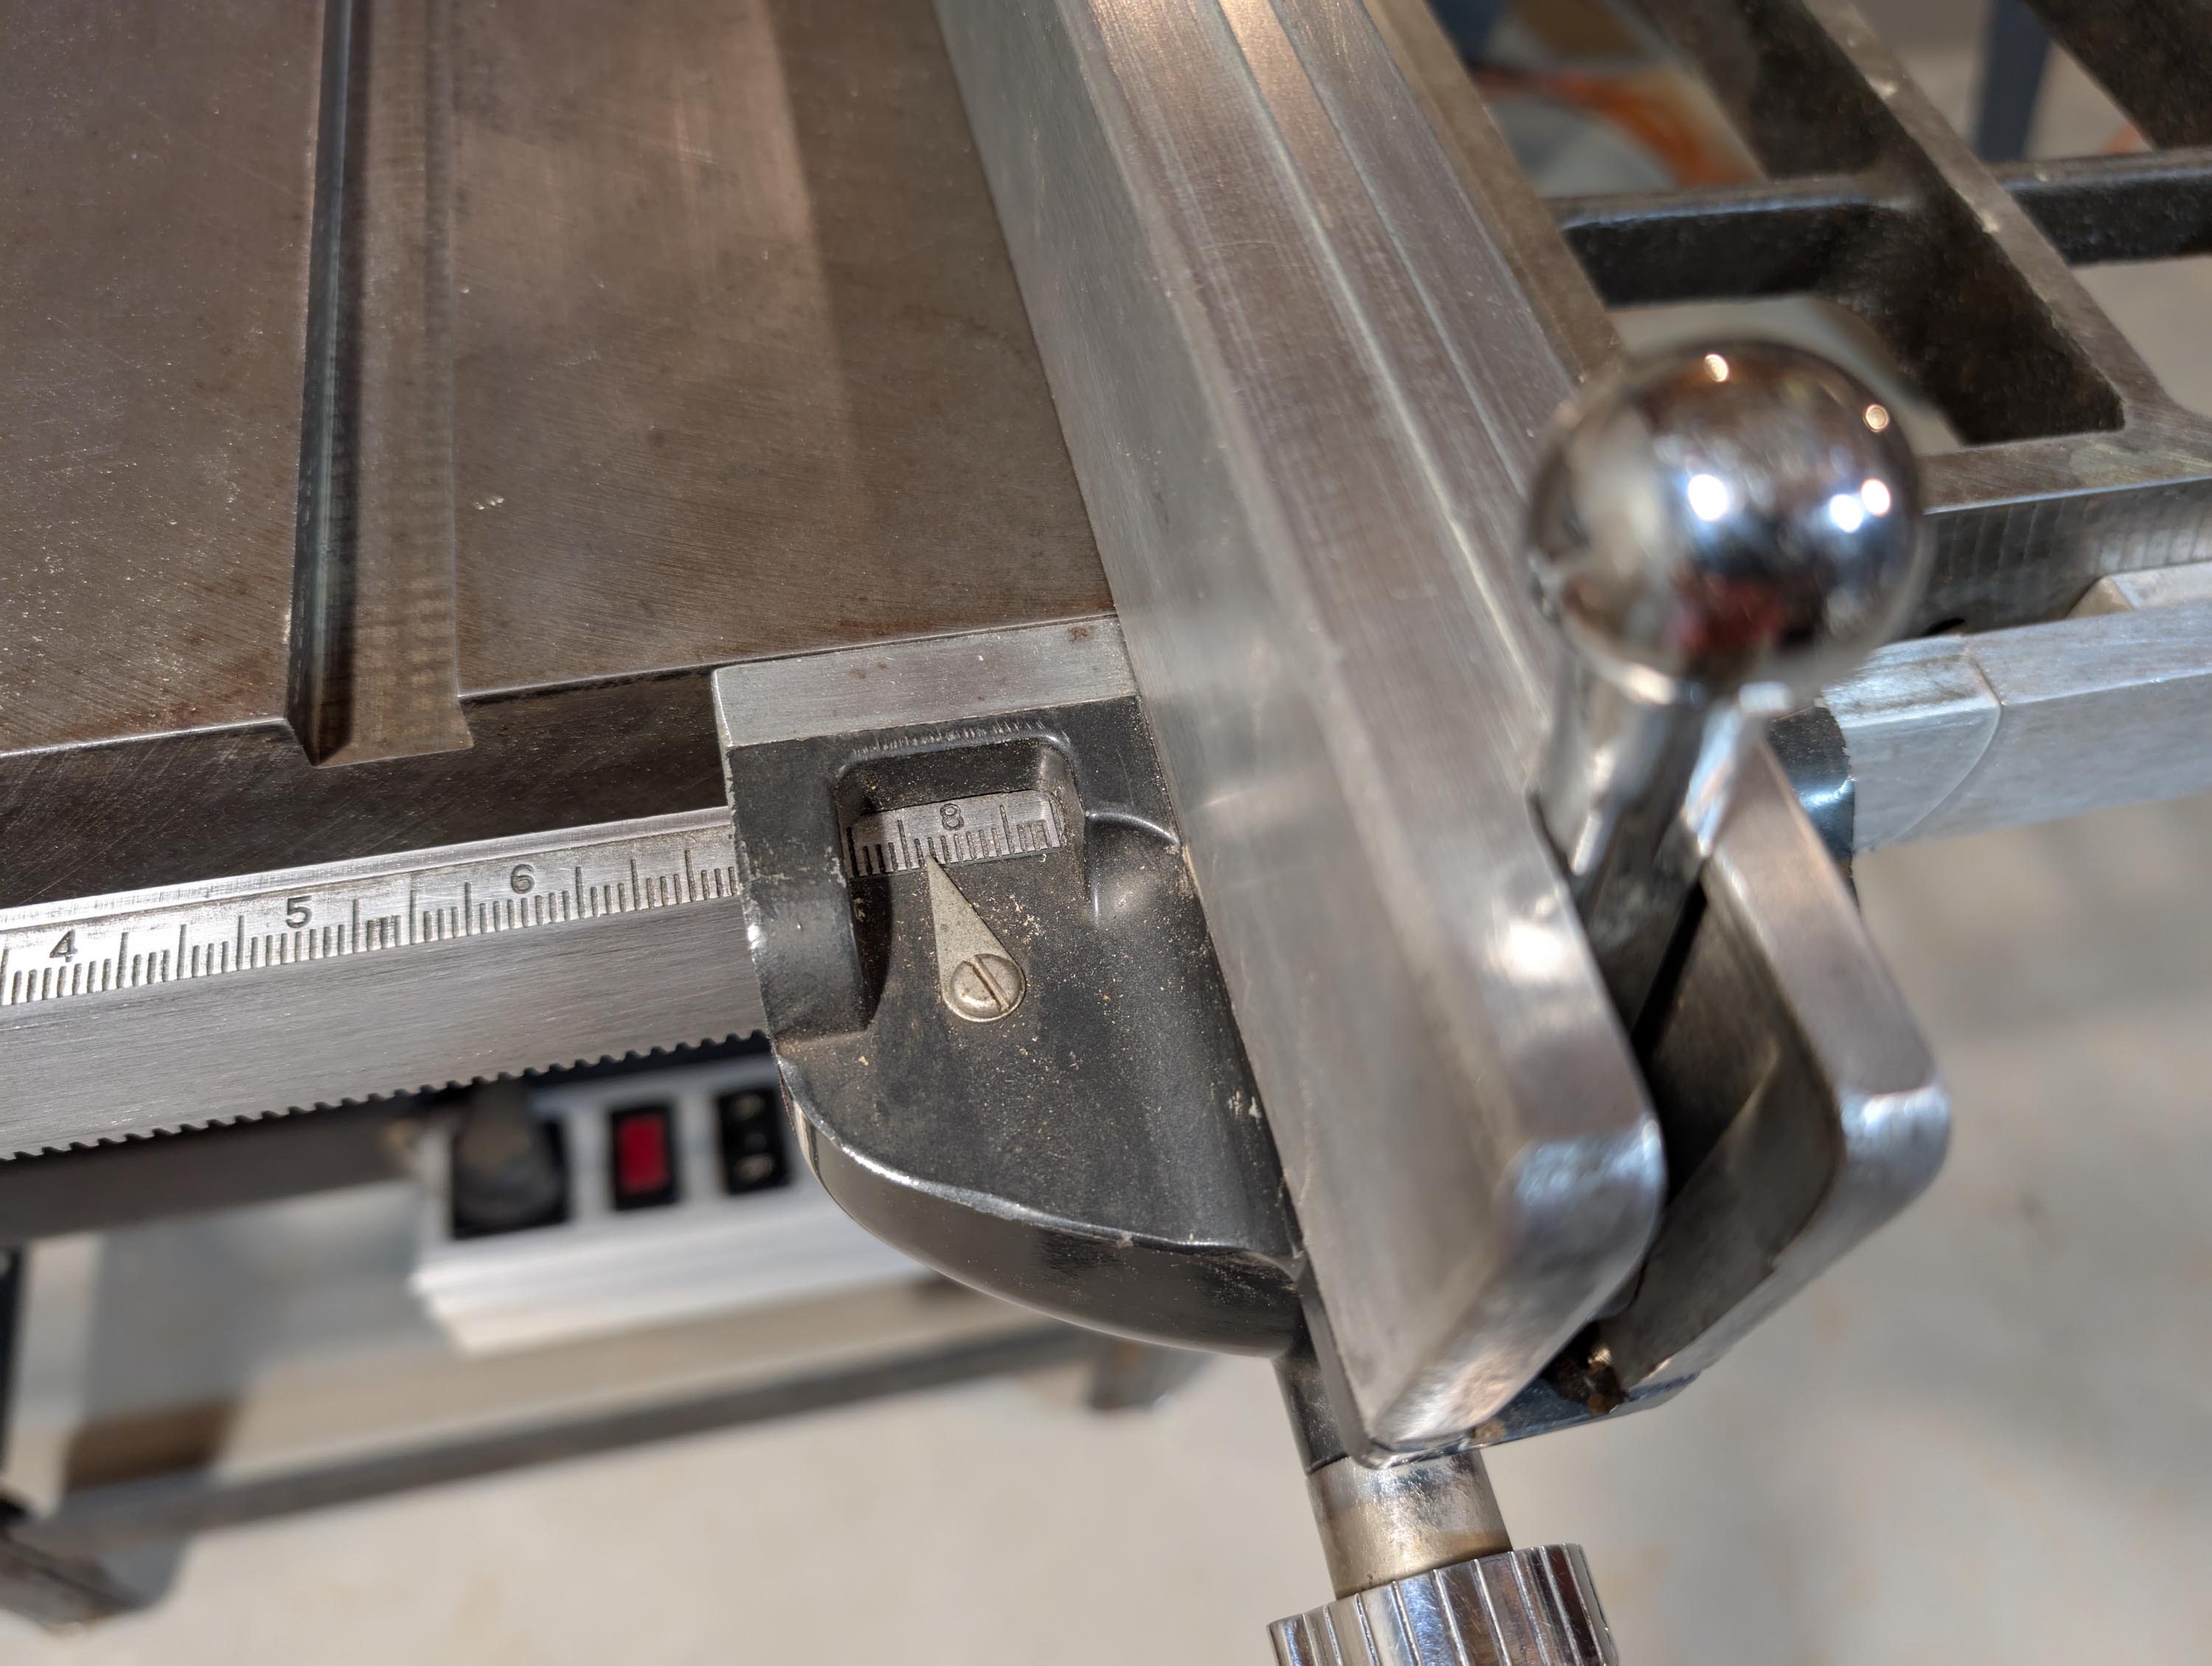
The vintage aluminum fence and rail system used on this old saw is really cool. The rails are marked off in 1/16" increments on the top edge. Gear teeth are ground into the bottom edge. Then a matching gear on the fence meshes with these teeth, allowing very fine adjustments. Once the fence is aligned parallel to the table groove, it consistently locks down square every time.
I cleaned and blew all the dust out of the motor. Then I added a couple drops of SAE 30 motor oil to each hole above the bearings, which are designed to moisten and lubricate an internal felt bearing liner.
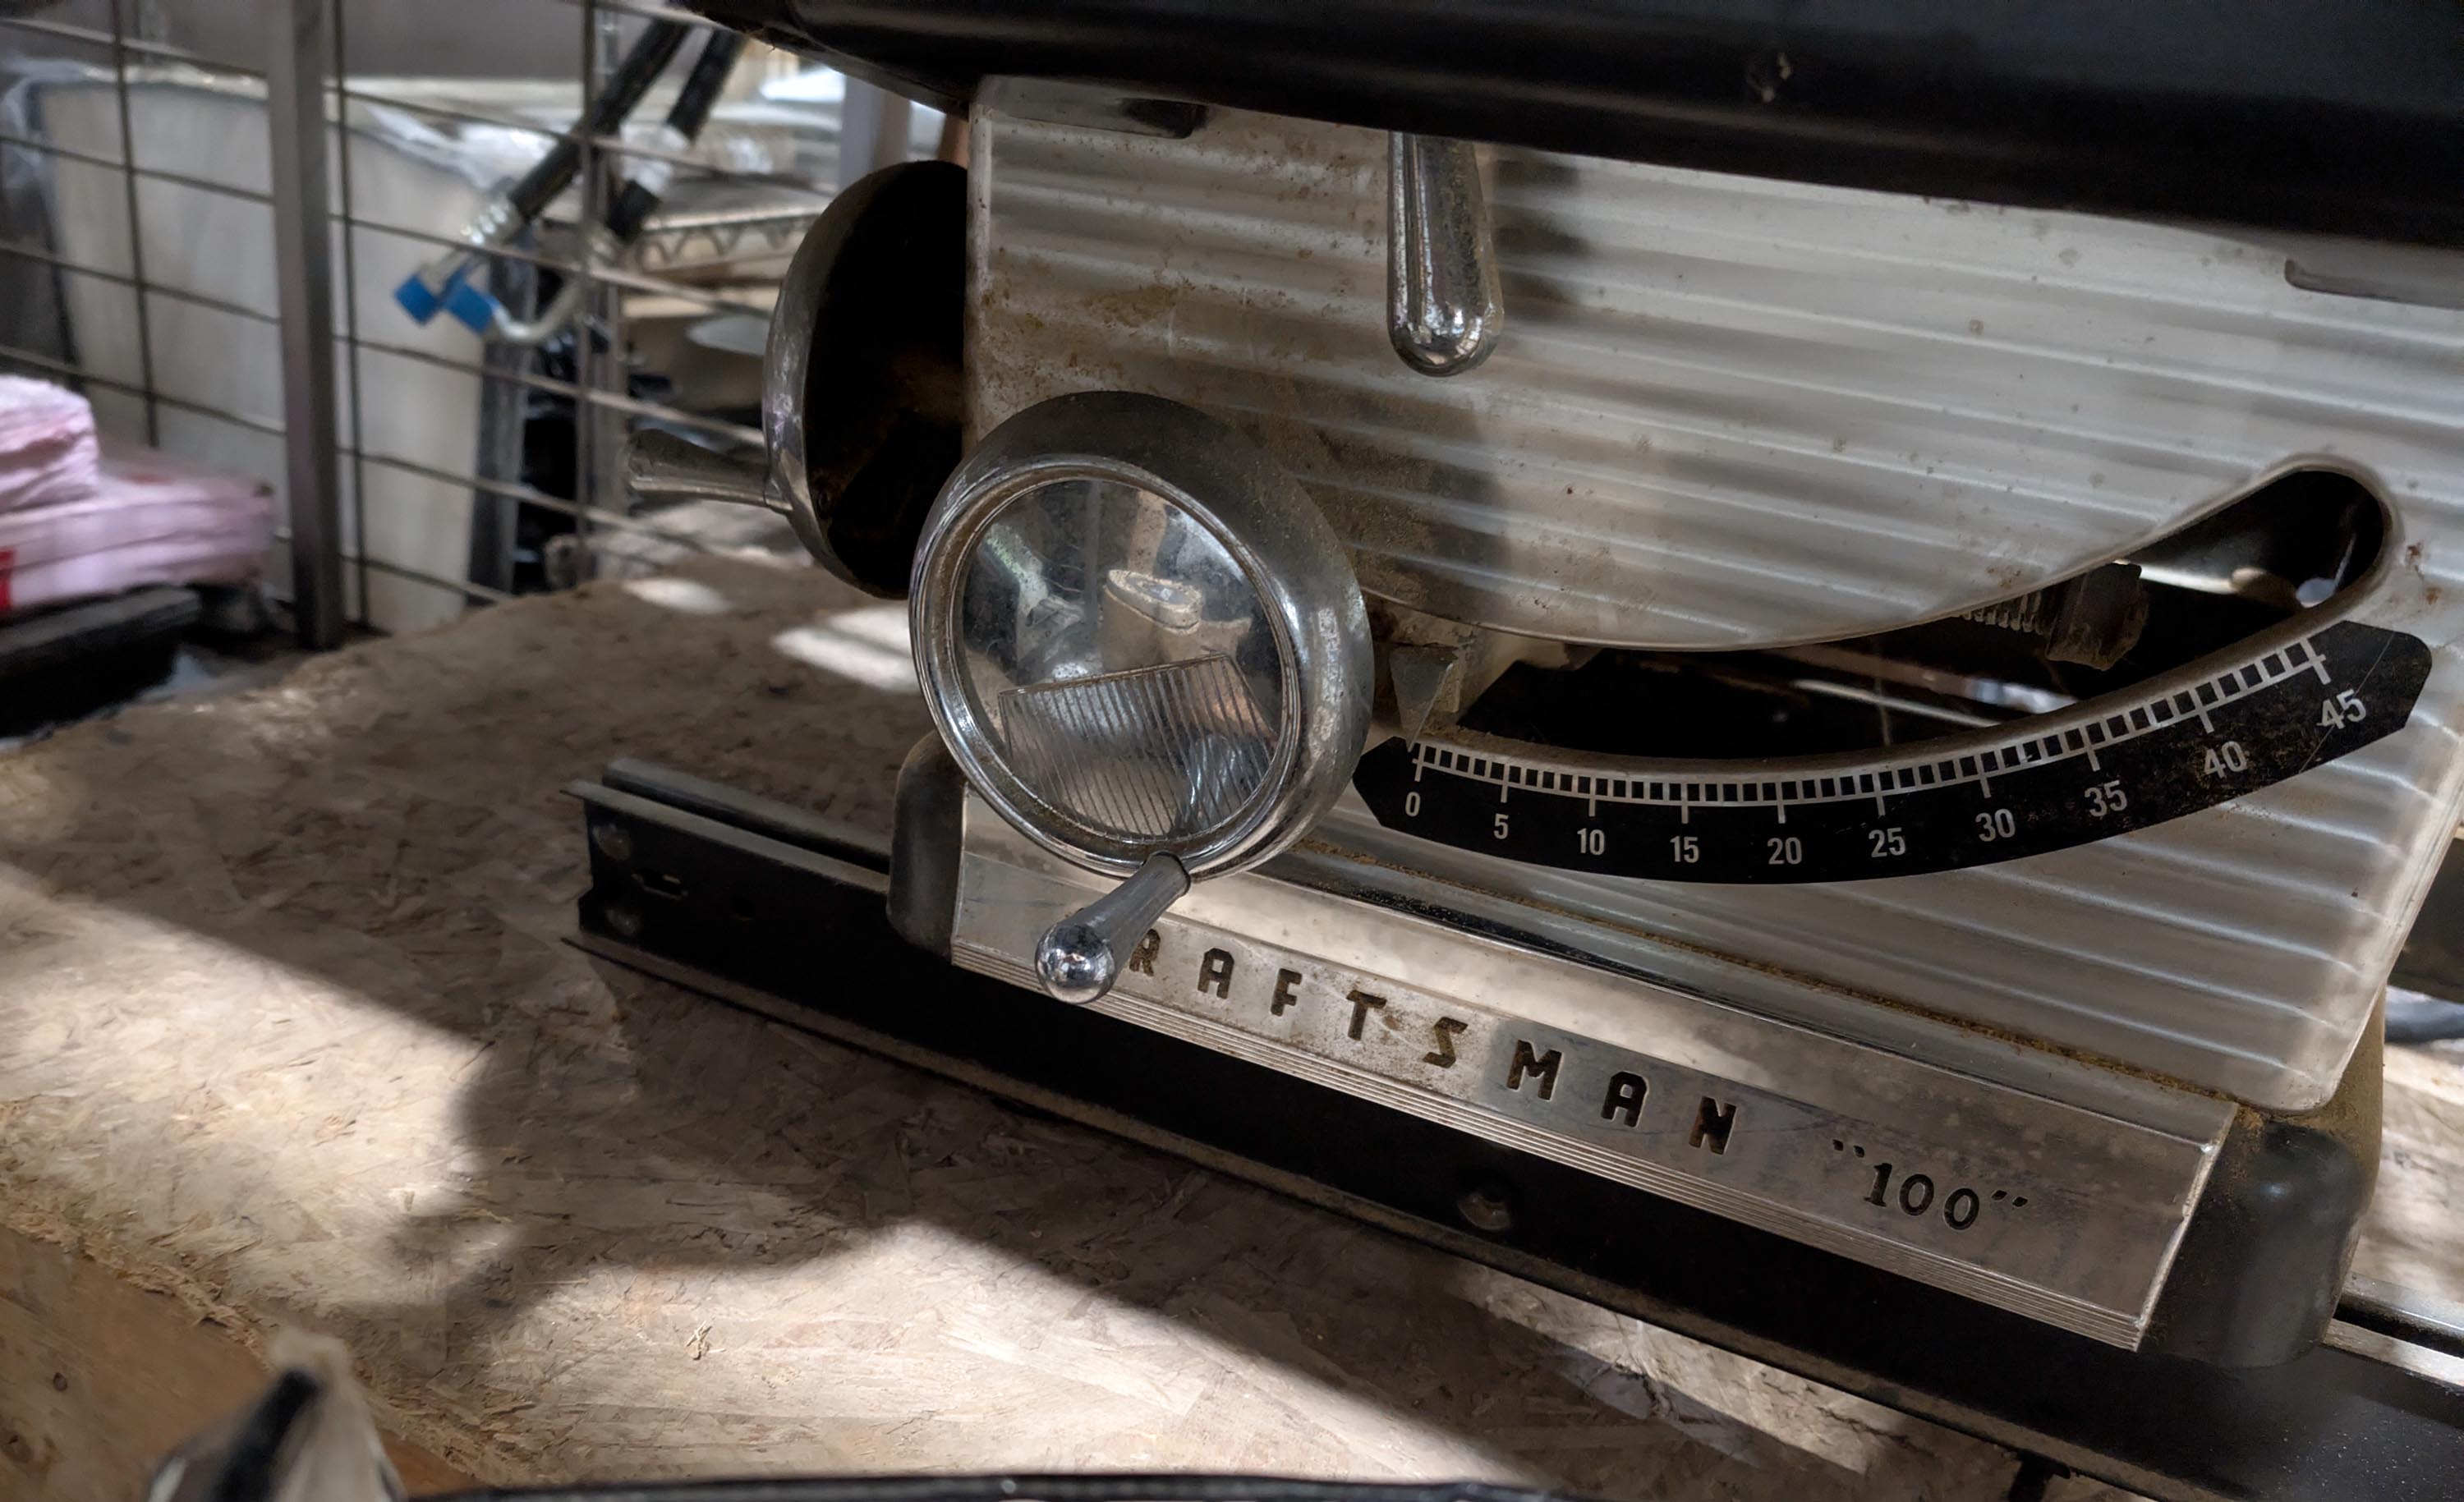
Finally, the chrome plated metal hand wheels and front cover polished up to an almost new like appearance. A Little bit of pitting here and there, but not too bad at all for a vintage 1963 machine!
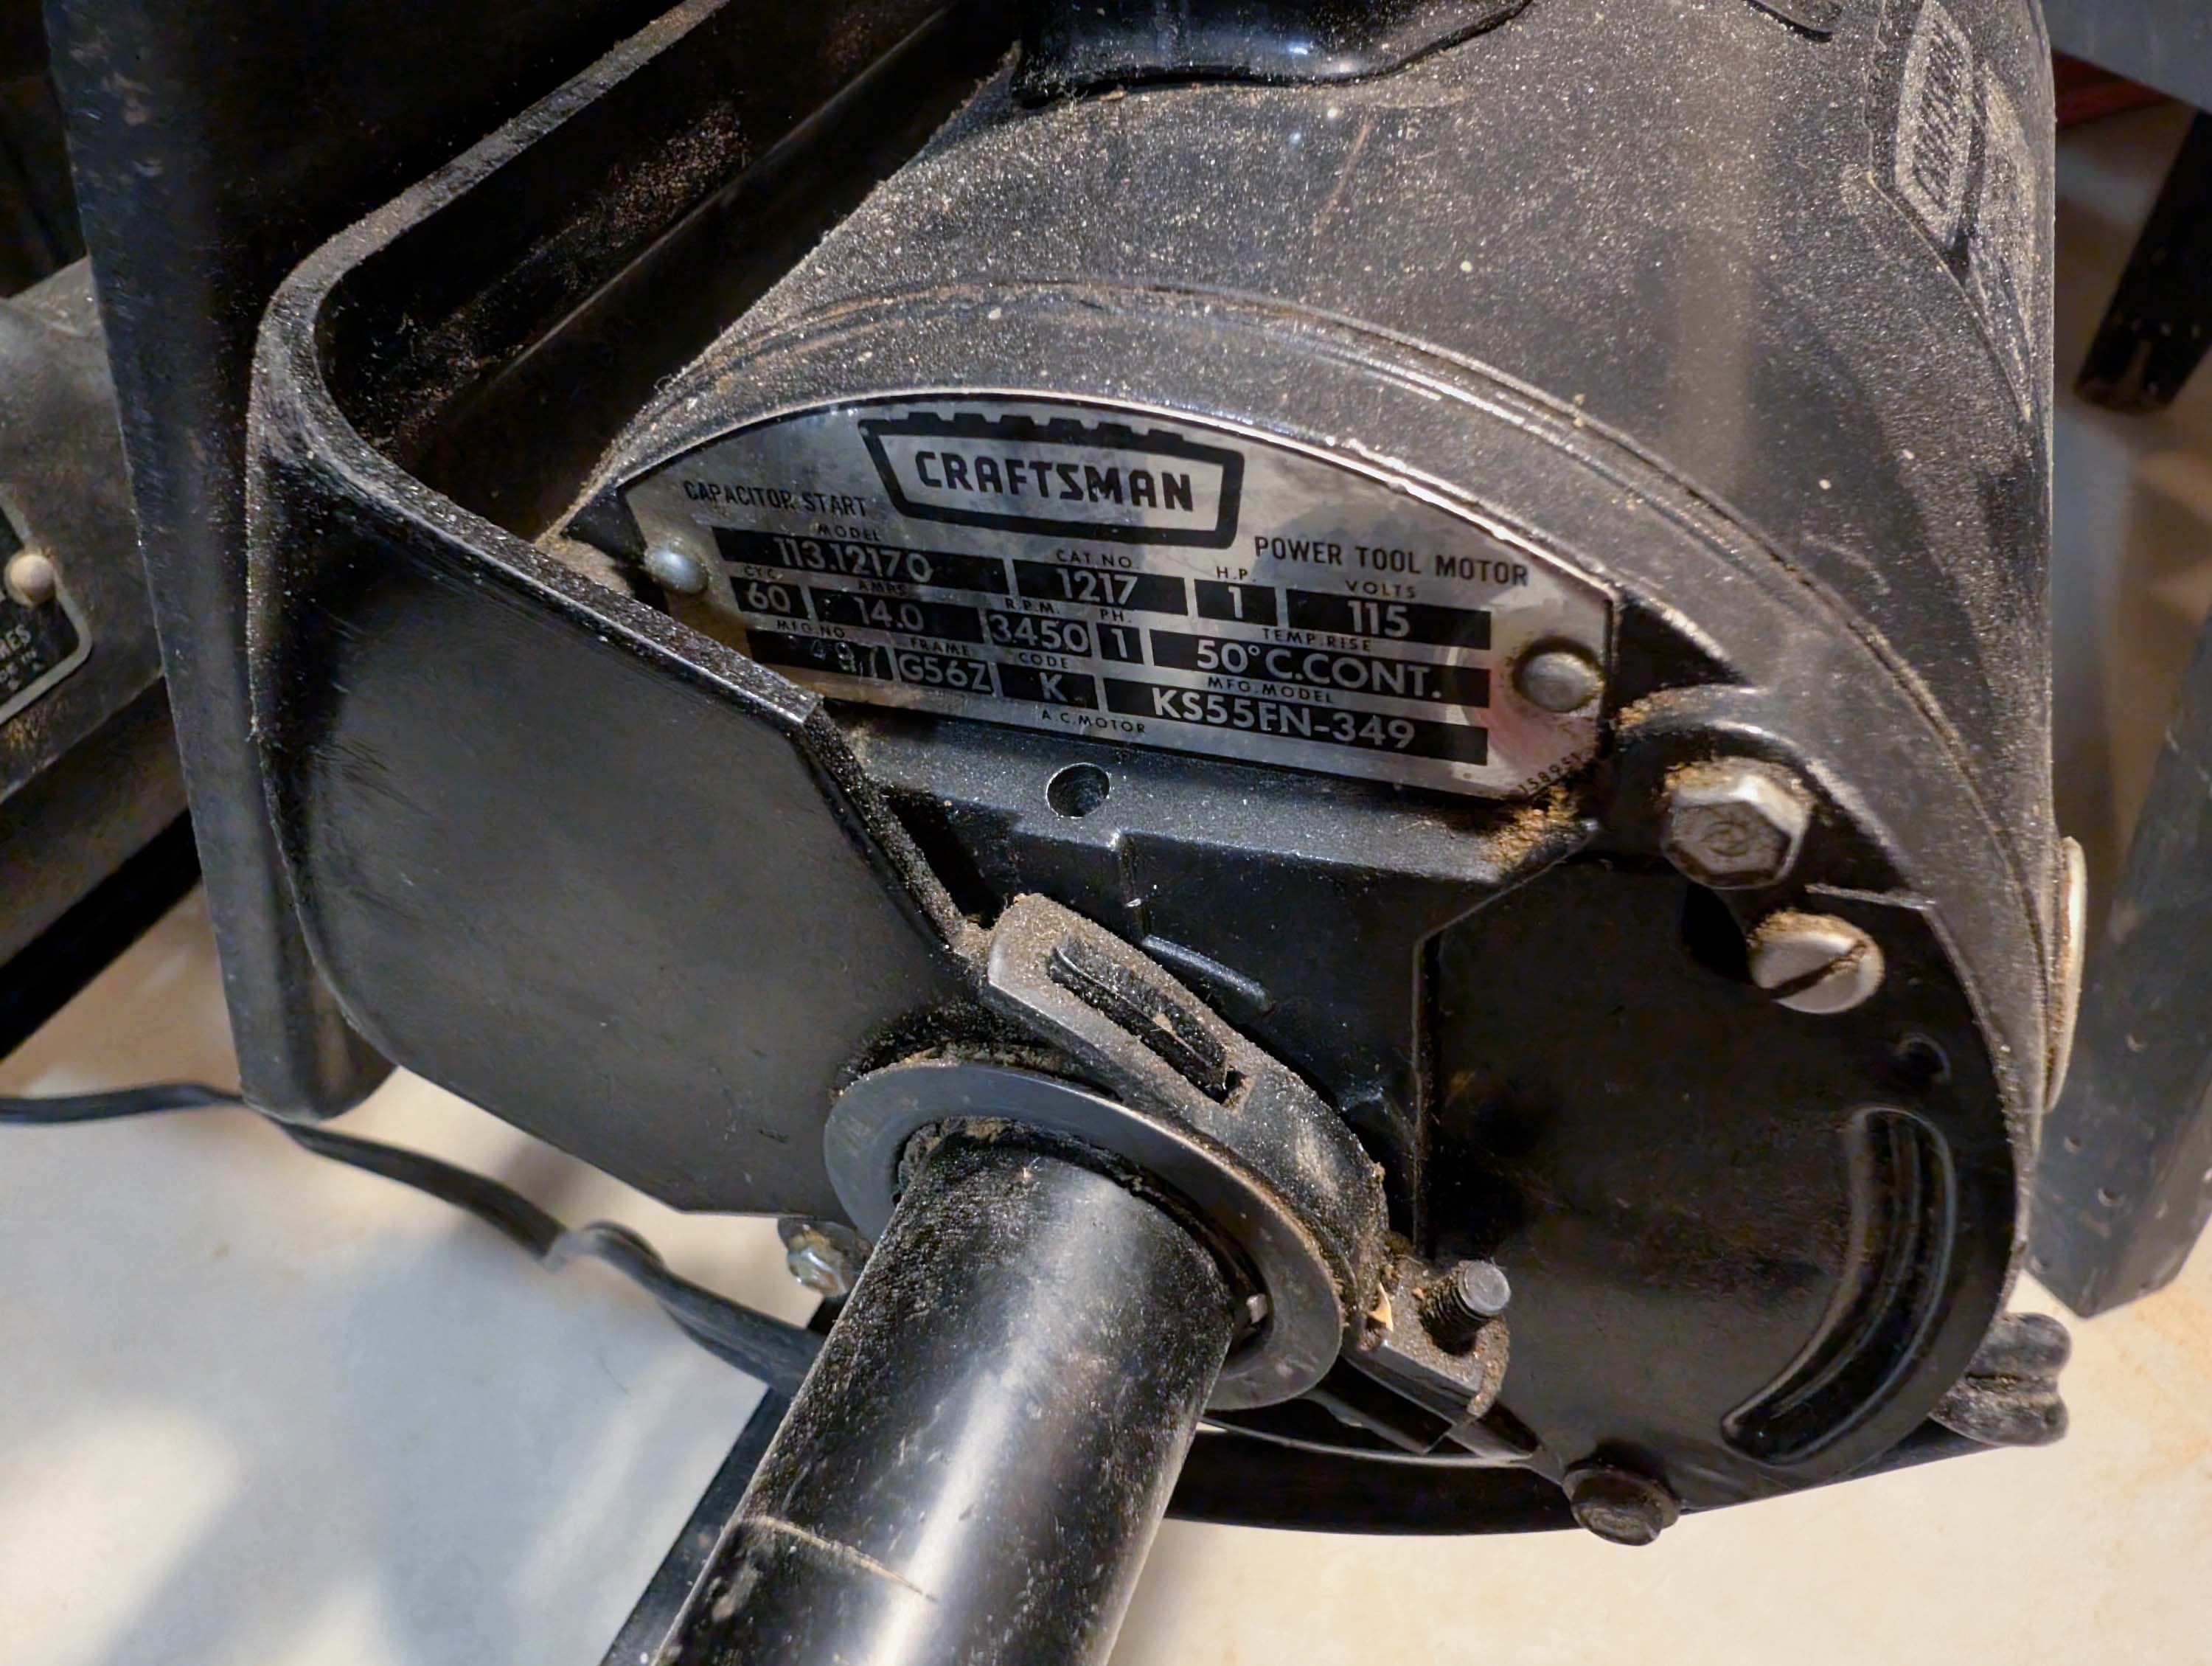
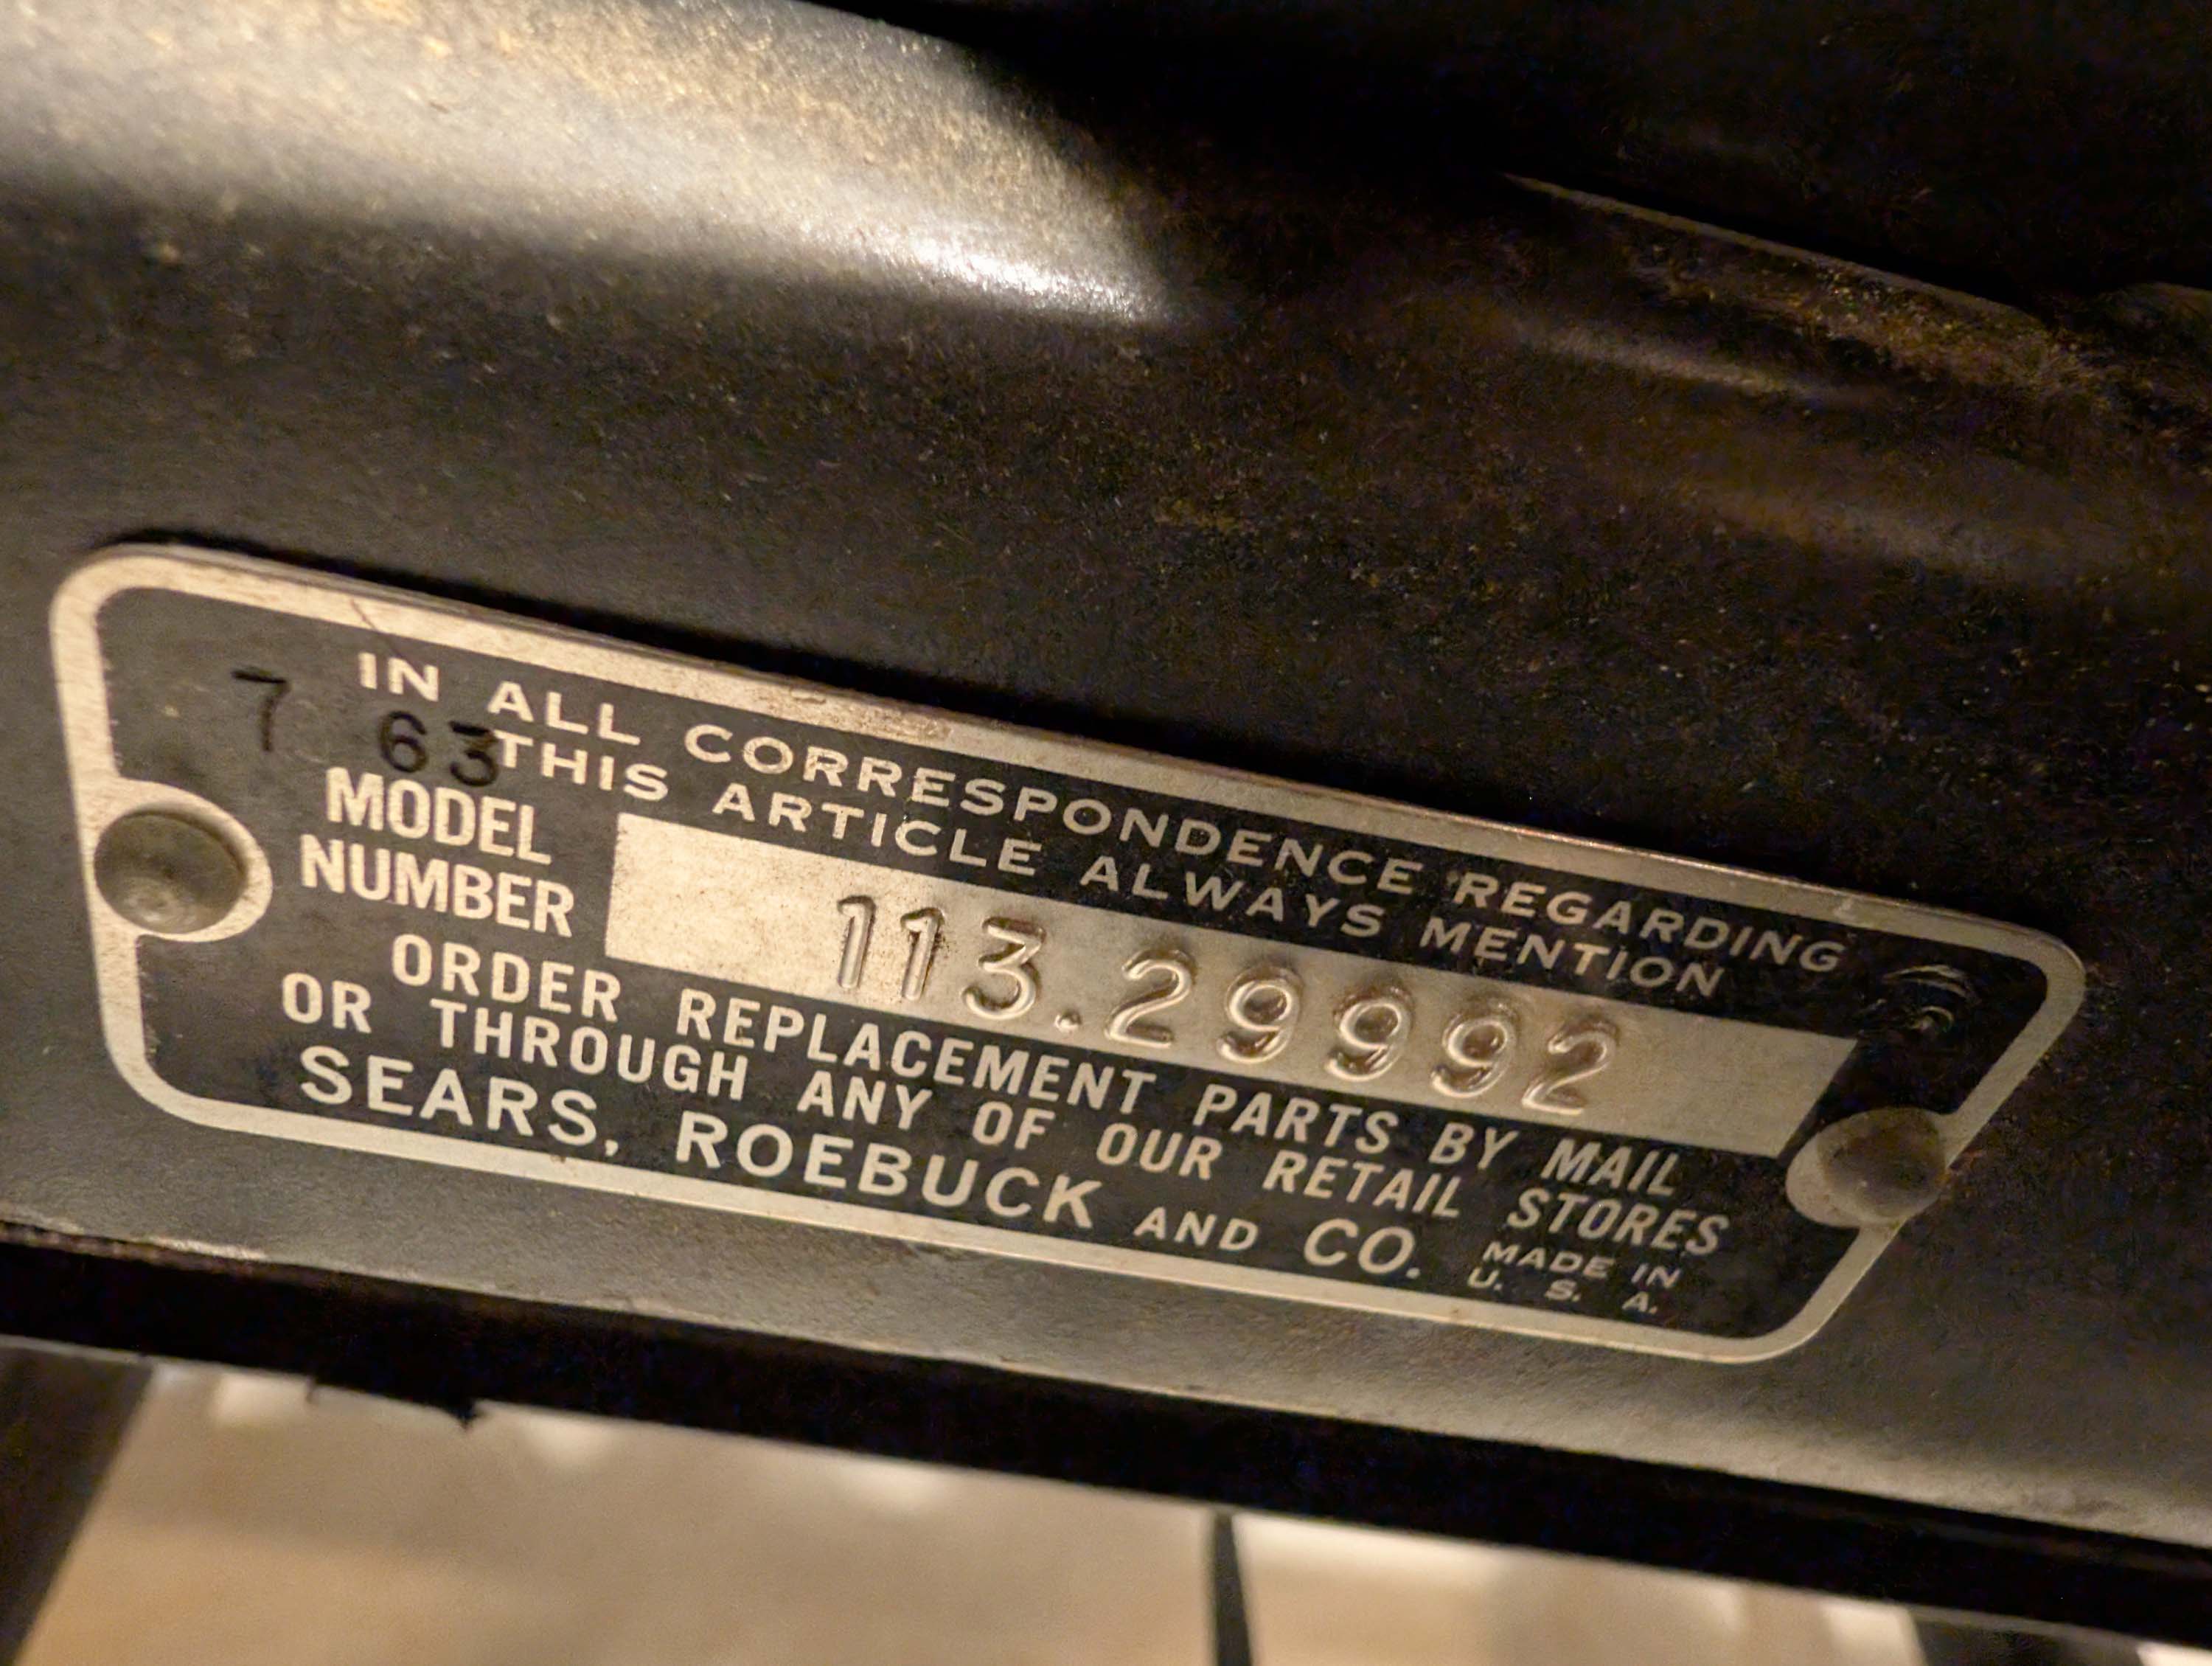
Thanks, guys! Here is a close-up of the model number plate. In the upper left corner you can see the stamped impressions of 7 and 63. So, I am fairly certain that this saw was born on July of 1963.
My original plan was to get 2 table saws working so that I could use one of the two saws as a dedicated dado blade saw with a sacrificial fence set up. I find that I do not use my dado blade set on alot of projects, even though I would like to, because it simply takes too much time to set up the dado blade. The 3rd table saw was an impulse buy that I really did not need, but had to buy and restore it. Kind of like buy out type speaker sales that are simply too good to pass up.
My Craftsman is VERY similar to this restored saw. I don’t think mine is quite as old as this one, but the fence, grooved rail, and extensions are not far removed from mine. I do not trust the self-alignment of the fence though, and measure to both front and rear of the blade for parallel symmetry.
That is what I have to do each time on my old Mao Shaw table saw (1989). I use a big 2 foot square to align the fence for every cut.
But on this older Craftsman, the owner’s manual shows 4 screws on the bottom side of the fence that must be loosened up to re-align the fence parallel to the miter slot. Once I had done this, the fence would automatically self-align itself parallel to the blade each time as I clamped down the handle.