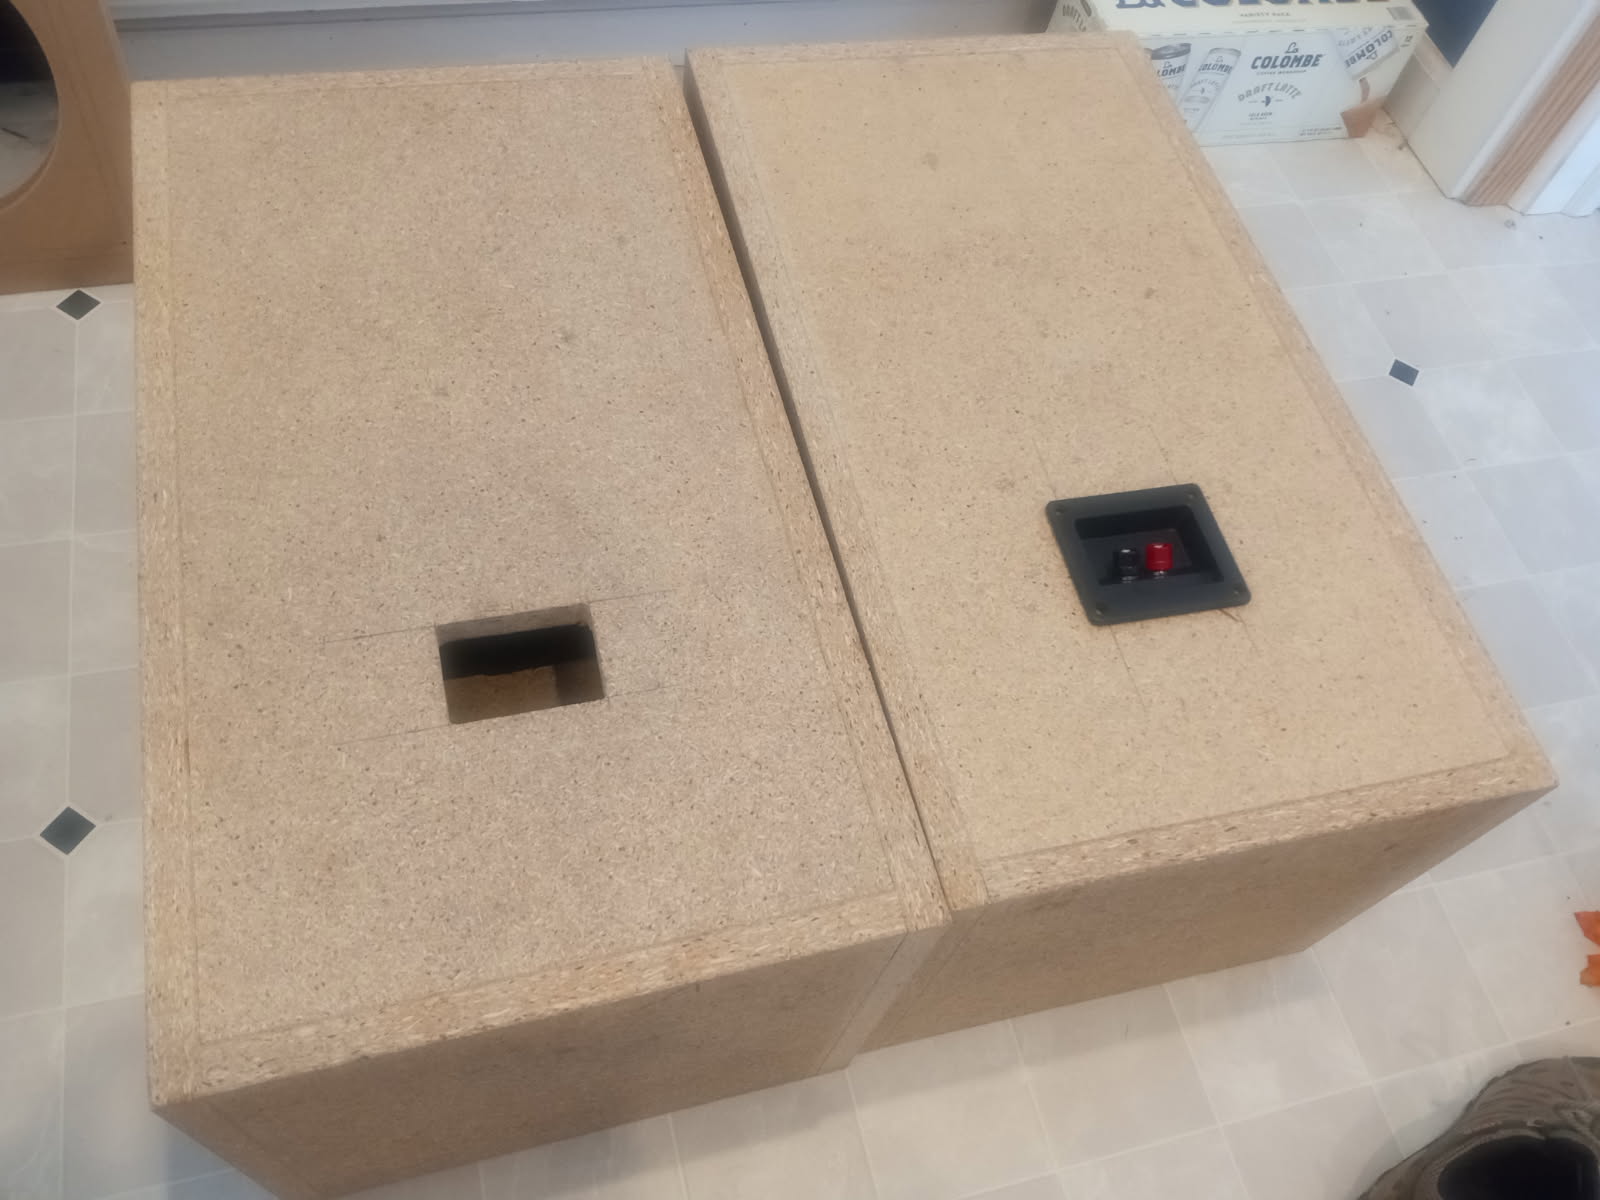
[edit] Using the same terminal cups as my last sealed 3-way. So I can use the same passthrough plate that I made for doing measurements and crossover prototyping. It is a piece of 1/2" plywood with screw holes in the same location as the terminal cups. A hole is drilled in it for 3x pairs of wires to pass through, sealed with silicone. A simple gasket was made of 1/16" hobby foam sheet.
If I were to do a sealed 2-way I’d probably just use a quad binding post cup.
I wish I snapped up some of the JFcomp. terminal plates. Since they are all the same size you can swap 1x,2x,and 3x pair terminal plates around. Very useful for measuring with a pair of terminals per driver, then swap for a single-pair plate when finished.
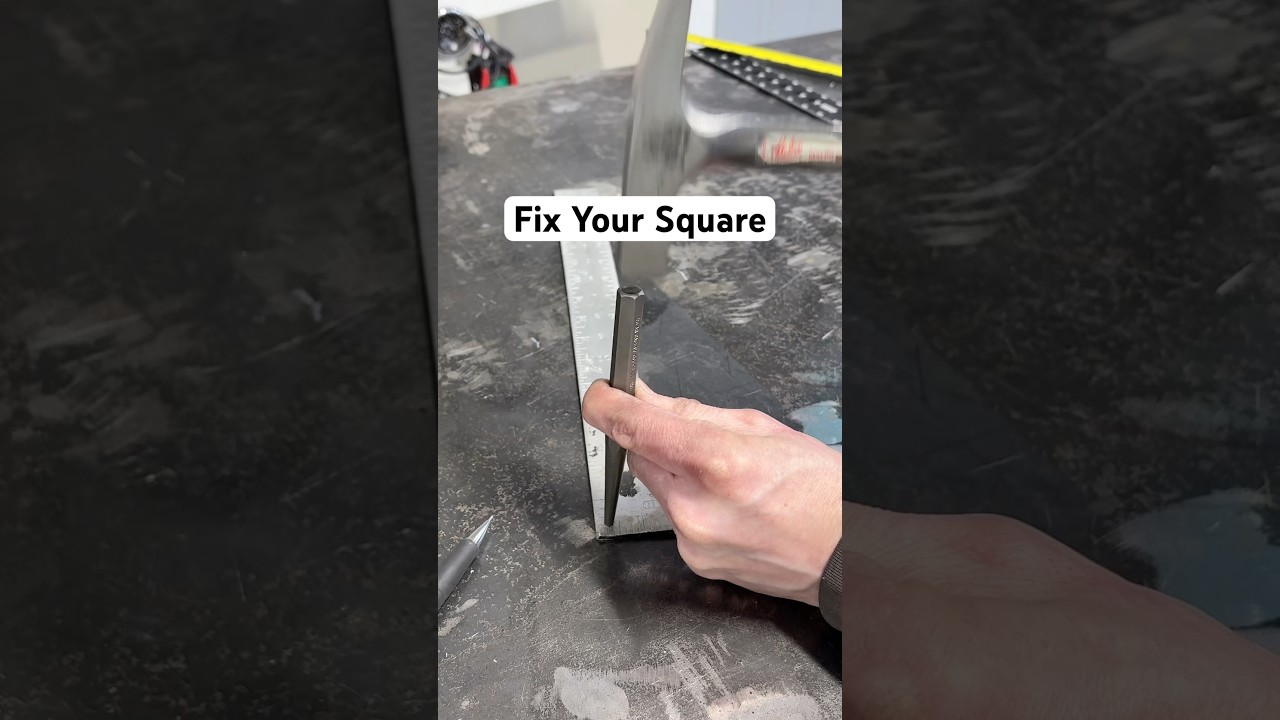
I swear all my ‘nice’ squares from places like Woodpeckers have been out of square ever since I got them where the cheapo stuff I’ve had for 20 years is totally fine. I really need to move those along as they have made some projects more challenging than they needed to be.
I did a supply run today. Picking up stuff like cheap black spray paint for the grill board, hobby foam to make gaskets, rollers for contact cement, etc.
One thing was screws for the woofers. The woofer frames have a large countersink. I suppose a #8 pan head would do OK, but didn’t seem quite right. I found some black #12 flat head screws at Menards that fit pretty well. $1.48 for 18x.
Oval head probably would have been my 1st choice. But, if it isn’t a “normal” type/coating, finding an exact specific fastener can prove difficult and costly. I’ll count this find as a win.
Guessing it is sintered metal. Much beef. No rubber grippies that can squish off axis, like on the half plastic ones. Just a nice flat surface and sheer mass to keep you on target. Only issue: It is bare metal that relies on maintaining a light coat of oil. I’m not enthused about that, because I know myself. I won’t do a good job of keeping up on it. So surface rust will form and begin to stain whatever I use it on. I wish they would have painted the outer surface. There is necessary tollerance in the guide holes anyway. It is not like this is a super precision instrument that a layer of paint would throw off.
Anyhoo, I’m drilling the grill guide holes for metal peg and rubber cup type guides like these:
The holes needed are pretty oddball as they need to be slightly undersized but precise for an interference/friction type fit. I determined 7/32" is a good size for the metal peg. I guesstimated 13/32" for the cup, but determined 27/64" is best. Since now I can use the holes in the drill guide to test.
I was apprehensive of which side to install the grill guide pegs and which side to have the cups. There were alot of potential positives and negatives either way. But I bit the bullet and drilled out the baffle for the cups. That way I can use the router flush bit to finish out the holes in the laminate and reduce tearout (vs a twist drill that murders laminate). Also the cups are black, so no silver color pegs to throw off the color coordination. I just hope the holes stayed accurate enough that all the pegs line up properly.
I drug out the sheet of walnut grain laminate I got from Clay. It is in a semi slip-matched style orientation, so every other section is the same grain. This is typical of alot of veneers so it doesn’t necessarily look too artificial. But it does mean I can get both speakers to “match”, just not mirrored like bookmatched veneers. I’m hoping the mirrored driver offset will show enough difference between them to give some visual interest.
Note: The camera does alot of color alteration. The grill boards seemed to force it to contrast more correctly in pic #2. As, in reality, it is much more neutral brown… not red-orange like in the first pic, and a little in #3.
I’ve got alot more black laminate left from the previous sheet than I thought. I should be able to finish this speaker entirely from that. Then I’ll have a whole 4’x8’ sheet to use elsewhere.
I glued on the back piece while doing the front. So that is done. I had 49"x41" left to chop down to the 4x sides and 4x tops/bottoms. Nothing picture worthy. Just a simple score and snap method with a straight edge and box cutter.
Using the Winsonart water based contact adhesive. I’ve used it on a few laminate projects sofar. I apply with a foam roller. No real perfection is needed, just get it on fairly even and it should be fine. I put enough coats on so the dry time extends out past 10min or so. That seems to entail about double the amount of coats on the particle board to seal and build up enough to stick, compared to the back of the laminate. It dries clear, and I wait until around 95% clears up to stick it. But ya don’t want to wait too long or it starts to lose stickiness. That seems to be the only stipulation I can find with it.
Roll it down with a j-roller. Sometimes a clean piece of wood helps to hold it up from touching at one end. The laminate is pretty stiff, so with a block holding it up, it doesn’t want to sag and stick on it’s own. Easier to deal with than veneer IMO. Just be careful around the edges because it is still possible to crack it.
I’m experimenting with petroleum jelly to lubricate the bearing surface of the laminate trim bit. I wiped some on the bit itself, and down the laminate edge where the bearing would ride. Seemed to work fine without marring the laminate. I was worried about it getting on the bare particle board though, I figured it would prevent the adhesive from sticking. So I masked the bare top and bottom before trimming down the side pieces.
I think I need a new trim bit after this project though.. The cut edge is getting a little less perfect. A sanding block or file should still clean it up enough anyway, so I’m not too worried to keep using it for now.