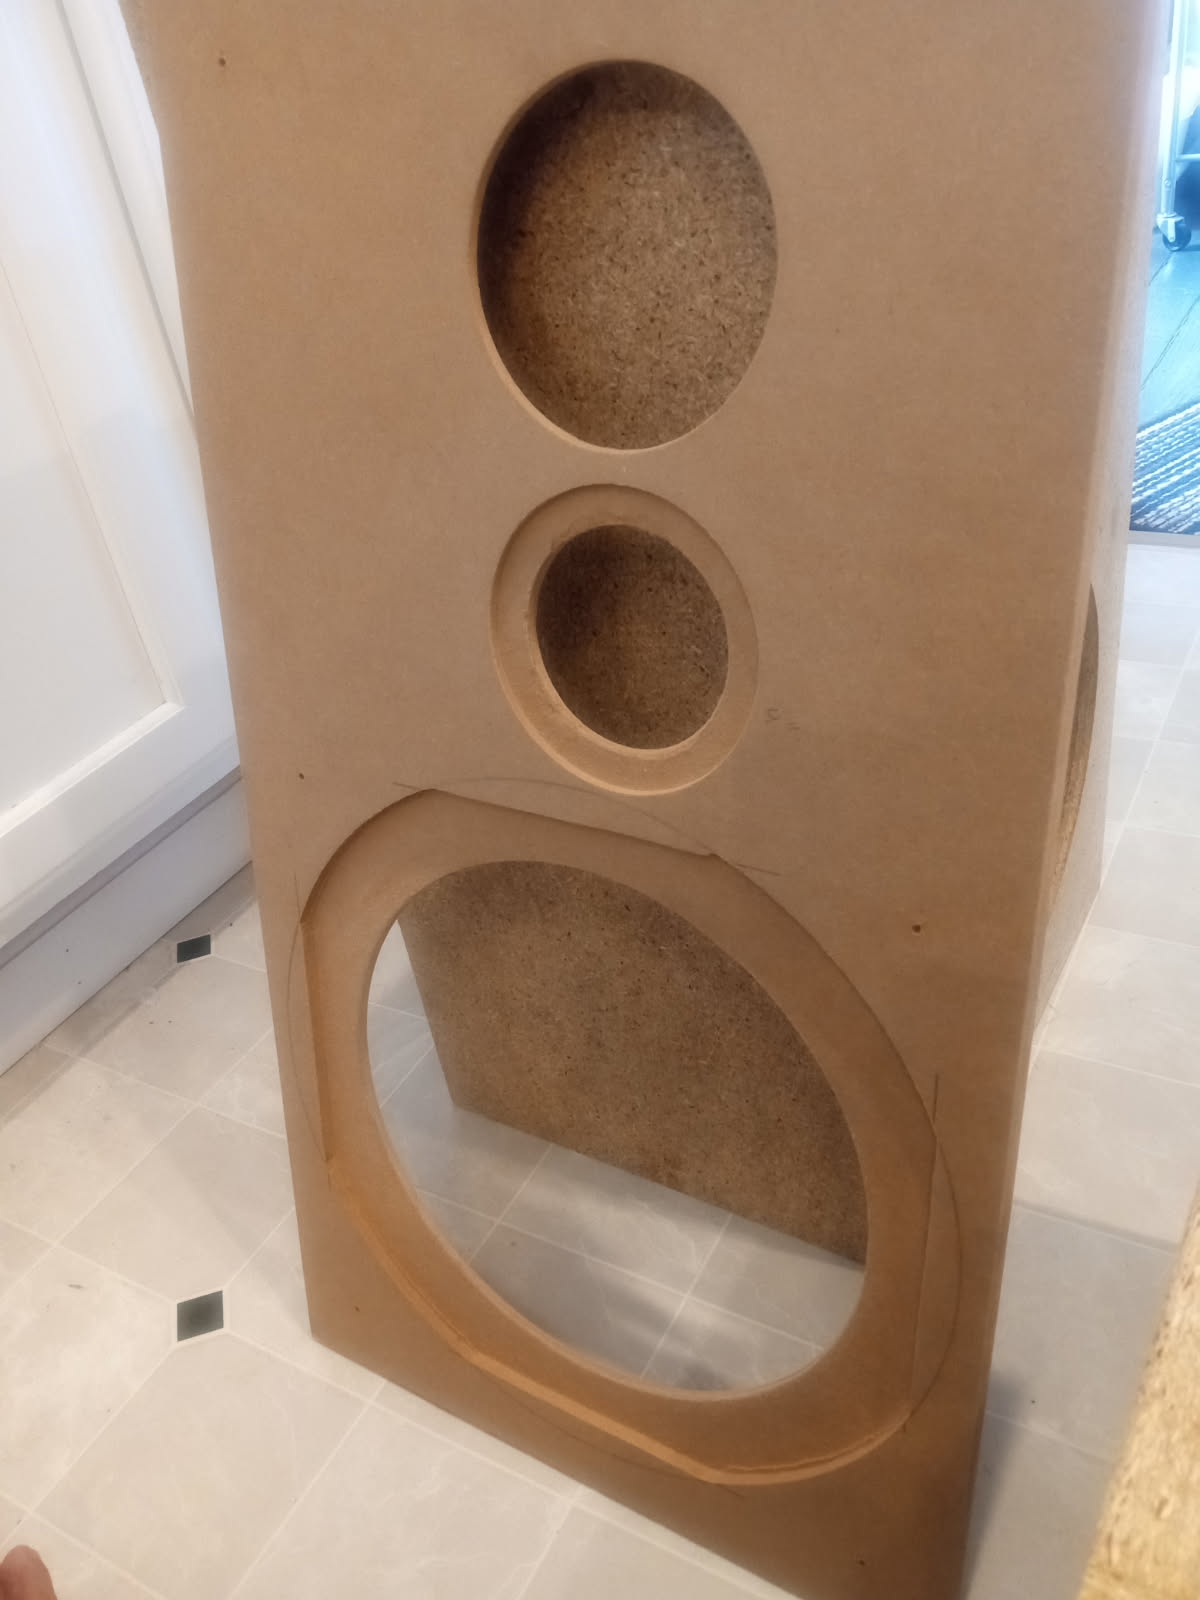
WilsonArt H2O is great for Formica.
The gluing begins
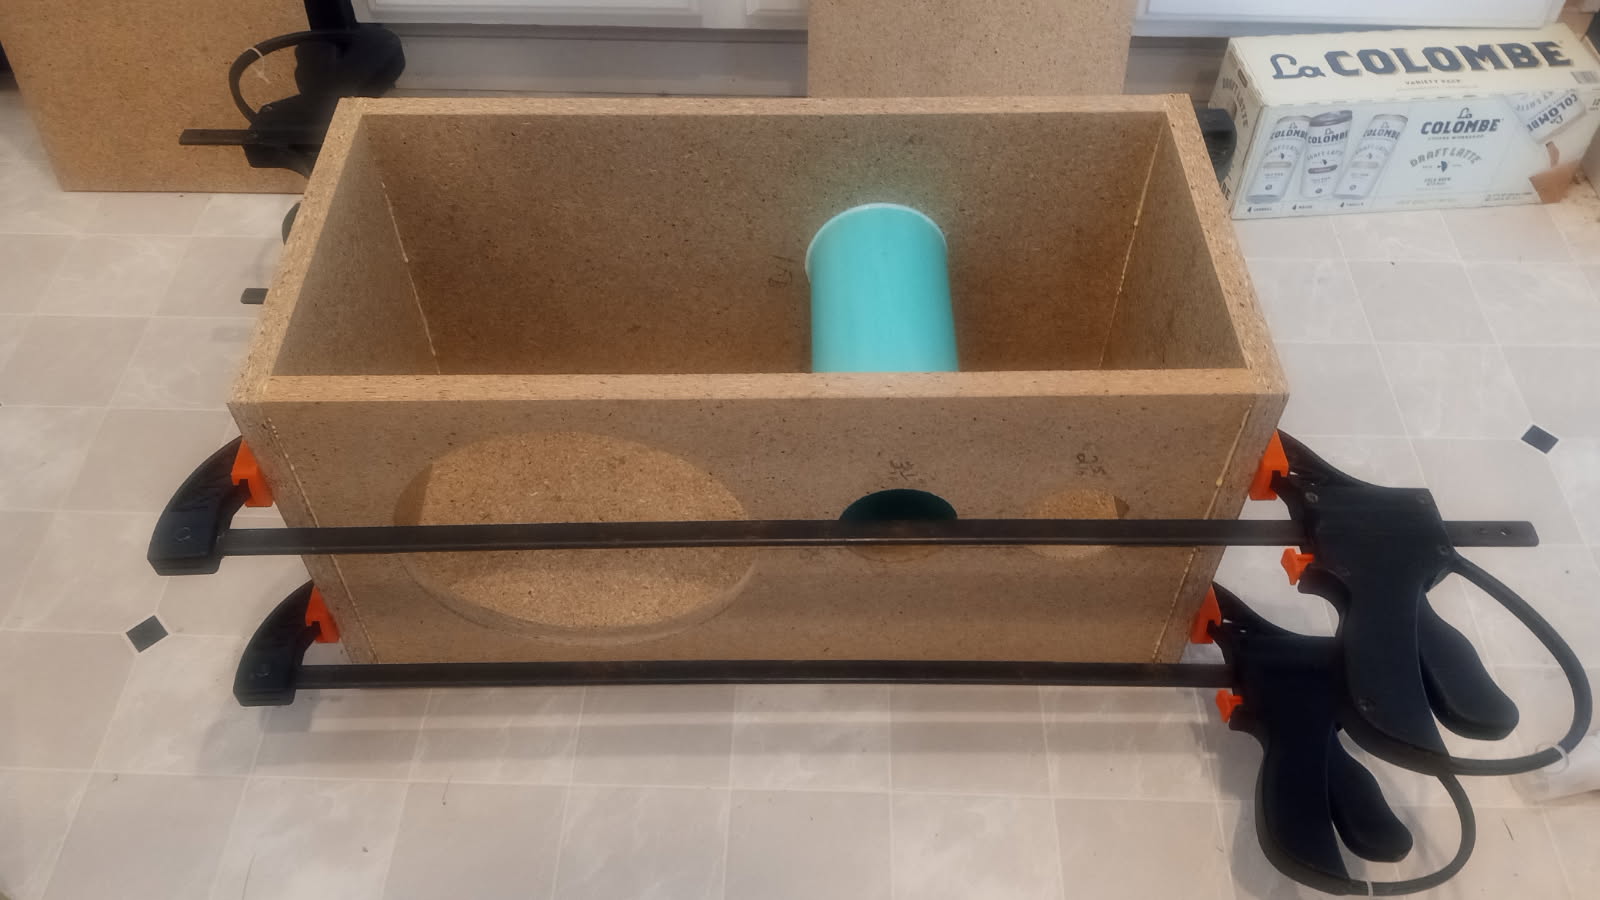
Yesterday I filled in the center holes for the circle jig in the back panels. Titebond and toothpicks method. After letting it dry for a bit I trimmed it flush with a box cutter blade.
1 Like
looking good! Getting me seriously thinking of building my monkey coffin as well.
Ahh dude.. I’m raging to do a large format build that I now have all the hard parts for. Kinda trying to use this current build to satiate my pallet for a bit, to be honest.
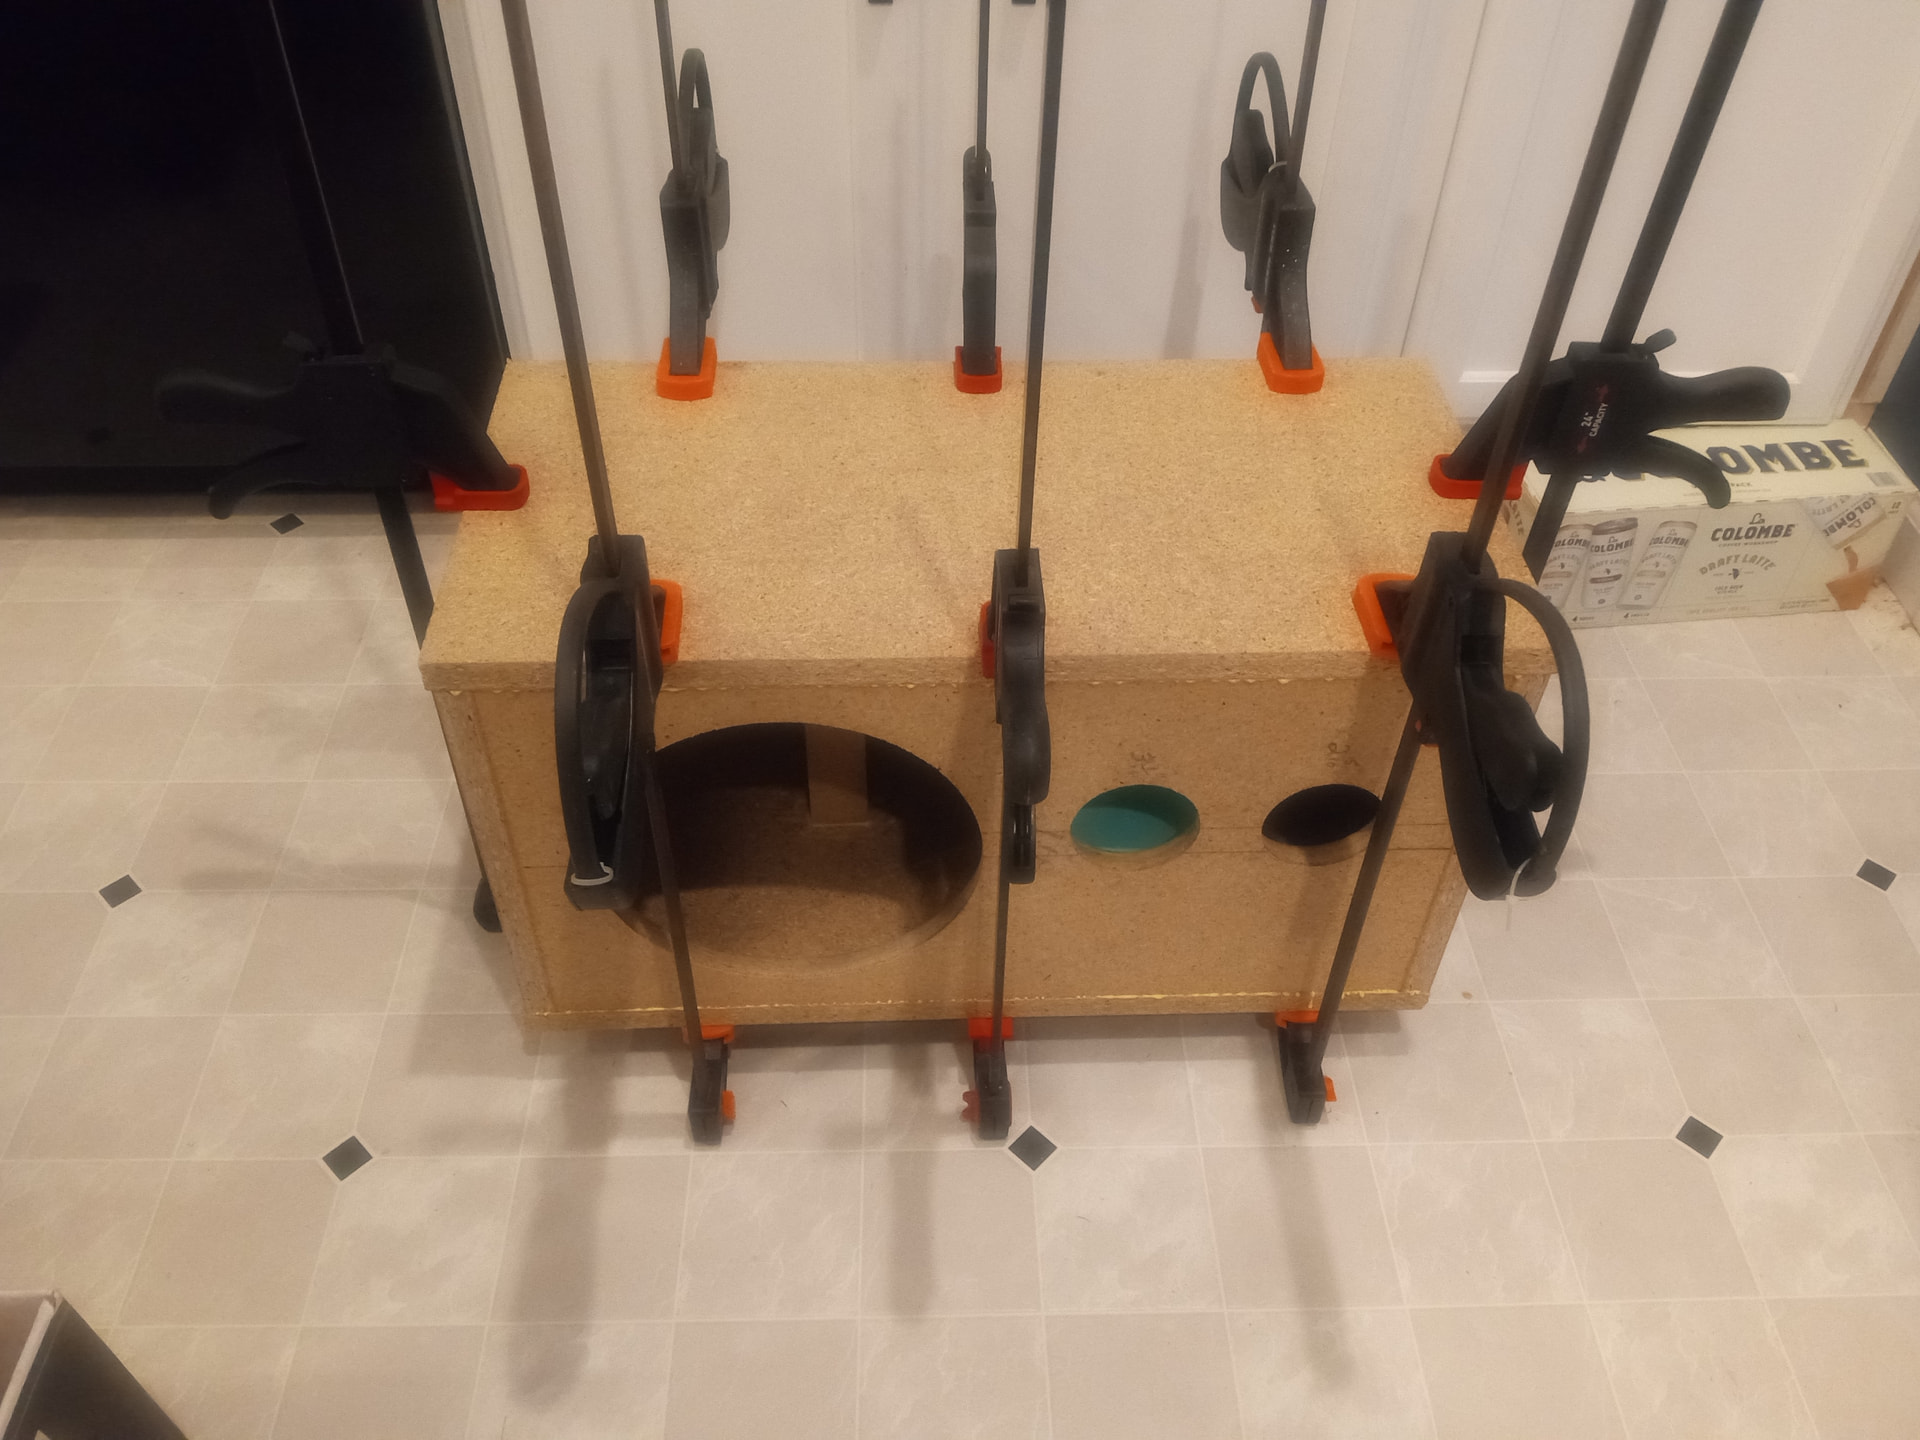
One down. Now to do the other. I forgot to drill the wire hole in the mid chamber beforehand. But atleast I have a big woofer hole to fit the drill through.
4 Likes
I like hearing about little mistakes like that…makes me feel better about my own! It’s tough to plan for ever single little thing, there’s always some order of operations thing I mess up somewhere.
Yeah, I was thinking about how I’d drill/seal the hole, and wire sizes, all day.. Then my brain drops all that for the immediate gratification of seeing one all closed up.
1 Like
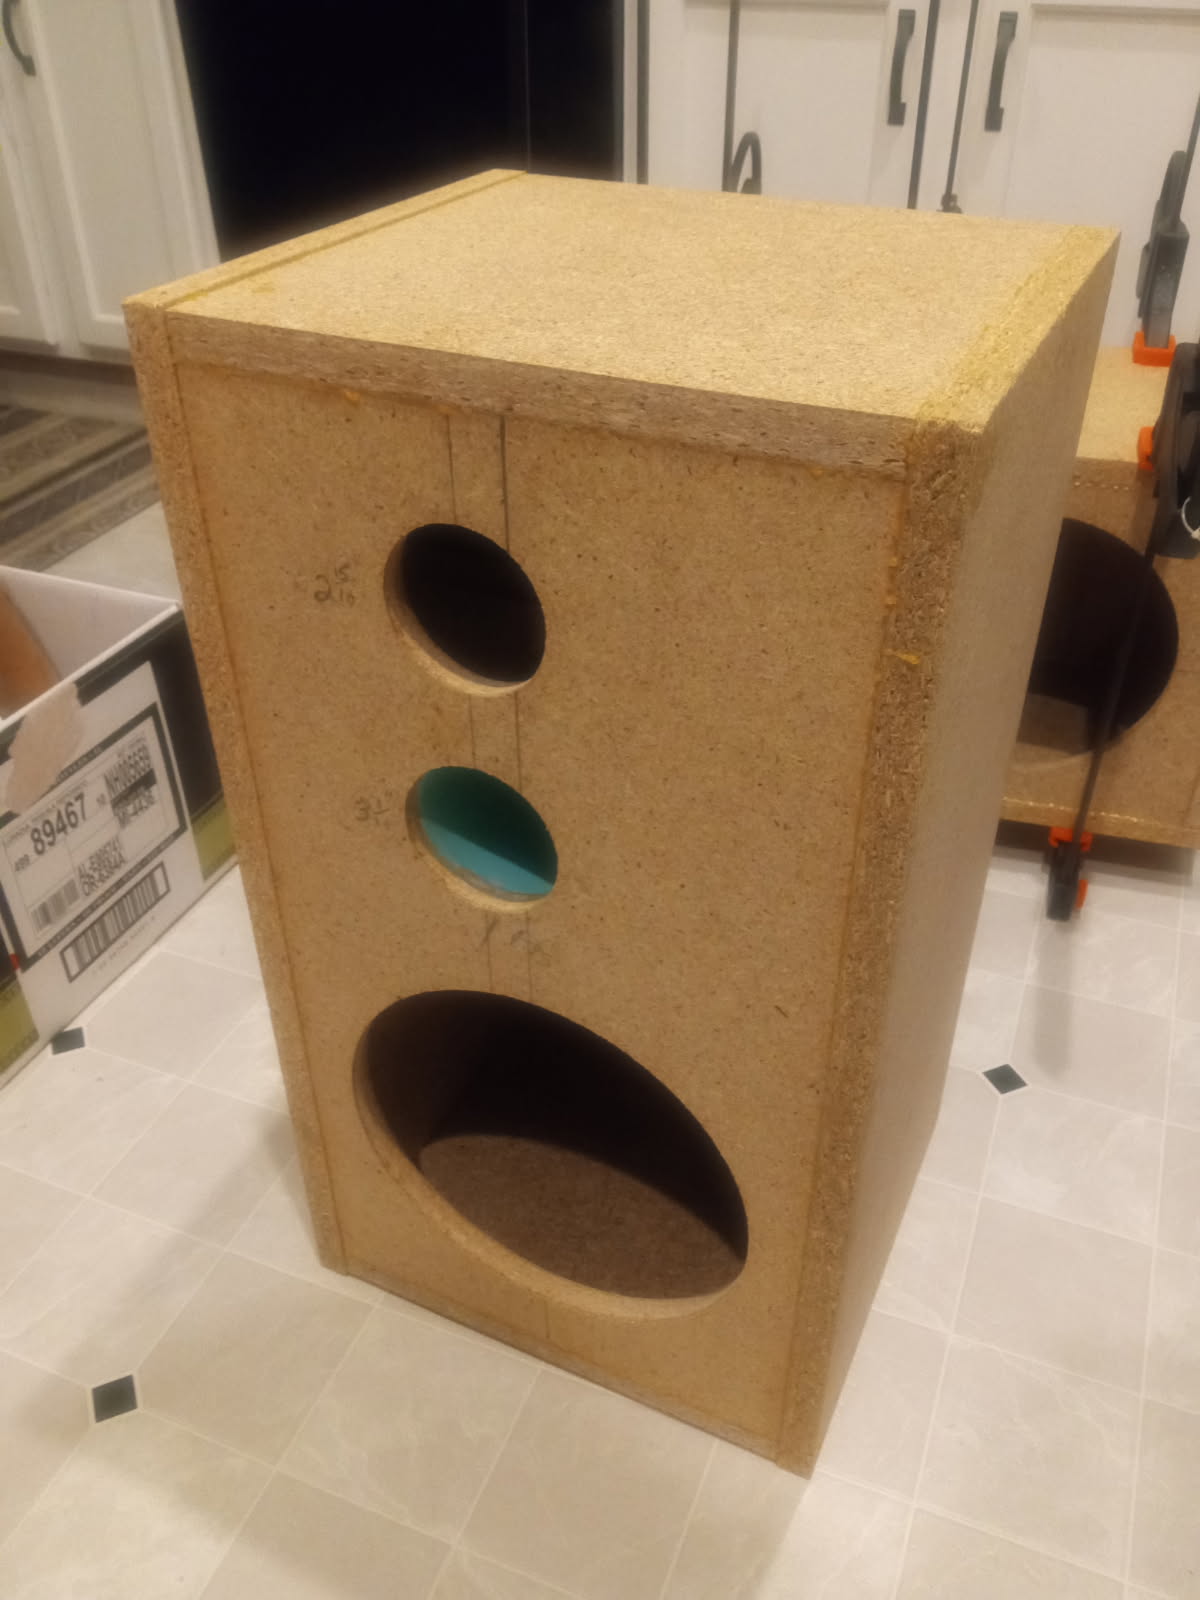
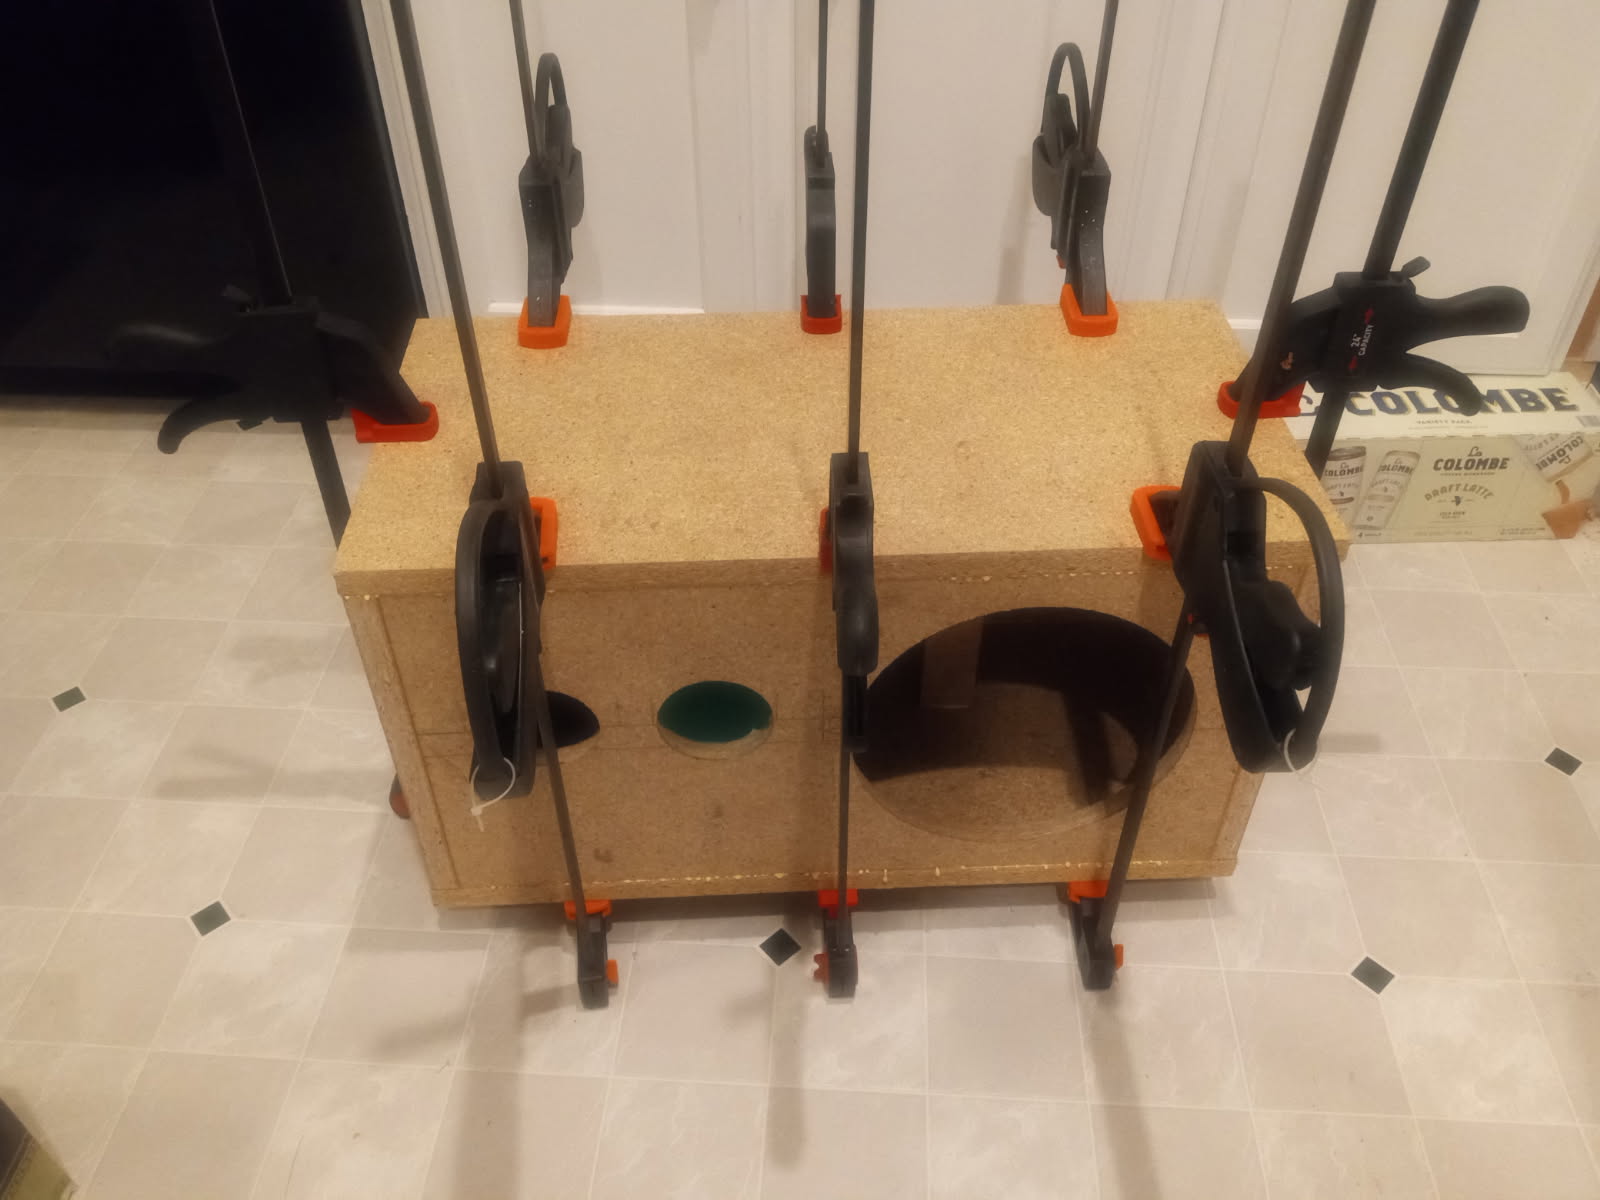
At only 2ft tall these need some stands. As far as Im aware, they will get a more general “console” type placement that fills the great room space with sound. There is no seating directly in front, maybe standing though. A 12-14" tall solid box would get them up to or past 36" tall, but seem a bit too bulky. A simple 2x2 board under the front gets some rear tilt, but still seems too short.
I rooted around in the scrap pile. I found some 7.25" and 6.125" wide boards. If I make the stand come out 10" from the speaker back, the 1.125" difference would make for ~6.5° lean. This seems a reasonable compromise of added height with some lean. If they don’t like the lean, then I suppose the speaker could be set on top of the rear lip.
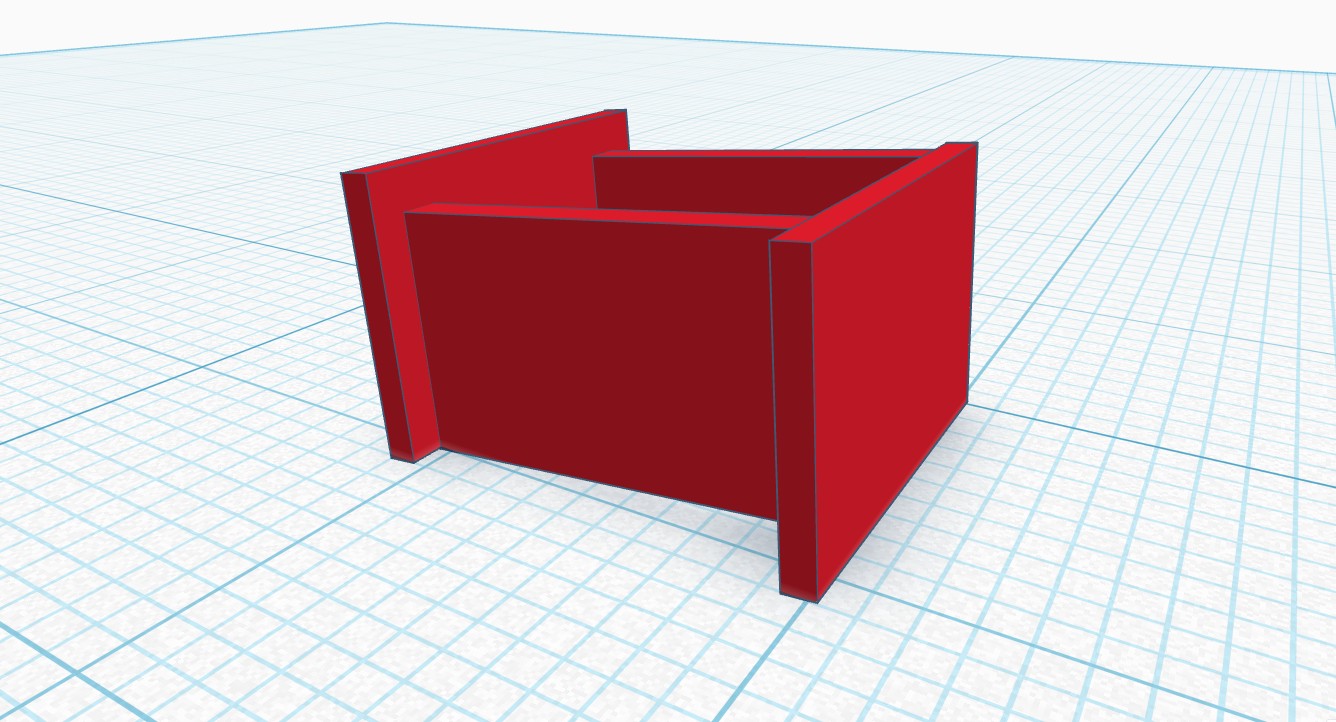
Something kinda like this. The shorter boards spanning front to back are 5/4" thick material so they should give some diagonal stability in case someone kicks a corner.
4 Likes
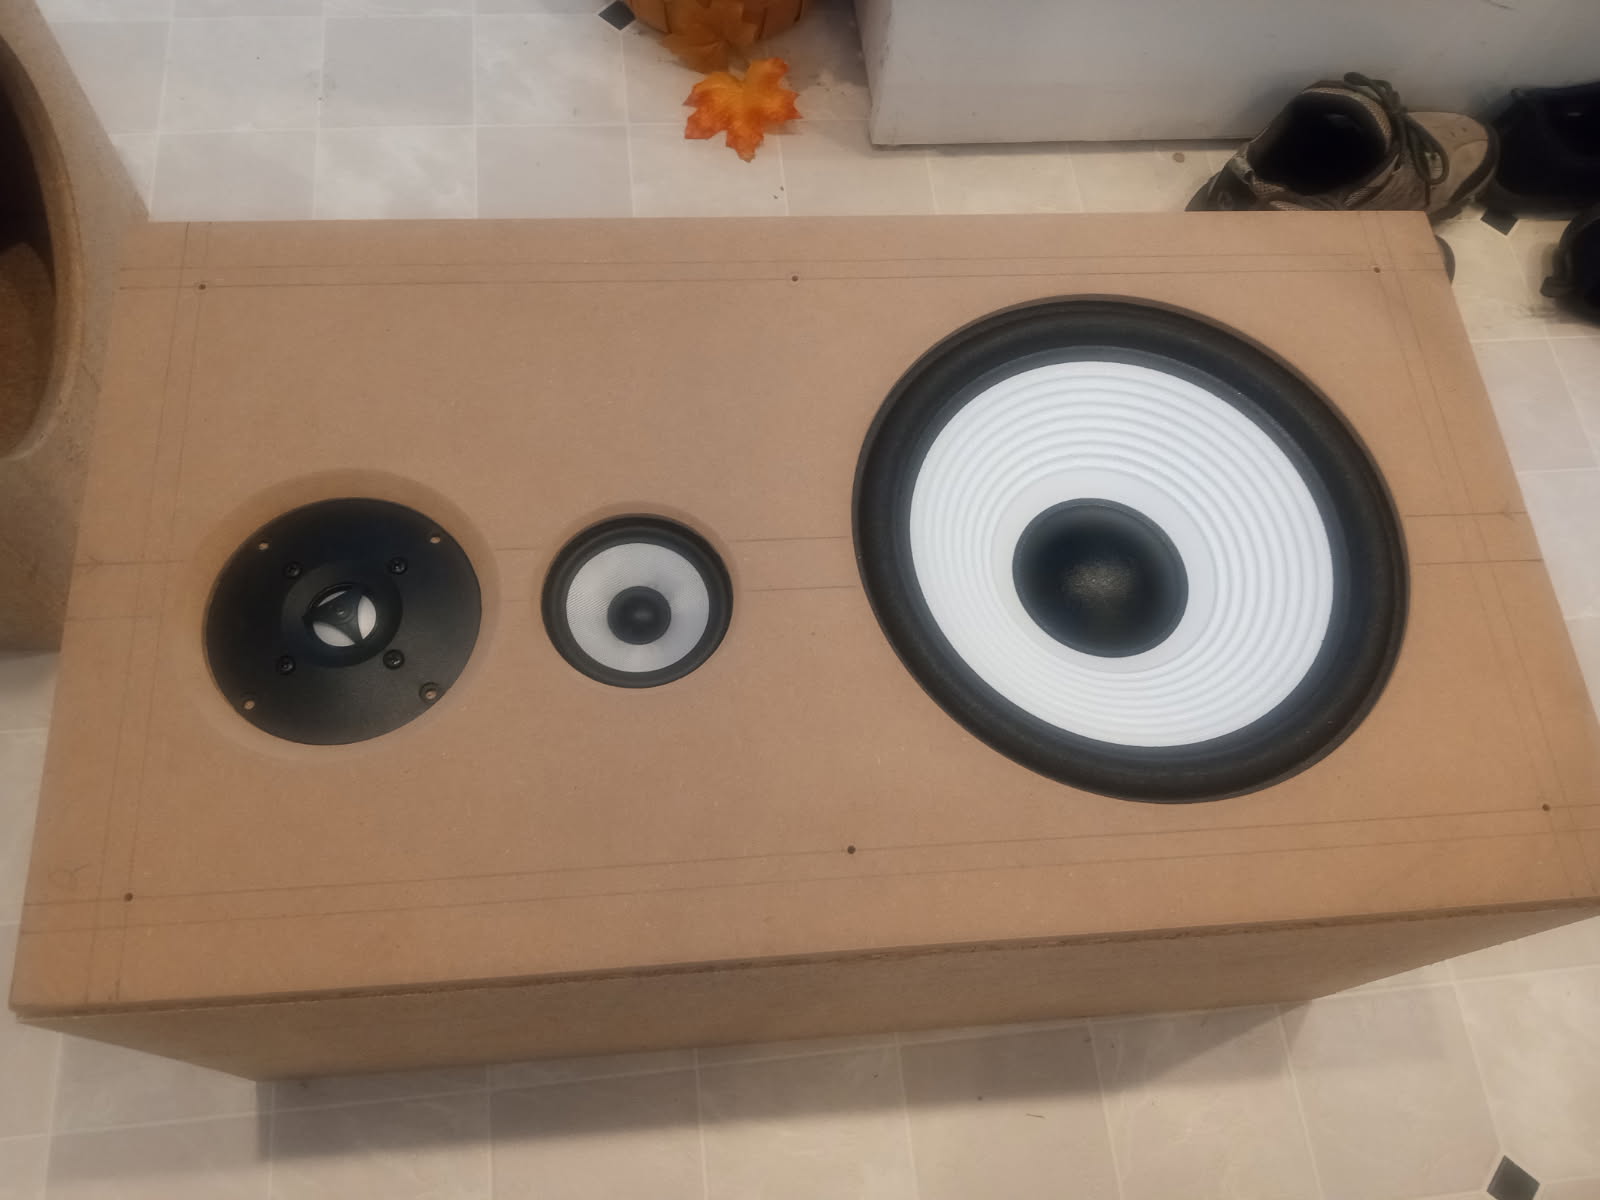
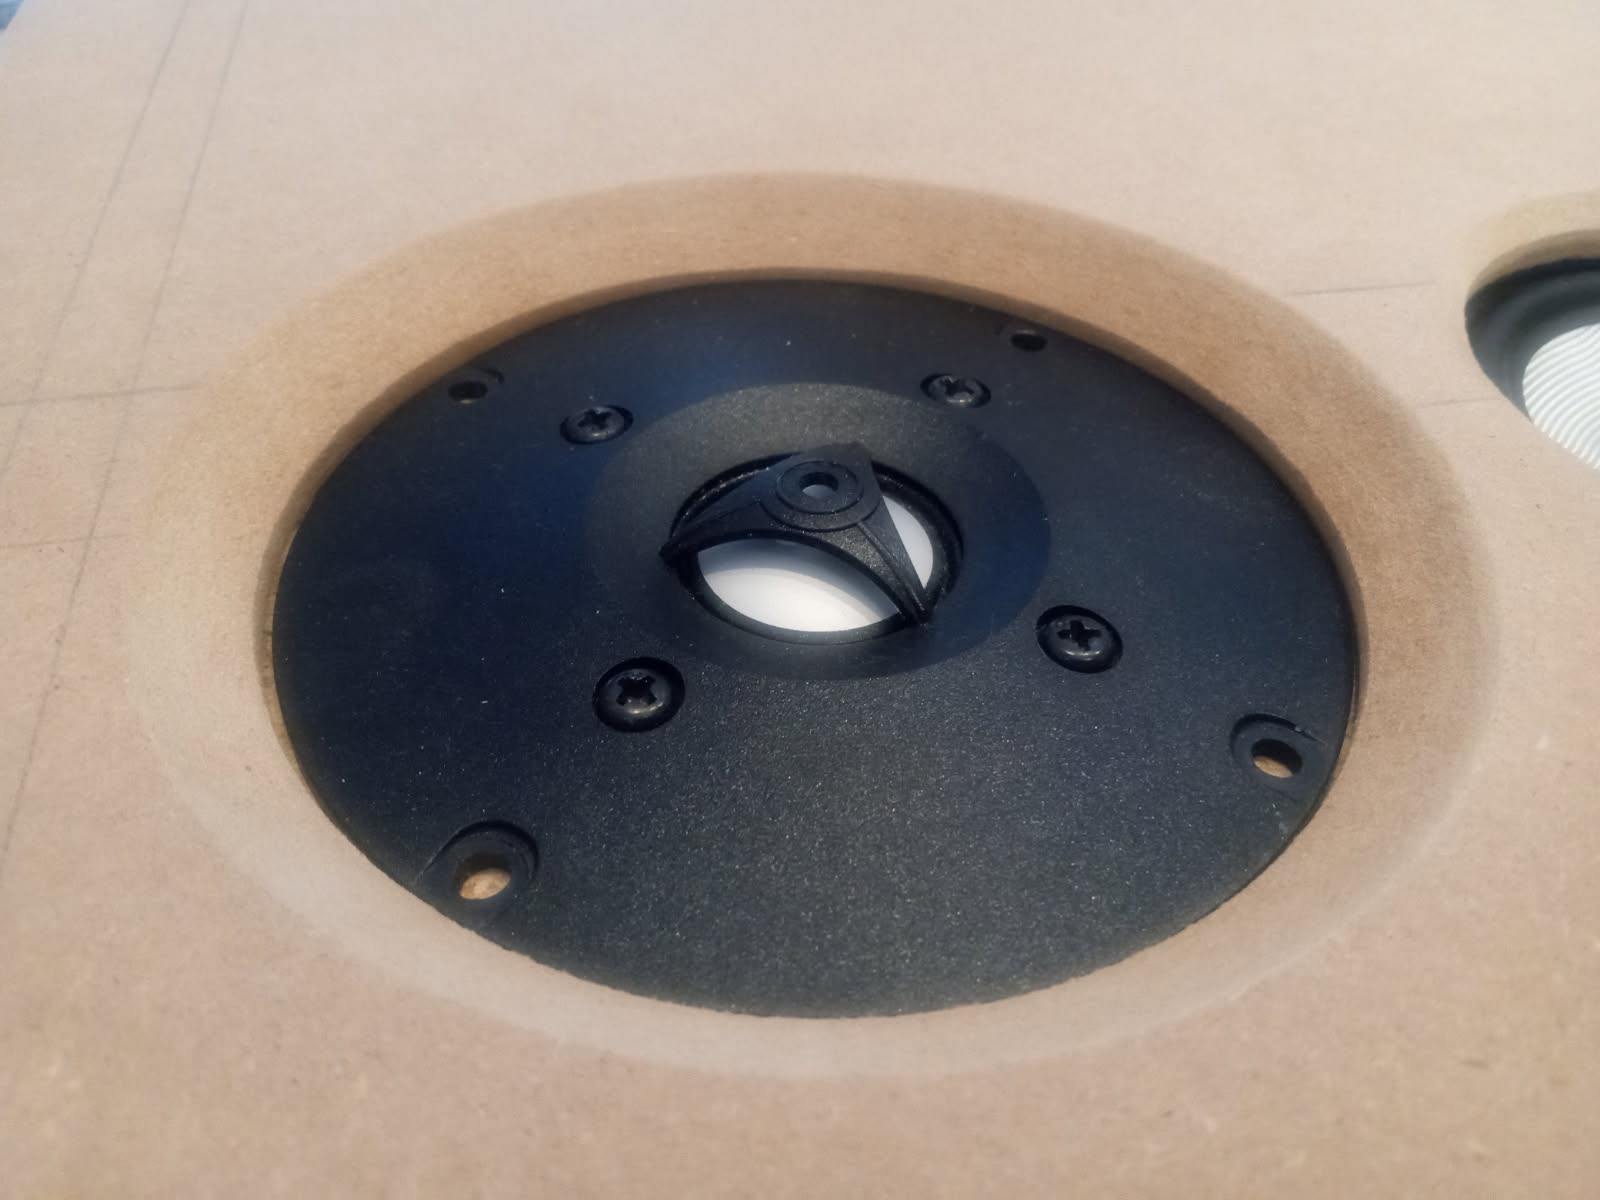
Today I cut the pieces for the stands, flush trimmed the overhangs on the boxes, and cut relief for the tweeter terminals.
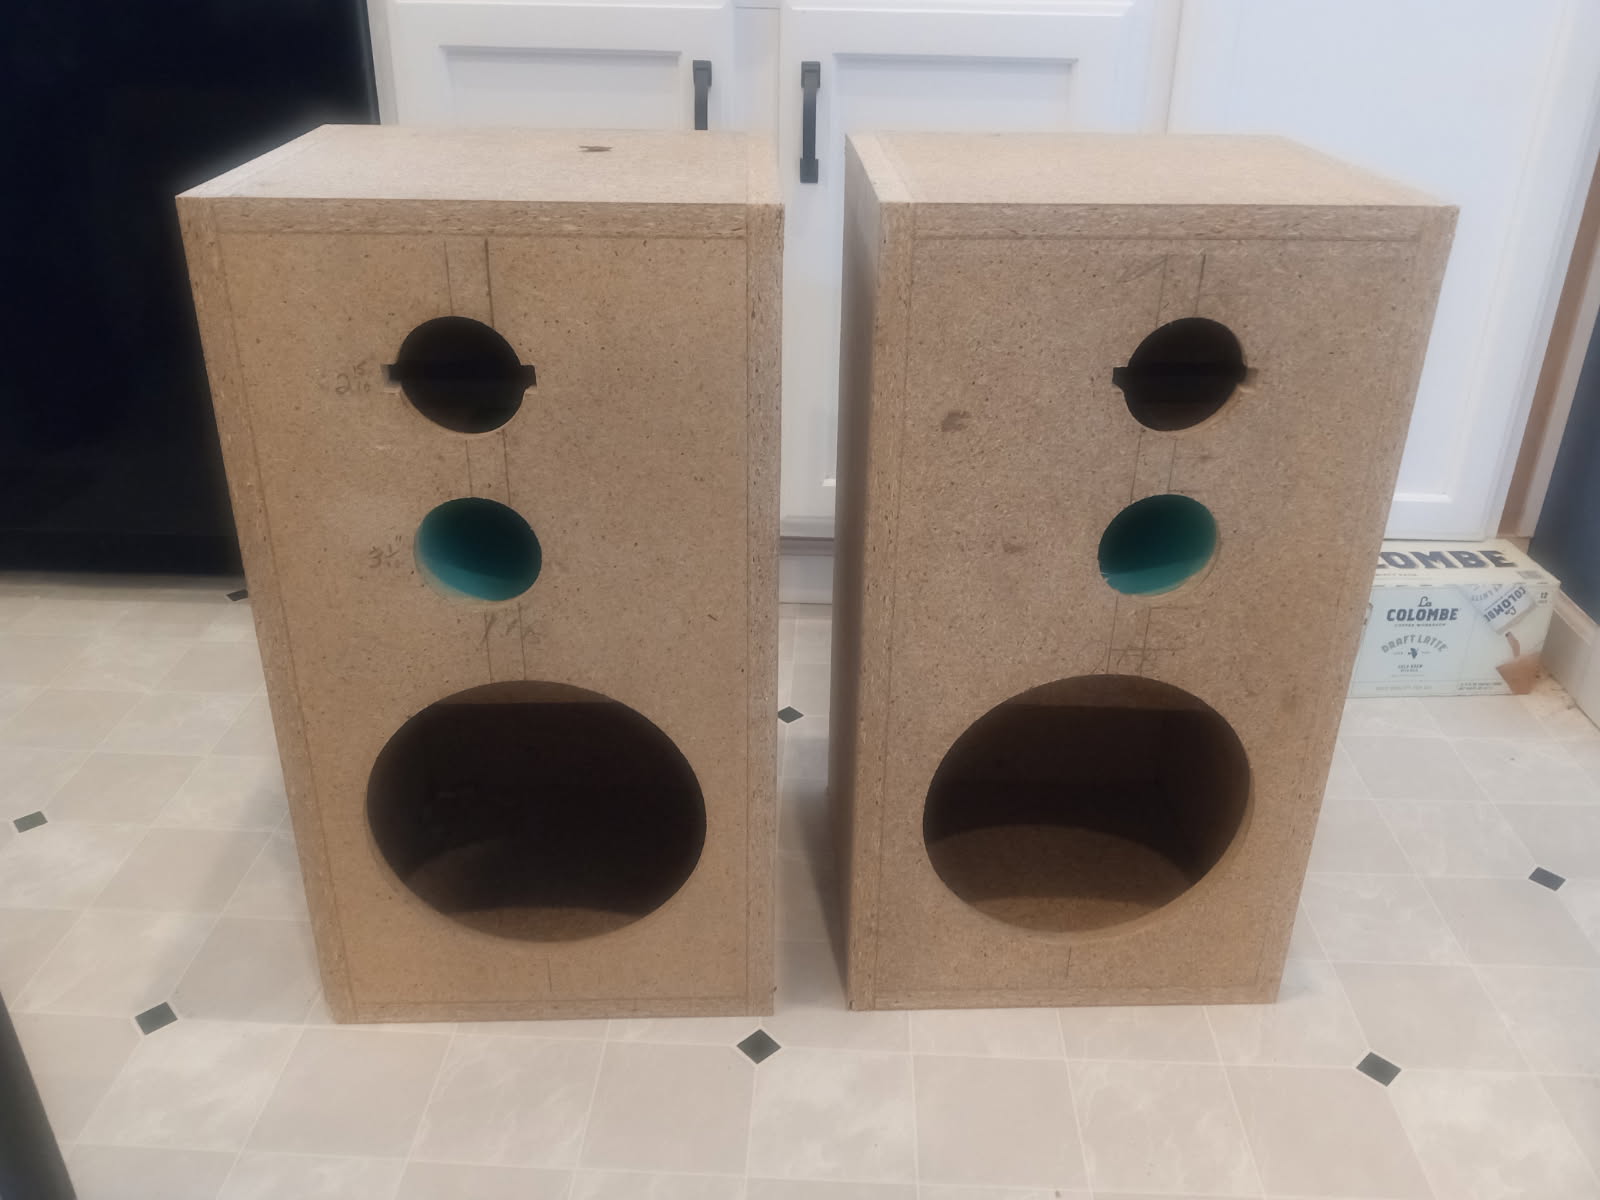
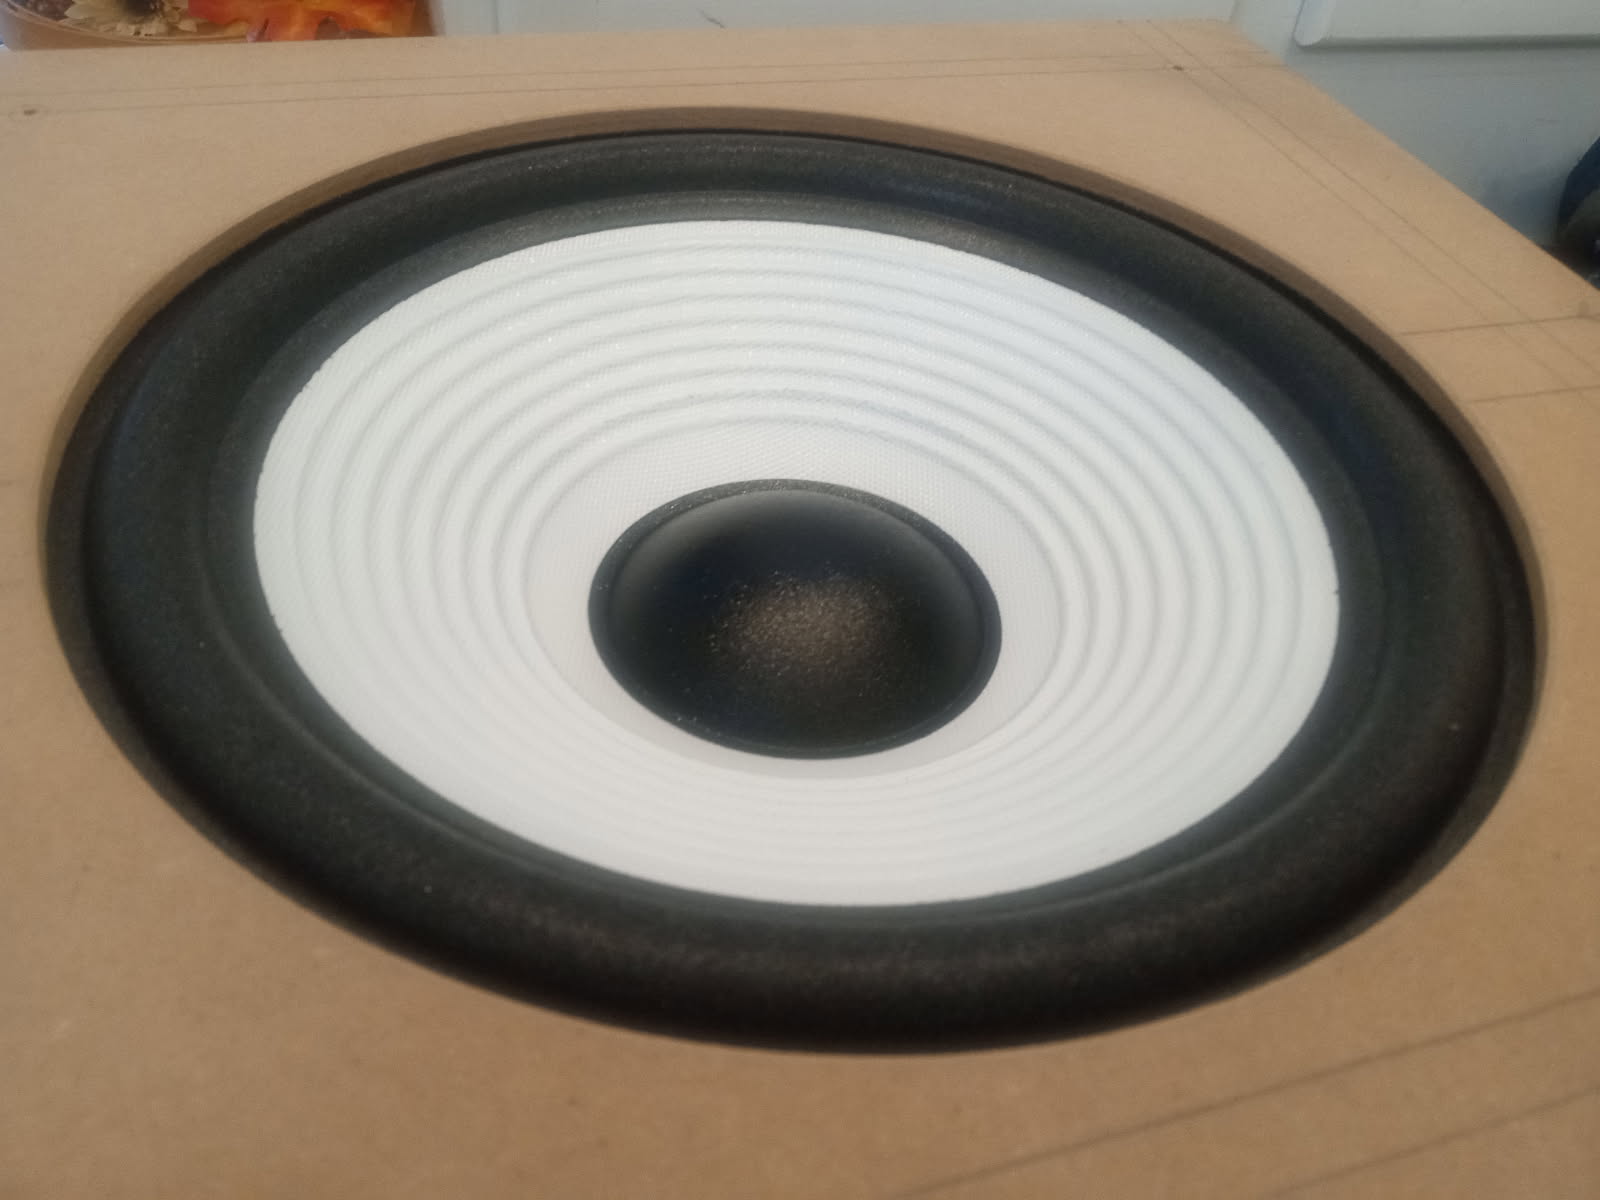
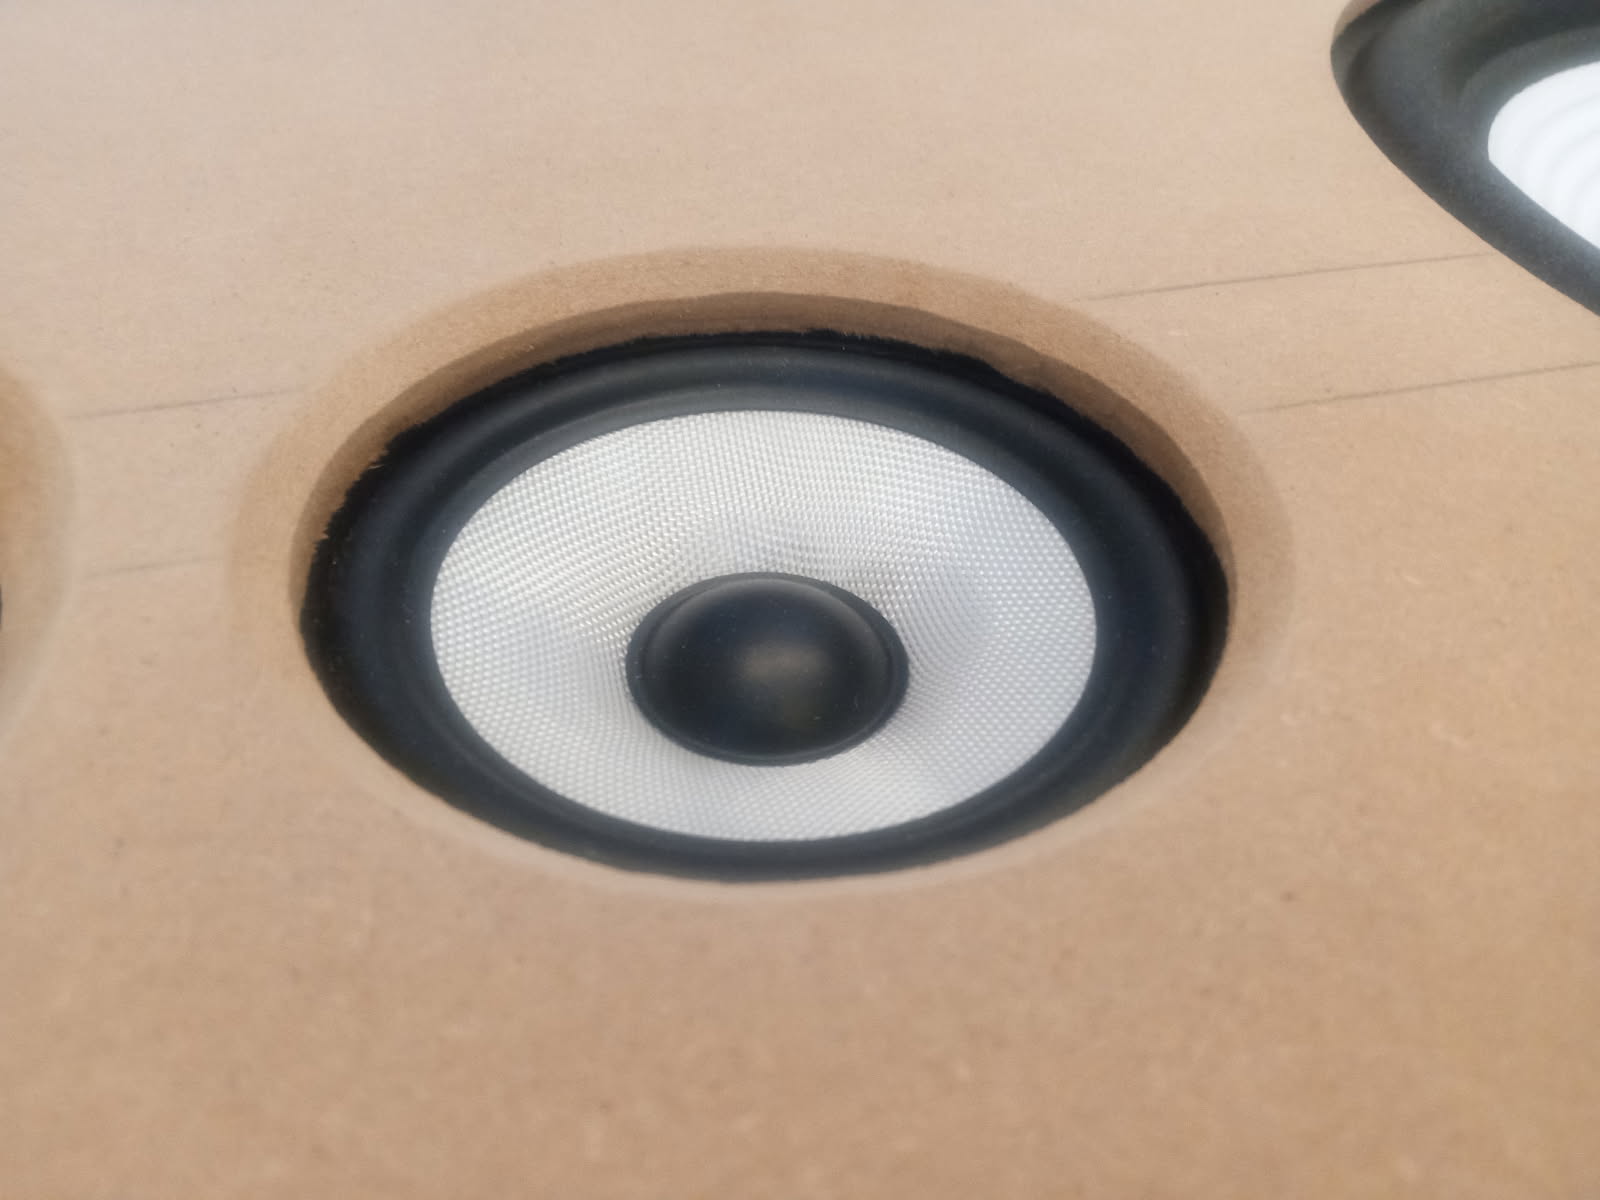
Every step I plop in the drivers to try and get a better angle pic. Finally able to get a feel for the woofer spacing to the edges.
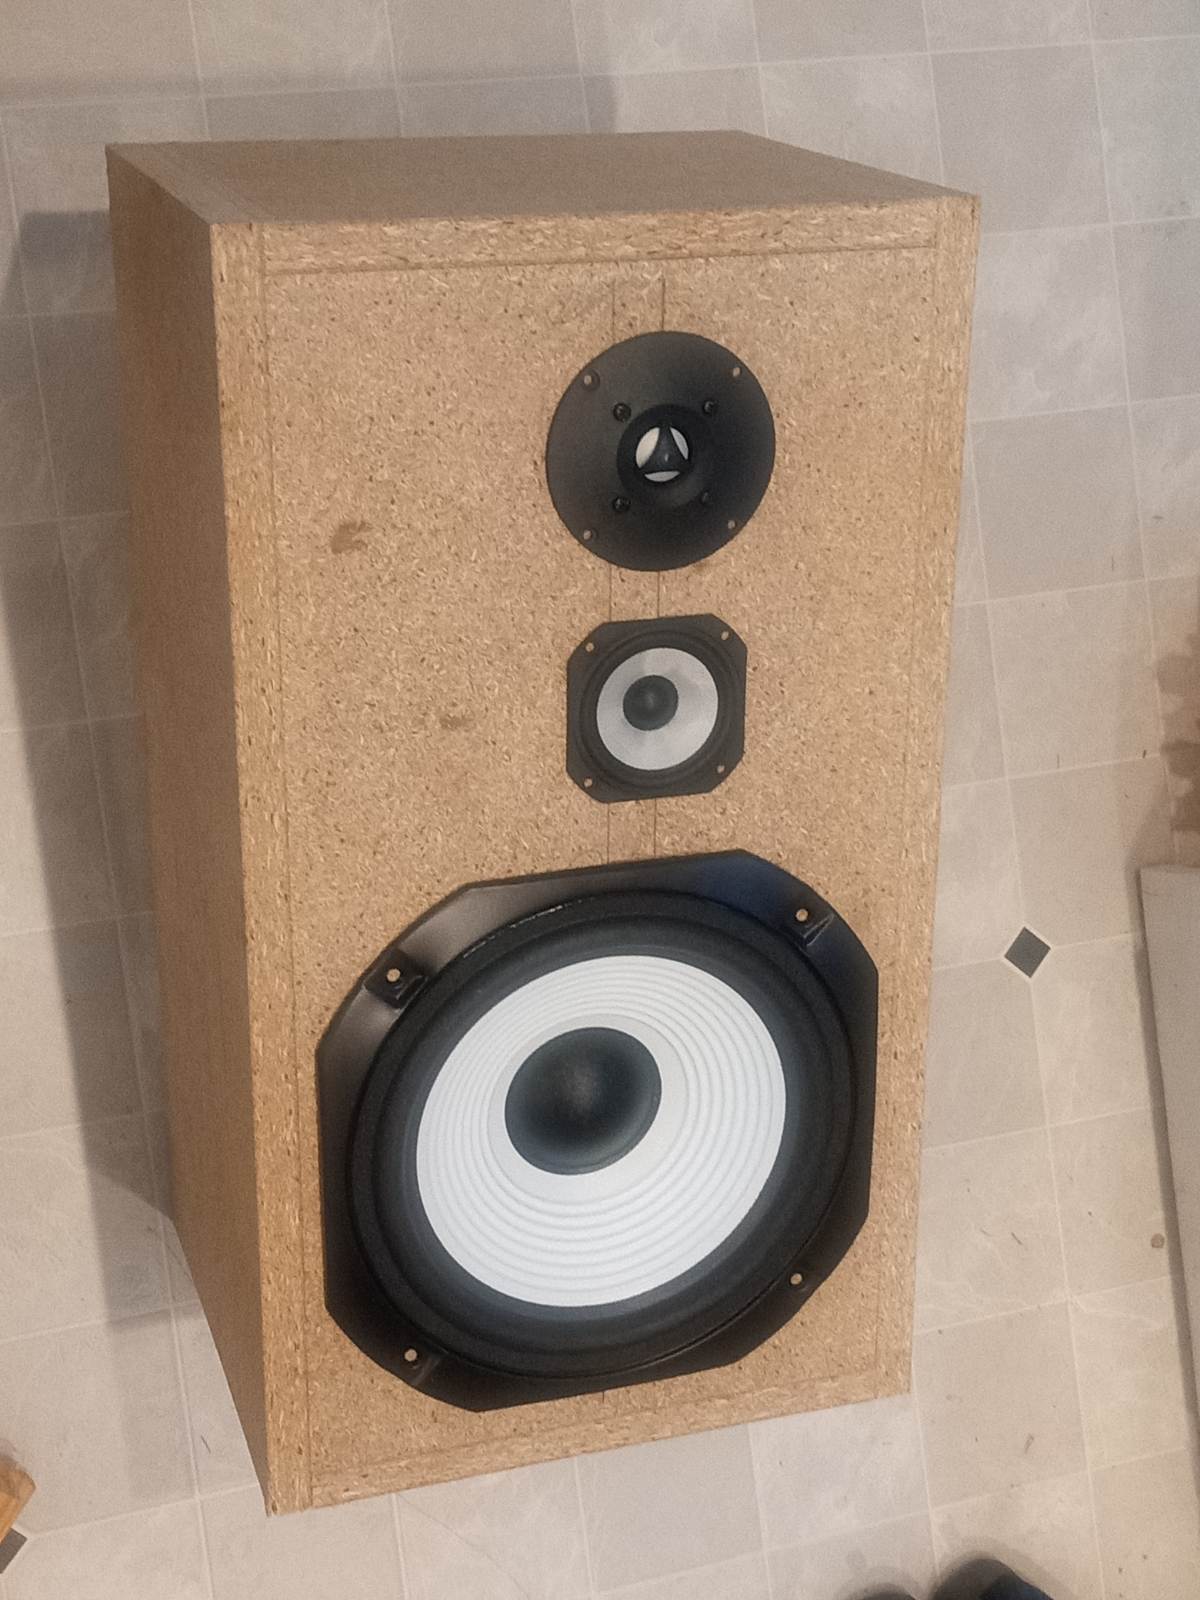
I measured how much the woofer surround sticks out from the baffle. It is nearly 1/2". There is a bit of gap at the flats so I’m hoping it will pull in when screws are tightened. That and the grill guides should space the grill board off the baffle a bit. So I may still be able to use a 1/2" board for the grill.
1 Like
Getting tired of the hazyness in my pics. It was not like that early on. Probably pocket sweat making it’s way in. I wonder if throwing my phone in a bunch of rice for a few days would help.
I like the haze, makes it look like the pictures are older. Like a flashback scene in a terrible 90’s made-for-TV movie. 
1 Like
Soo, Next up is working the grill into the mix. What I’m planning will be a bit of a nightmare of technicalities for myself.
-It will be a foundation of 1/2" MDF.
-I want to cut the driver holes pretty close to the surrounds on the mid and woofer.
-The woofer frame sticks out a bunch, and the outer radius of the frame leaves little meat out towards the edges to glue grill cloth to. So I’ll probably need to freehand carve out space with the router instead of just cutting a full circle out with the jig.
-The mid I’ll probably be doing router work on both sides. Cutting a relief out of the back to clear the frame and screws. Then on the front I’ll probably cut a chamfer so the opening is less harsh.
-The tweeter opening will probably get a similar precess to the Mid. But unsure if it will be a larger opening close to the outer diameter, or closer in to merge somewhat with the small wavegide section.
-So all that would obviously need pretty precise measurements and alignment with the grill guides to suceed…
-Finally, I throw a bit of a wrench in by deciding to trim around the whole grill with aluminum tile edge. This realy should sell the vibe and bring it to the next level visually. But the whole grill needs to be shrunk by the width of the trim. And I need to properly estimate the final dimensions with grill cloth and laminate on all the sides.
This probably doesn’t sound like a big deal until you start to think about the details of how to nail all these measurements with all the stacking tolerances. At least I can always reference to a center line. But that is about it.
I fixed my tablesaw yesterday. That motivated me to cut the grill boards this evening. It is realy obnoxios to work in the sun at 96deg. Sweating all over the MDF  .
.
Like I mentioned above, I want to trim out around the grill board with aluminum tile edging. It was tough to measure the thickness. I was hoping it was 1/8" thick, but measuring seemed to show ~3/32". So I cut the grill boards 3/16" small.
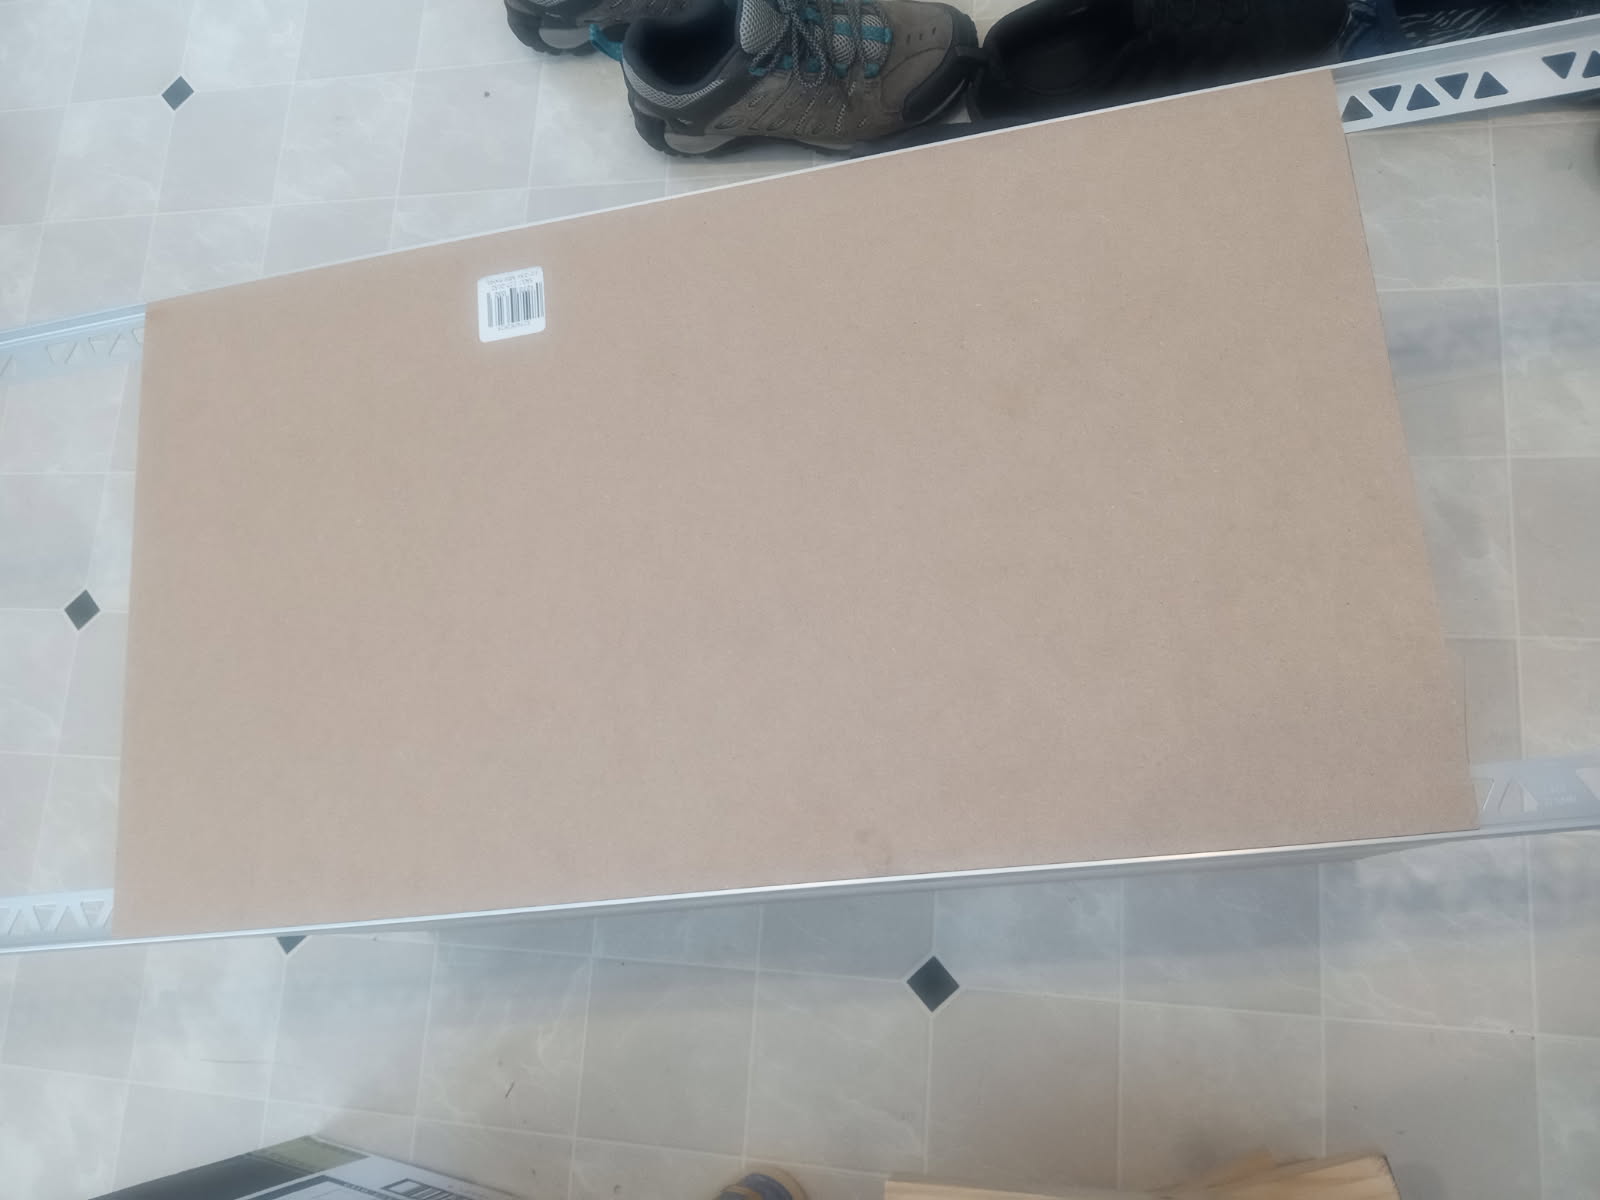
When everything stacks up it seems they are probably closer to 1/8" each. But the laminate on the side of the speaker I’m sure is thicker than the grill cloth that will space out this trim, so it will probably soak up some of the overhang. We are talking about ~1/32" at most either side, so not the end of the world.
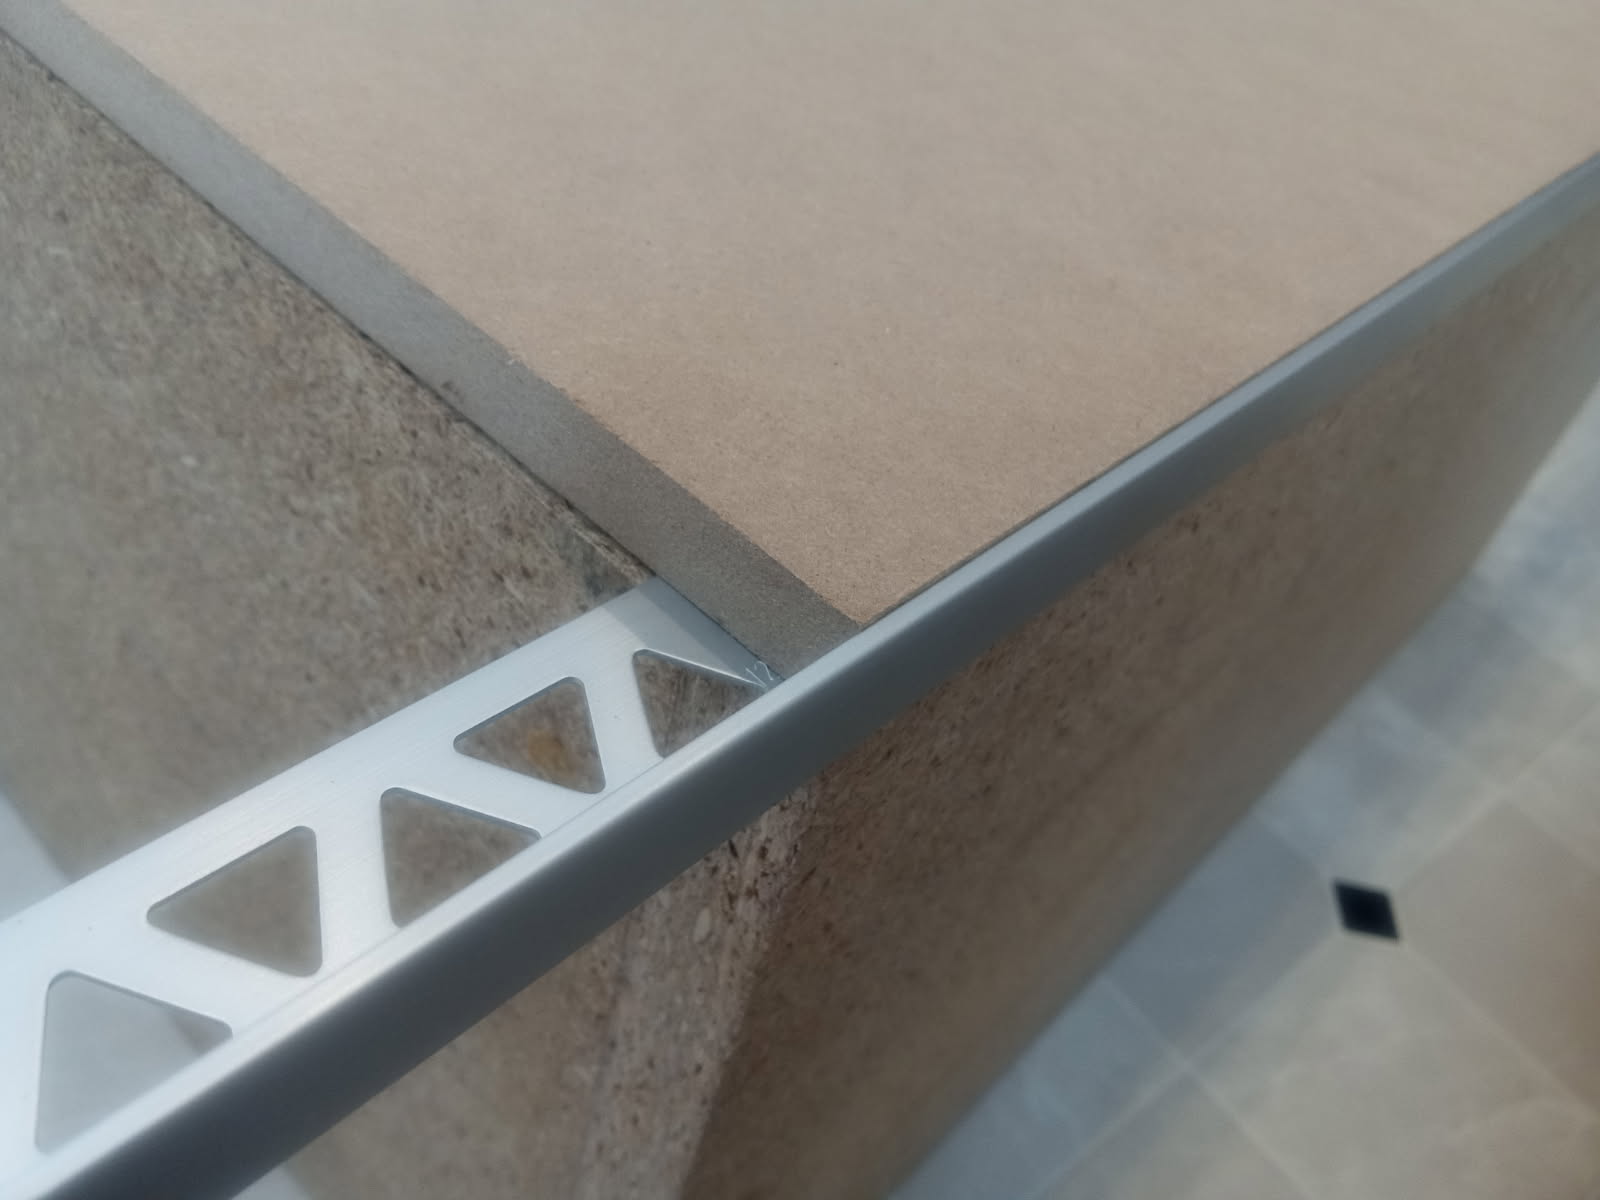
The tile edging is a bit costly at ~$21 for 8ft. I wanted to use cheap angle aluminum stock, but I don’t know how bad it would corrode over time. Normally I’m fine to gamble on builds “for me”, but not when I’m building for someone else… The tile edging is anodized, so it should hold up alot better.
Then I’ve got to worry about nailing the miter measurements/cuts perfectly. And how to glue it all down so the miters stay tight. ugh, one step at a time I guess.
3 Likes
I would not cut it on a mitersaw without a sacrificial board in it and behind it. Cut through all at once
I like it. Your heart is in a good place.
1 Like
Yeah the edging it is a bit spindly. I probably could cut it by slowly and carefully bringing the saw down. But backing it all up I agree is a much safer method.
2 Likes
I’d go to the table saw with the miter attachment. And for mission critical, always a new blade. In this case a high tooth count, 60 or more.
Grill boards marked. Front side for drilling driver and grill guide centers. Then I could flip it over and mark where material will be removed for allowing the grill board to slip around the driver frames.
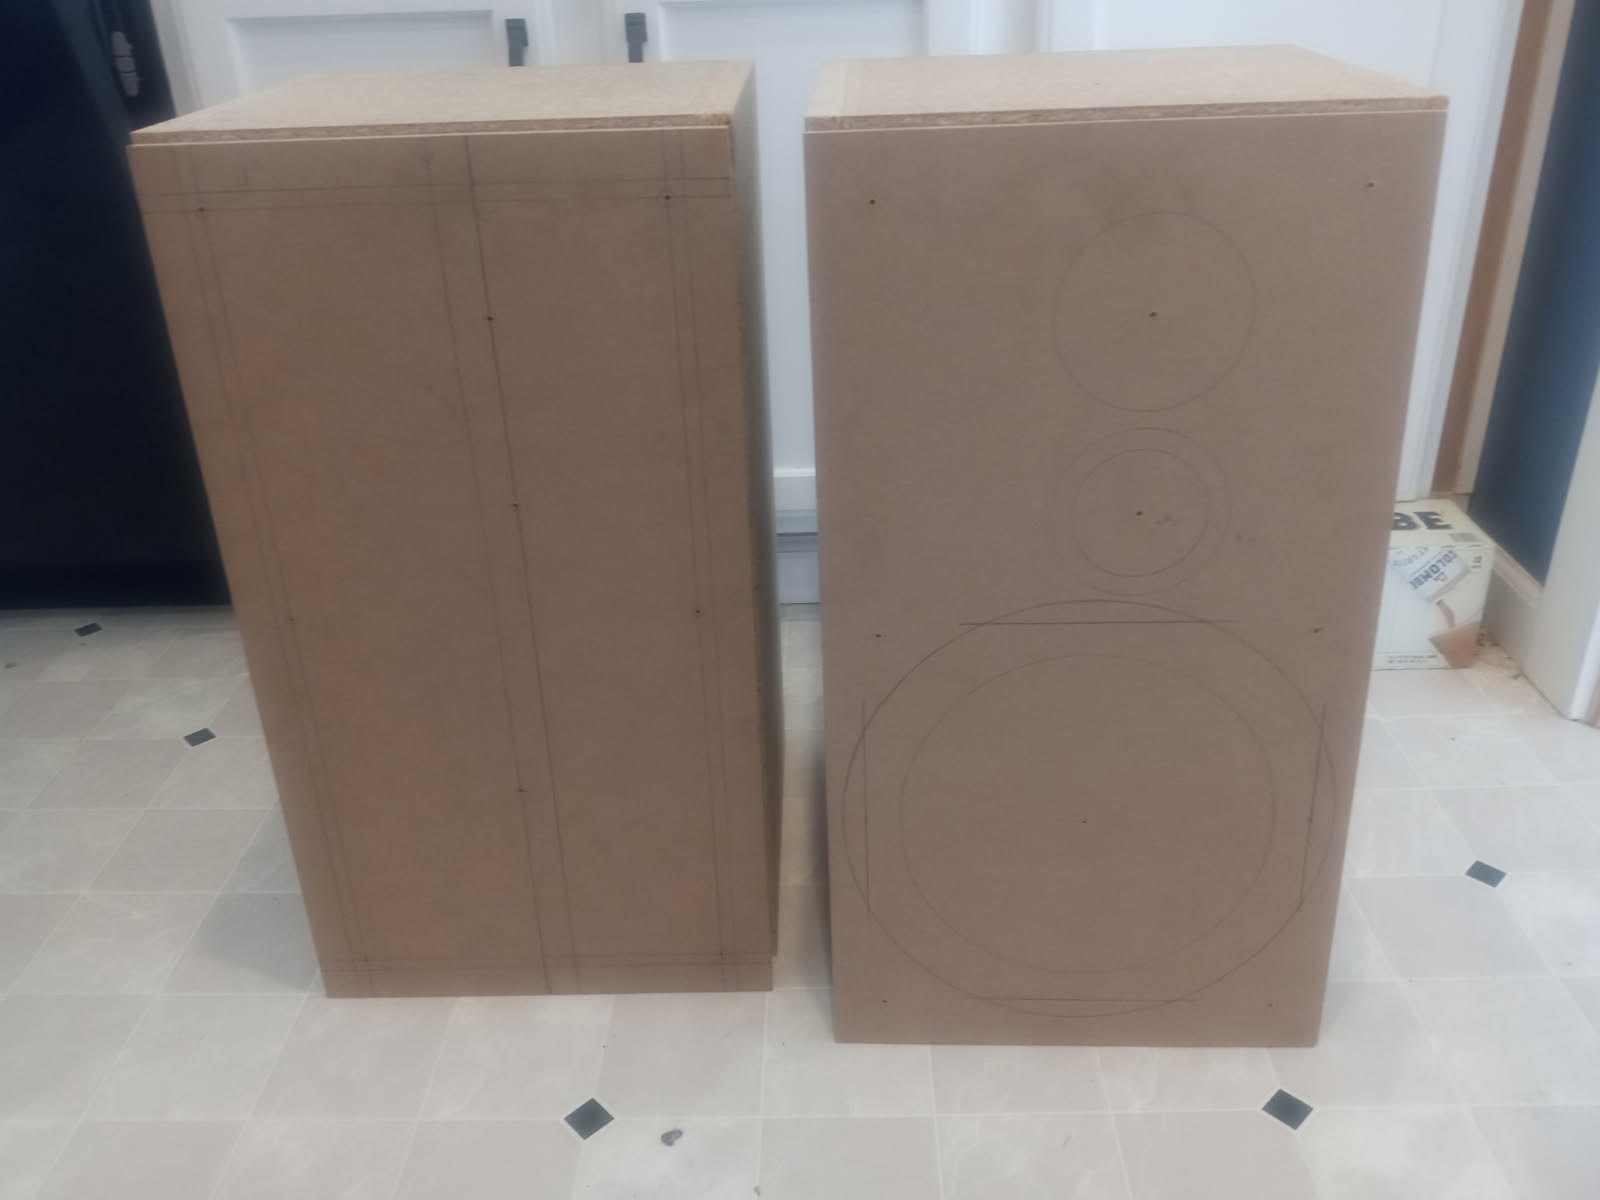
Had a bit of a frustrating moment… I used a 24" metal L square to do the measurements. I like to do that since it eliminates some ambiguity of a tape measure. But after doing some measurements I found that one side of the square also has tenths and twelfths of an inch markings. I had used the tenths a few times instead of eighths. The difference between 1/10" and 1/8" is so small that it would only make the pencil line thicker. So I had to do some “Kentucky windage” when I was punching the centers.
2 Likes