Here is the slicer result, stepped through all the 100 layers (0.16mm each):
Not as bad as I expected on print time either, just under 9 hours each.
Here is the slicer result, stepped through all the 100 layers (0.16mm each):
Not as bad as I expected on print time either, just under 9 hours each.
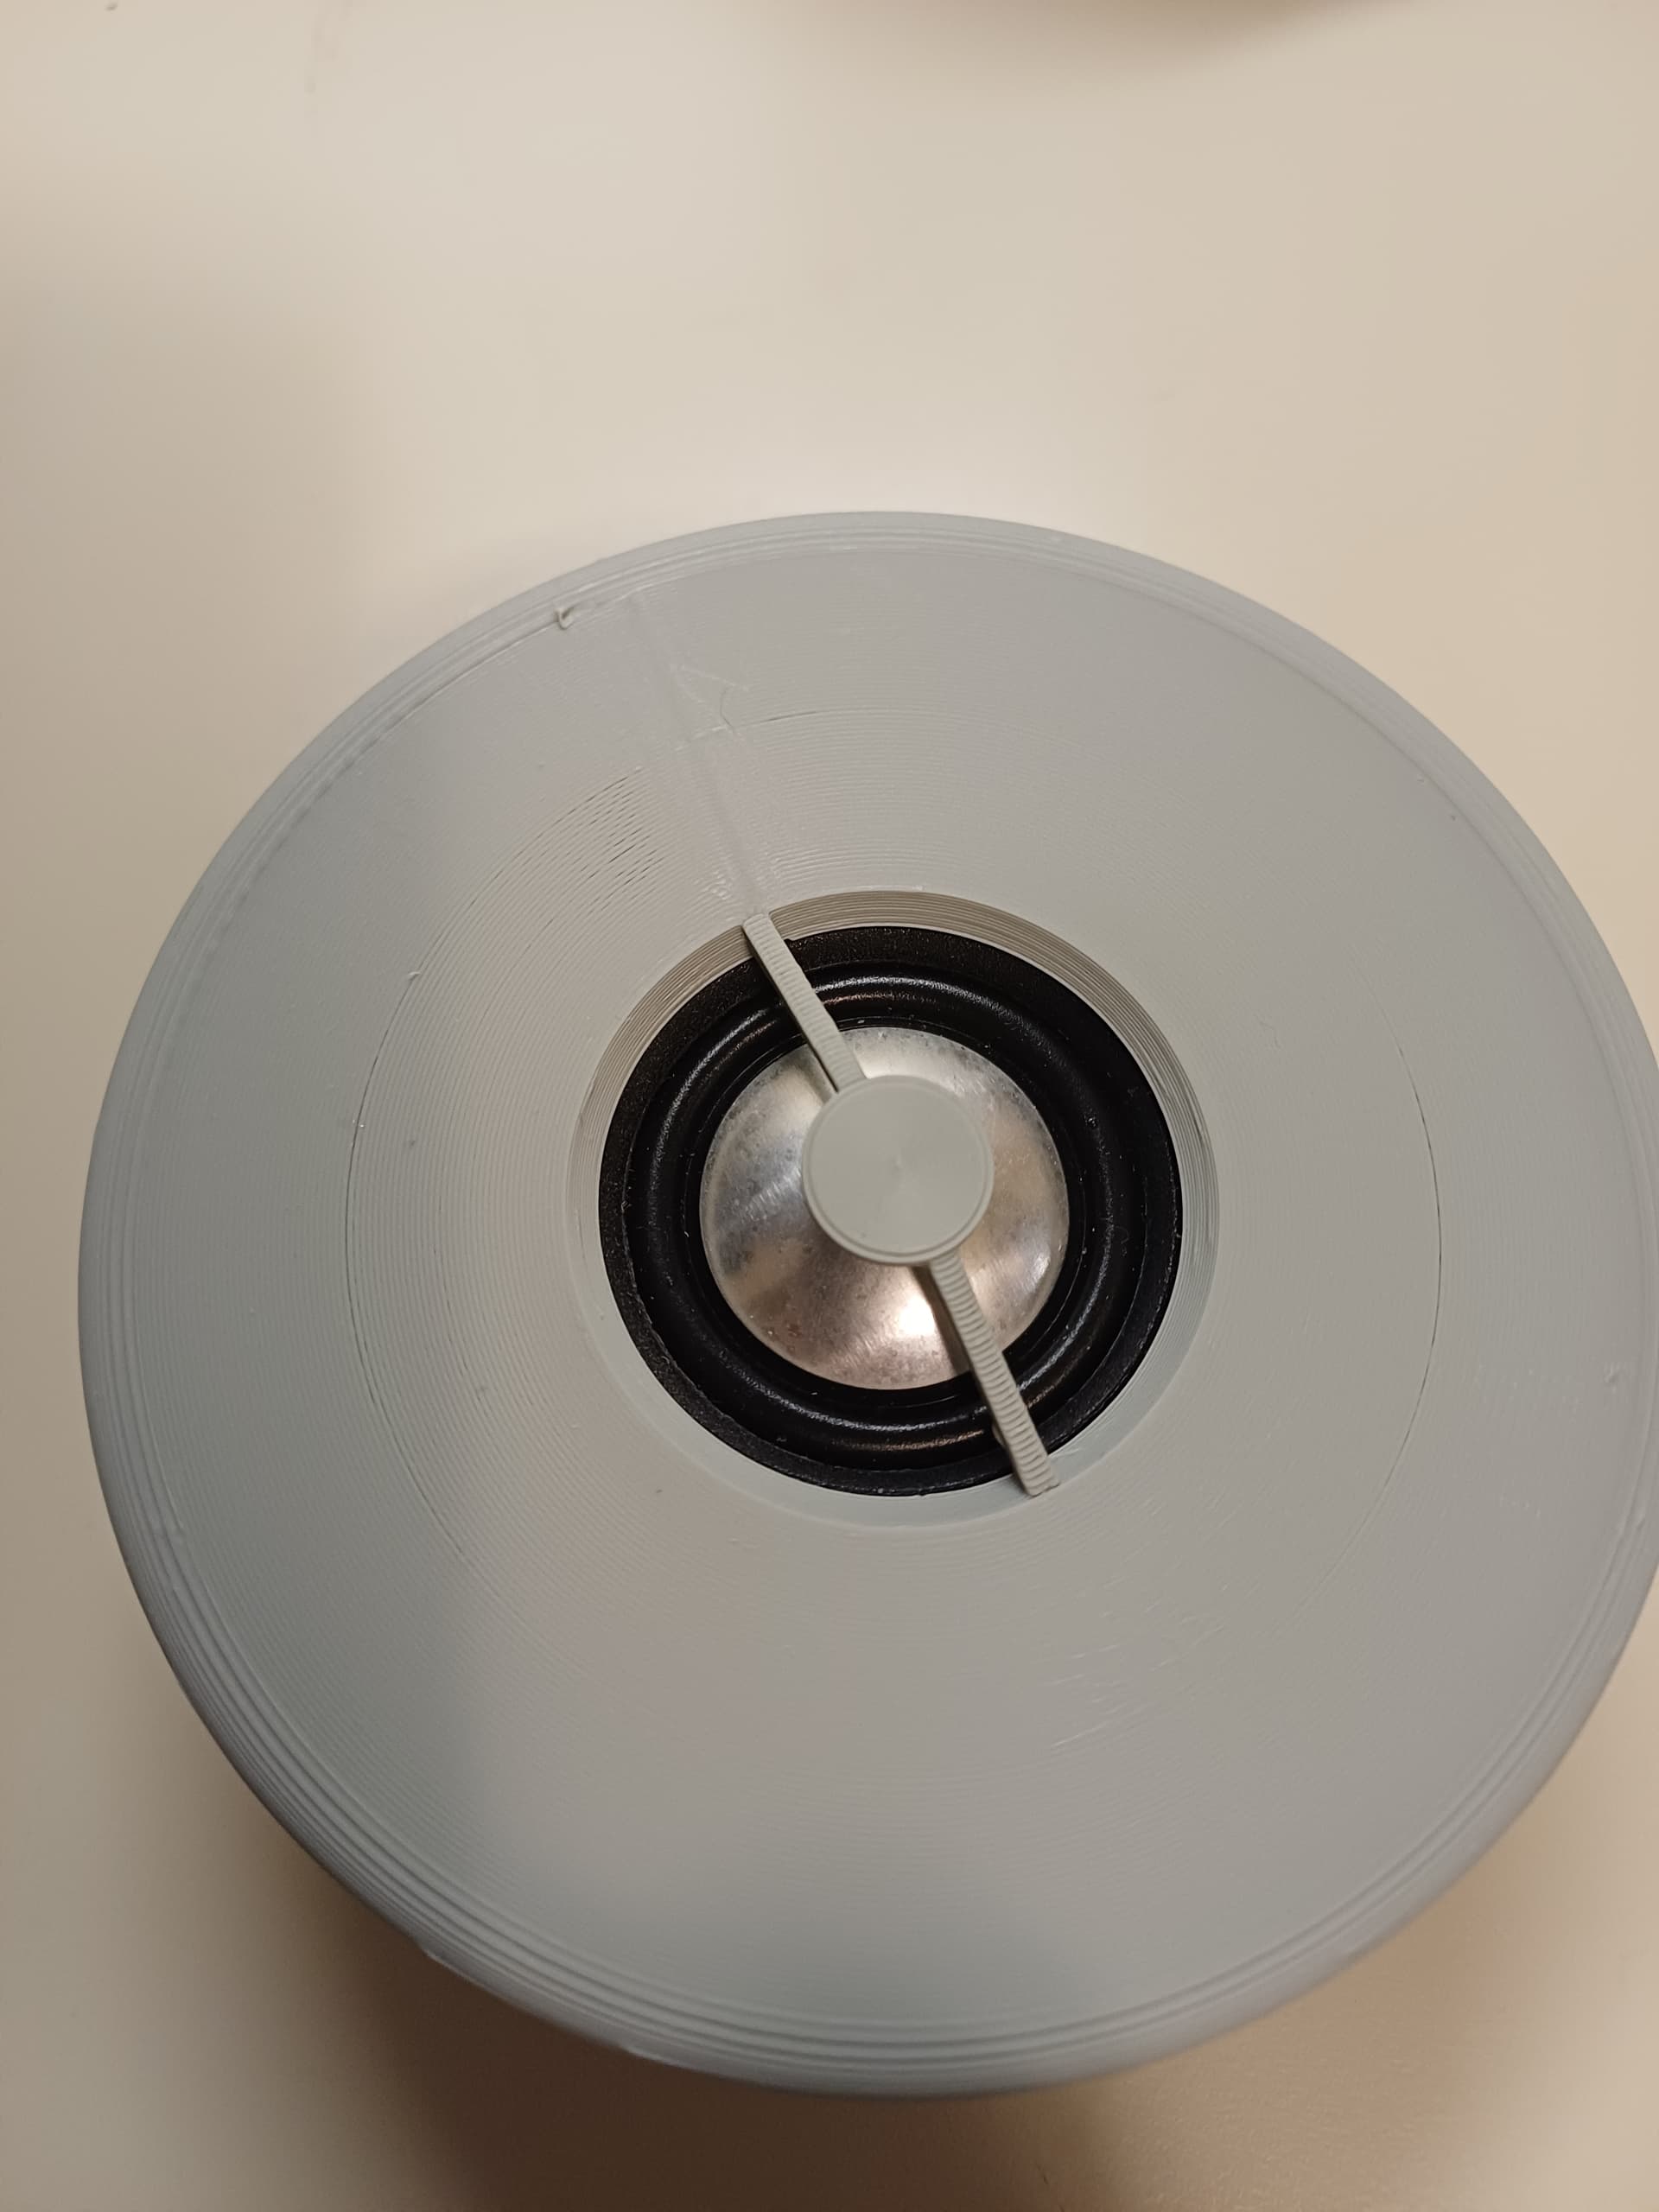
The ‘hexagrid’ cover is ugly on the tweeter (but easily removed) so I’m doing my own:
This first draft had the shield spacing too far from the dome, but that is an easy fix.
Also, the cover is there for a good reason, that dome is SOFT aluminum. Please don’t ask me how I found out.
Have you used these before? I’ve seen people make jigs to ensure they’re inserted straight and have thought about making one. I haven’t had a project come up yet that requires the inserts but I really like the idea.
Could you use a drill press for this?
Jason, are you planning on heating and pressing the inserts into the baffles or will they screw in?
Yeah, they sell a press with a heated iron to heat the insert and push it into the plastic so it melts together. I picked one of those up too.
Finally, all coming together, after hard lessons on the engineering side!
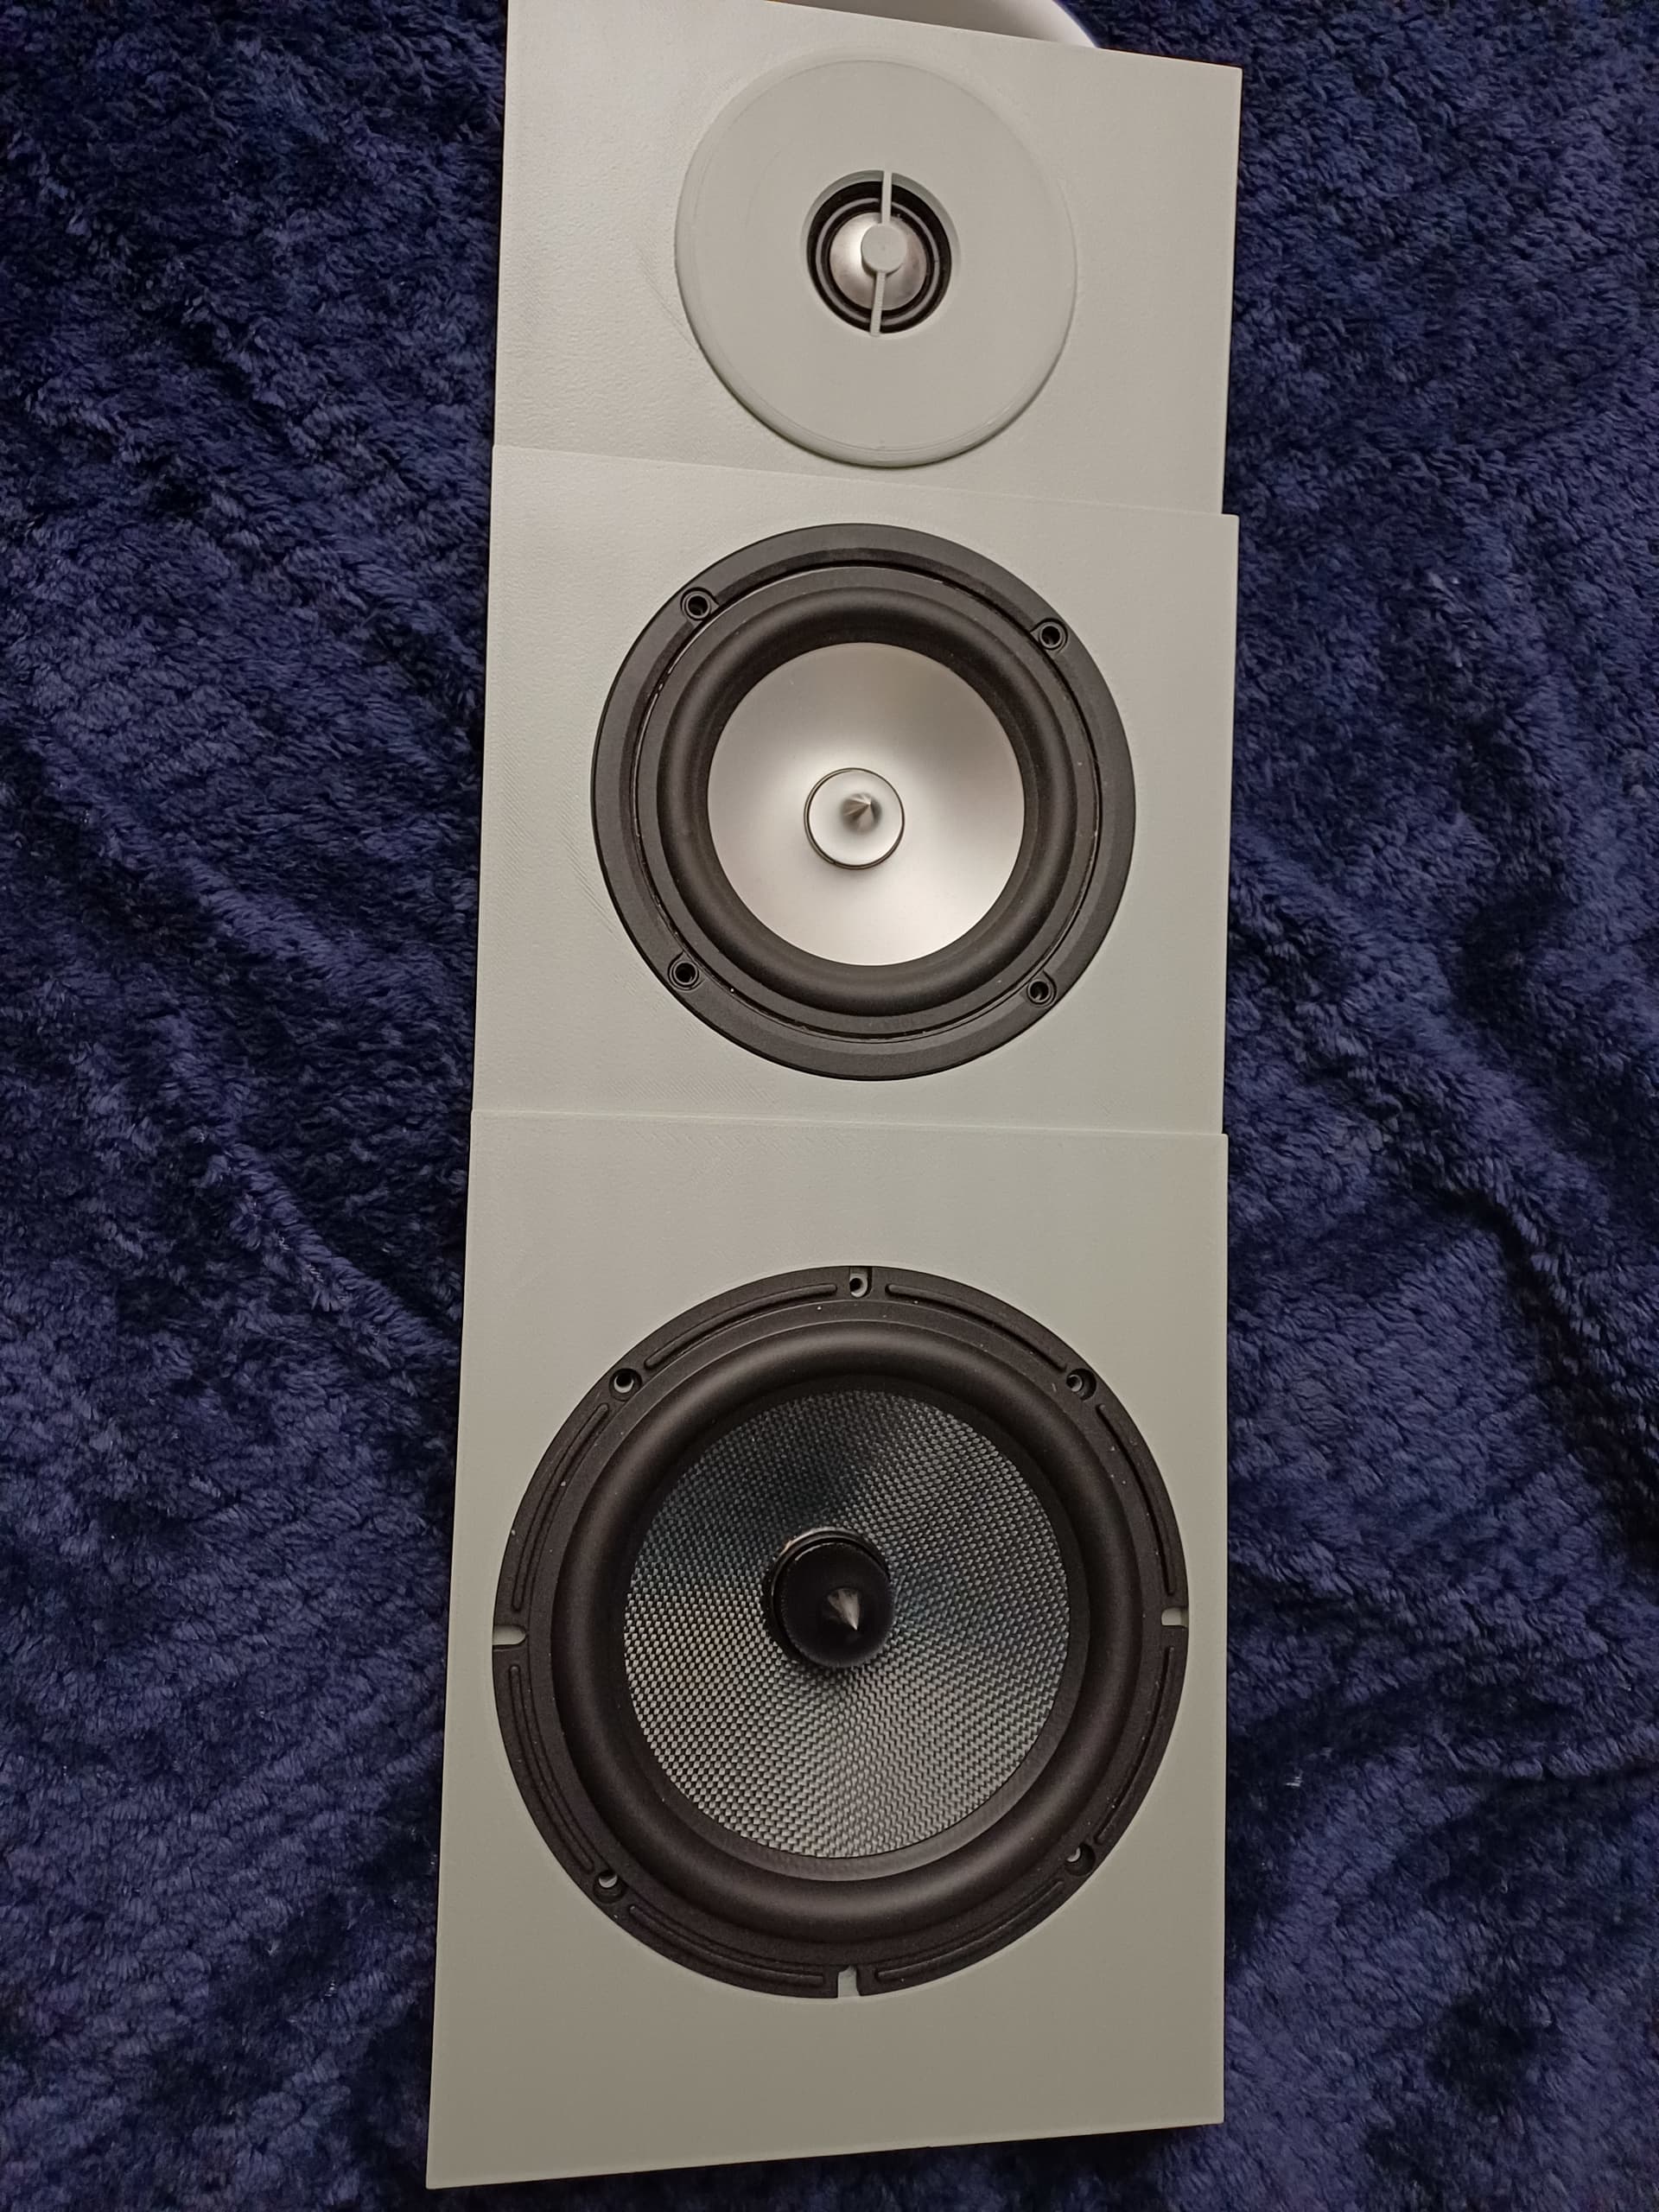
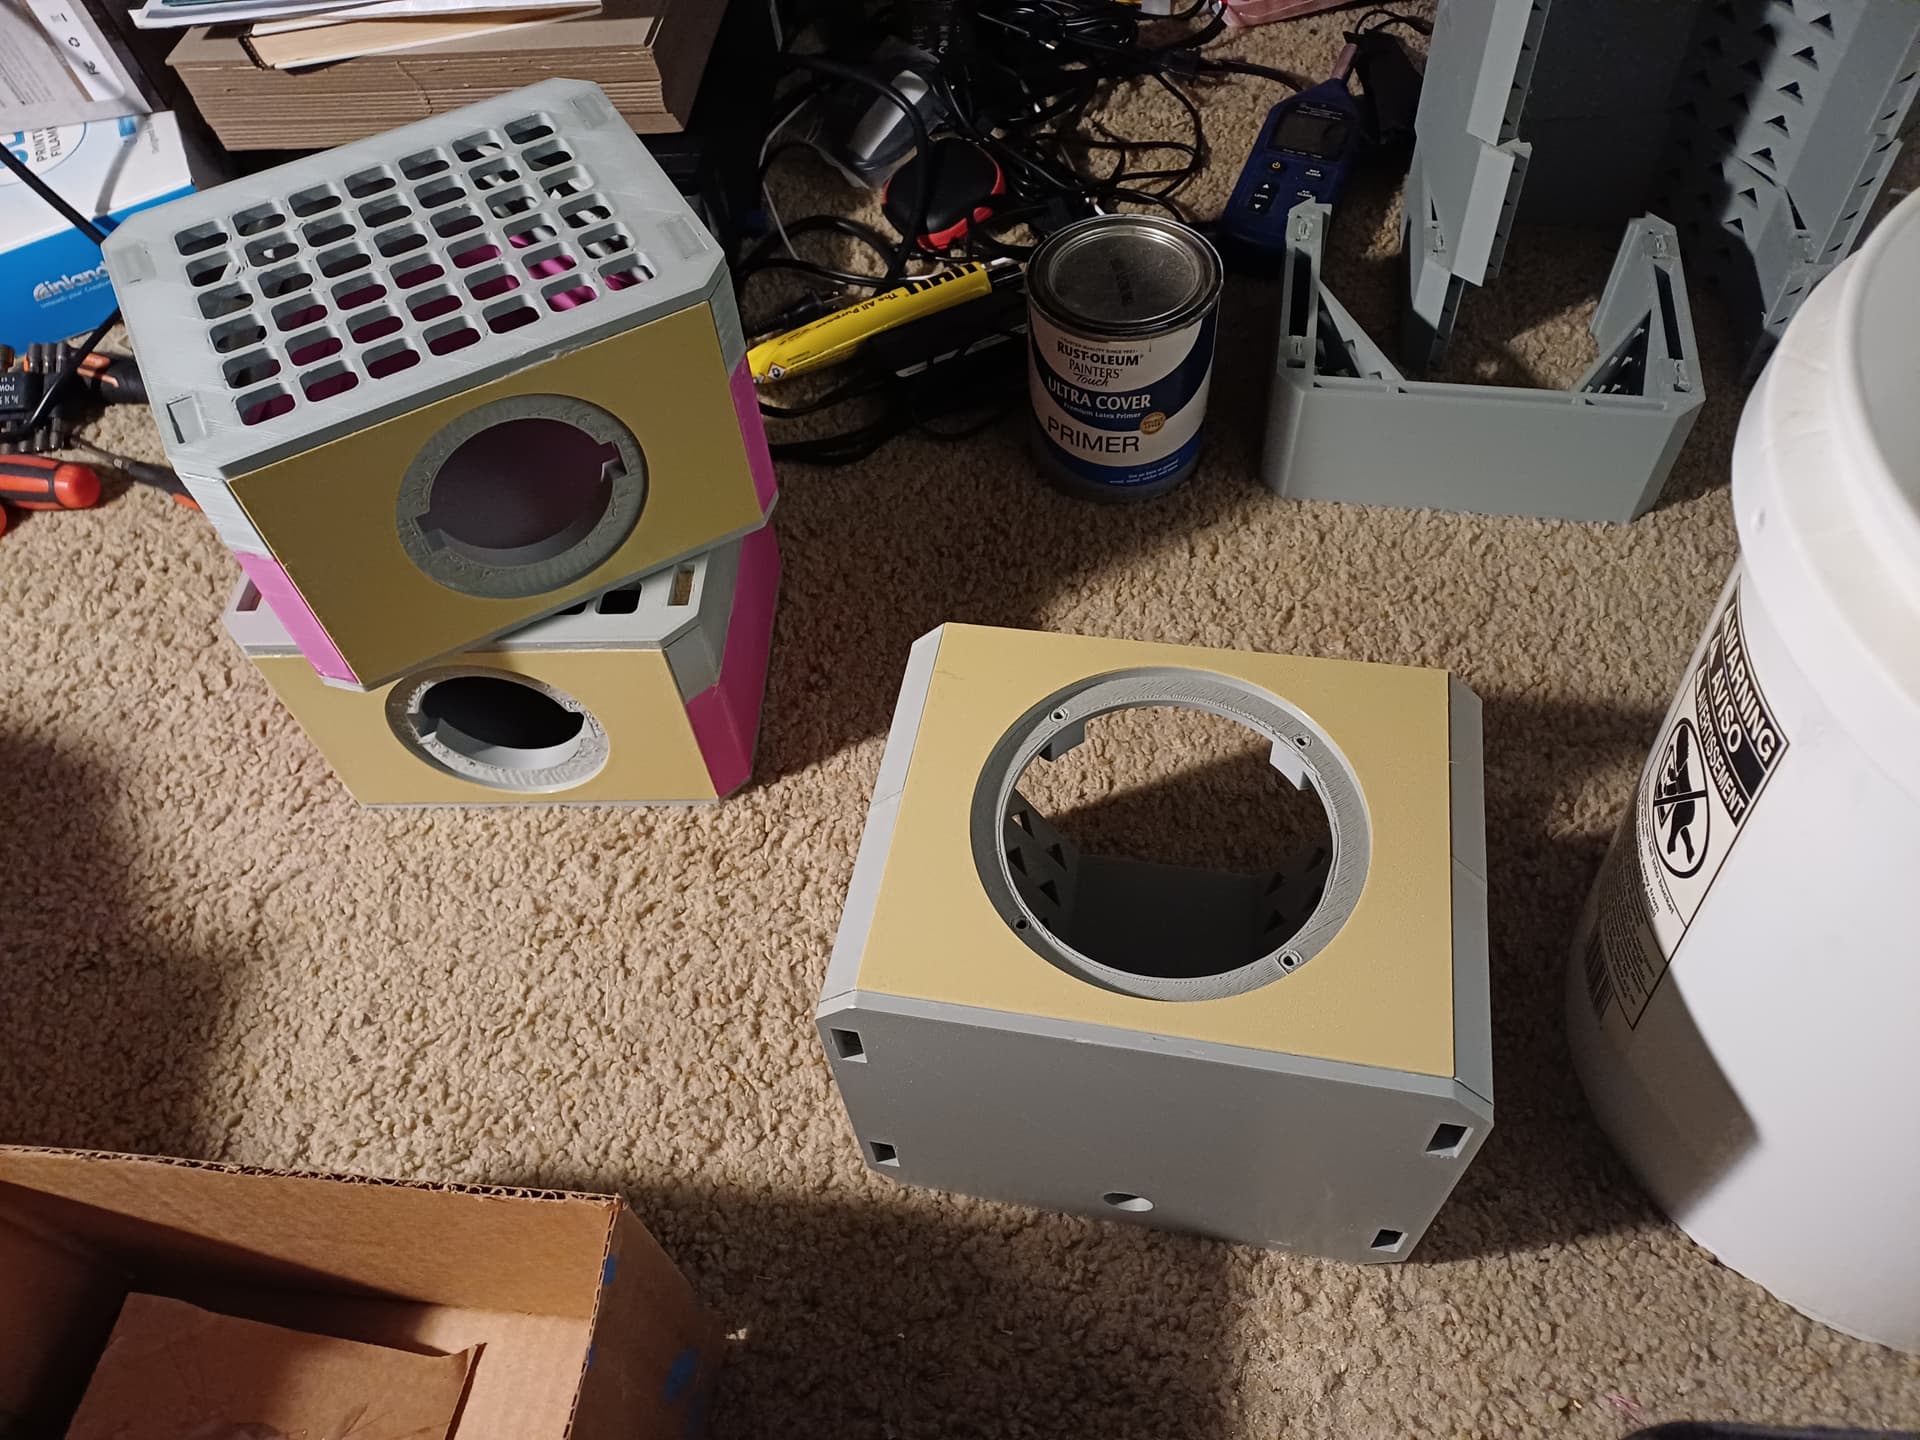
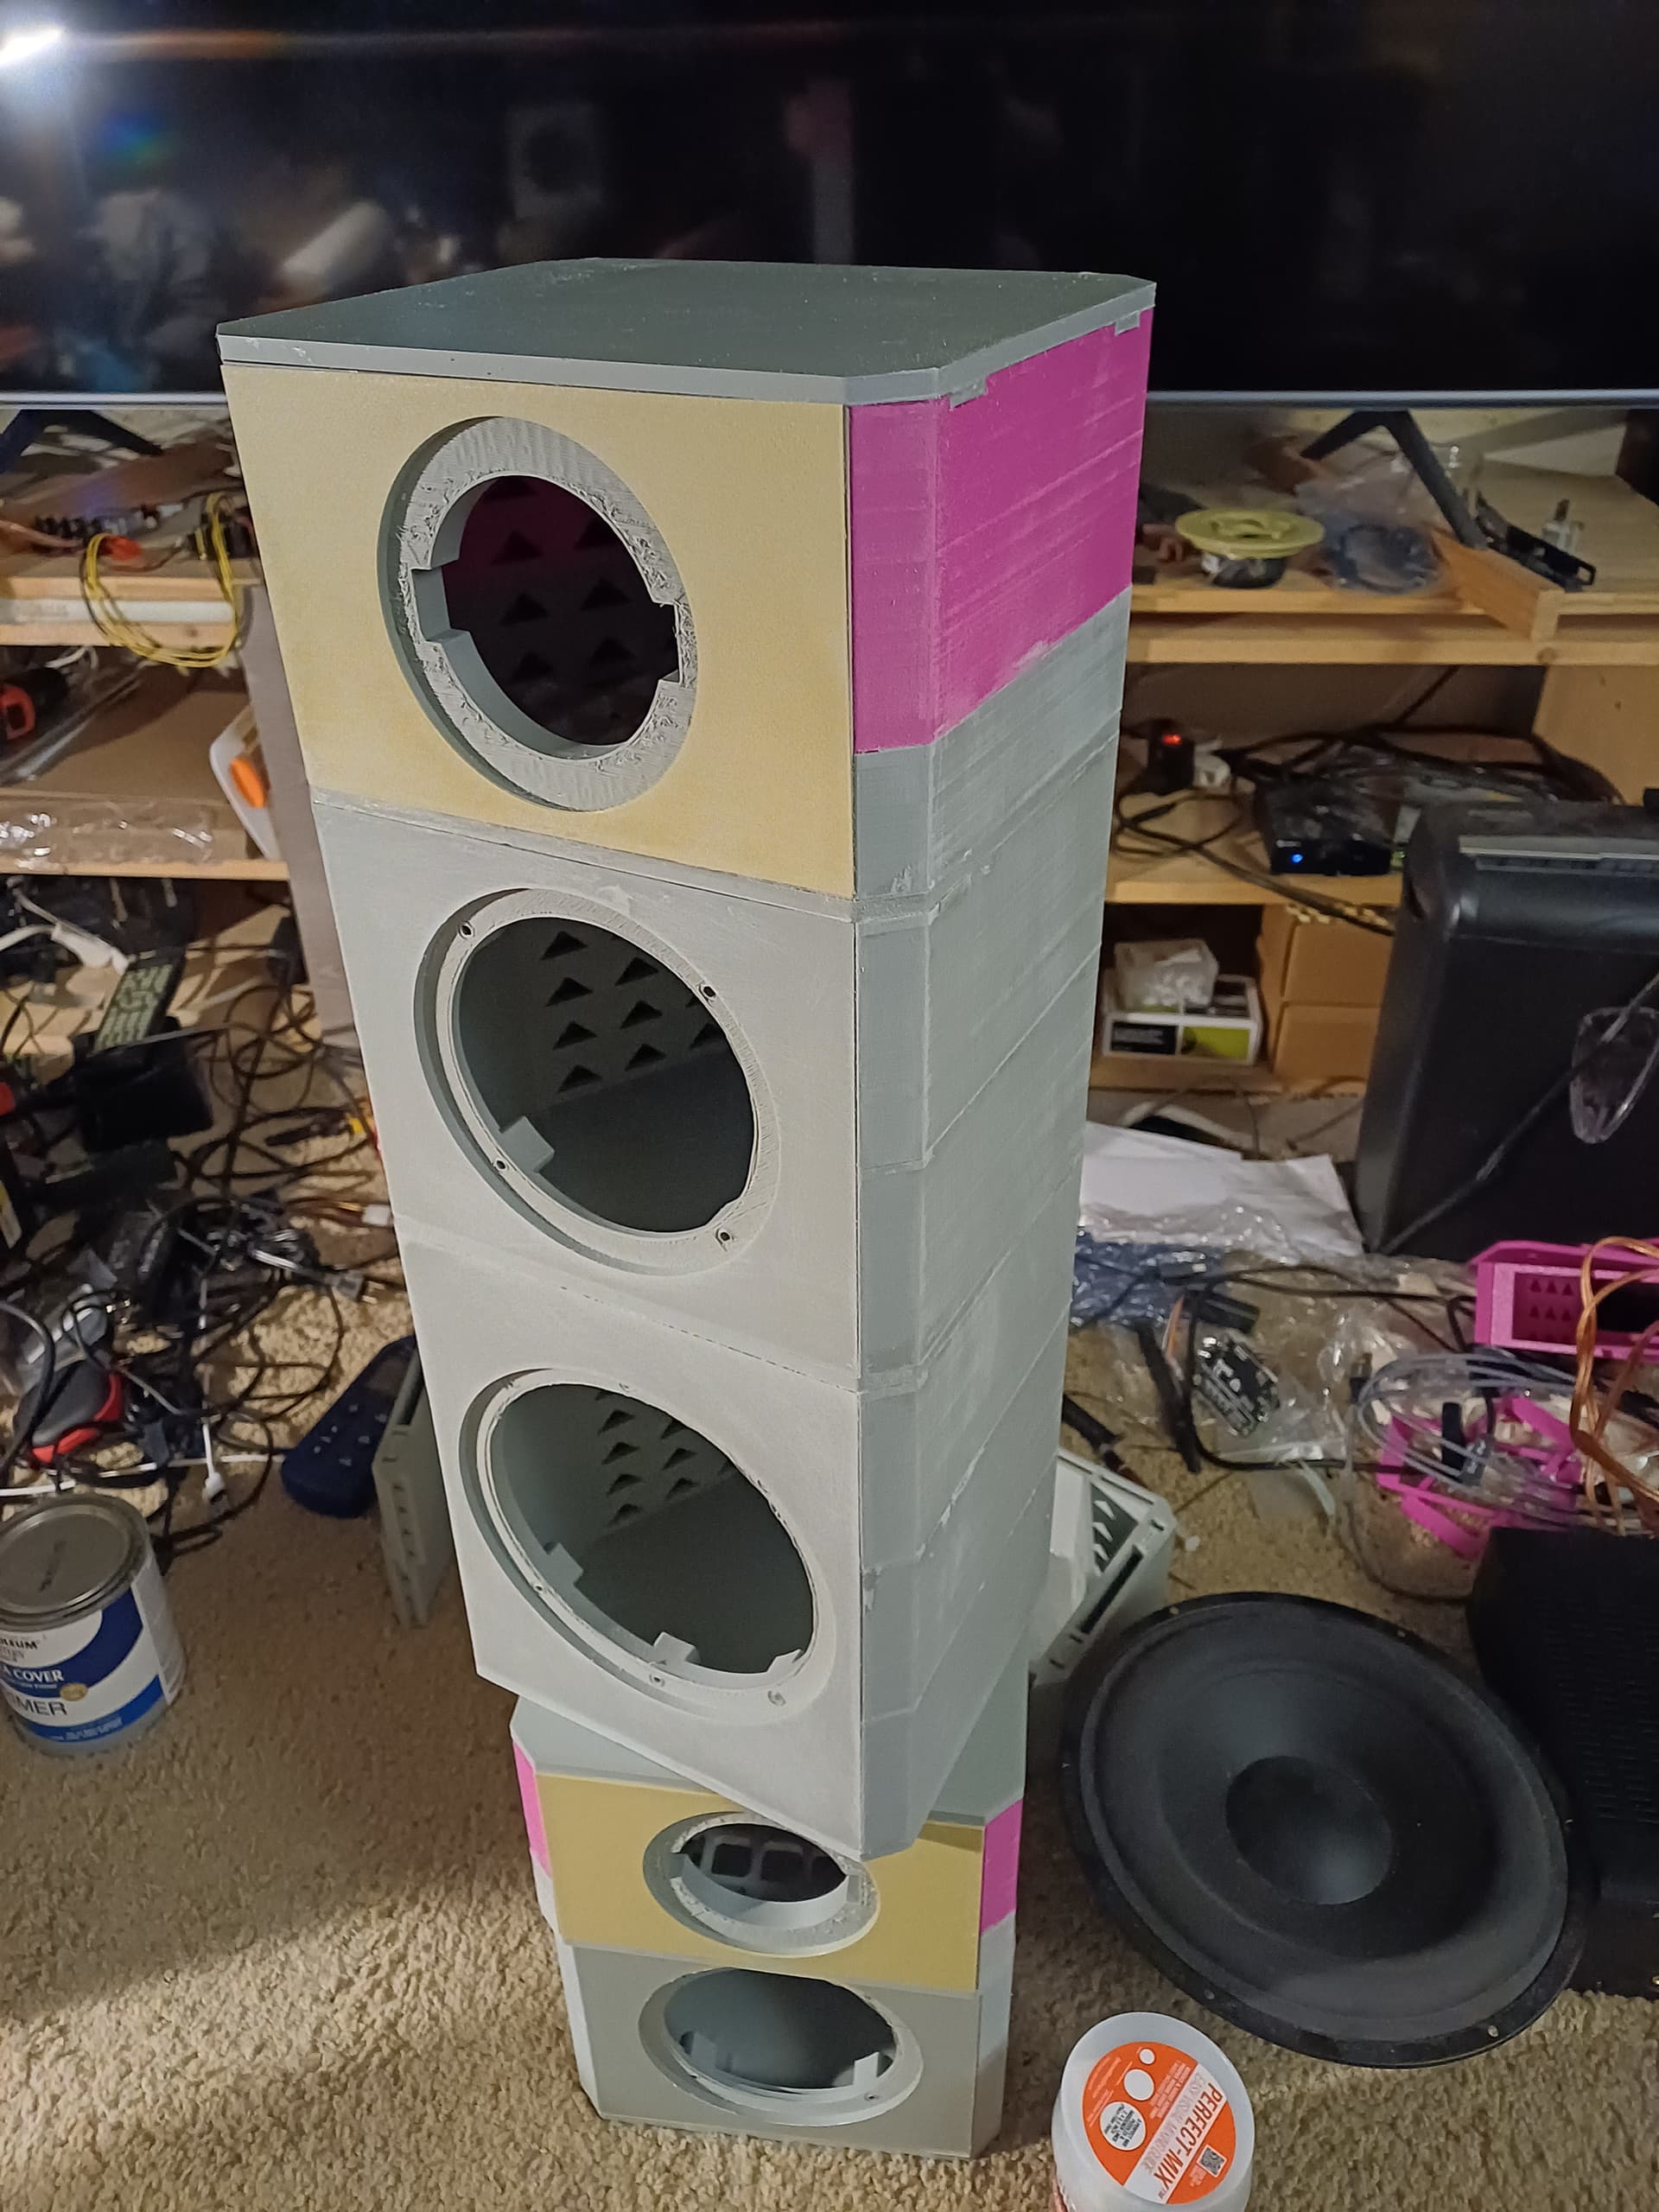
Top left: the two tweeter module parts, complete and sand-filled. On the right: the midrange module that attaches right to that.
The woofer module that’ll go below, the baffle not yet glued in.
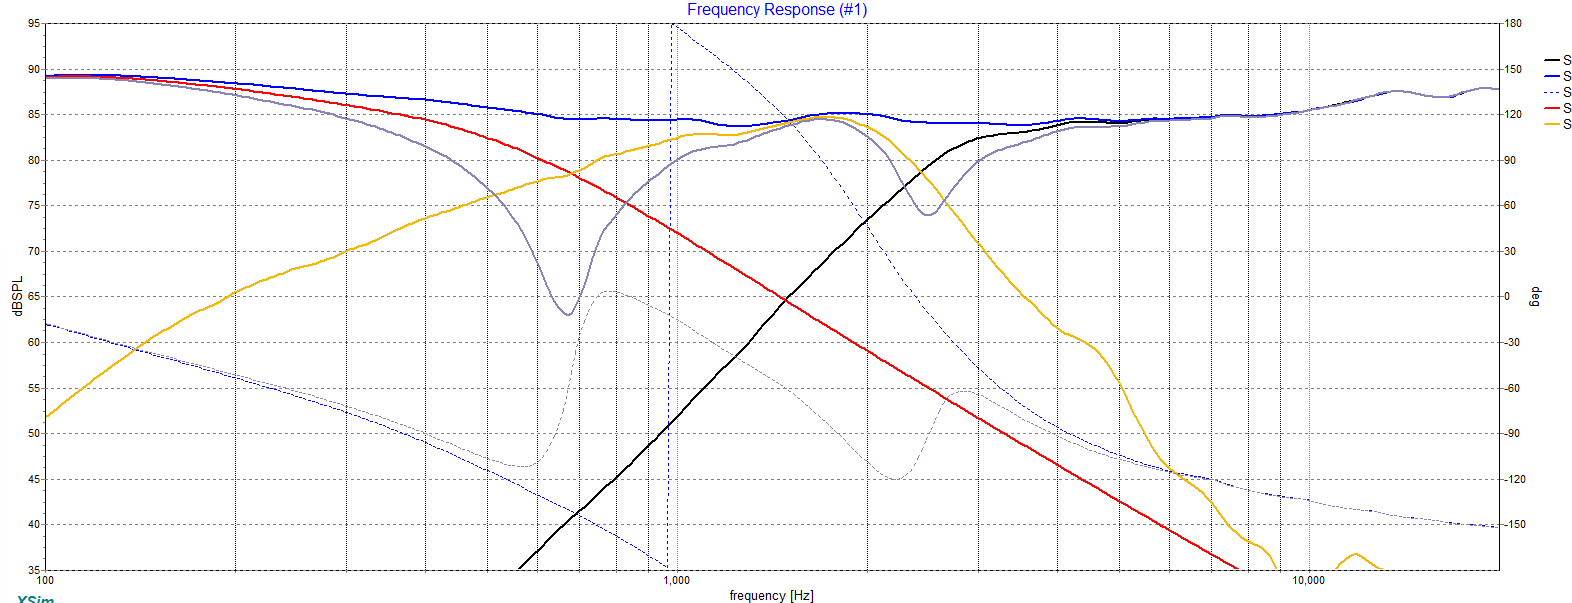
They are going to come to Iowa with with just a non-tweaked, simulation based crossover, without baffle step here is the wiggly:
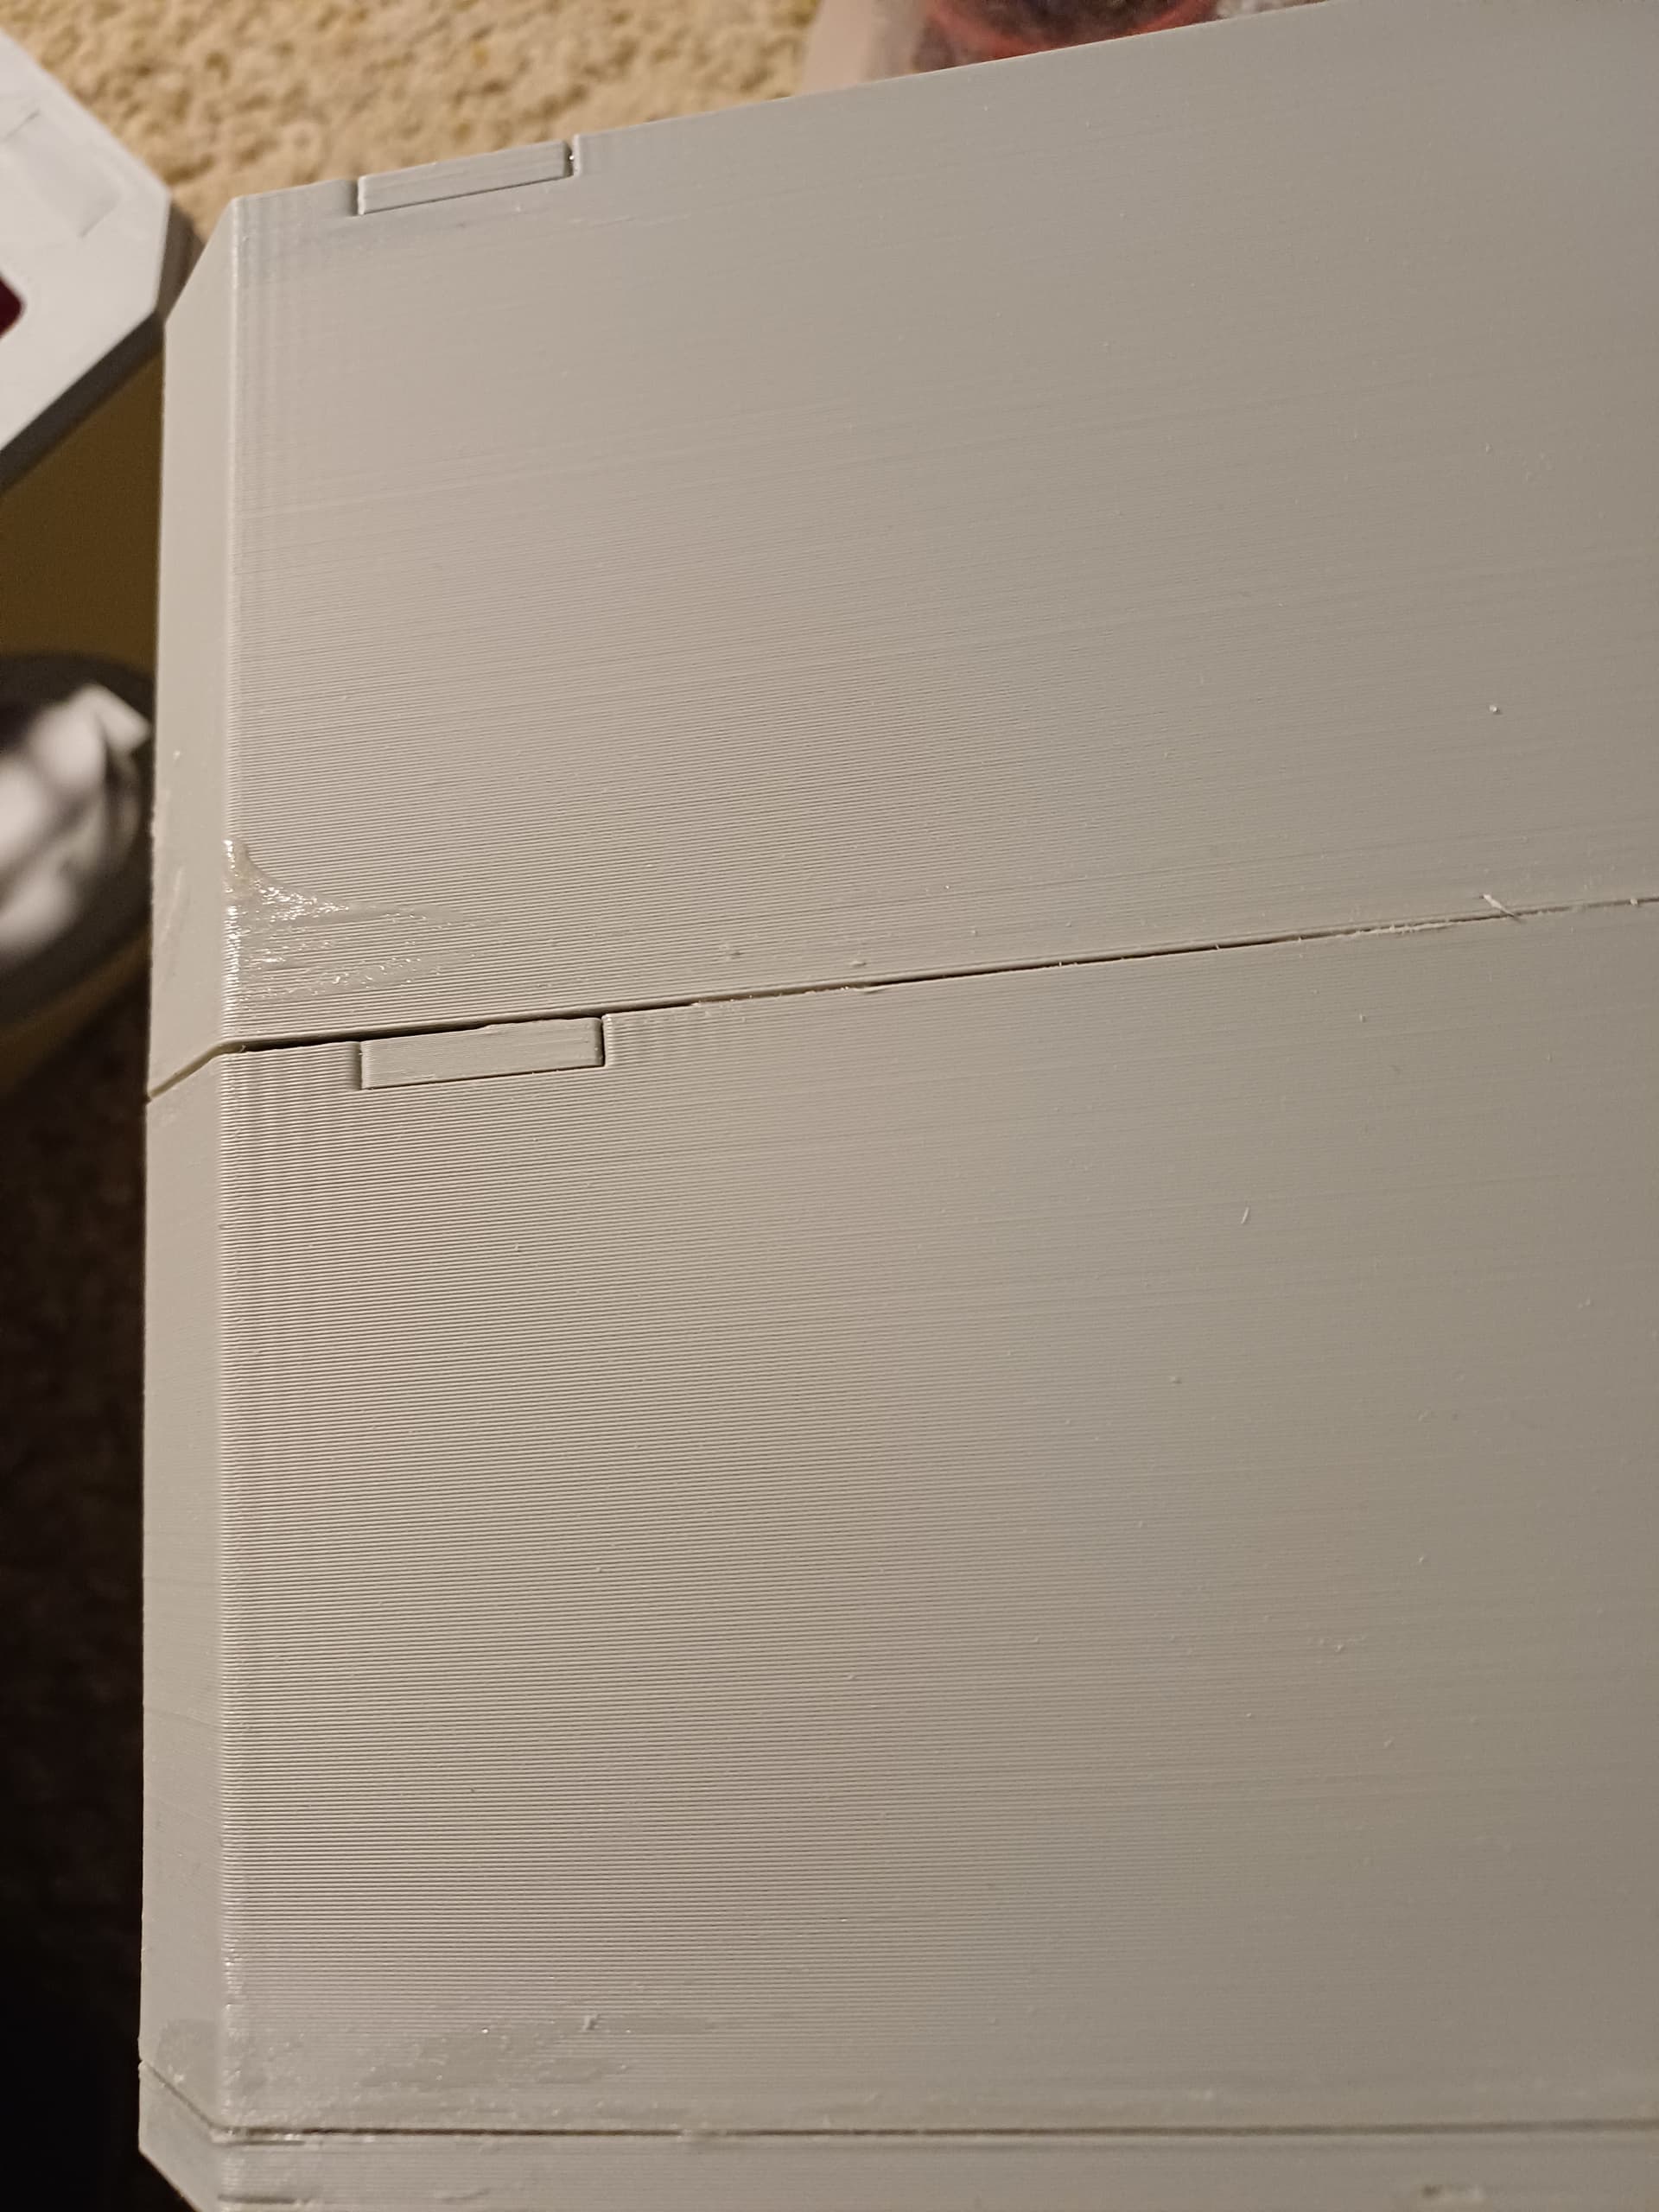
Can you please get a closeup of the print and joint lines? Which putty are you using? I presume you pretty much need to cover the entire surface?
Any easy way of getting the putty on?
That’s a pretty big project for 3D print. Do you have the final stats - hours, kg of filament. Also how much waste did you get? My printer keeps jamming, but might also be due to the old filament which was stored unsealed.
Sure Ani, I’ll grab better detail shots before the cosmetic work. I’m going to try this Evercoat pro glazing putty never used it but the price was right.
I’m actually going to go for a kind of industrial machined look to the build (as it is for myself), so I’m not going to do too much post work on the plastic other than fill some gaps and so on. I have decorative plates I designed and printed for the sides, I’ll snap pics of them too before assembly.
Stats in total:
Thanks Jason. That’s some heavy duty printing.
I haven’t used my printer much to undertake bigger jobs. Also need to polish up my 3d design skills. Still struggling with Fision360. Any recommendations for diy design tools?
It has some limitations and it’s cloud-based, but it’s free and works well at least for my limited needs: https://www.tinkercad.com/
Yes, I would not have undertaken such a project, but my growing (soon to be tiny fleet) of Bambu Lab A1 printers have been nothing but rock solid.
@JasonP I’m pretty sure that glazing putty is what my local Ace Hardware carries. If so, I was quite happy with it, especially at the cost.
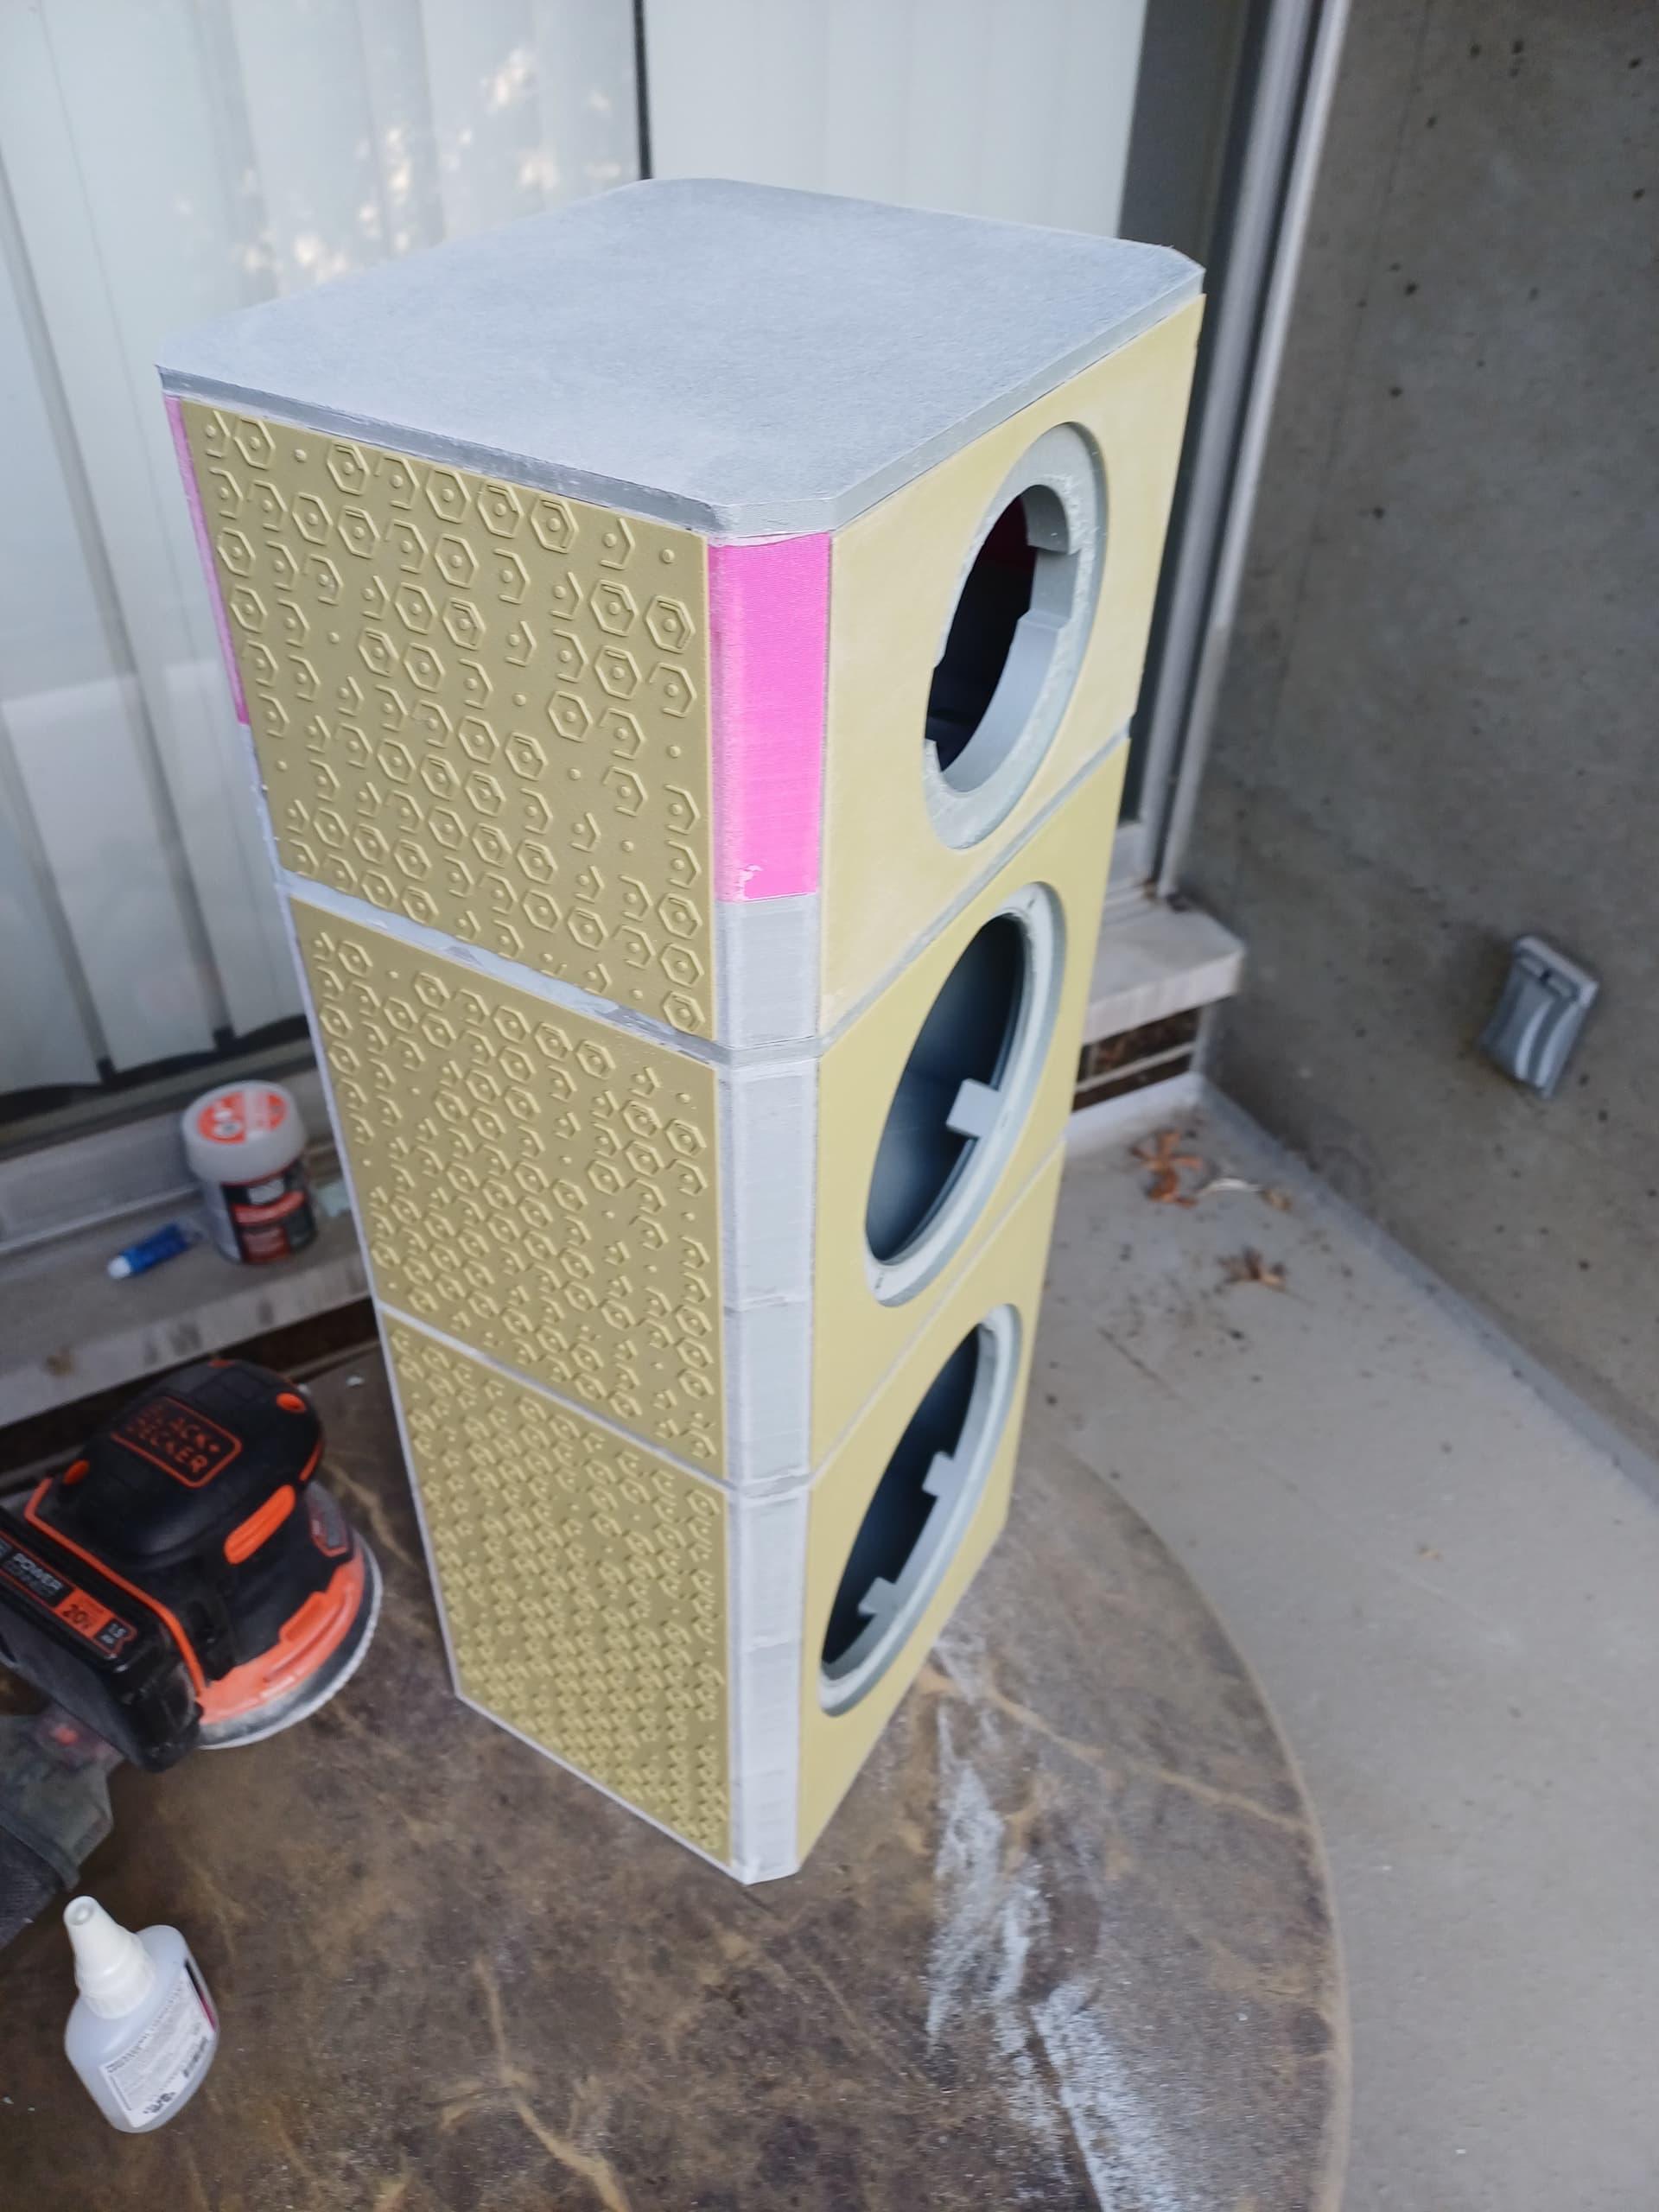
Here you go, I think I could have done much better with a brim and more work. It would have saved me effort at this point:
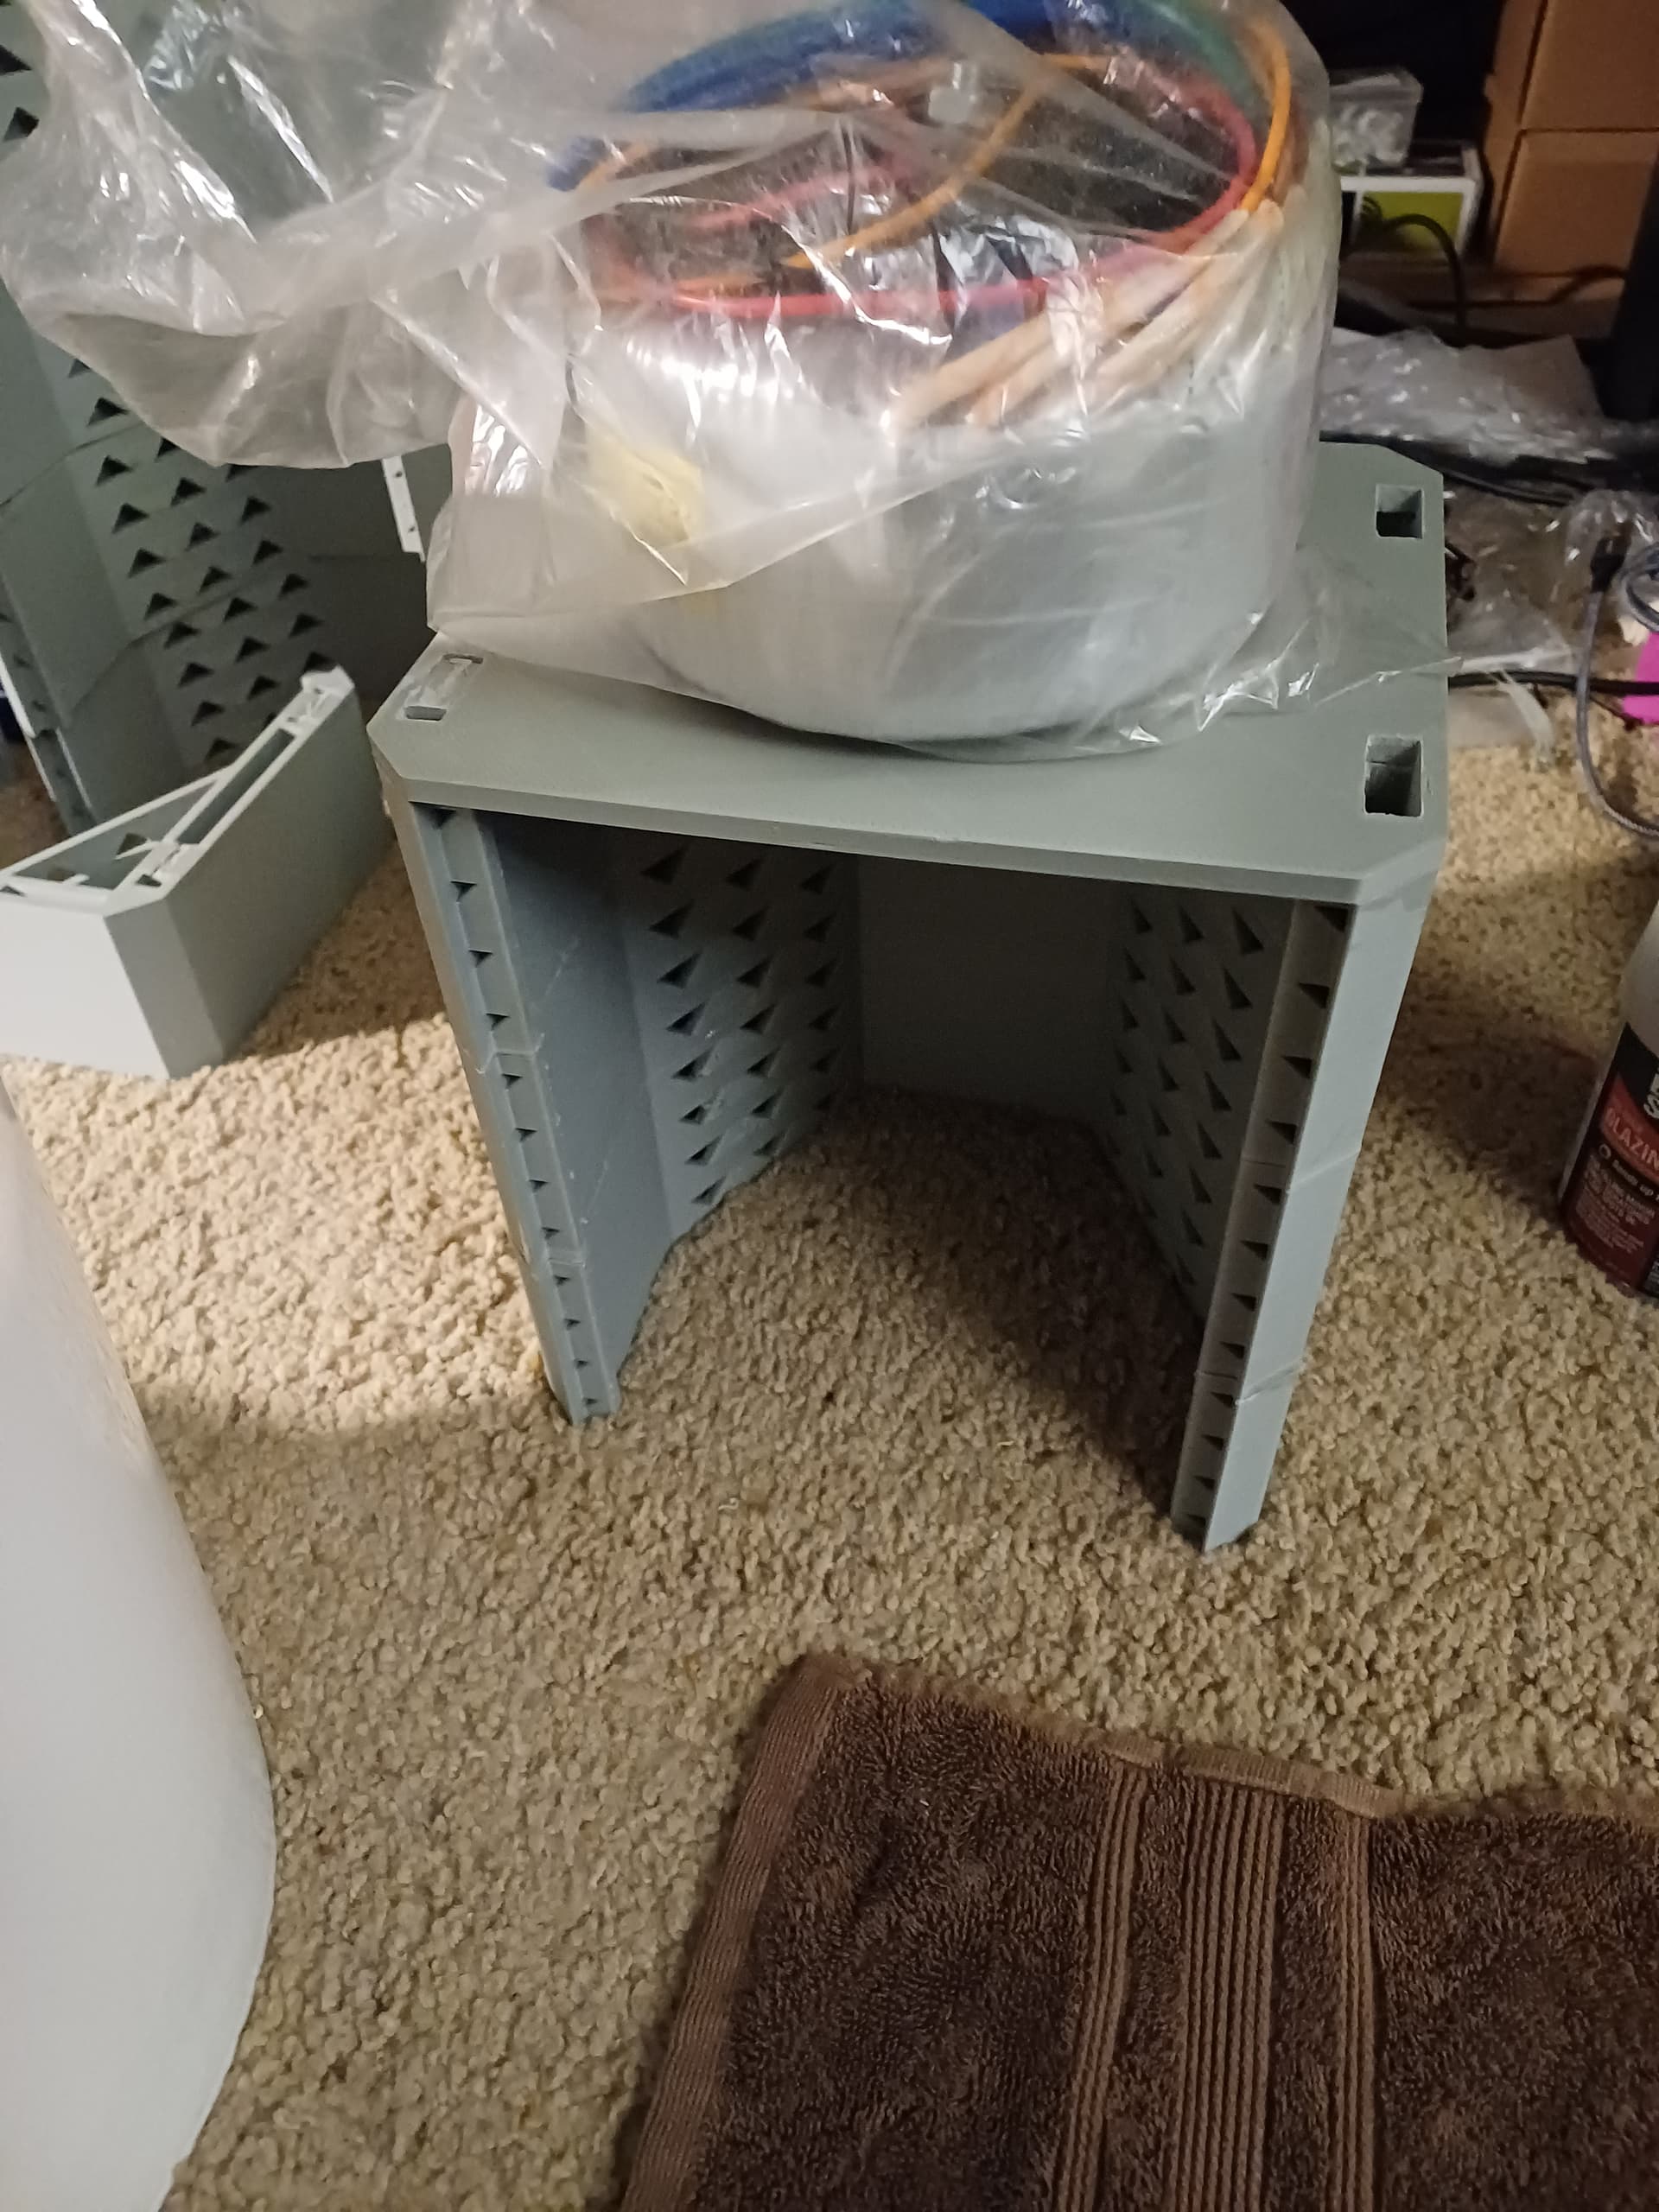
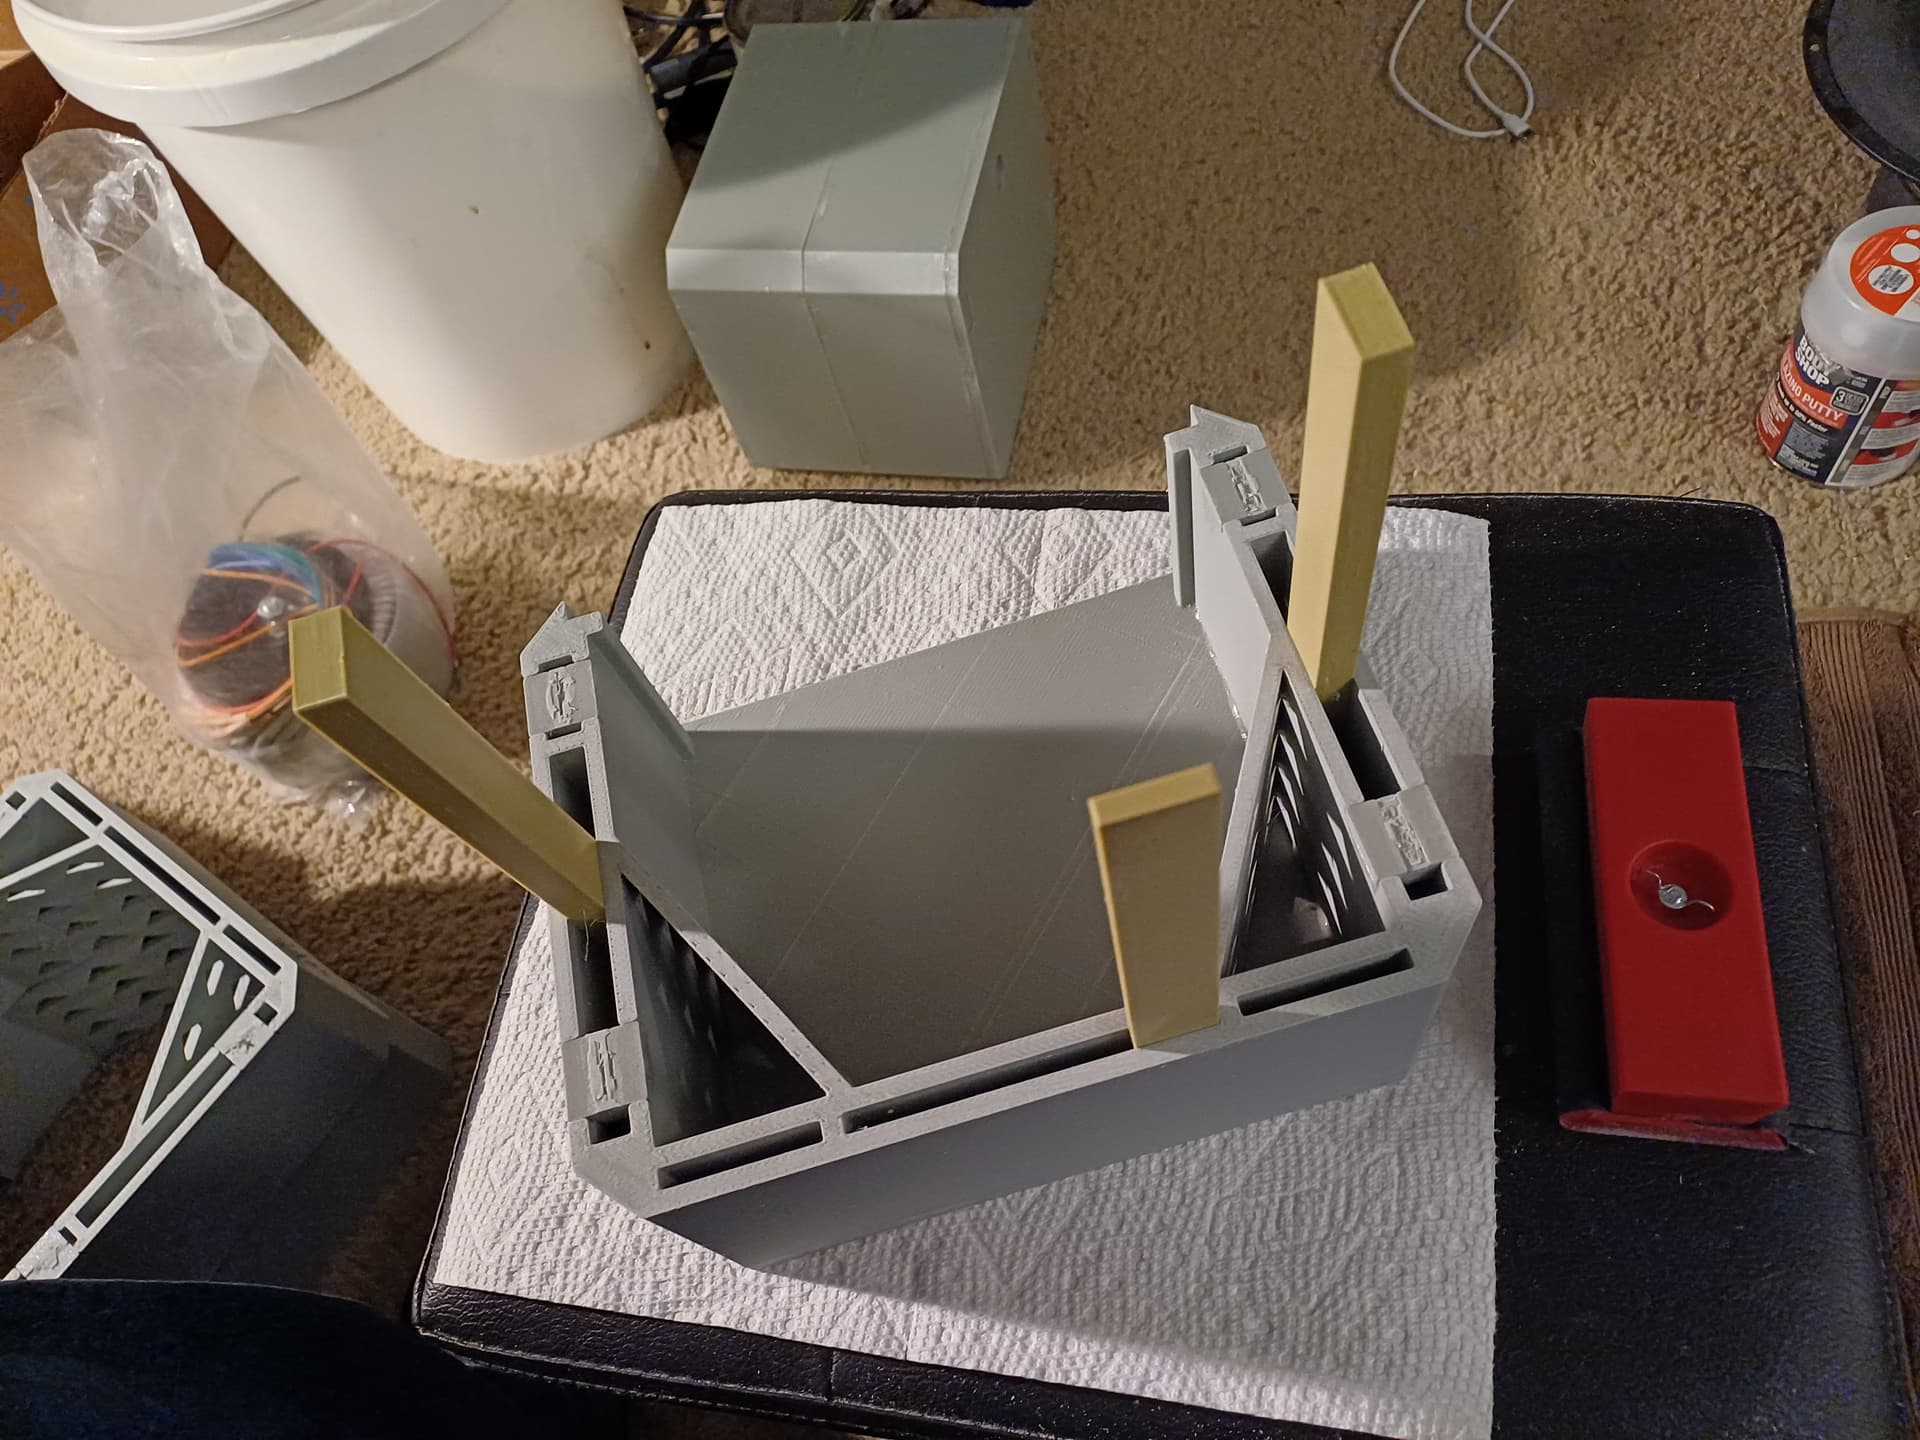
My joining alignment fancy interlock parts failed and not sure why (one side of them was too wide for the slot but the other was not?) Anyway I rigged up these inserts to align the modular pieces as I glued them up:
3D printers have come a long way, but FDM is still not very precise. What did you mean by a brim?
A brim is a flat surface to anchor the print to the build plate. It needs to be cut away after printing.