Davids InDIYana 2026 entry, Meet the Focktaves!

Hello,

Part 1 of, Meet the Focktaves!

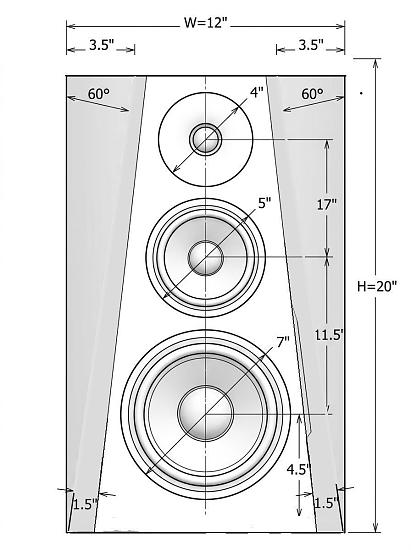
My entry in InDIYana 2026 “FourMidAble Intersections” theme/challenge, where in my case, one driver, the mid, has to cover 4 octaves. I’m shooting for 200-3200hz with the mid, but measurements will tell the real tale when I get that far.

I was going to reuse last years “Tweeterectomy” entry by just adding a tweeter to the top of the box and redoing the crossover, but after playing around with that for a bit, I decided a whole new speaker was a better idea, and more fun.

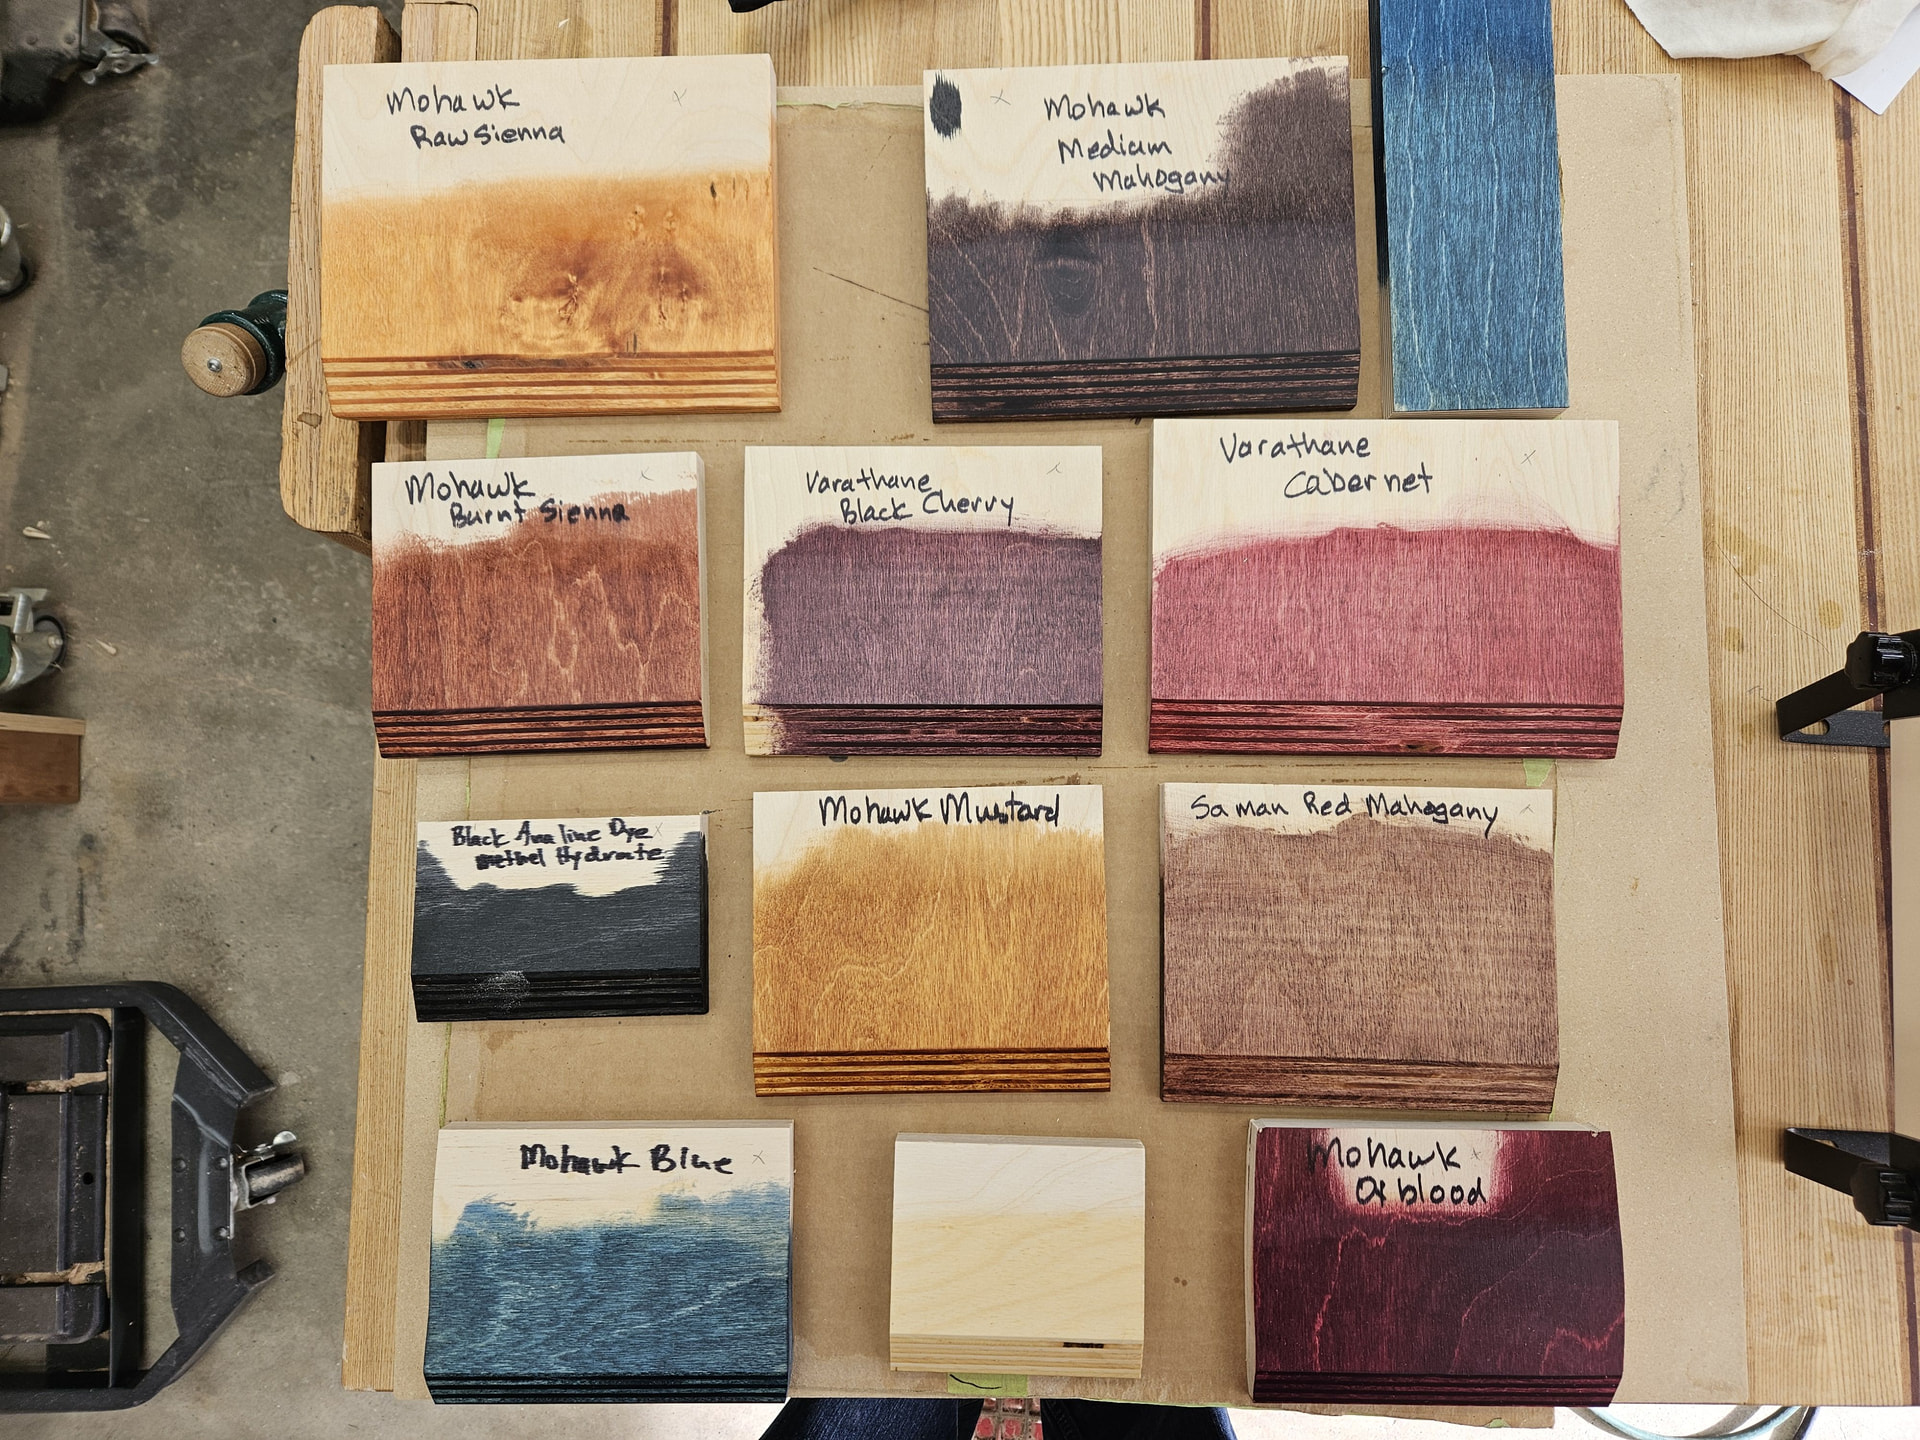
In the past I have done many translam baffles, and boxes with shop made veneer, but this time I am opting for a plain’ish dyed Baltic Birch box with dye colour yet to be decided.

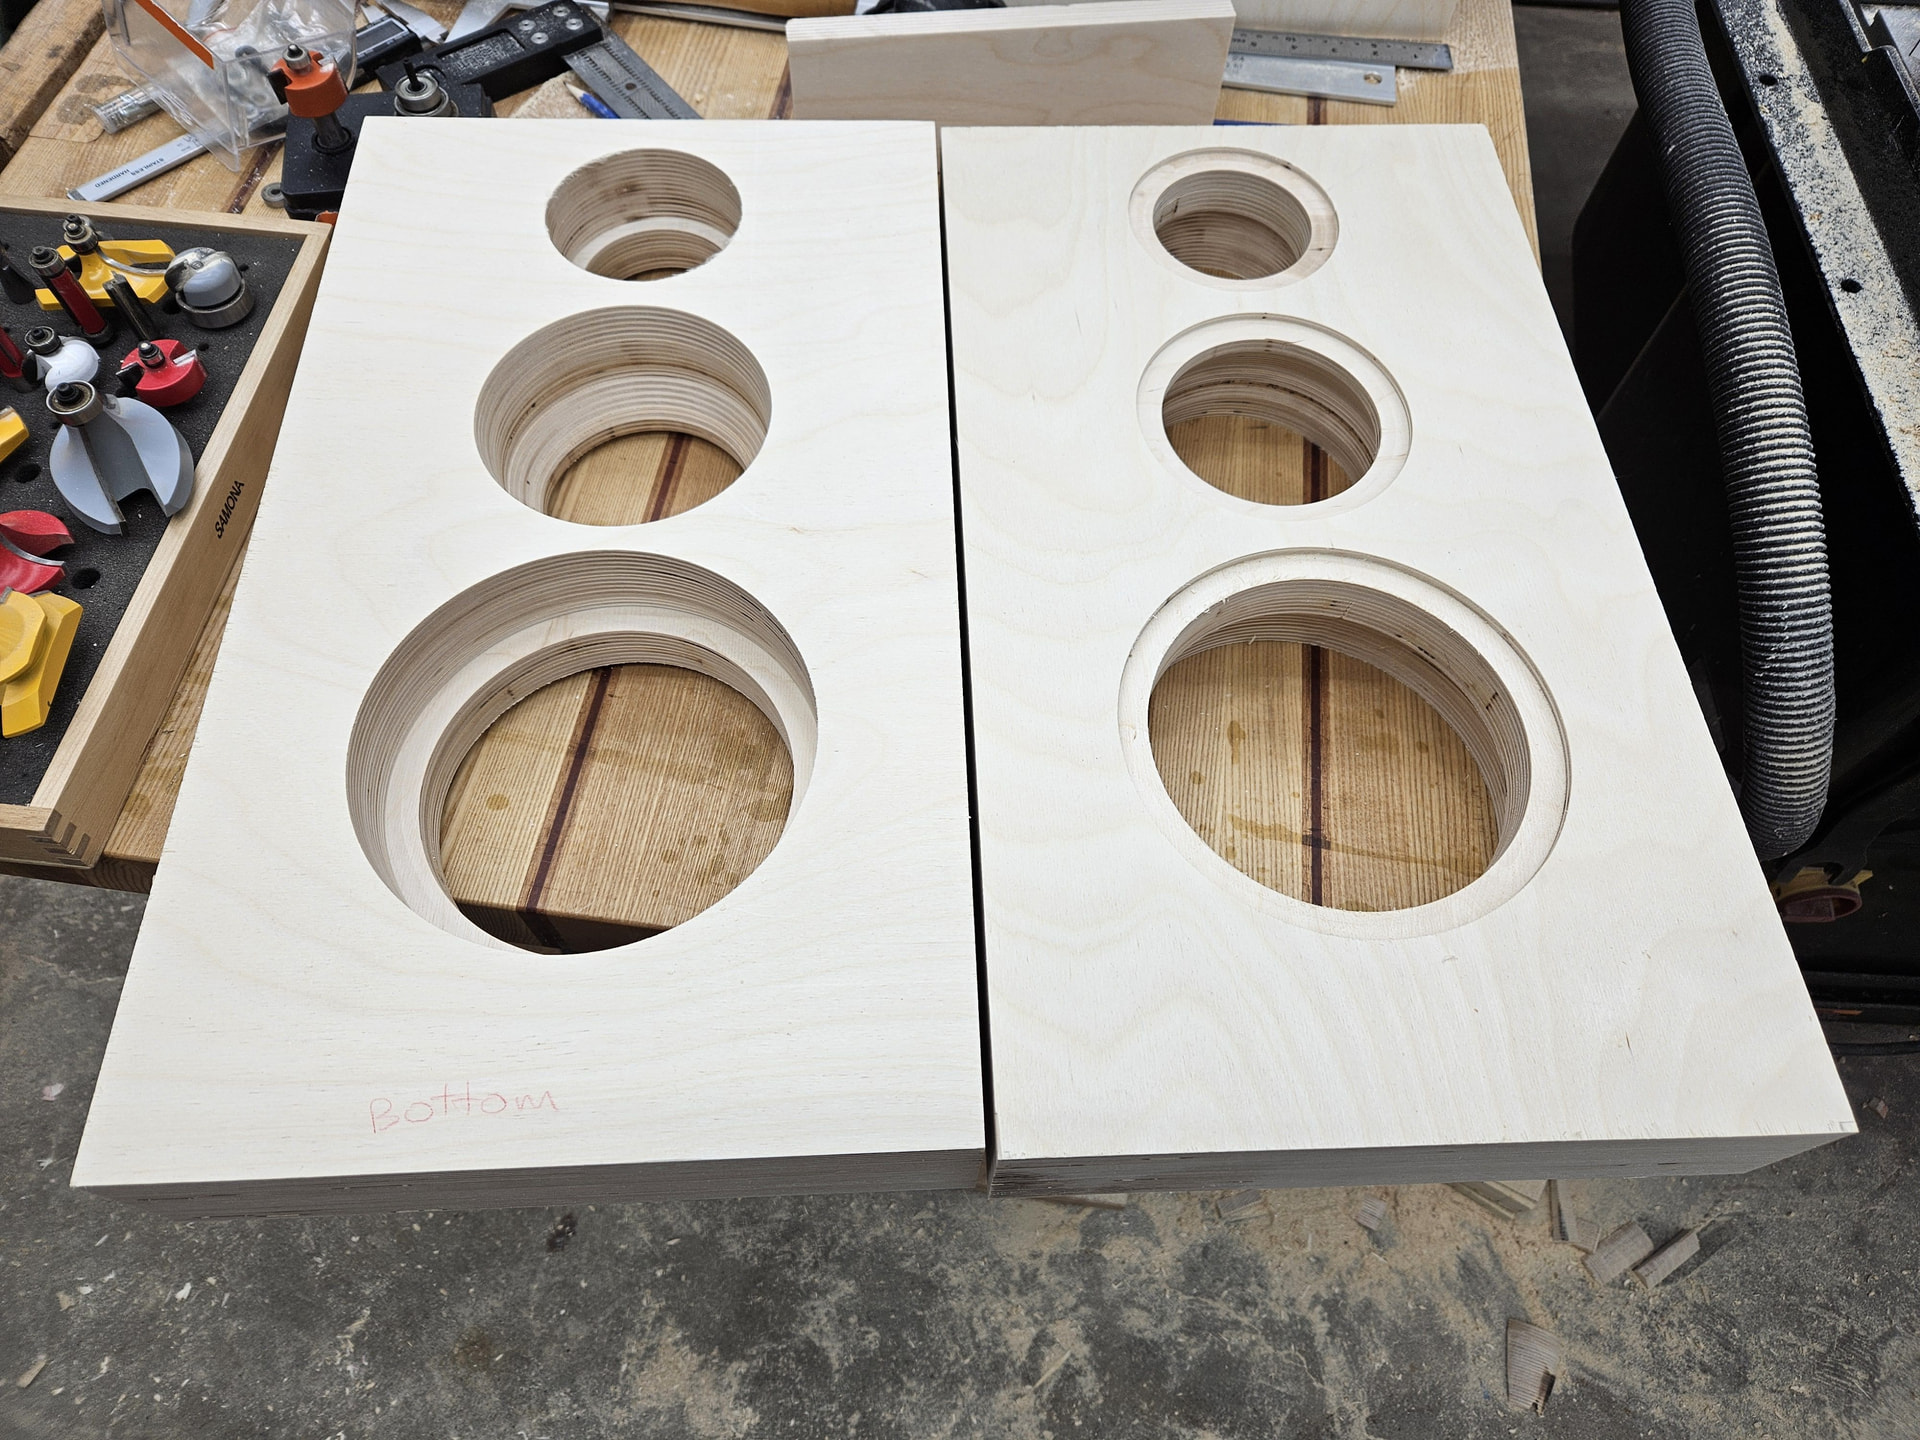
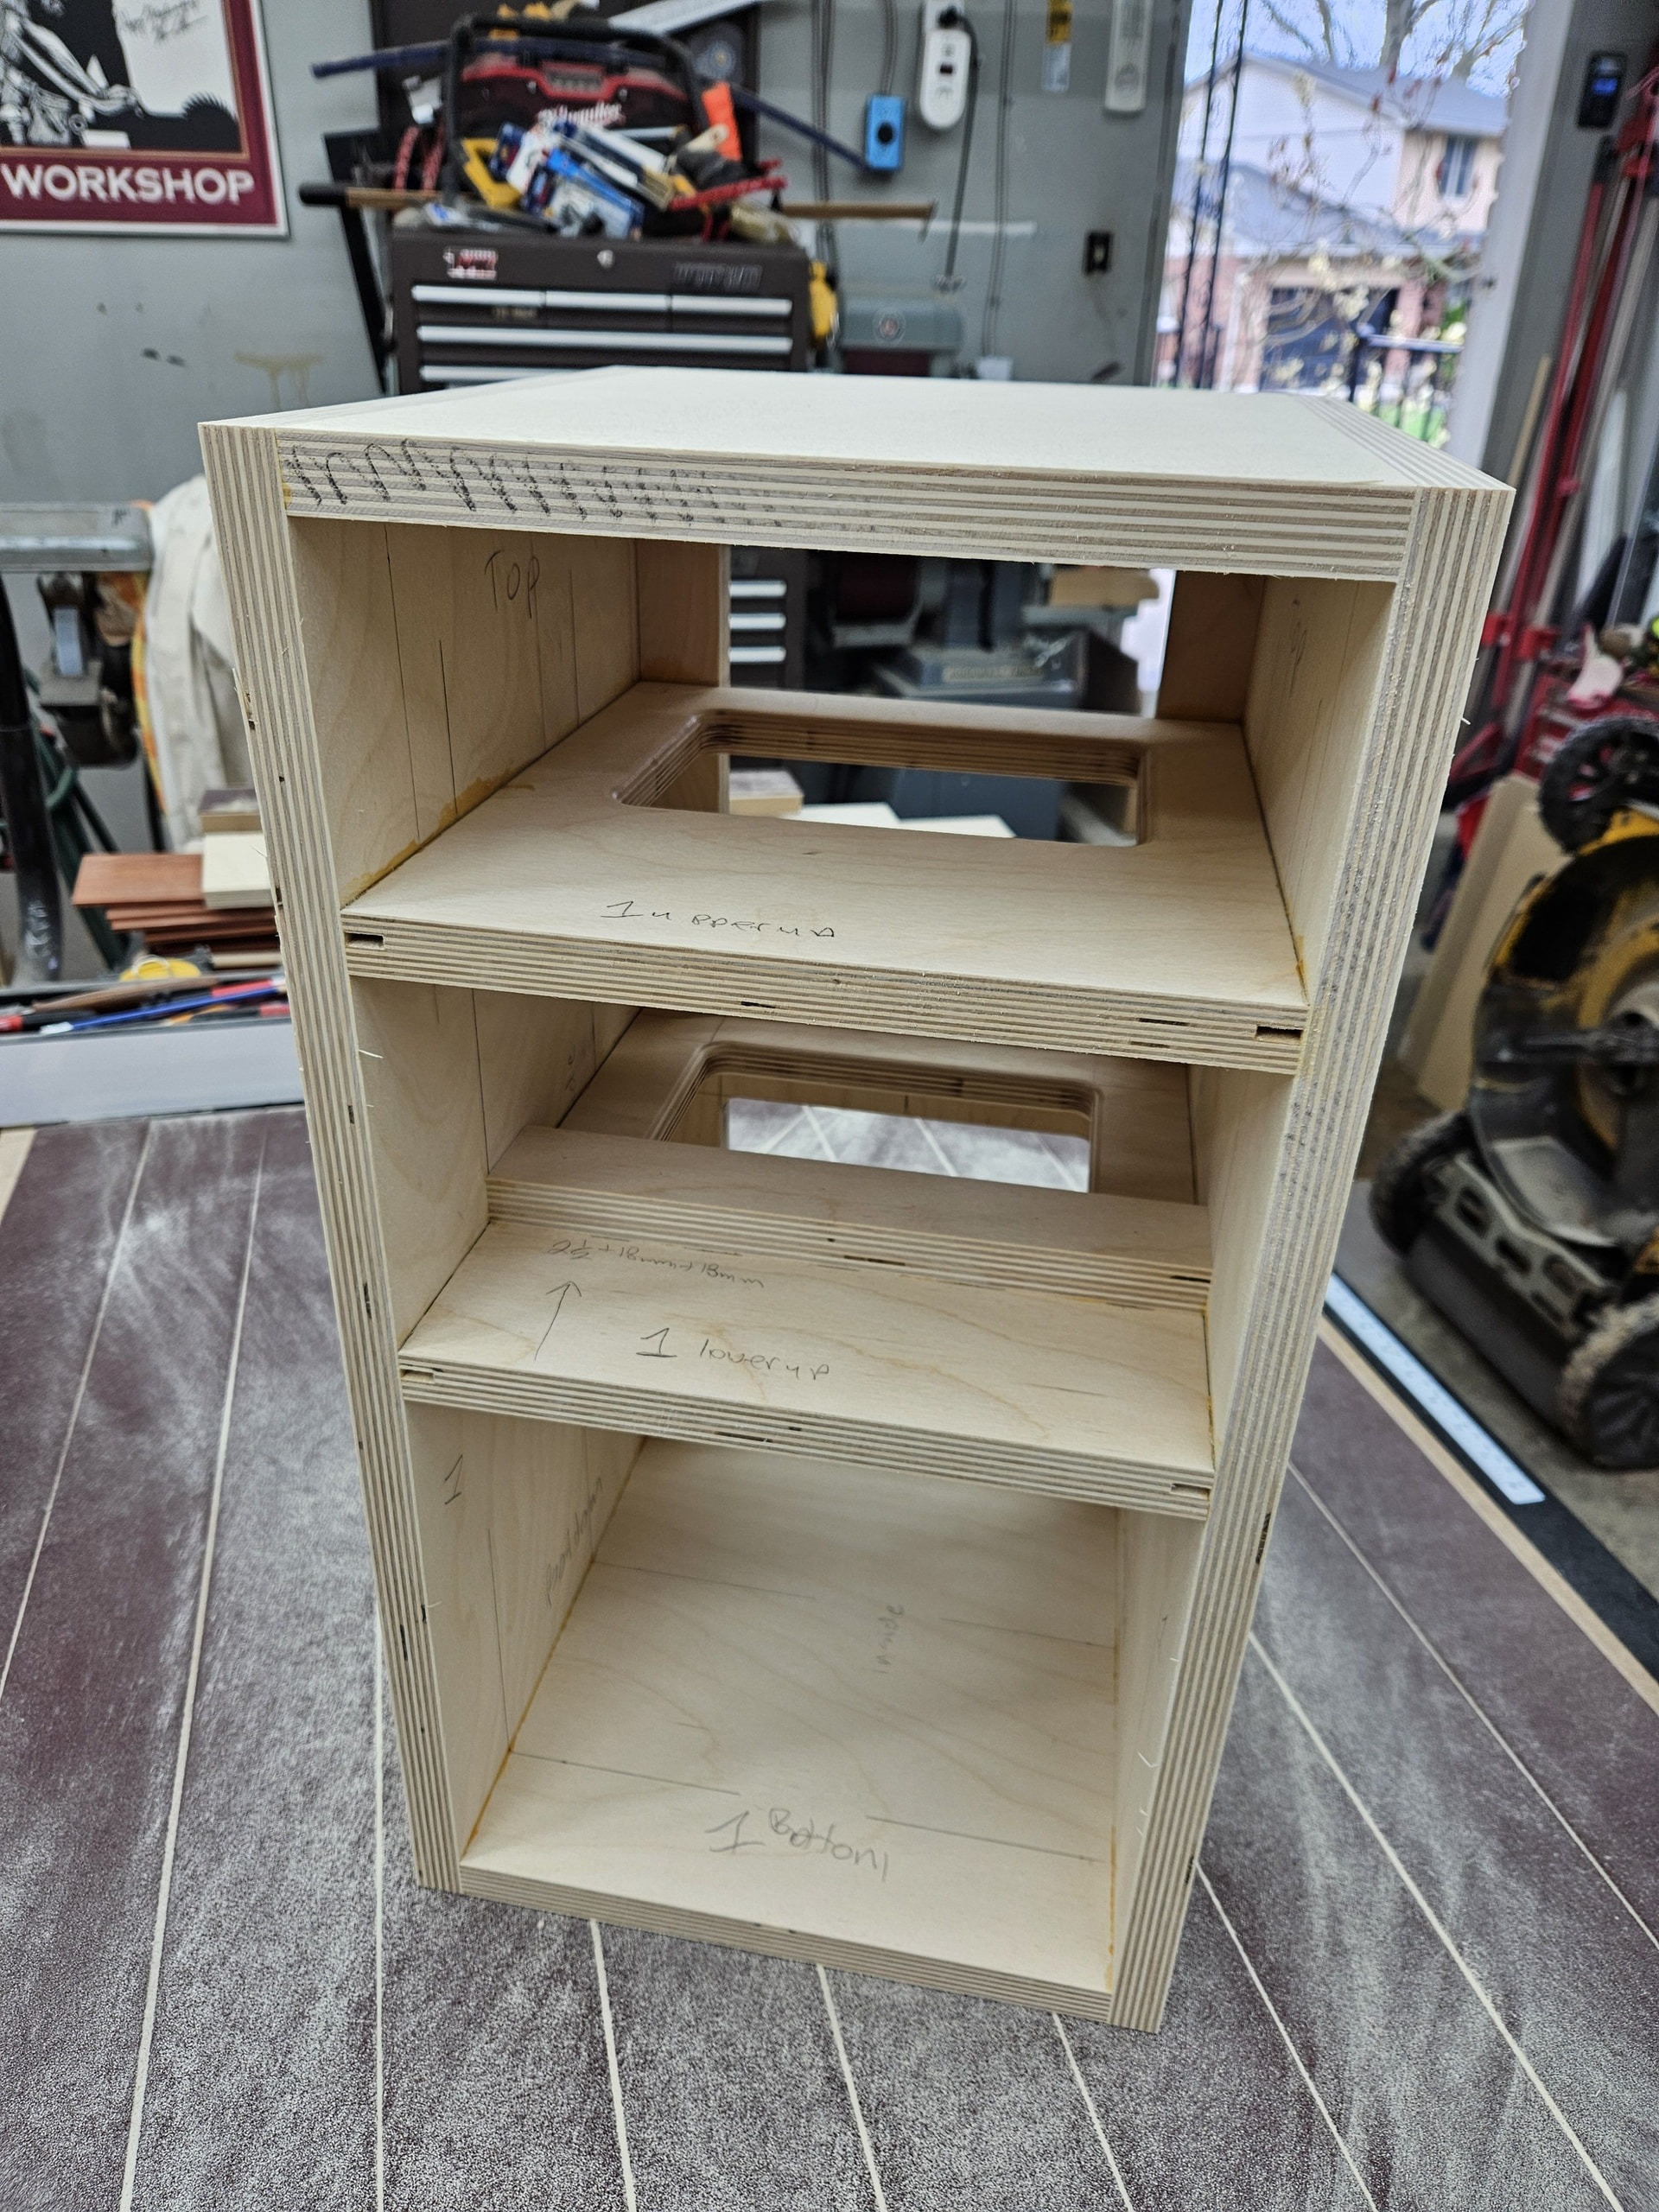
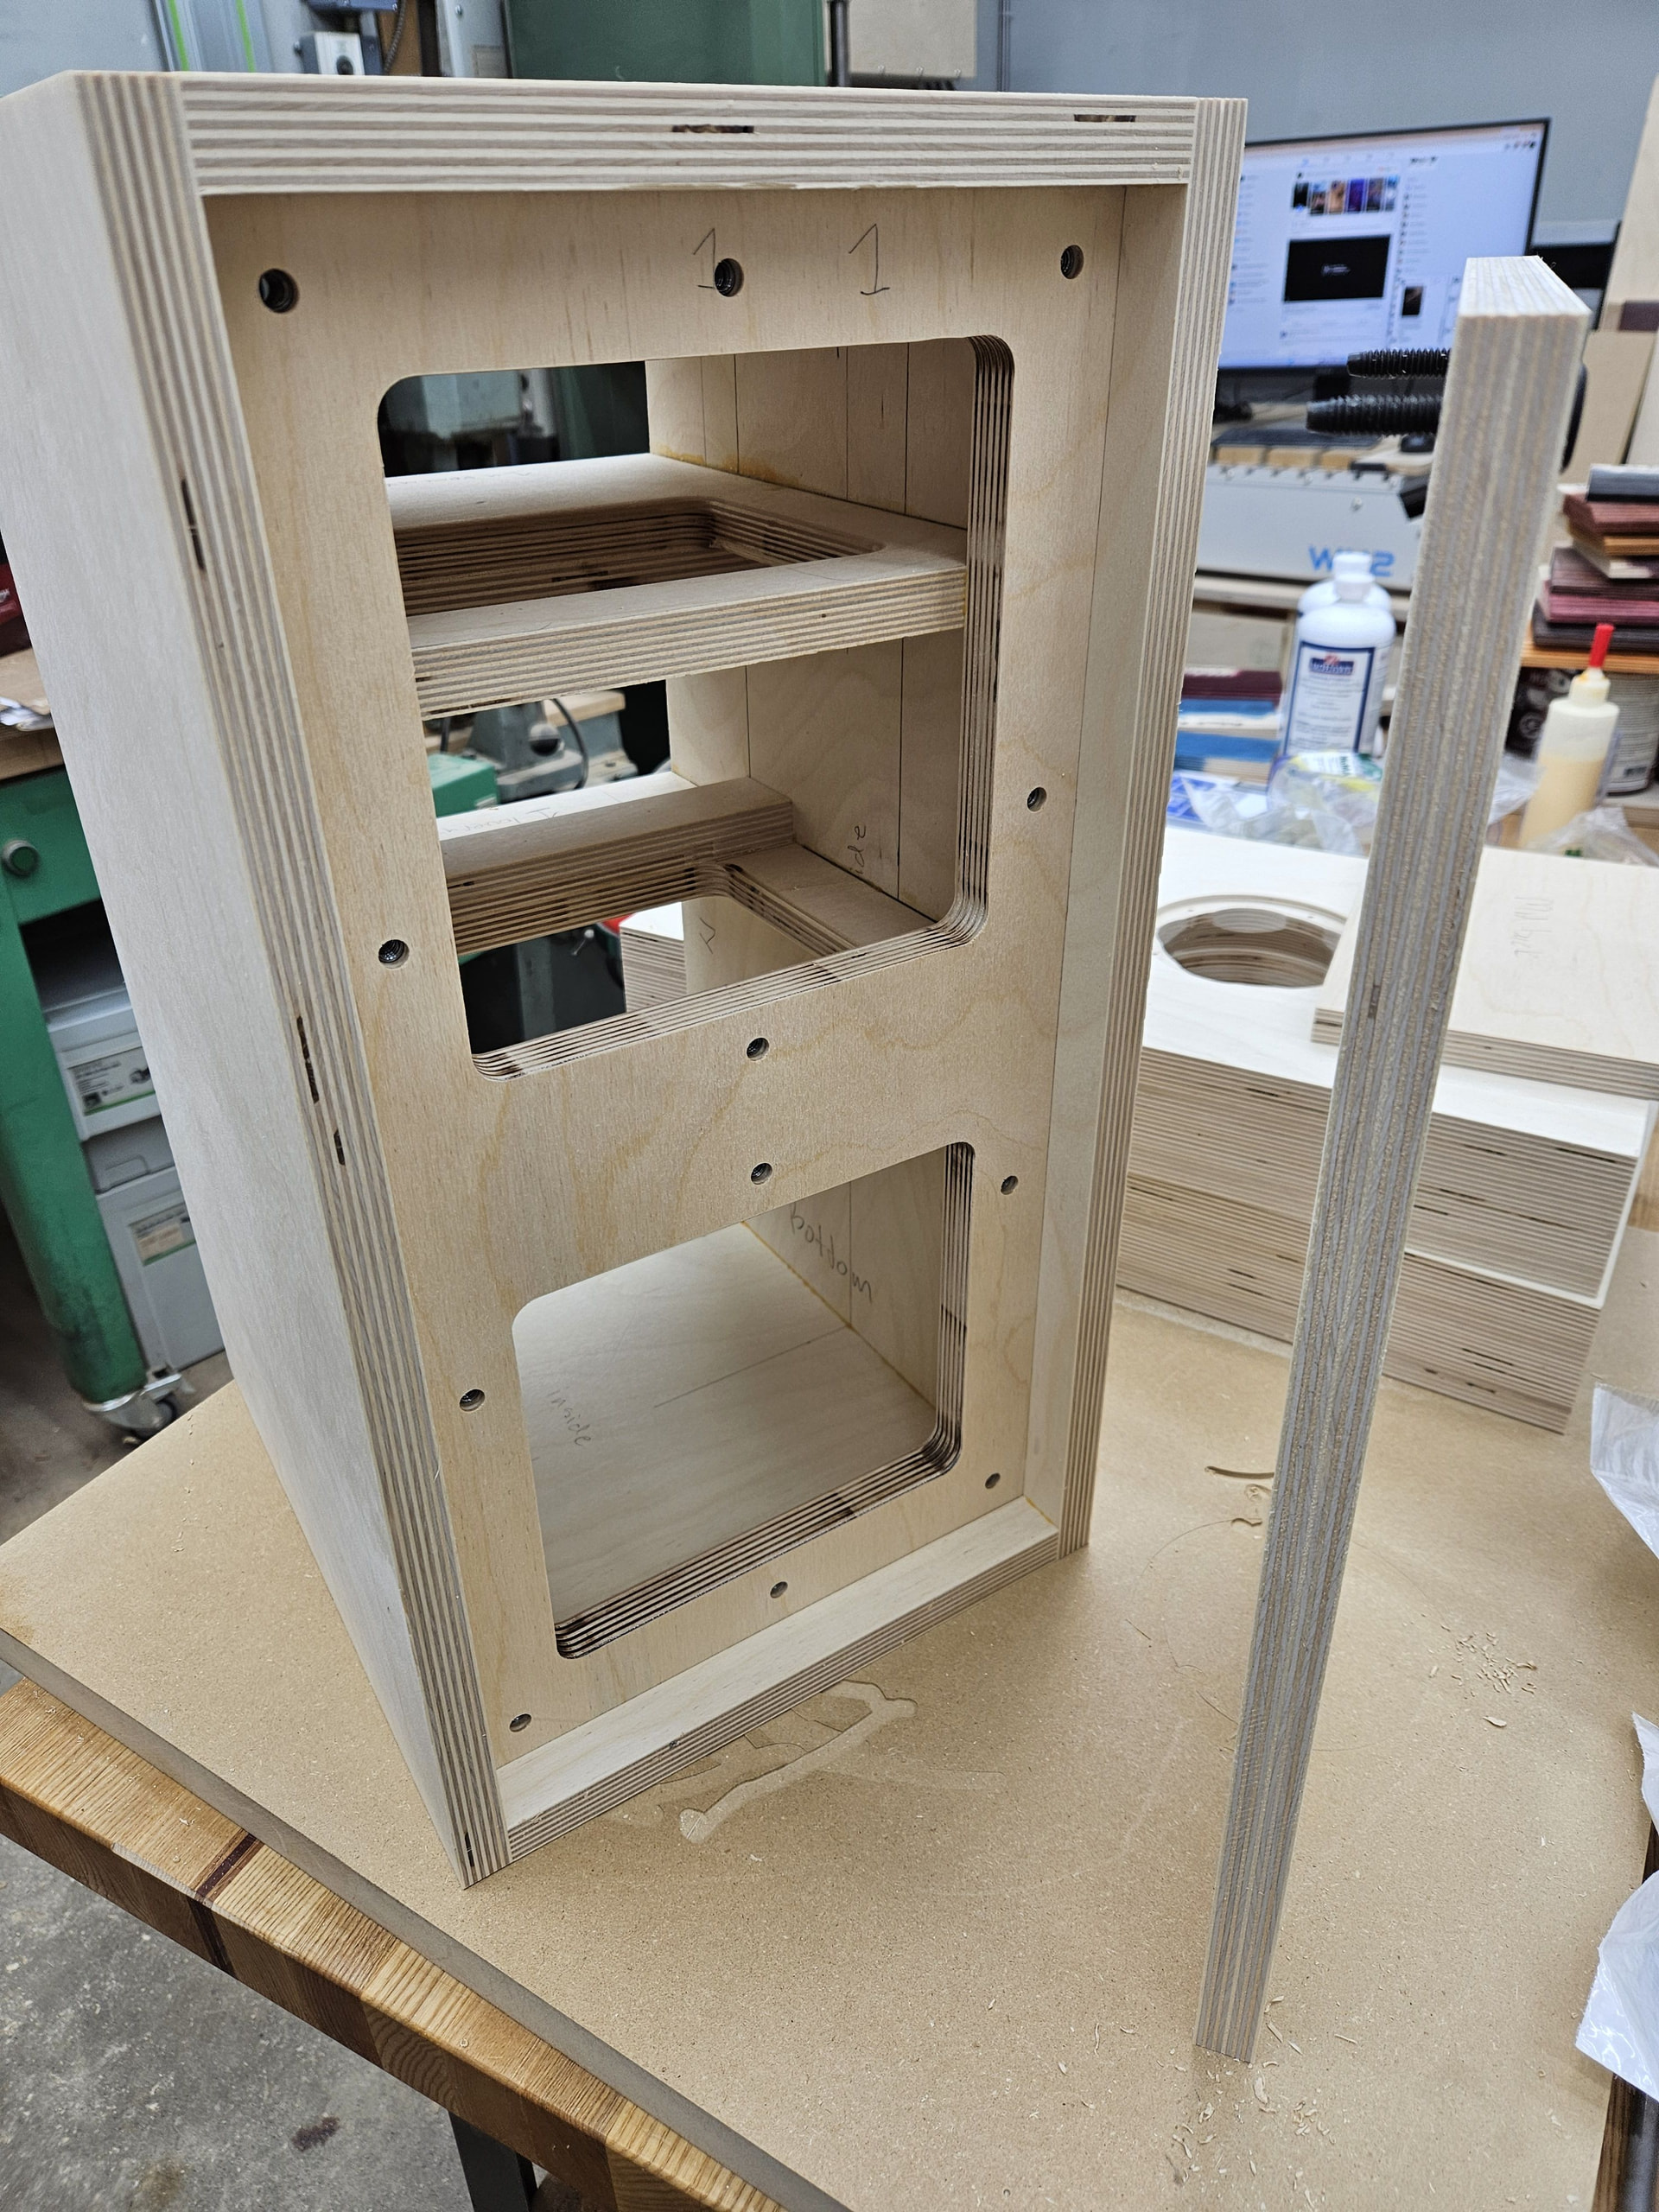
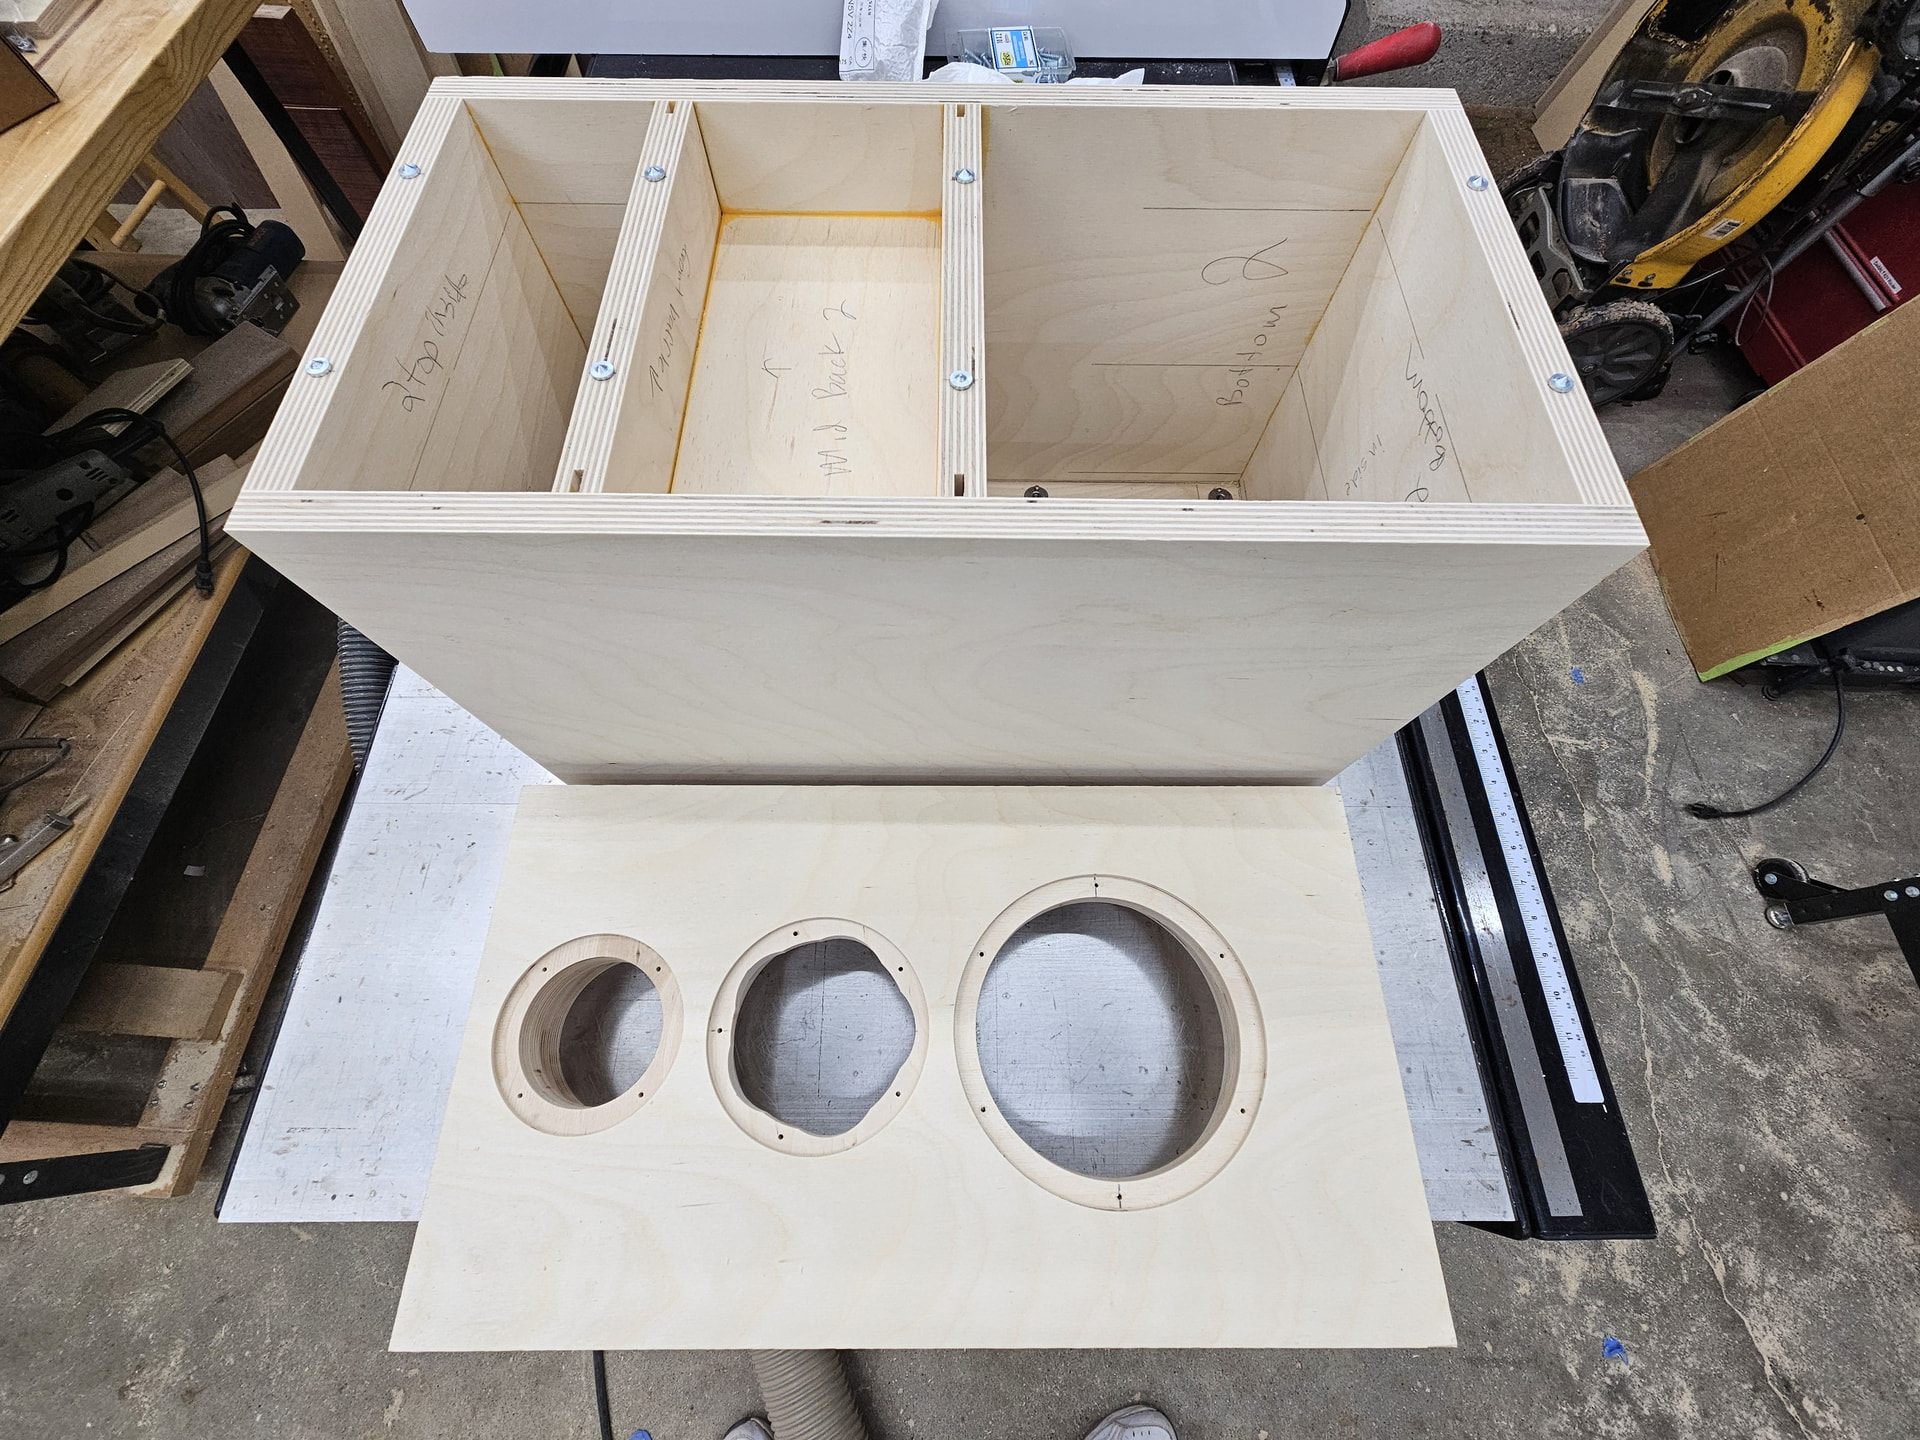
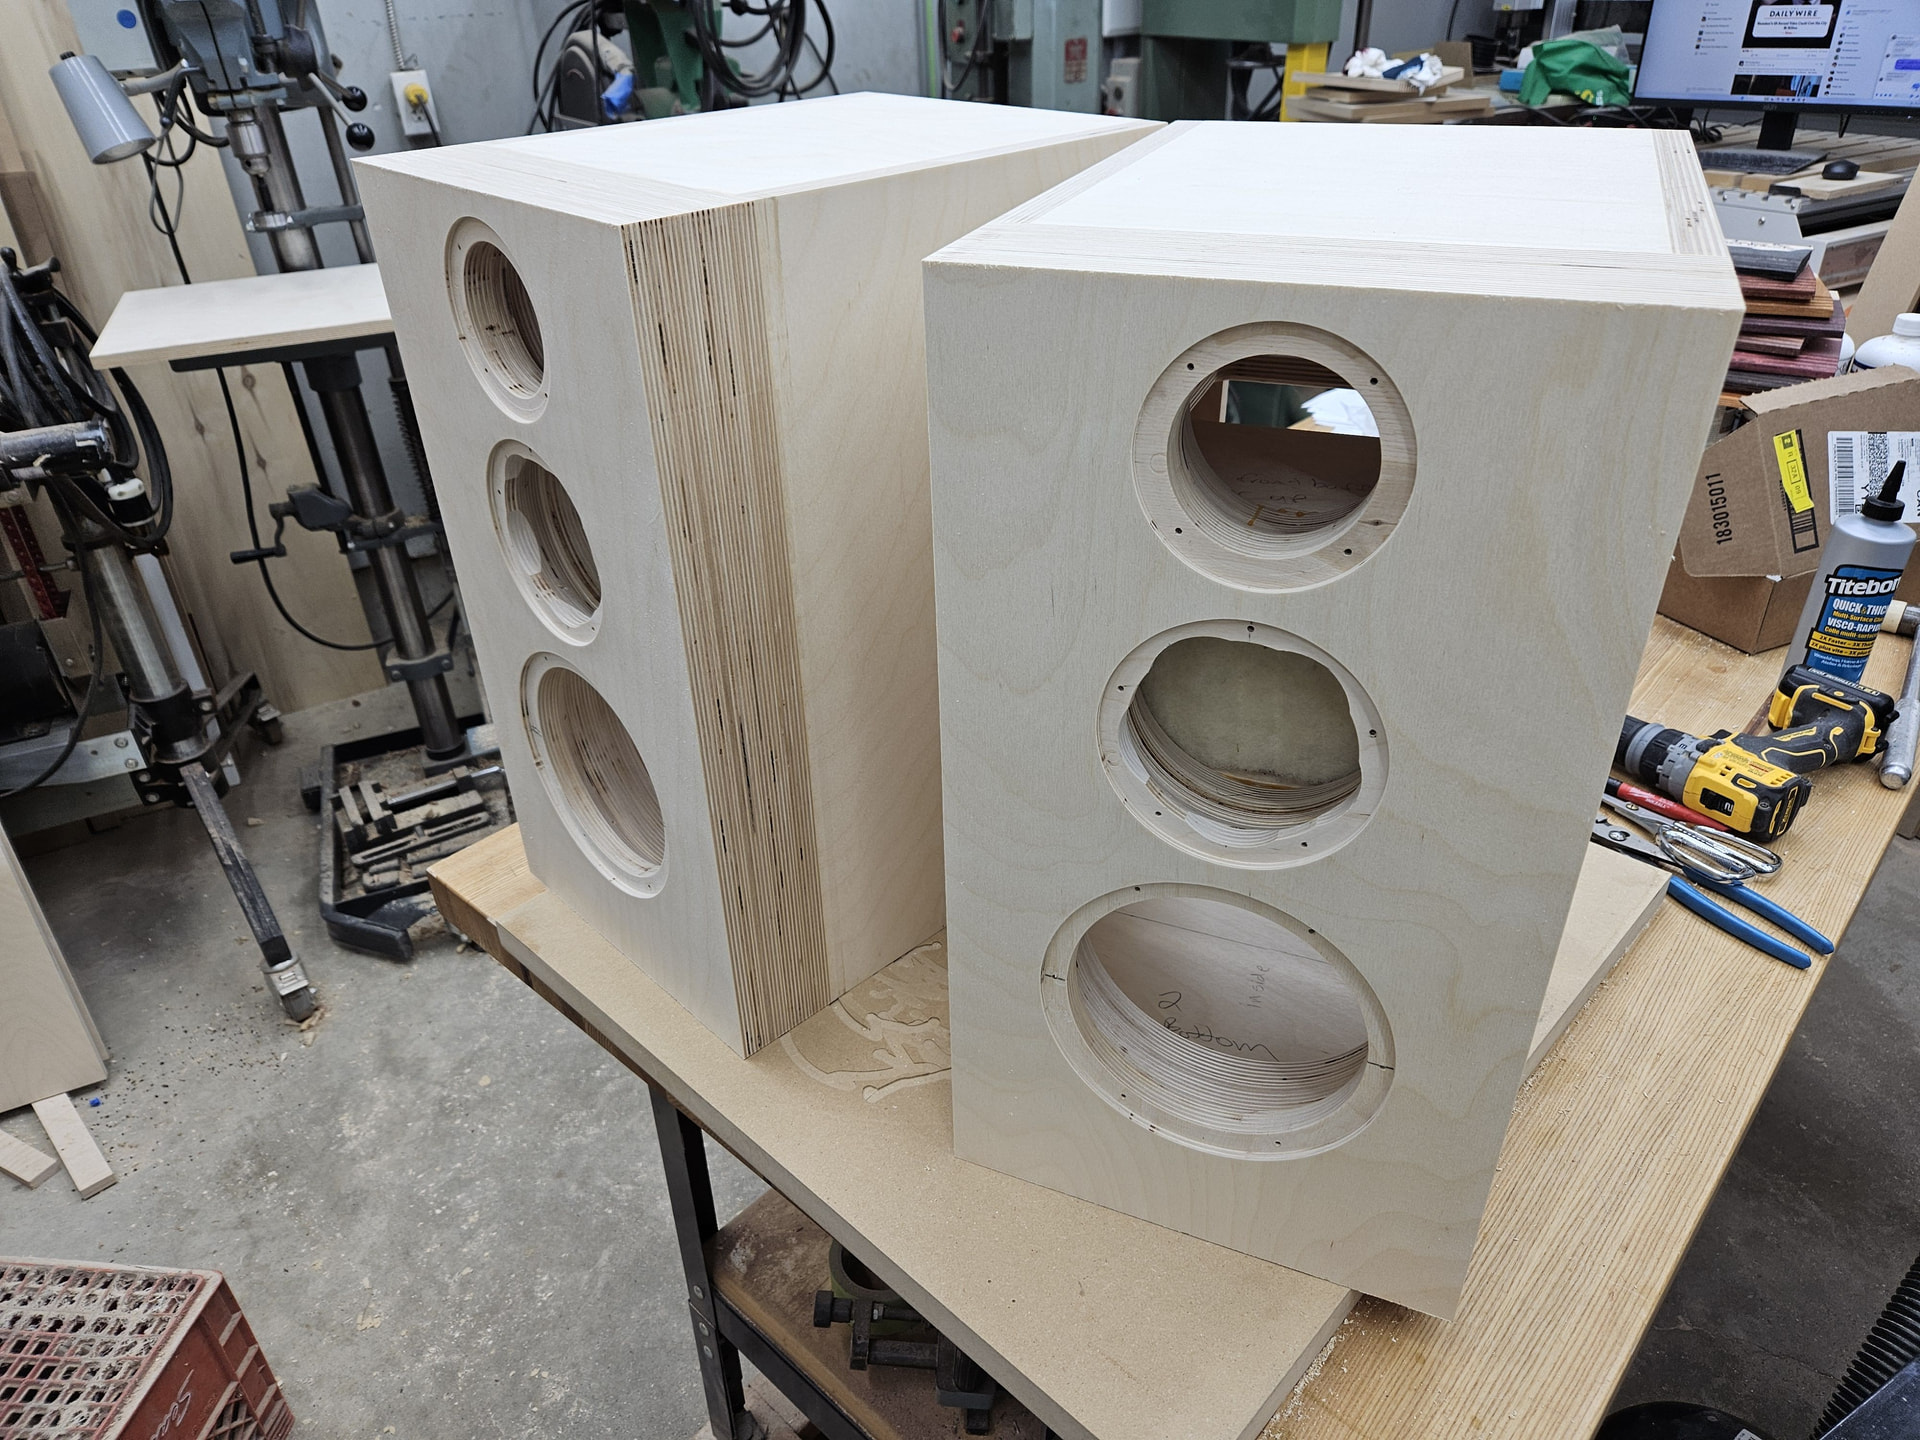
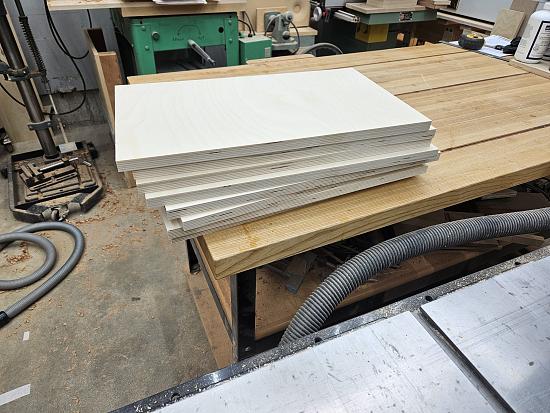
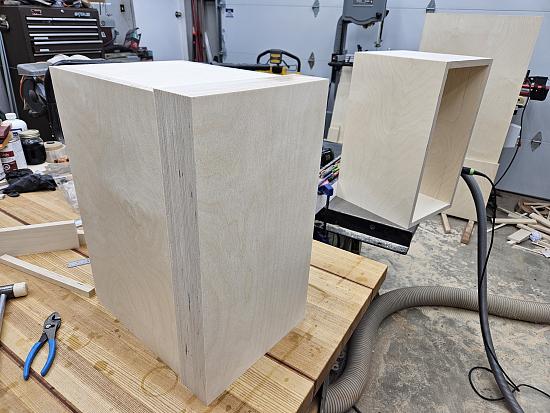
Overall dimensions are 20" tall, 11" wide, 15" deep, baffle is 2-13/16" thick (4 x 18mm BB ply) to allow for the bevel I want on the edge of the baffle.

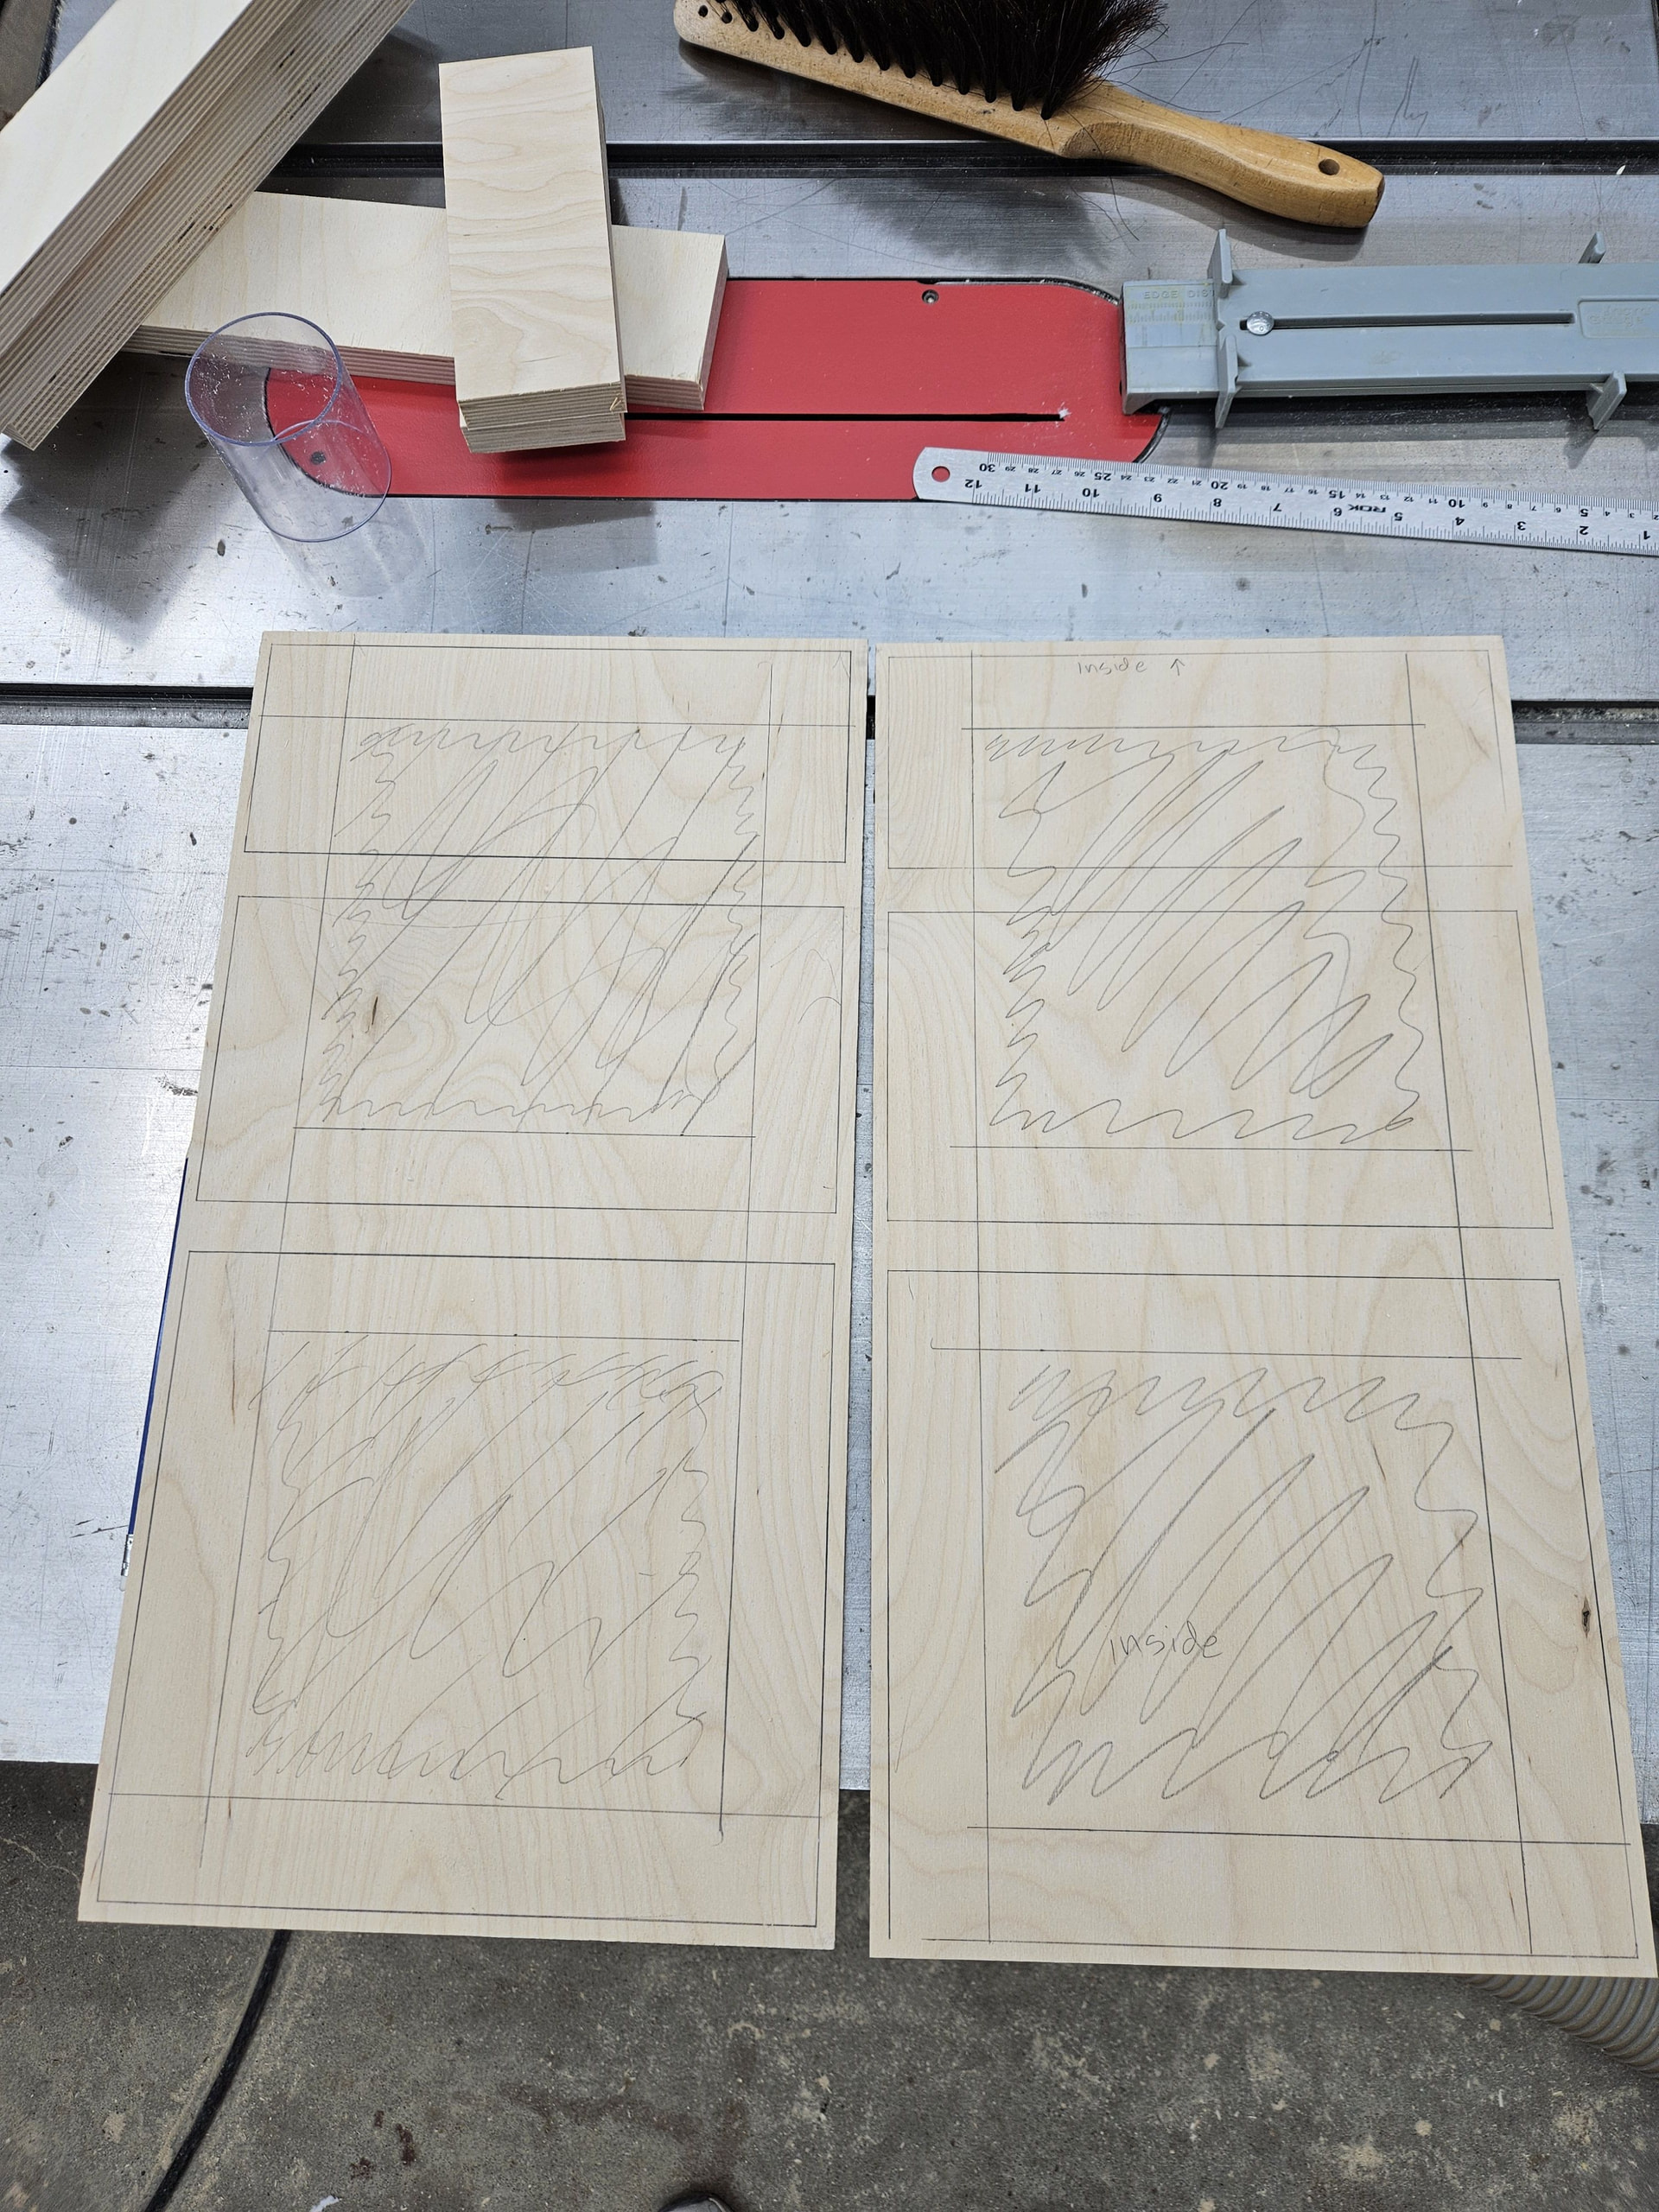
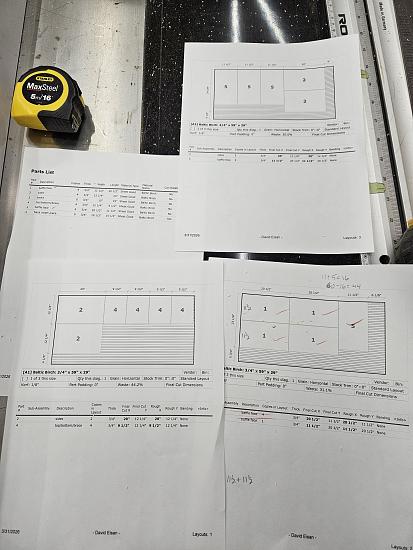
As per usual, even for something like this, I use CutList Plus Fx to do my plywood cutlist, so I am making the best use of the material optimising the use of the sheetgoods.

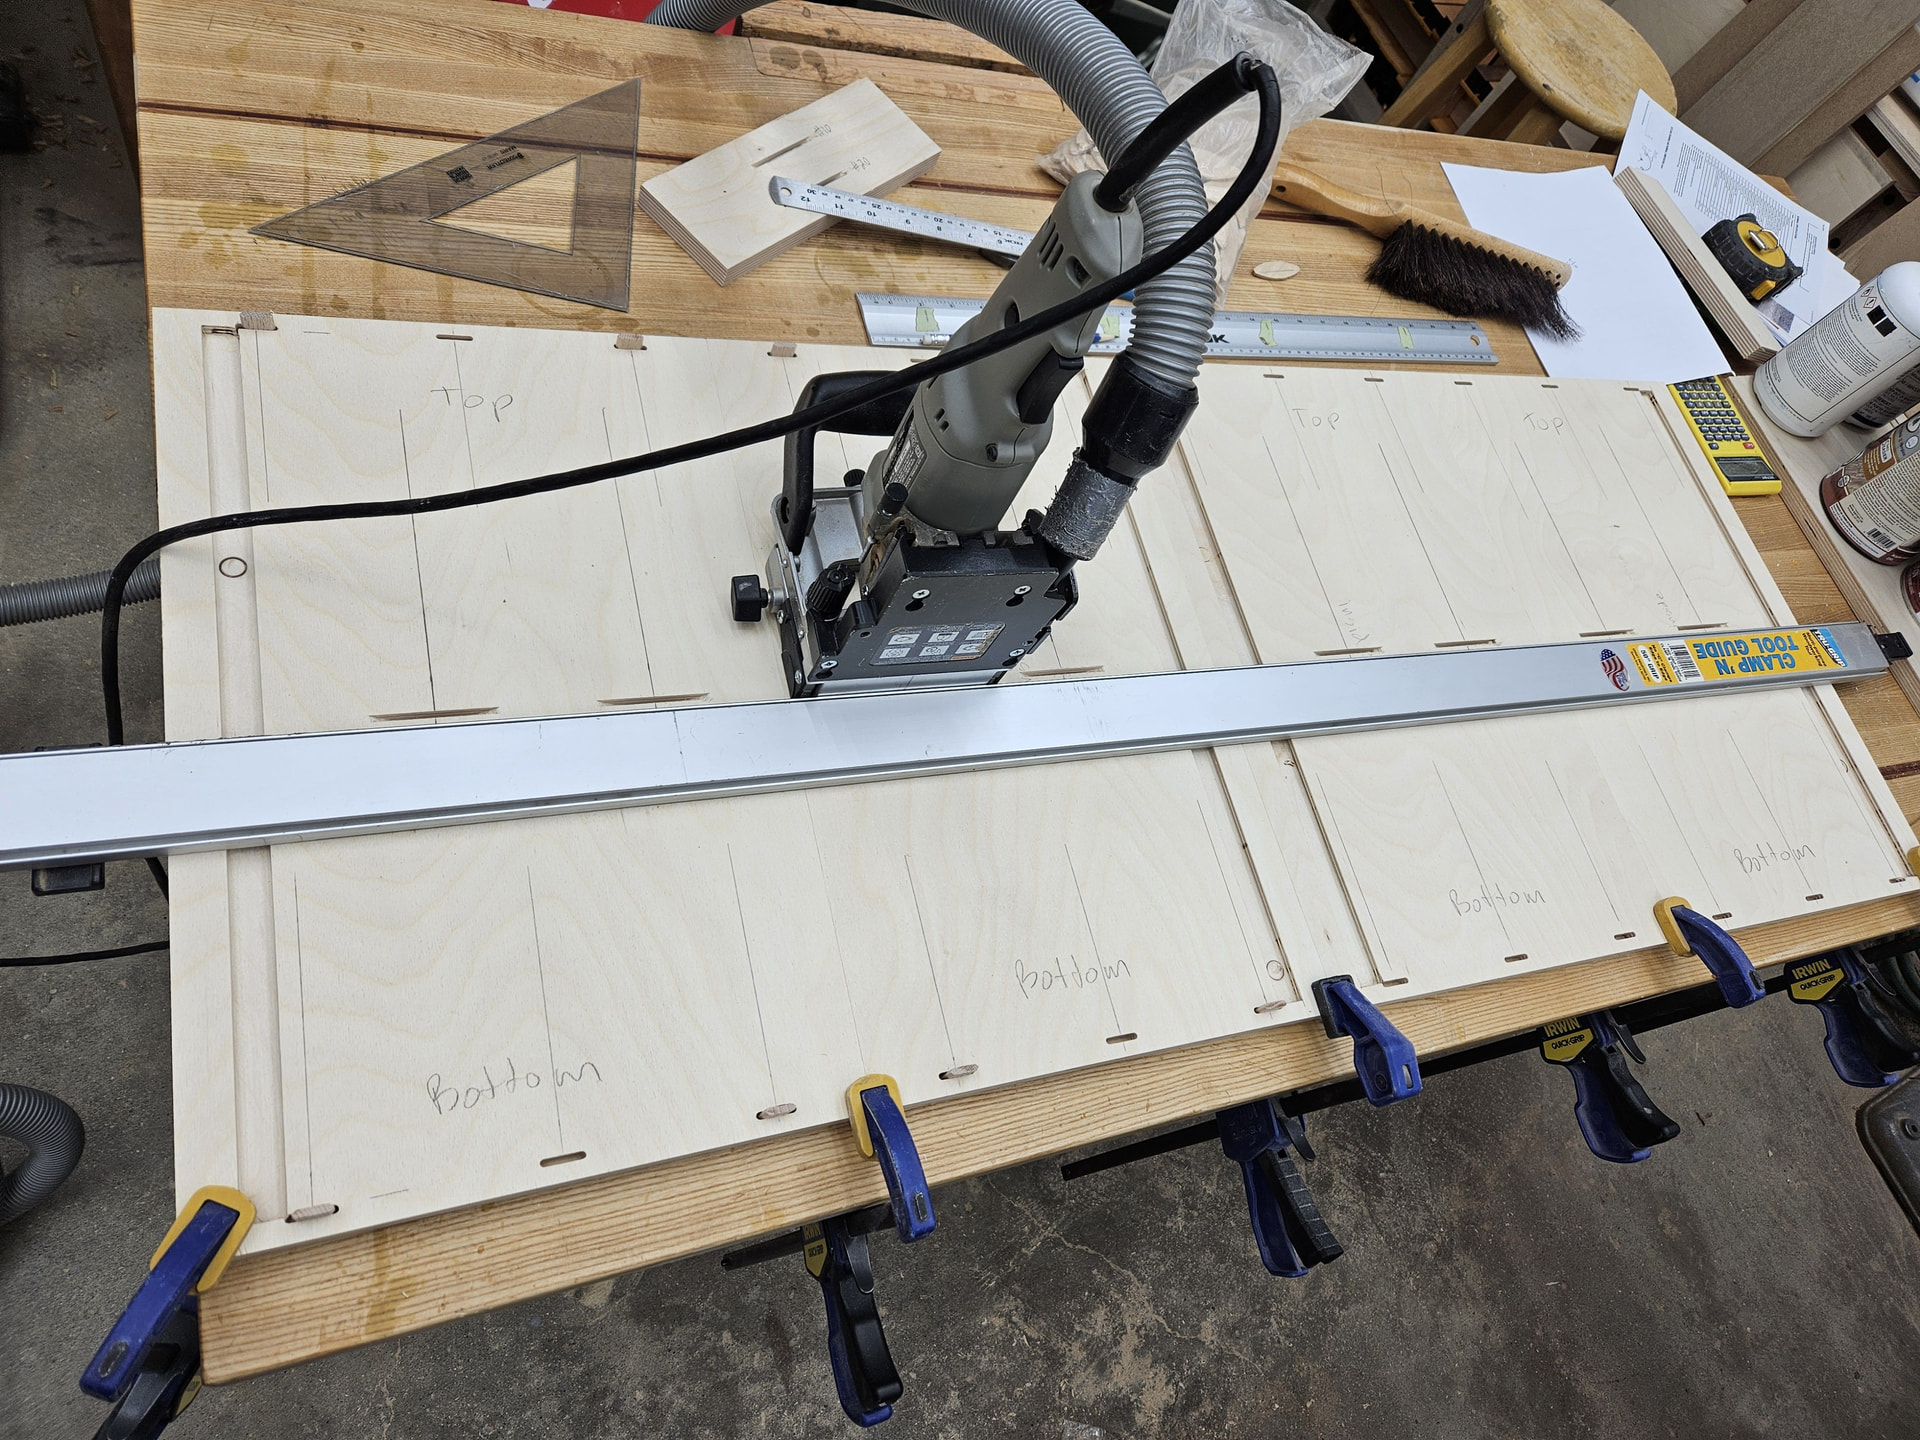
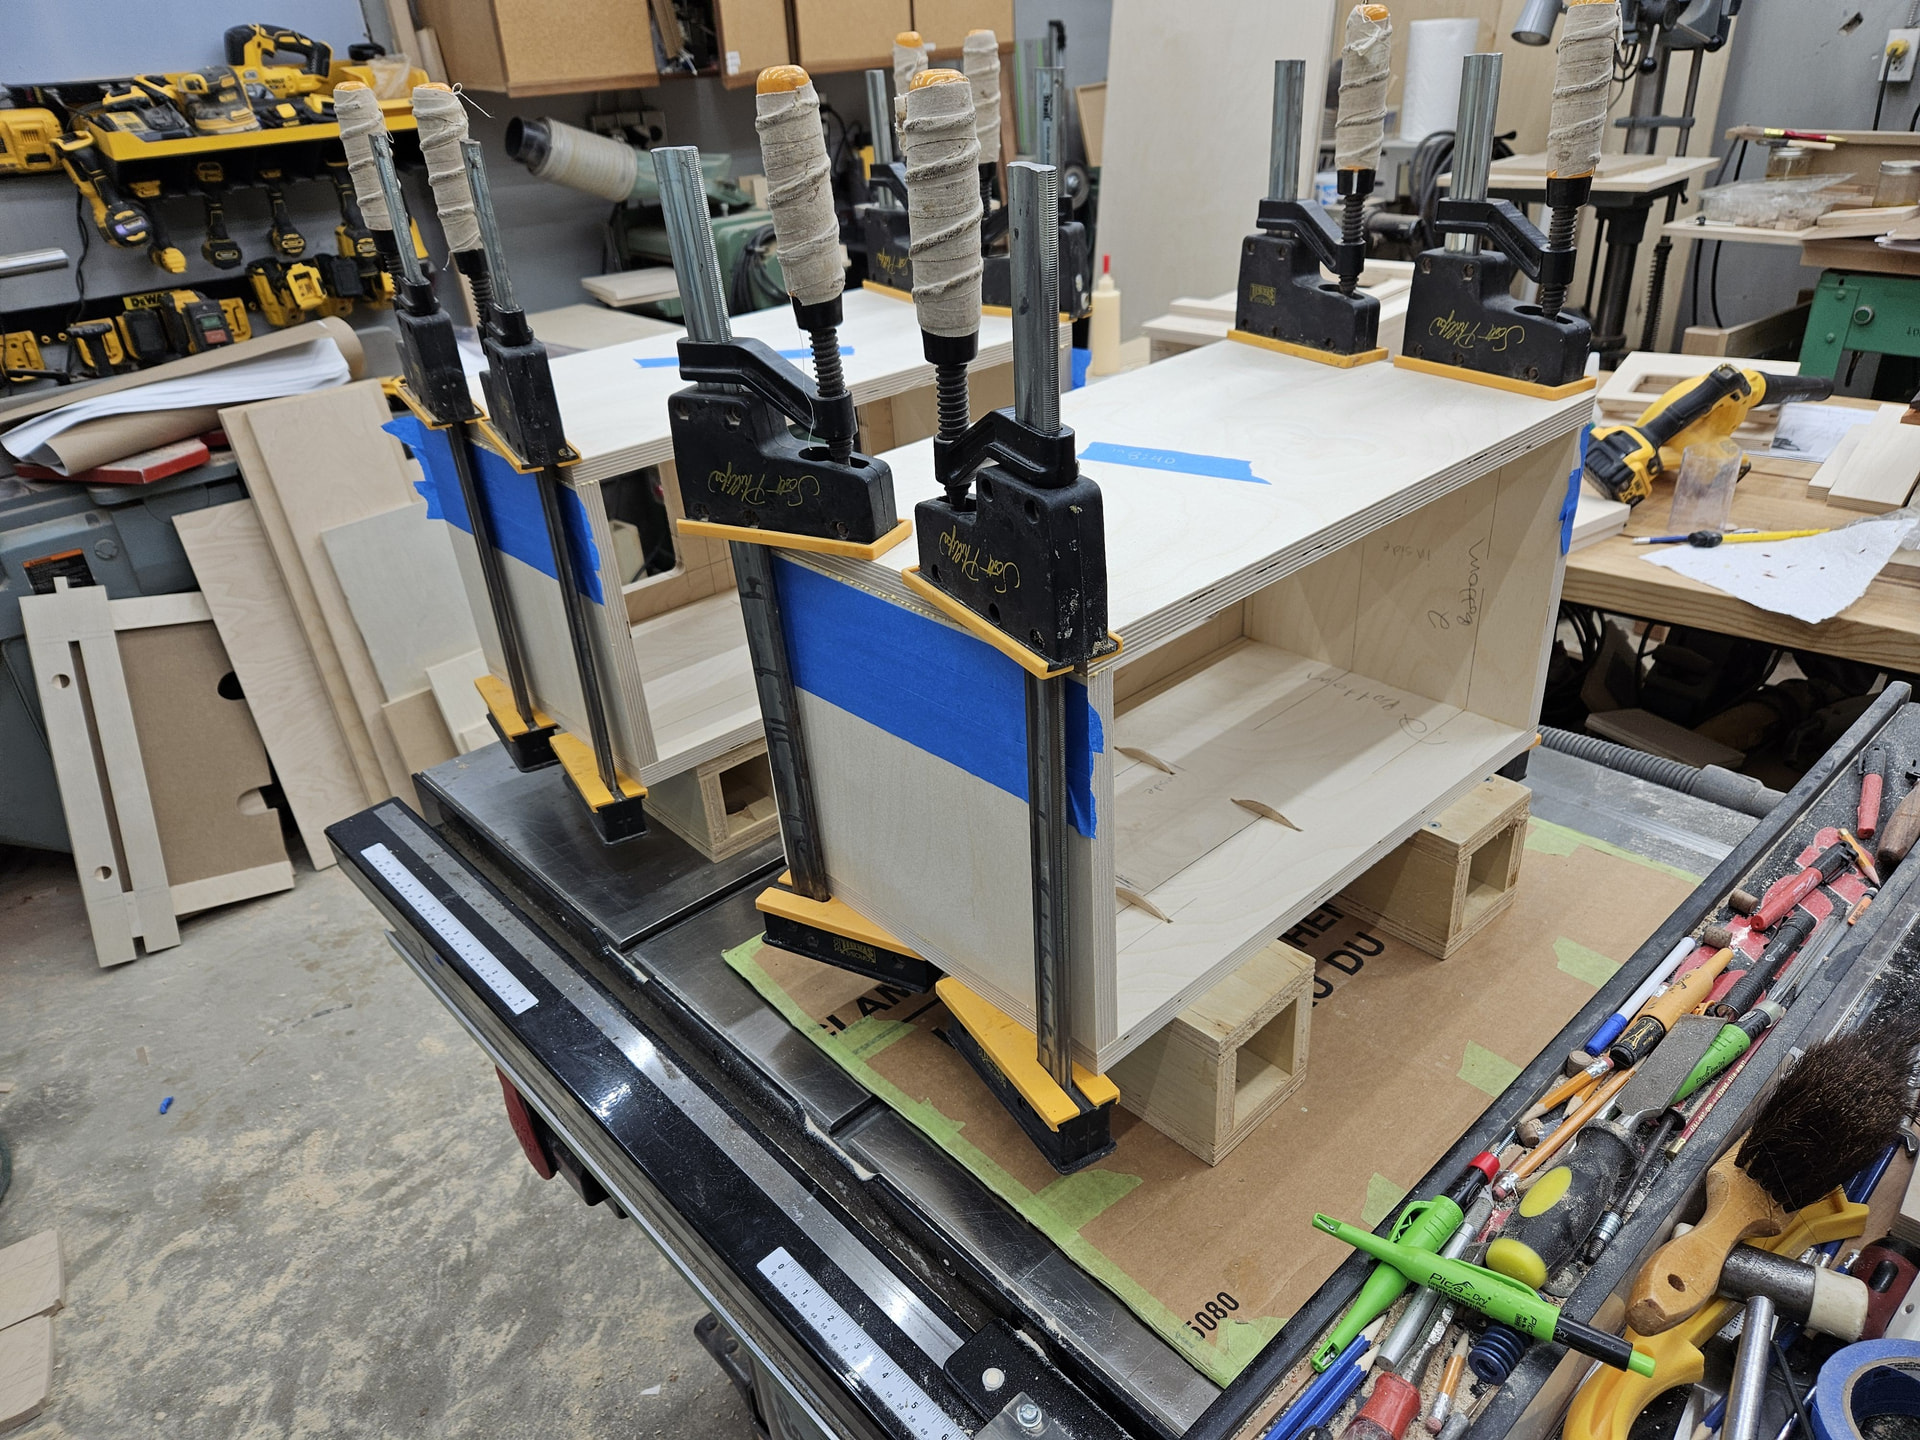
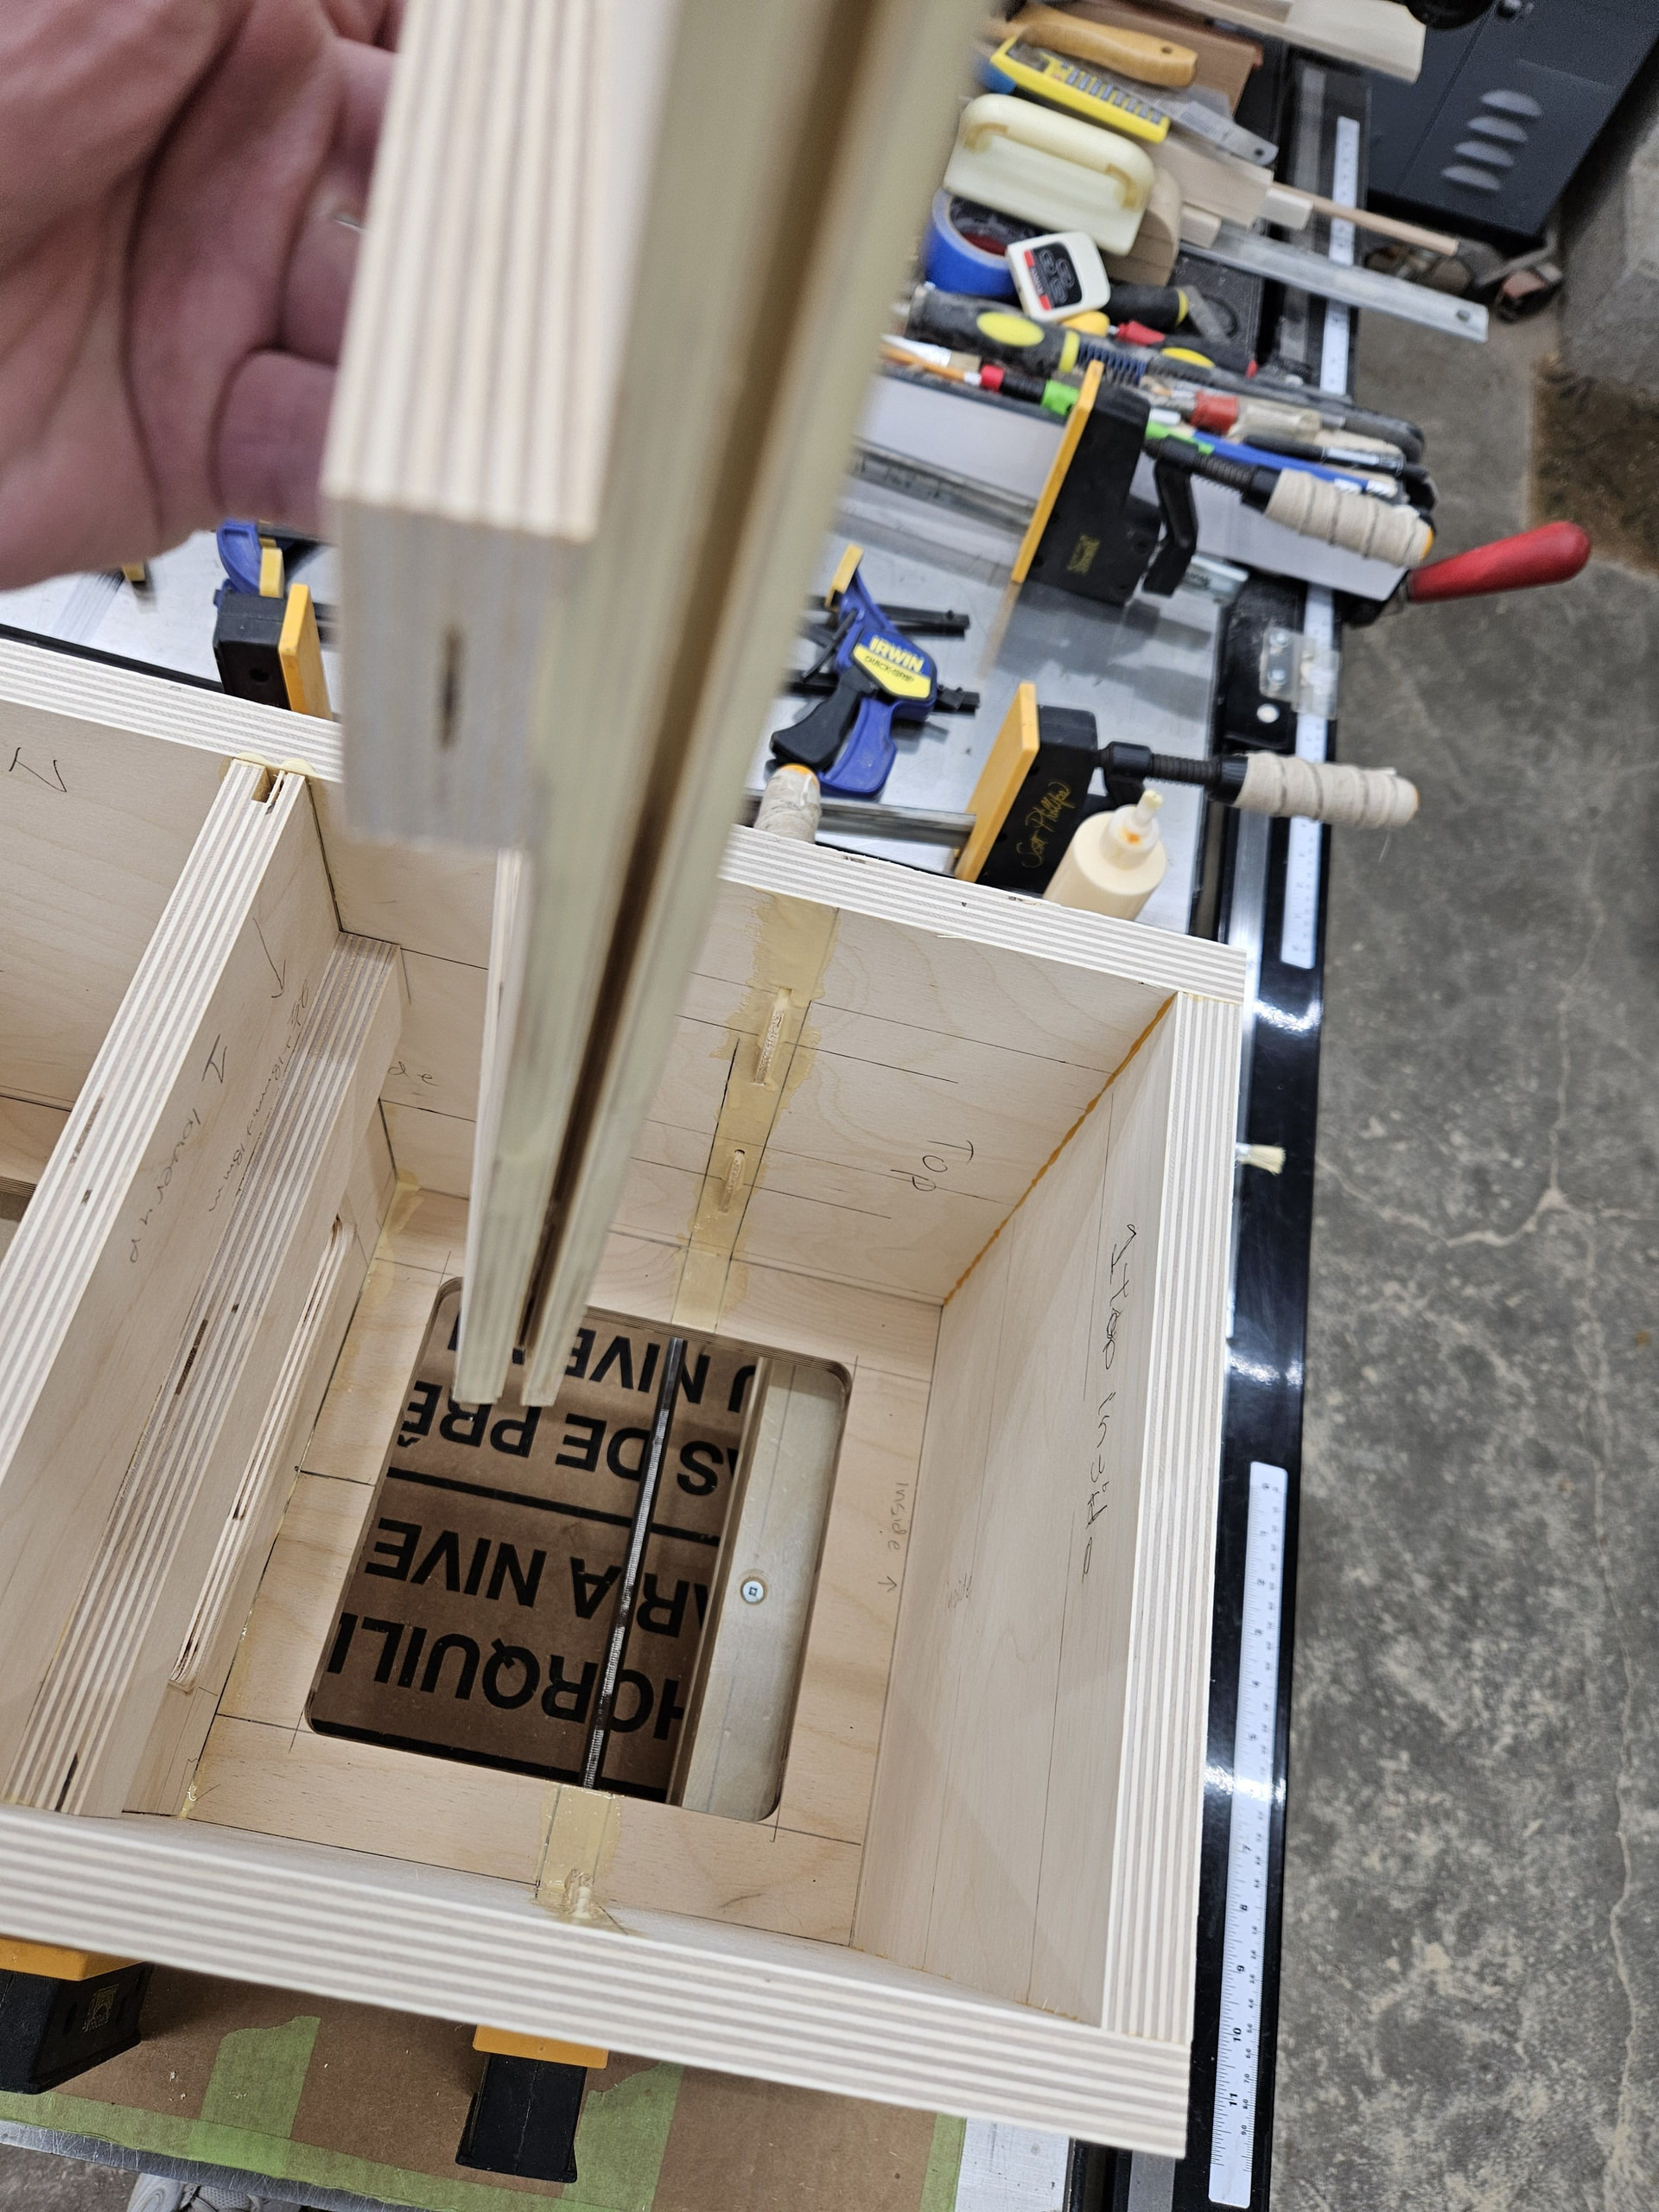
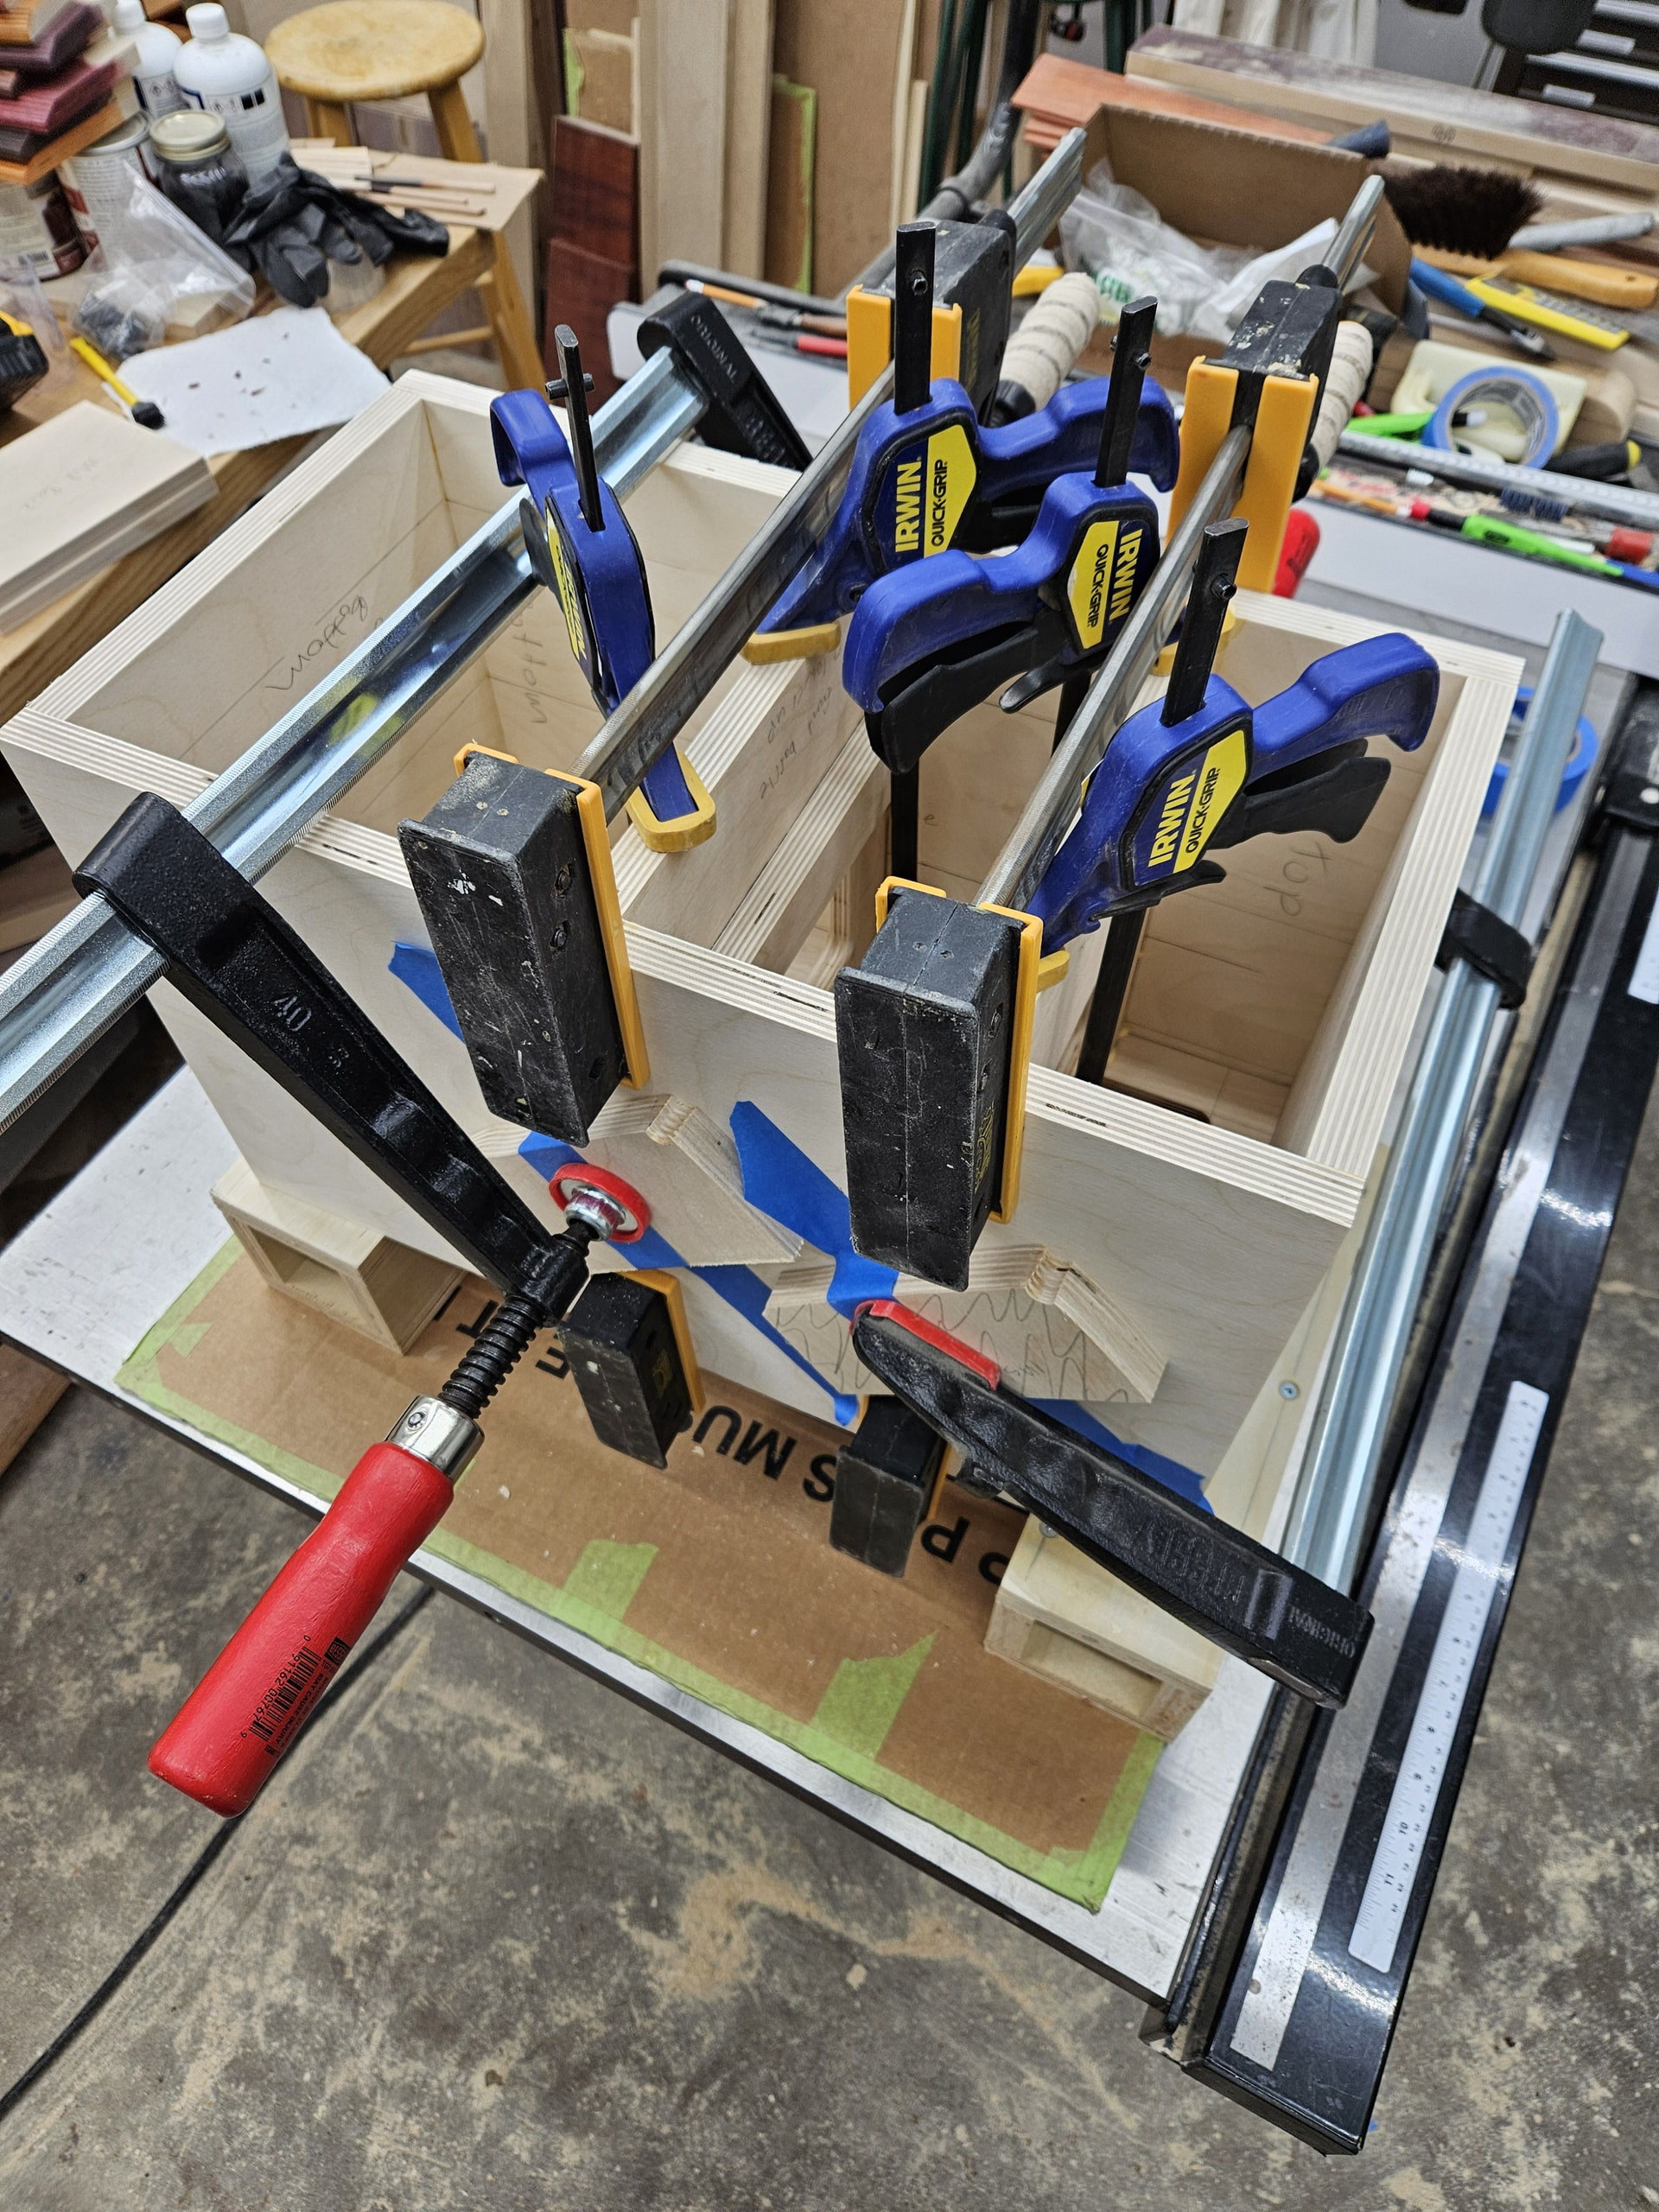
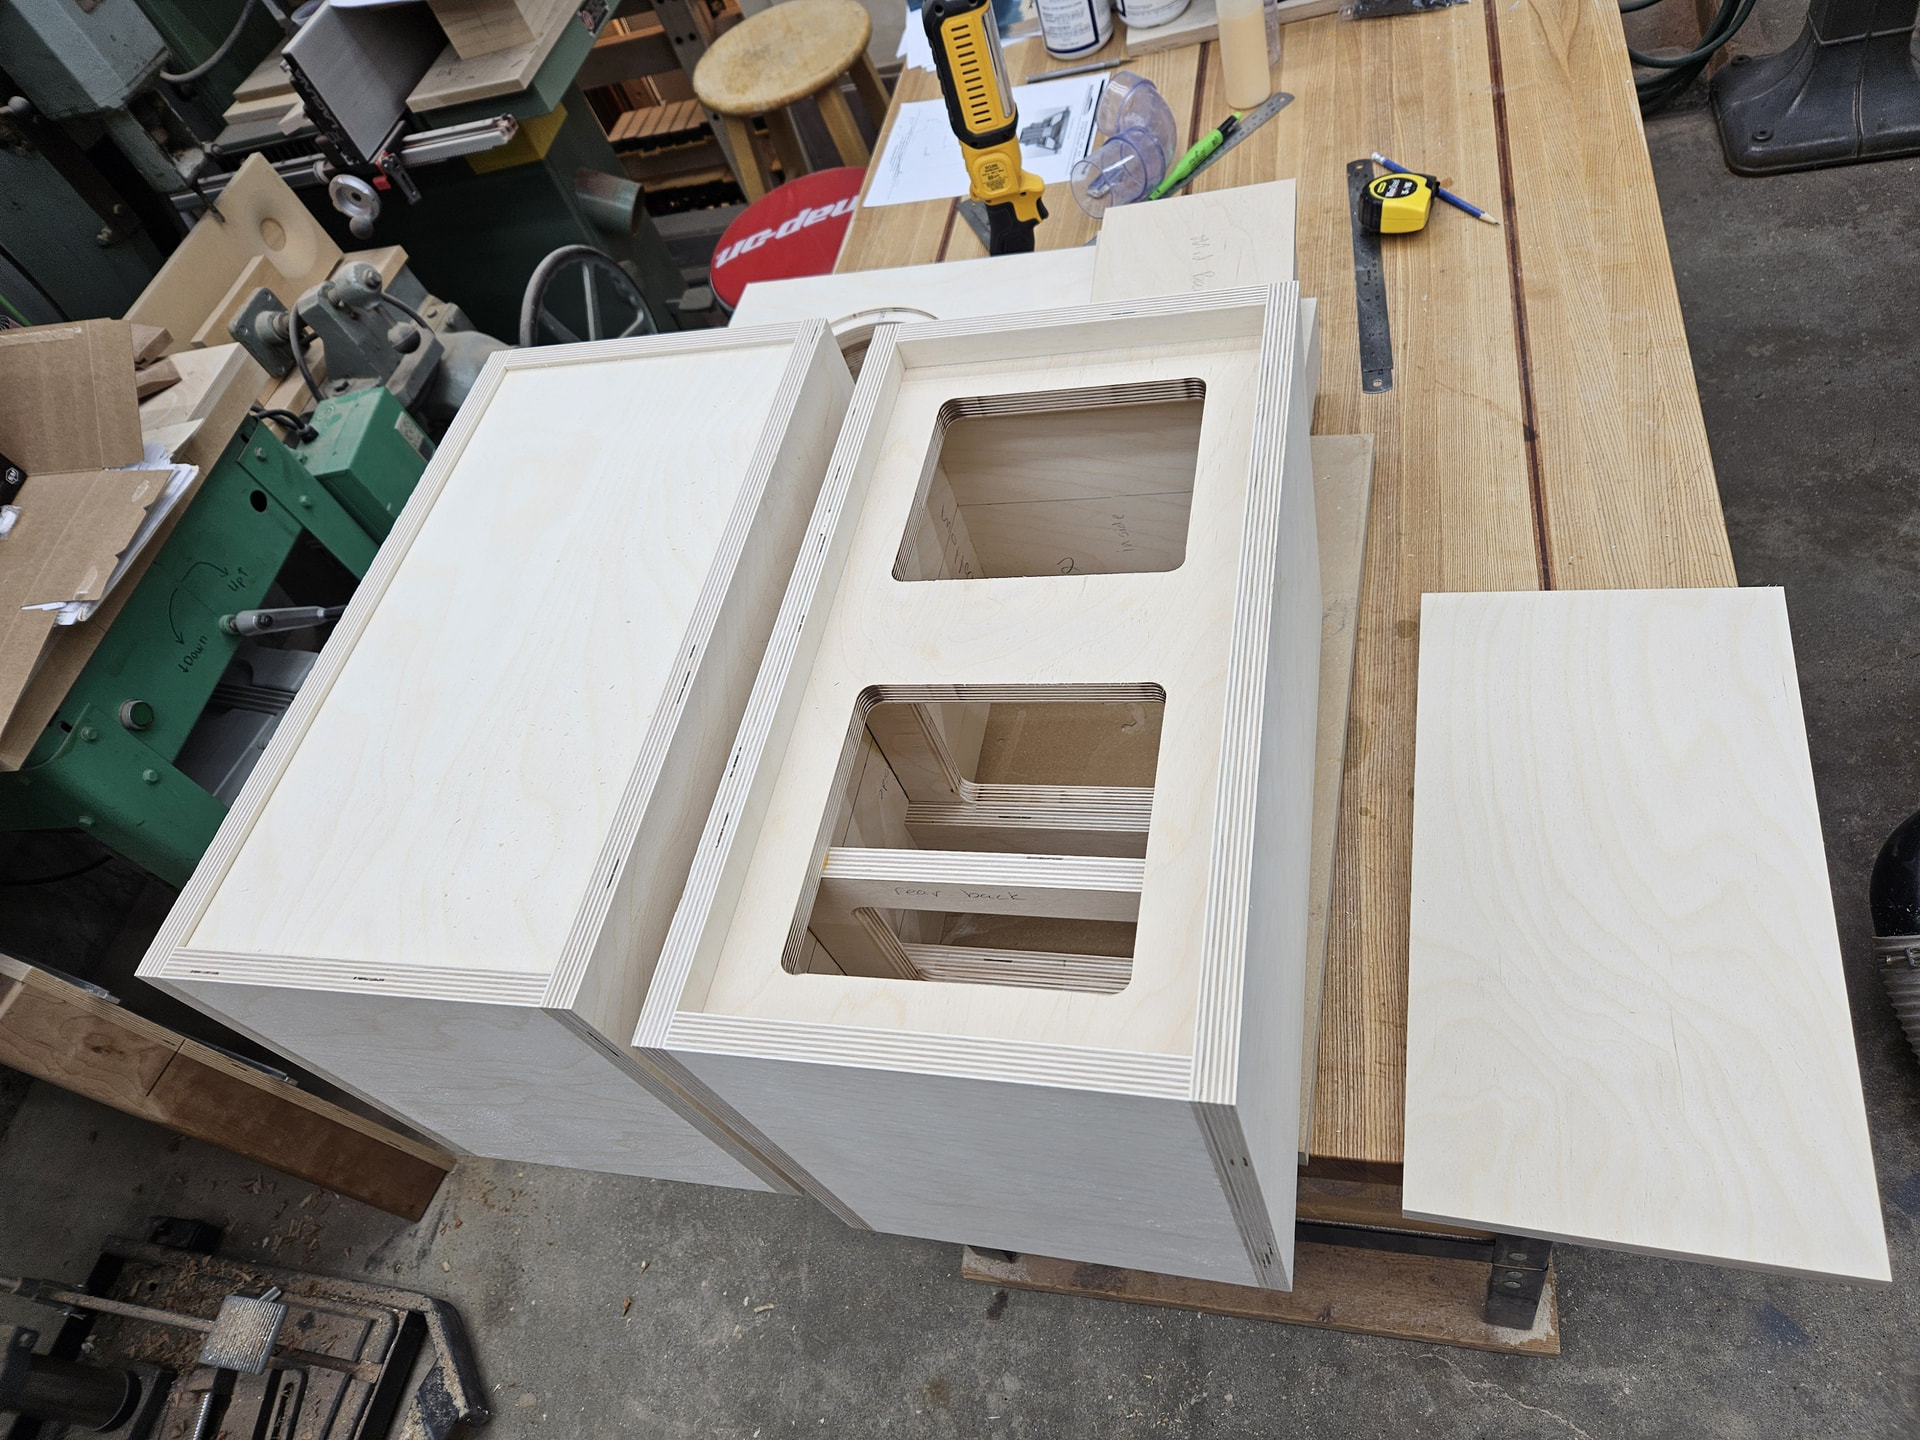
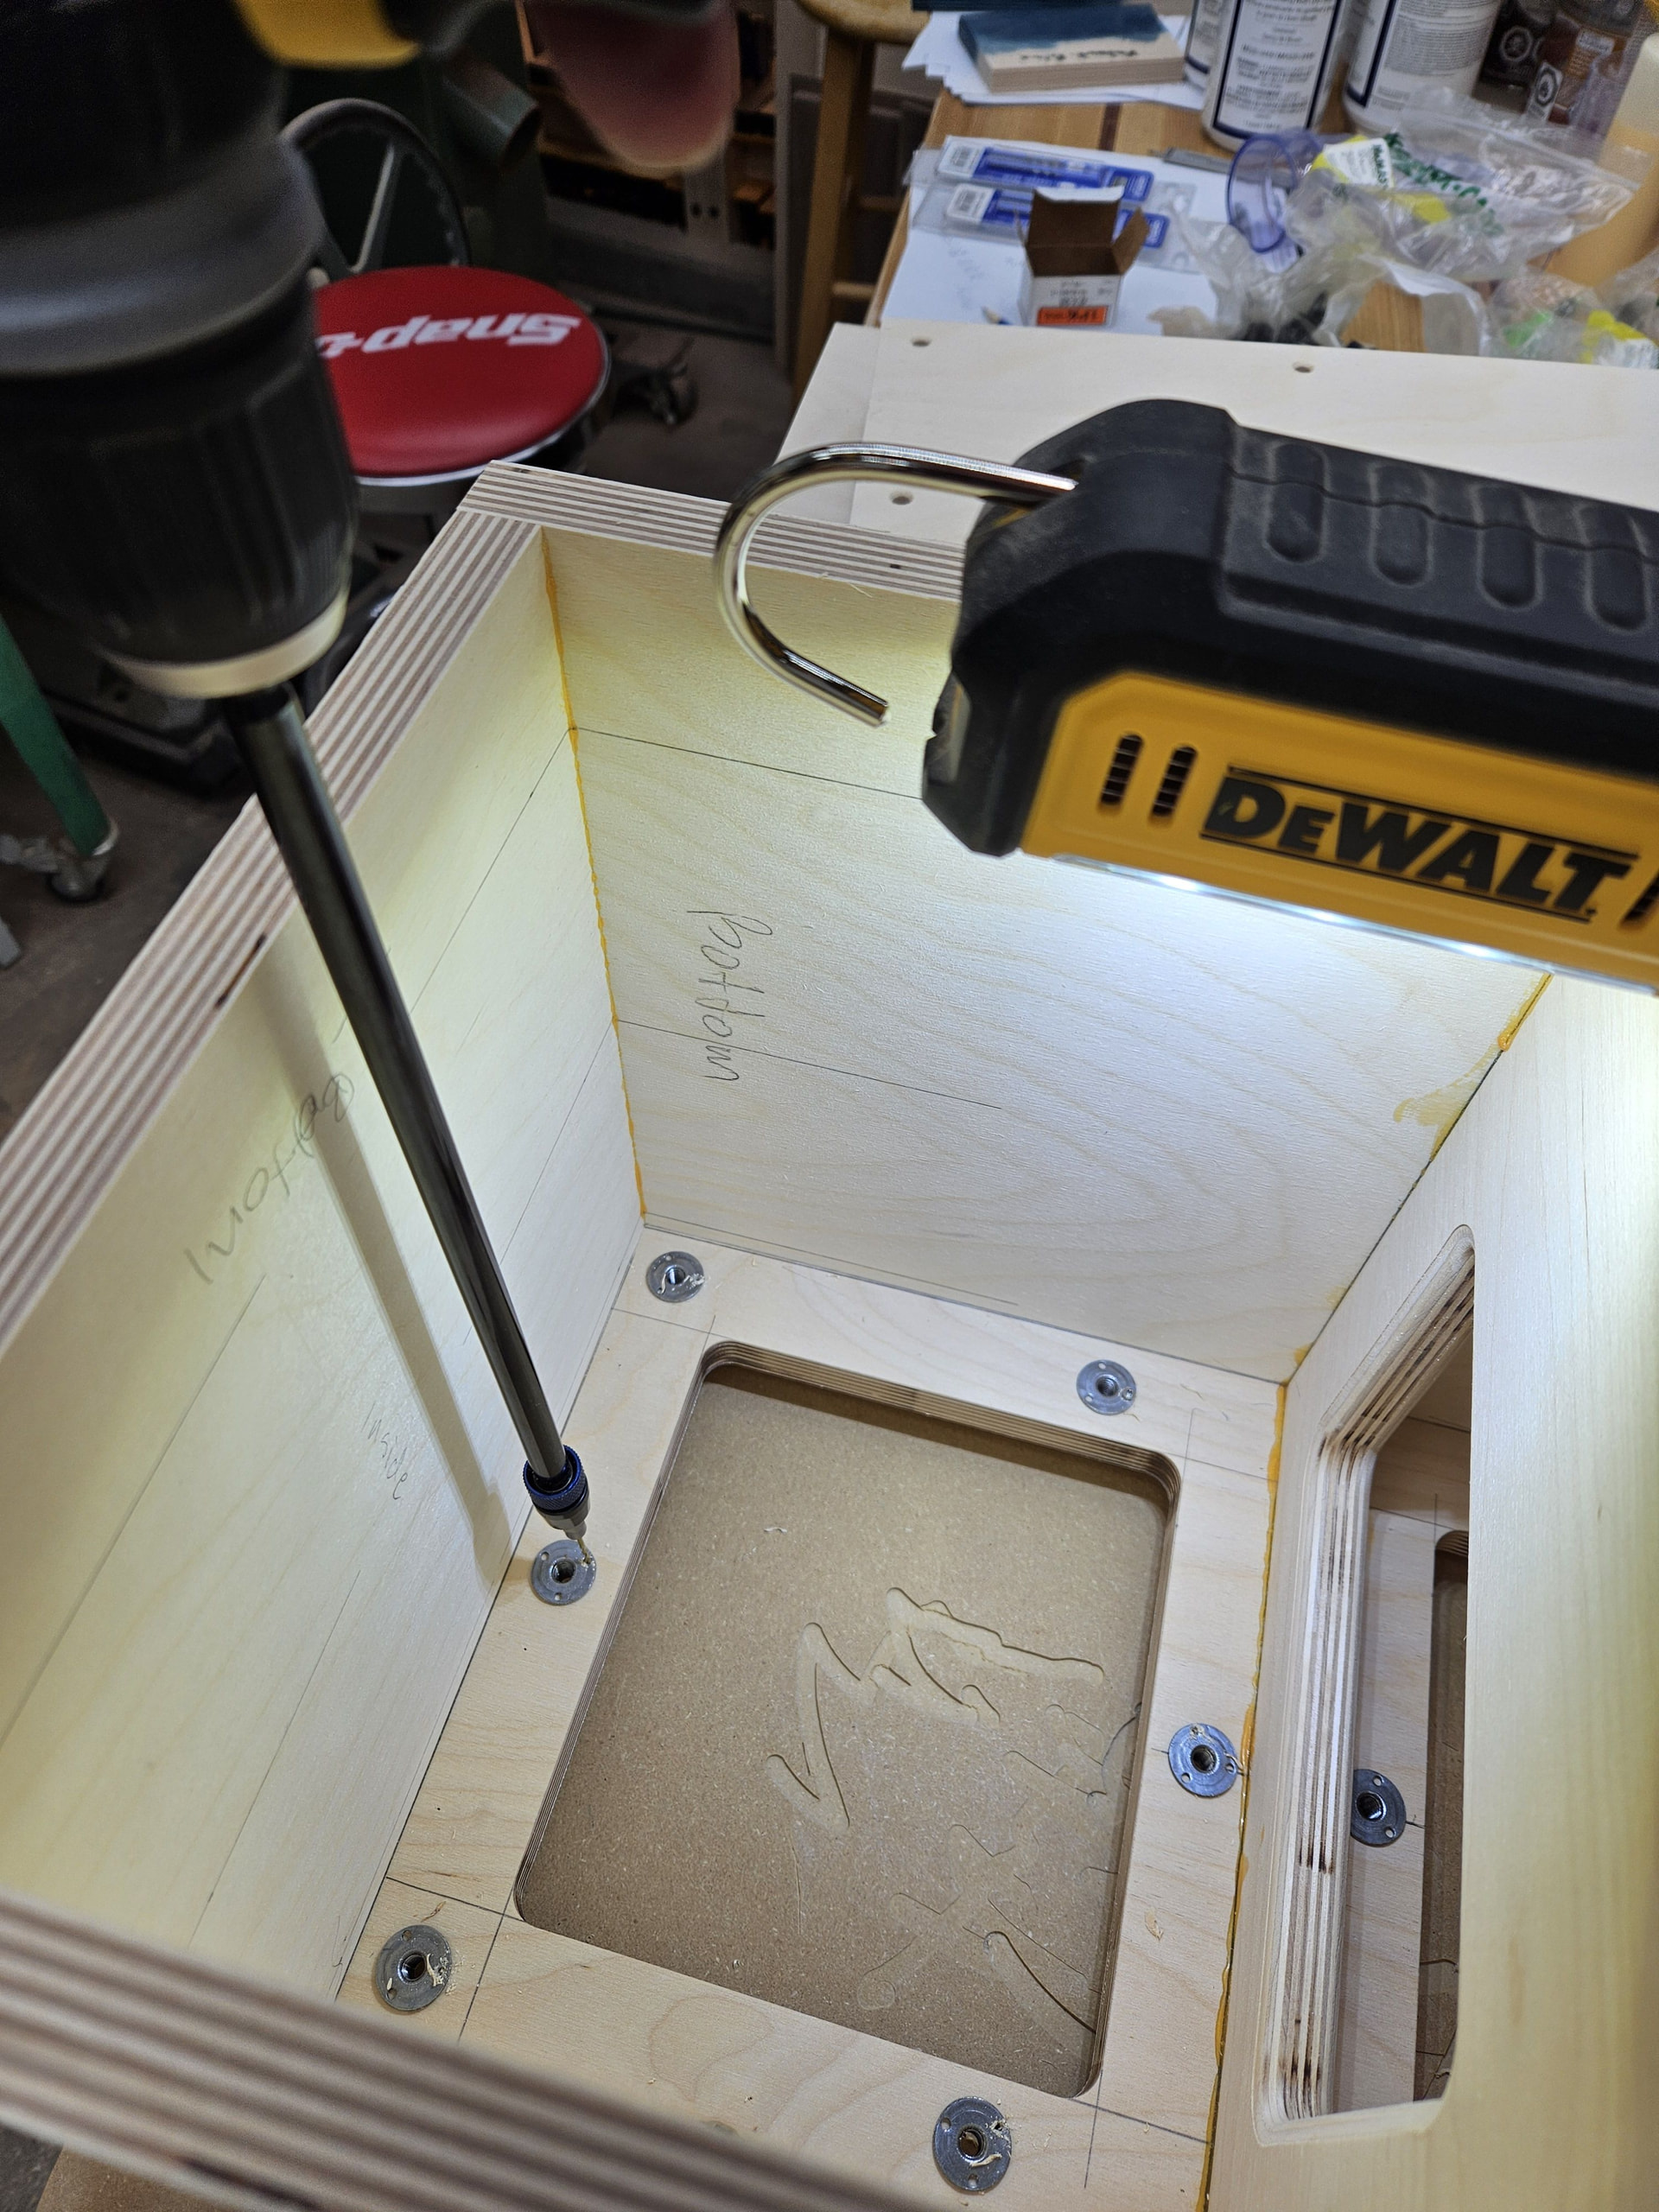
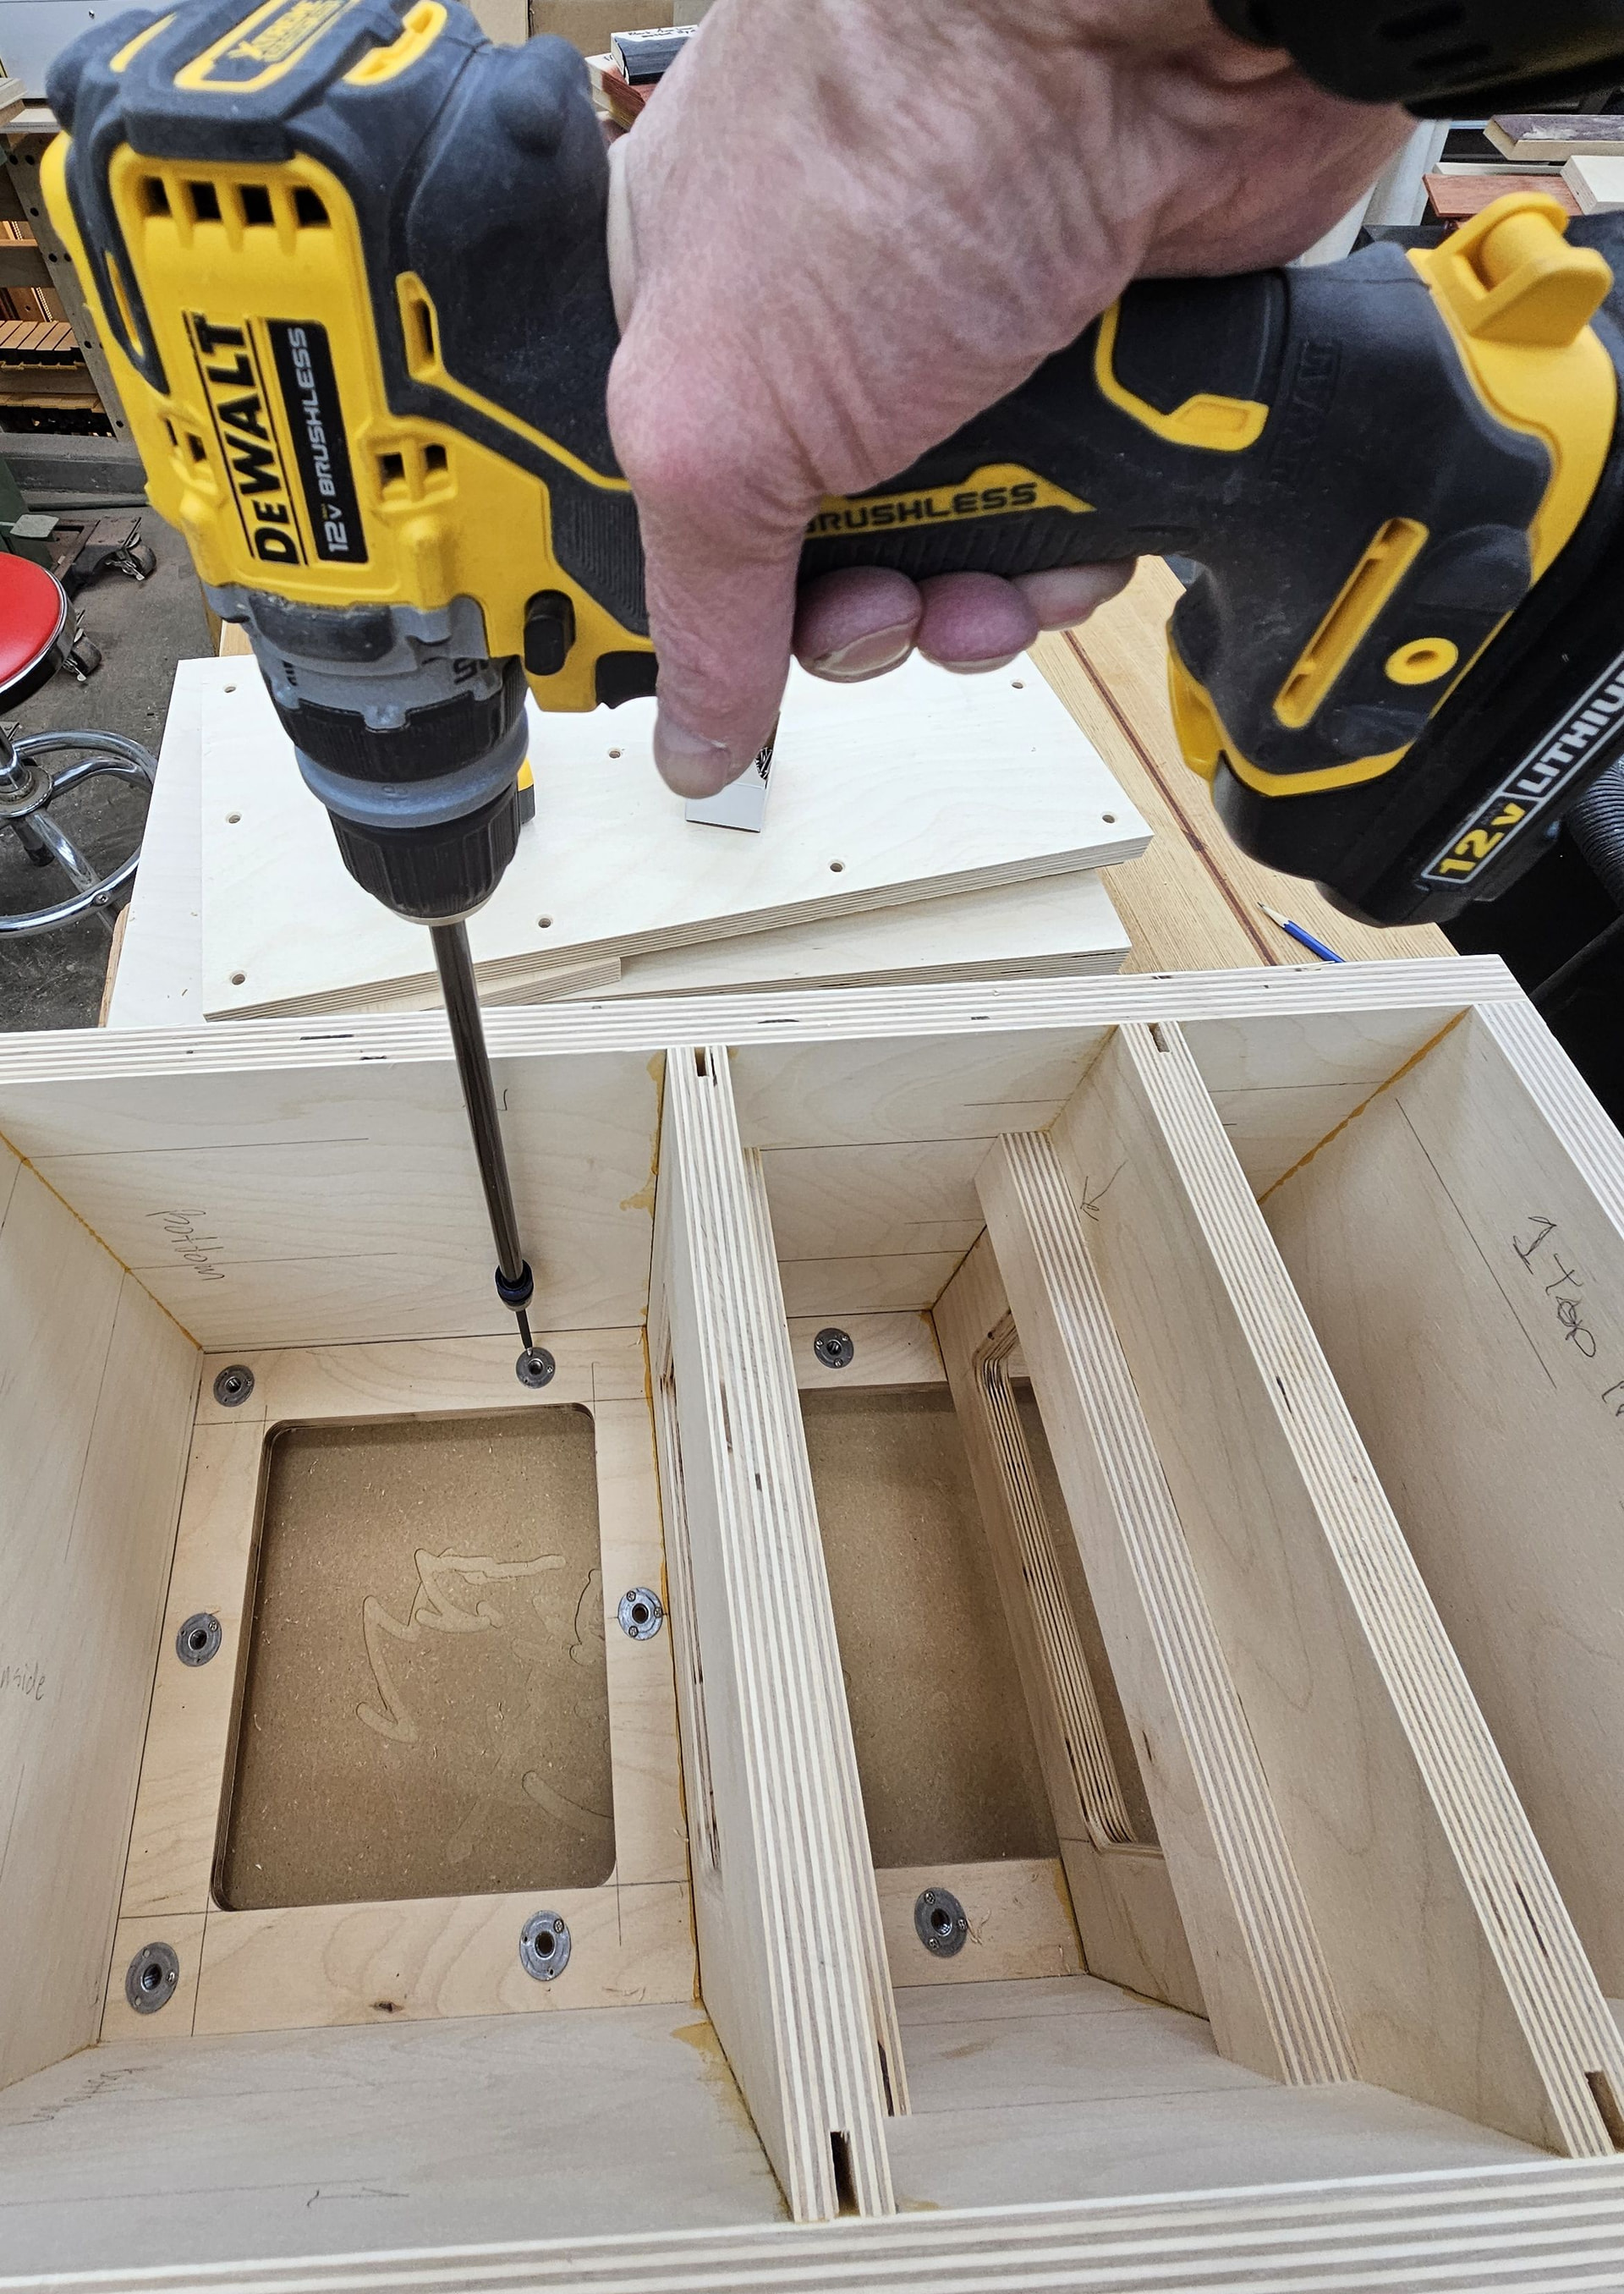
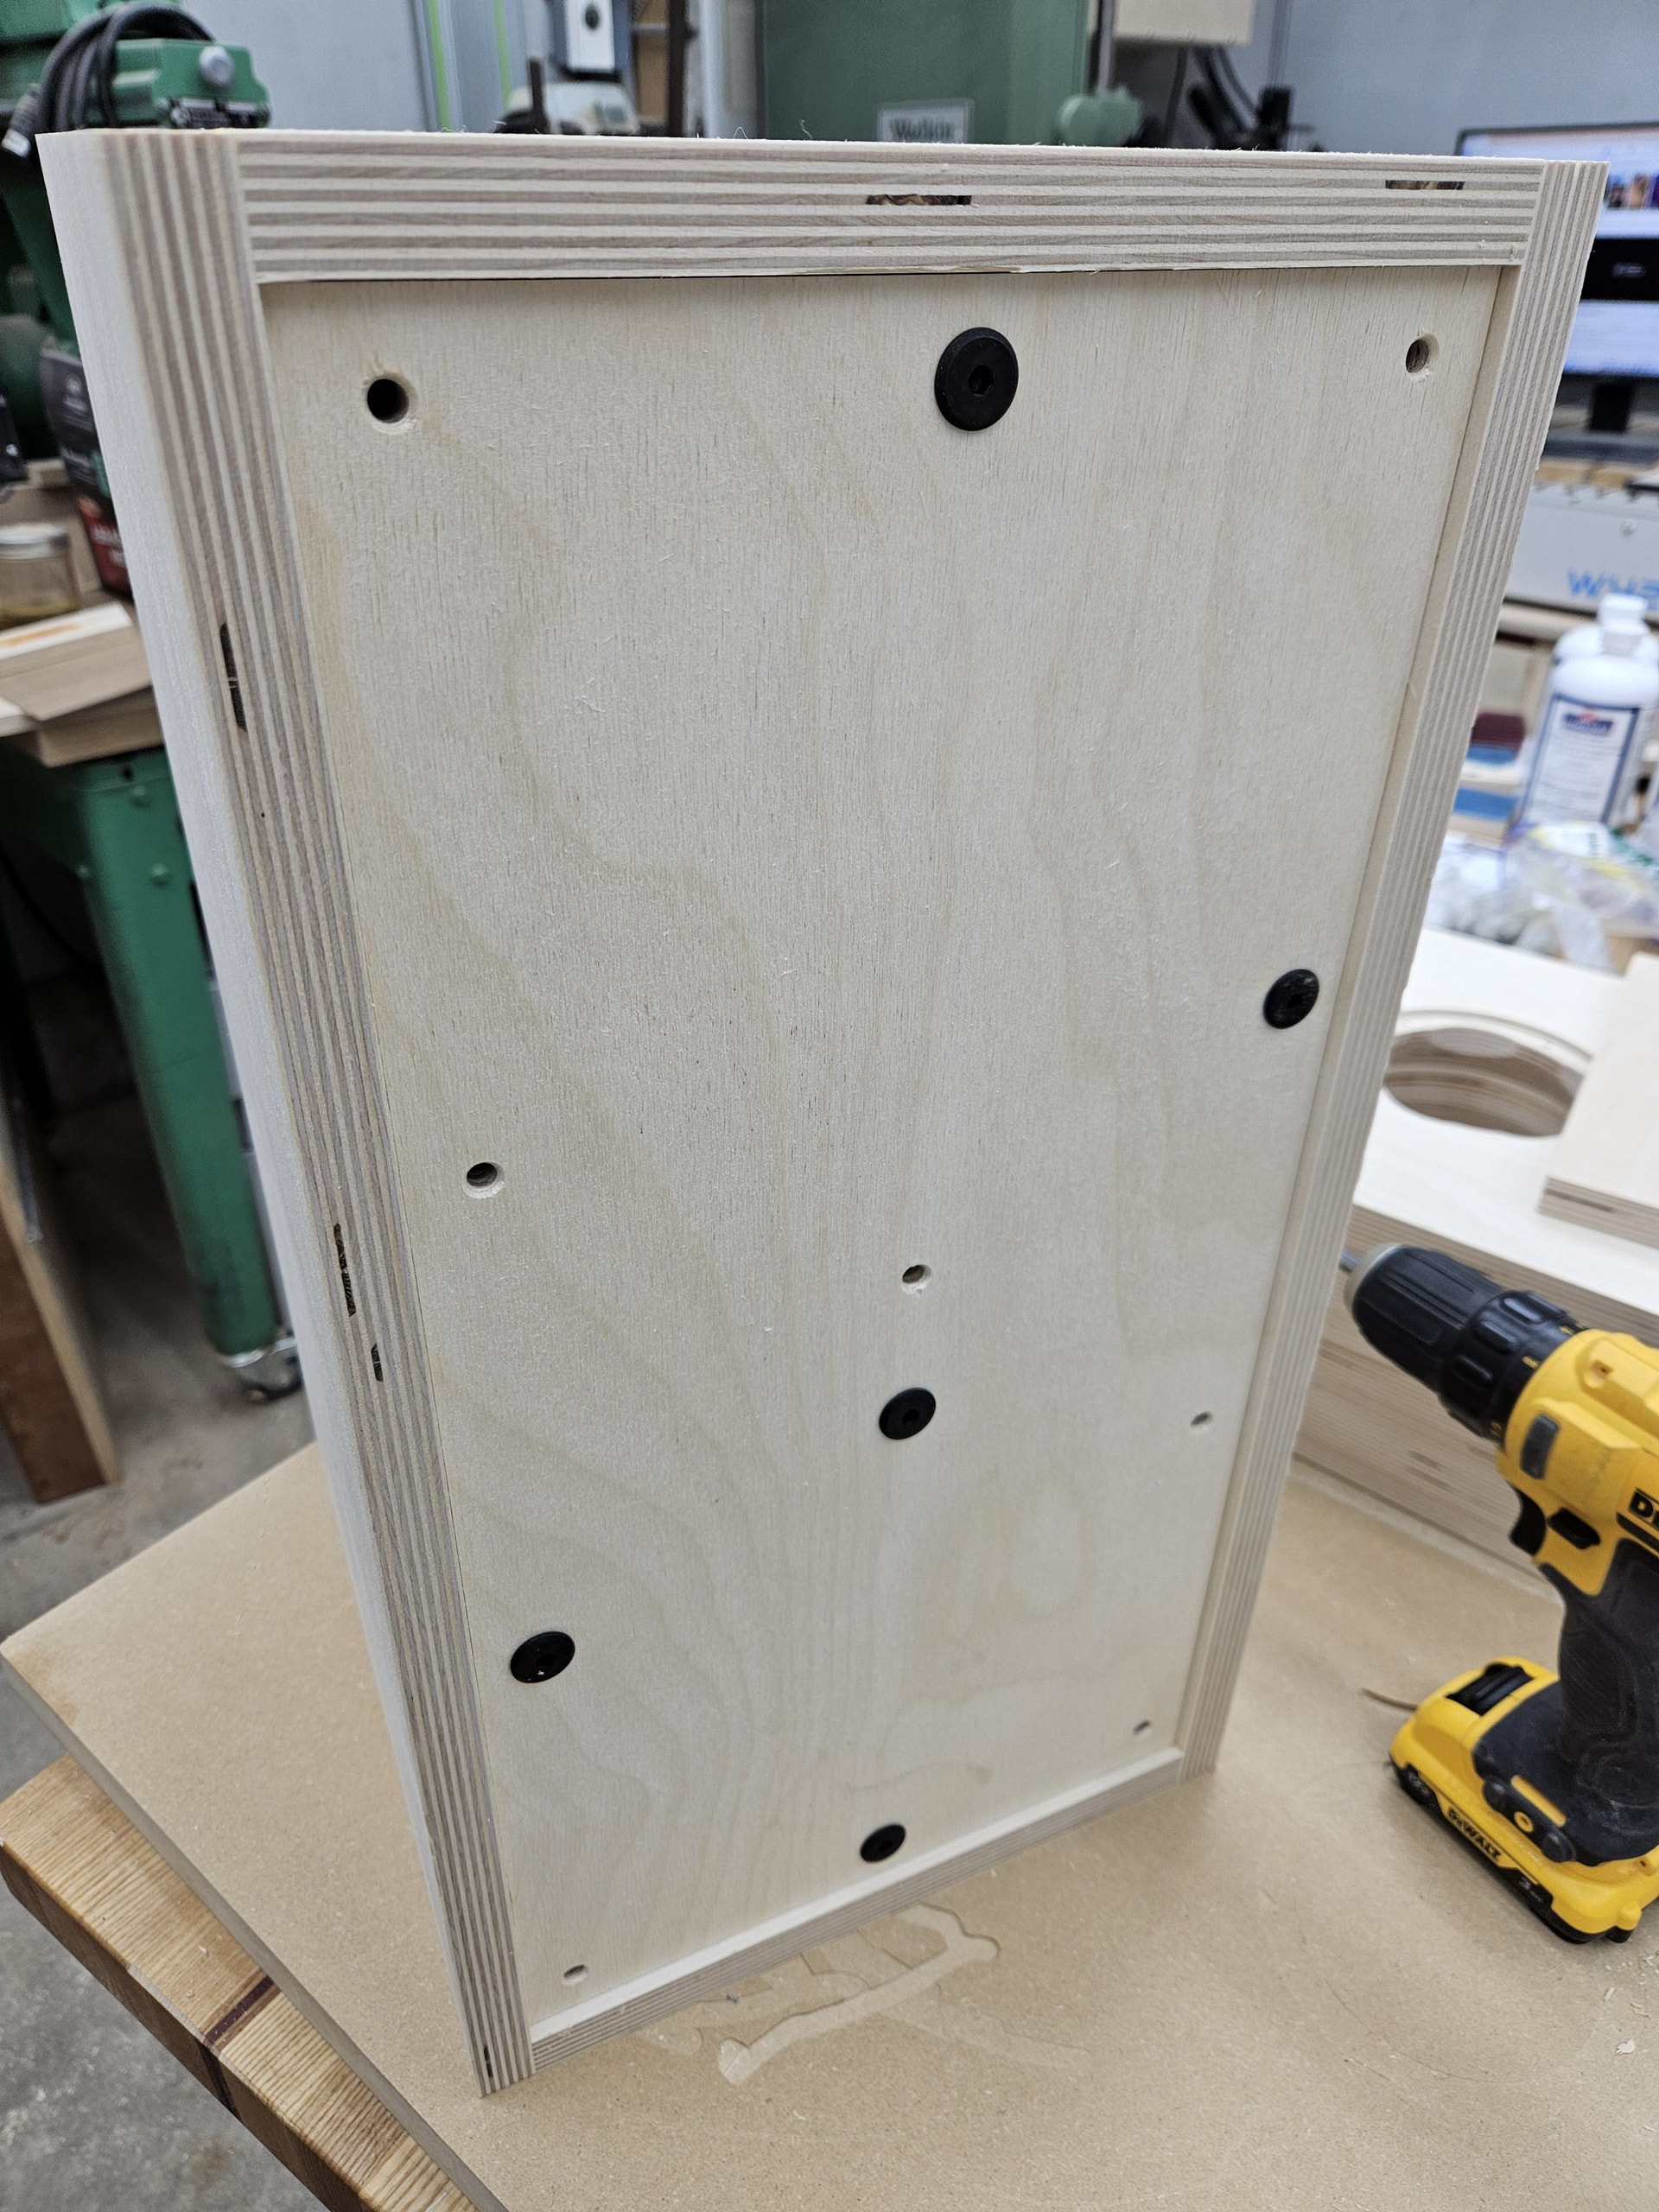
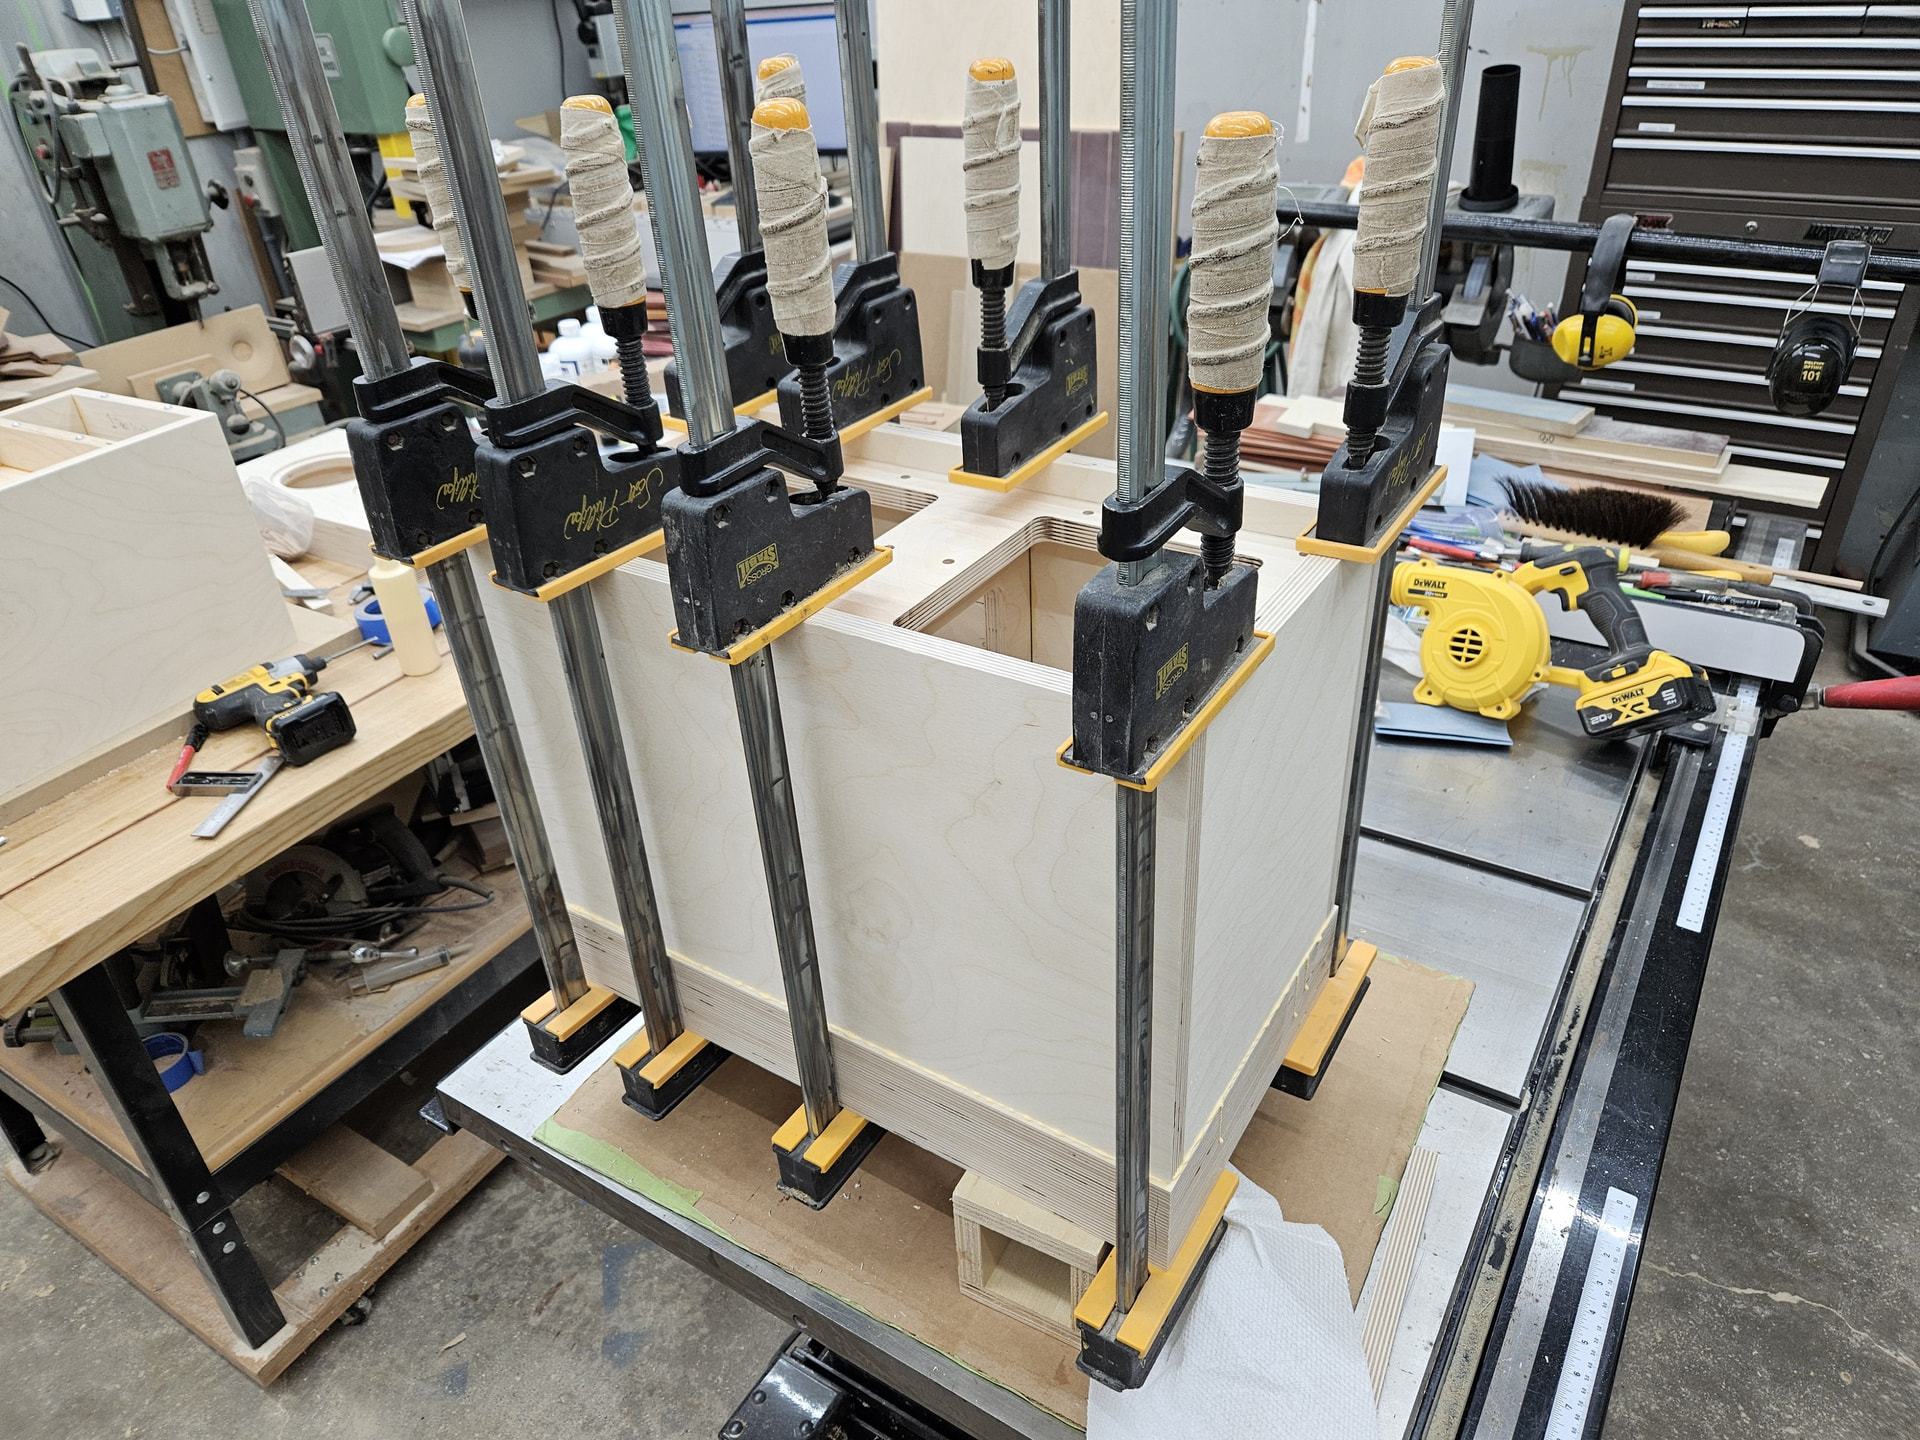
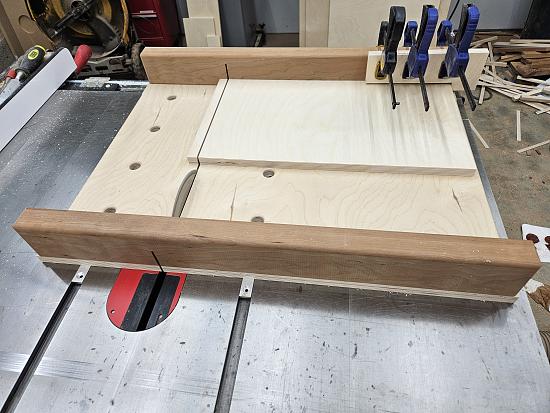
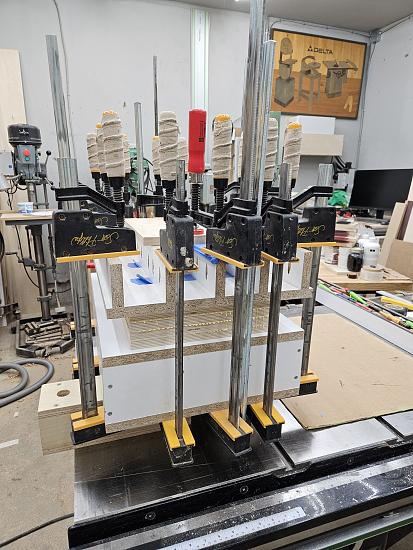
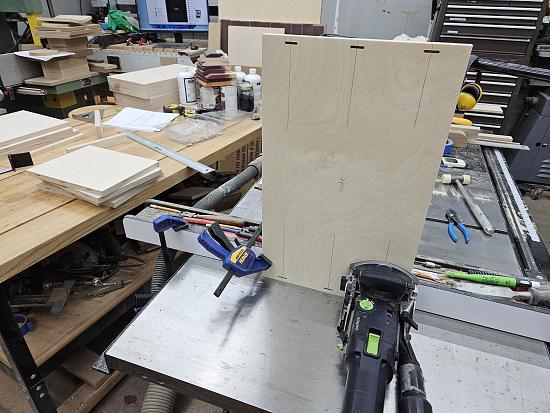
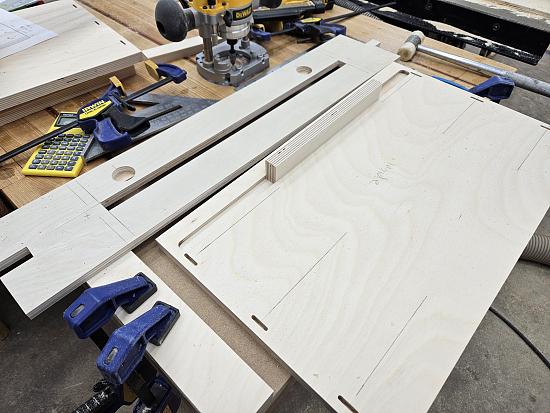
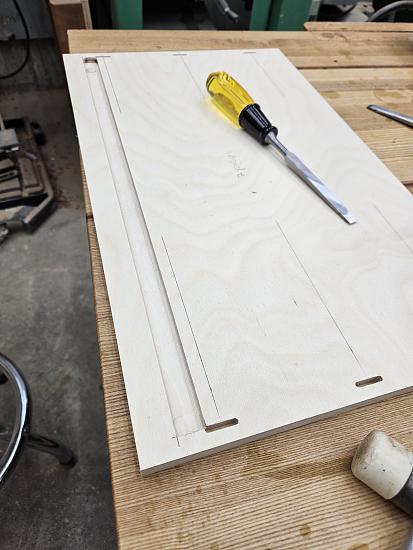
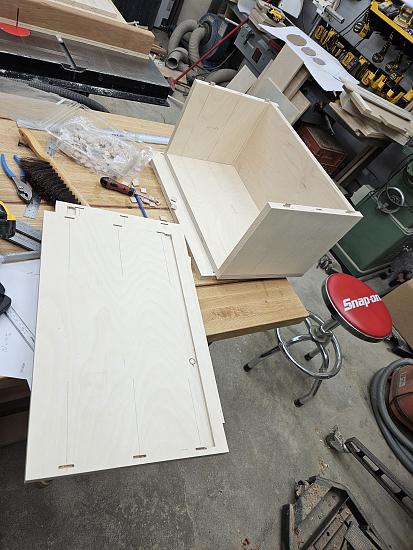
Many times in the past, I have used a locked rebate to attach the top/bottom to the sides to make glue up easier, but I didn’t want the joist visable on the back if it came out sloppy so I used the Domino to join them instead.

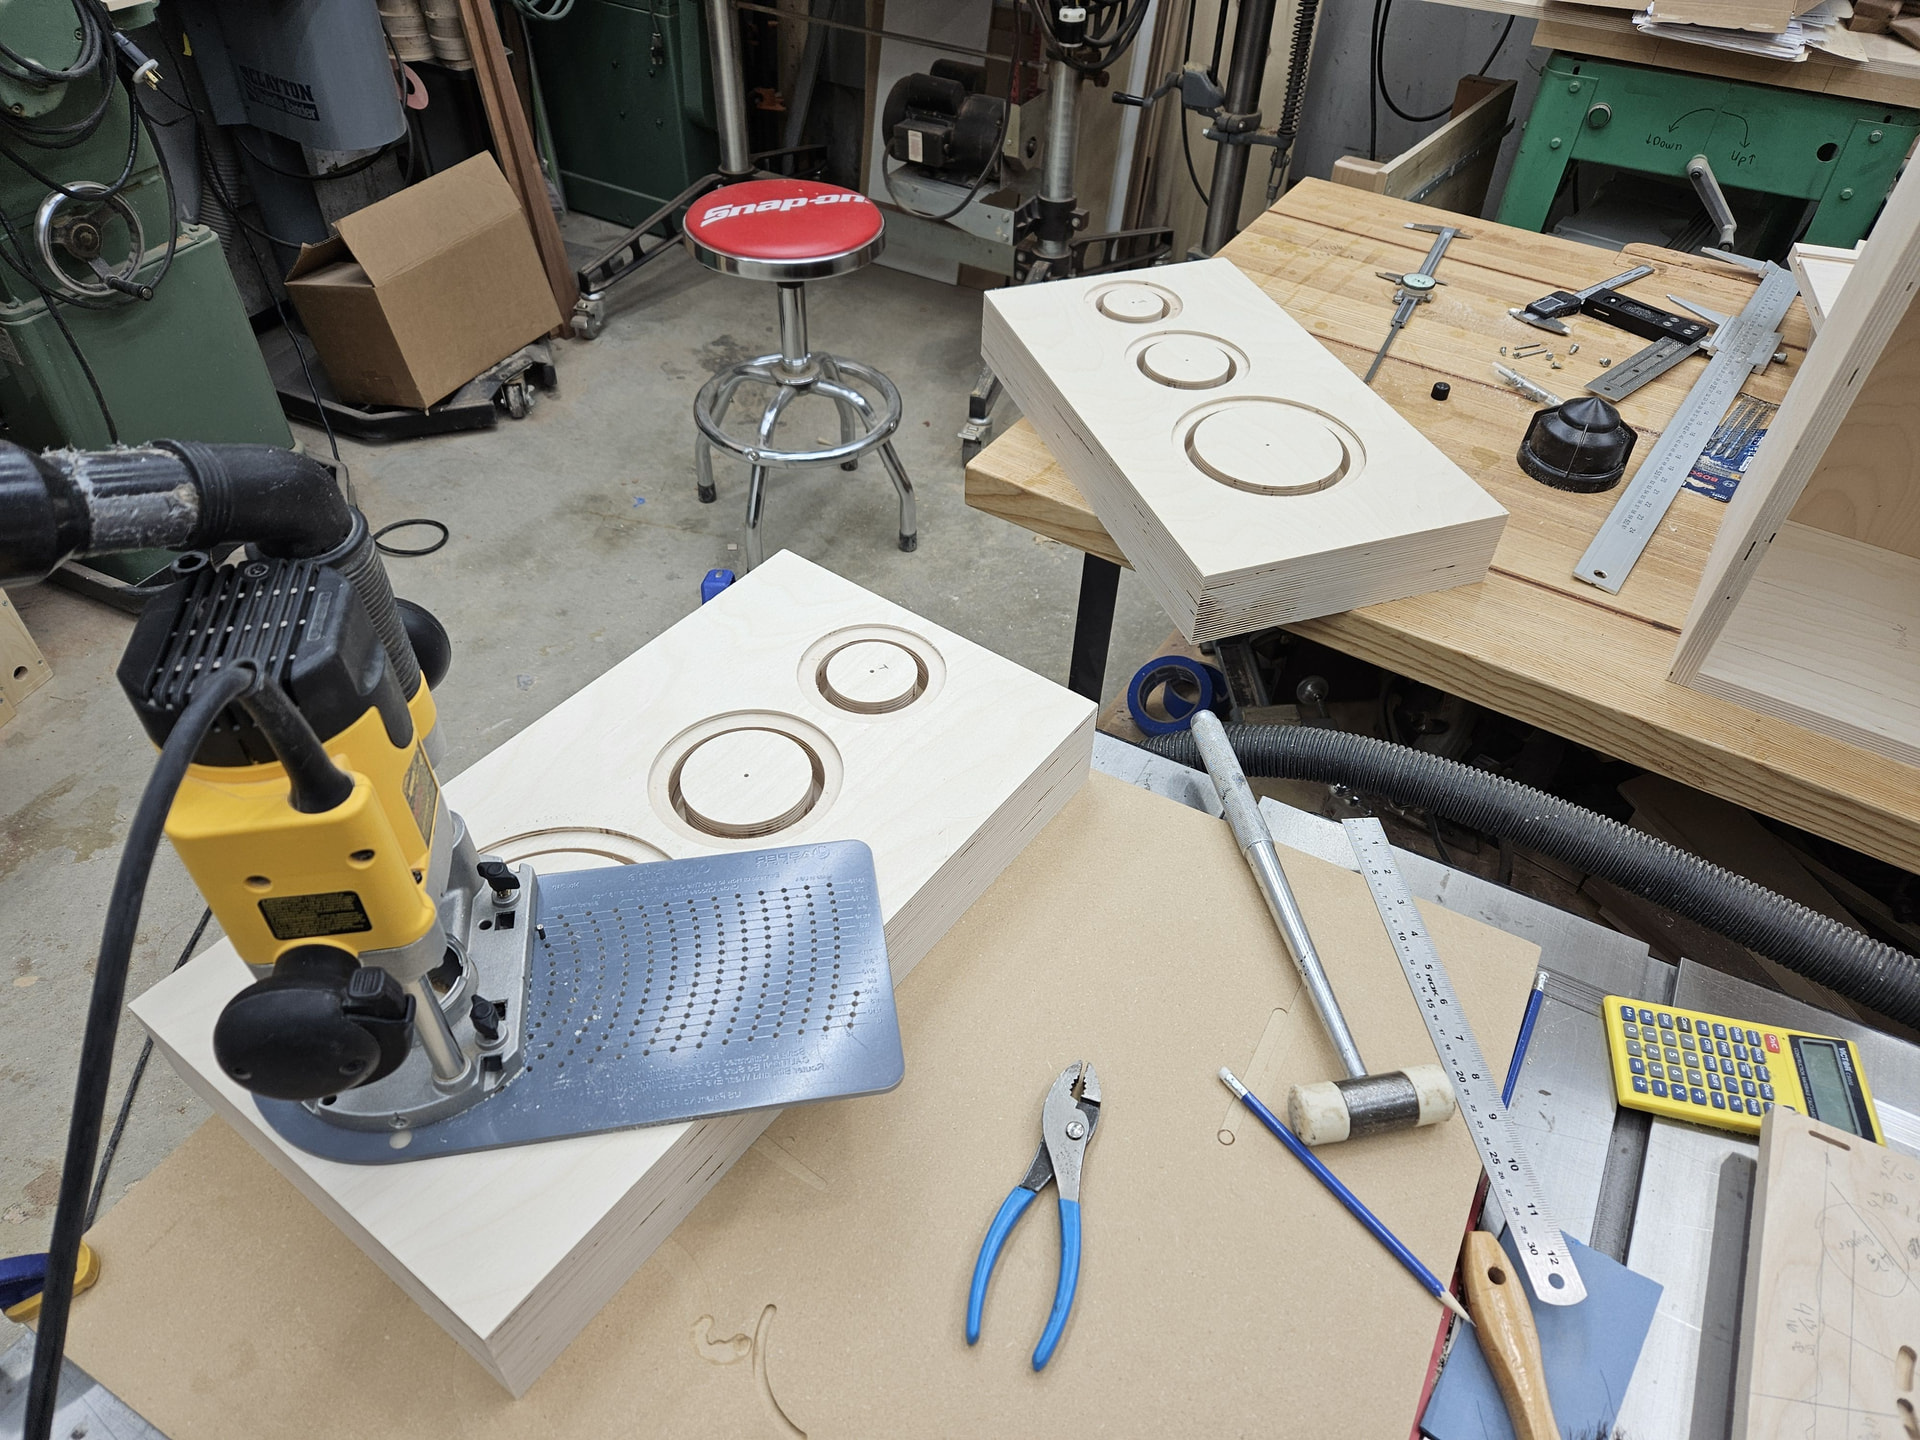
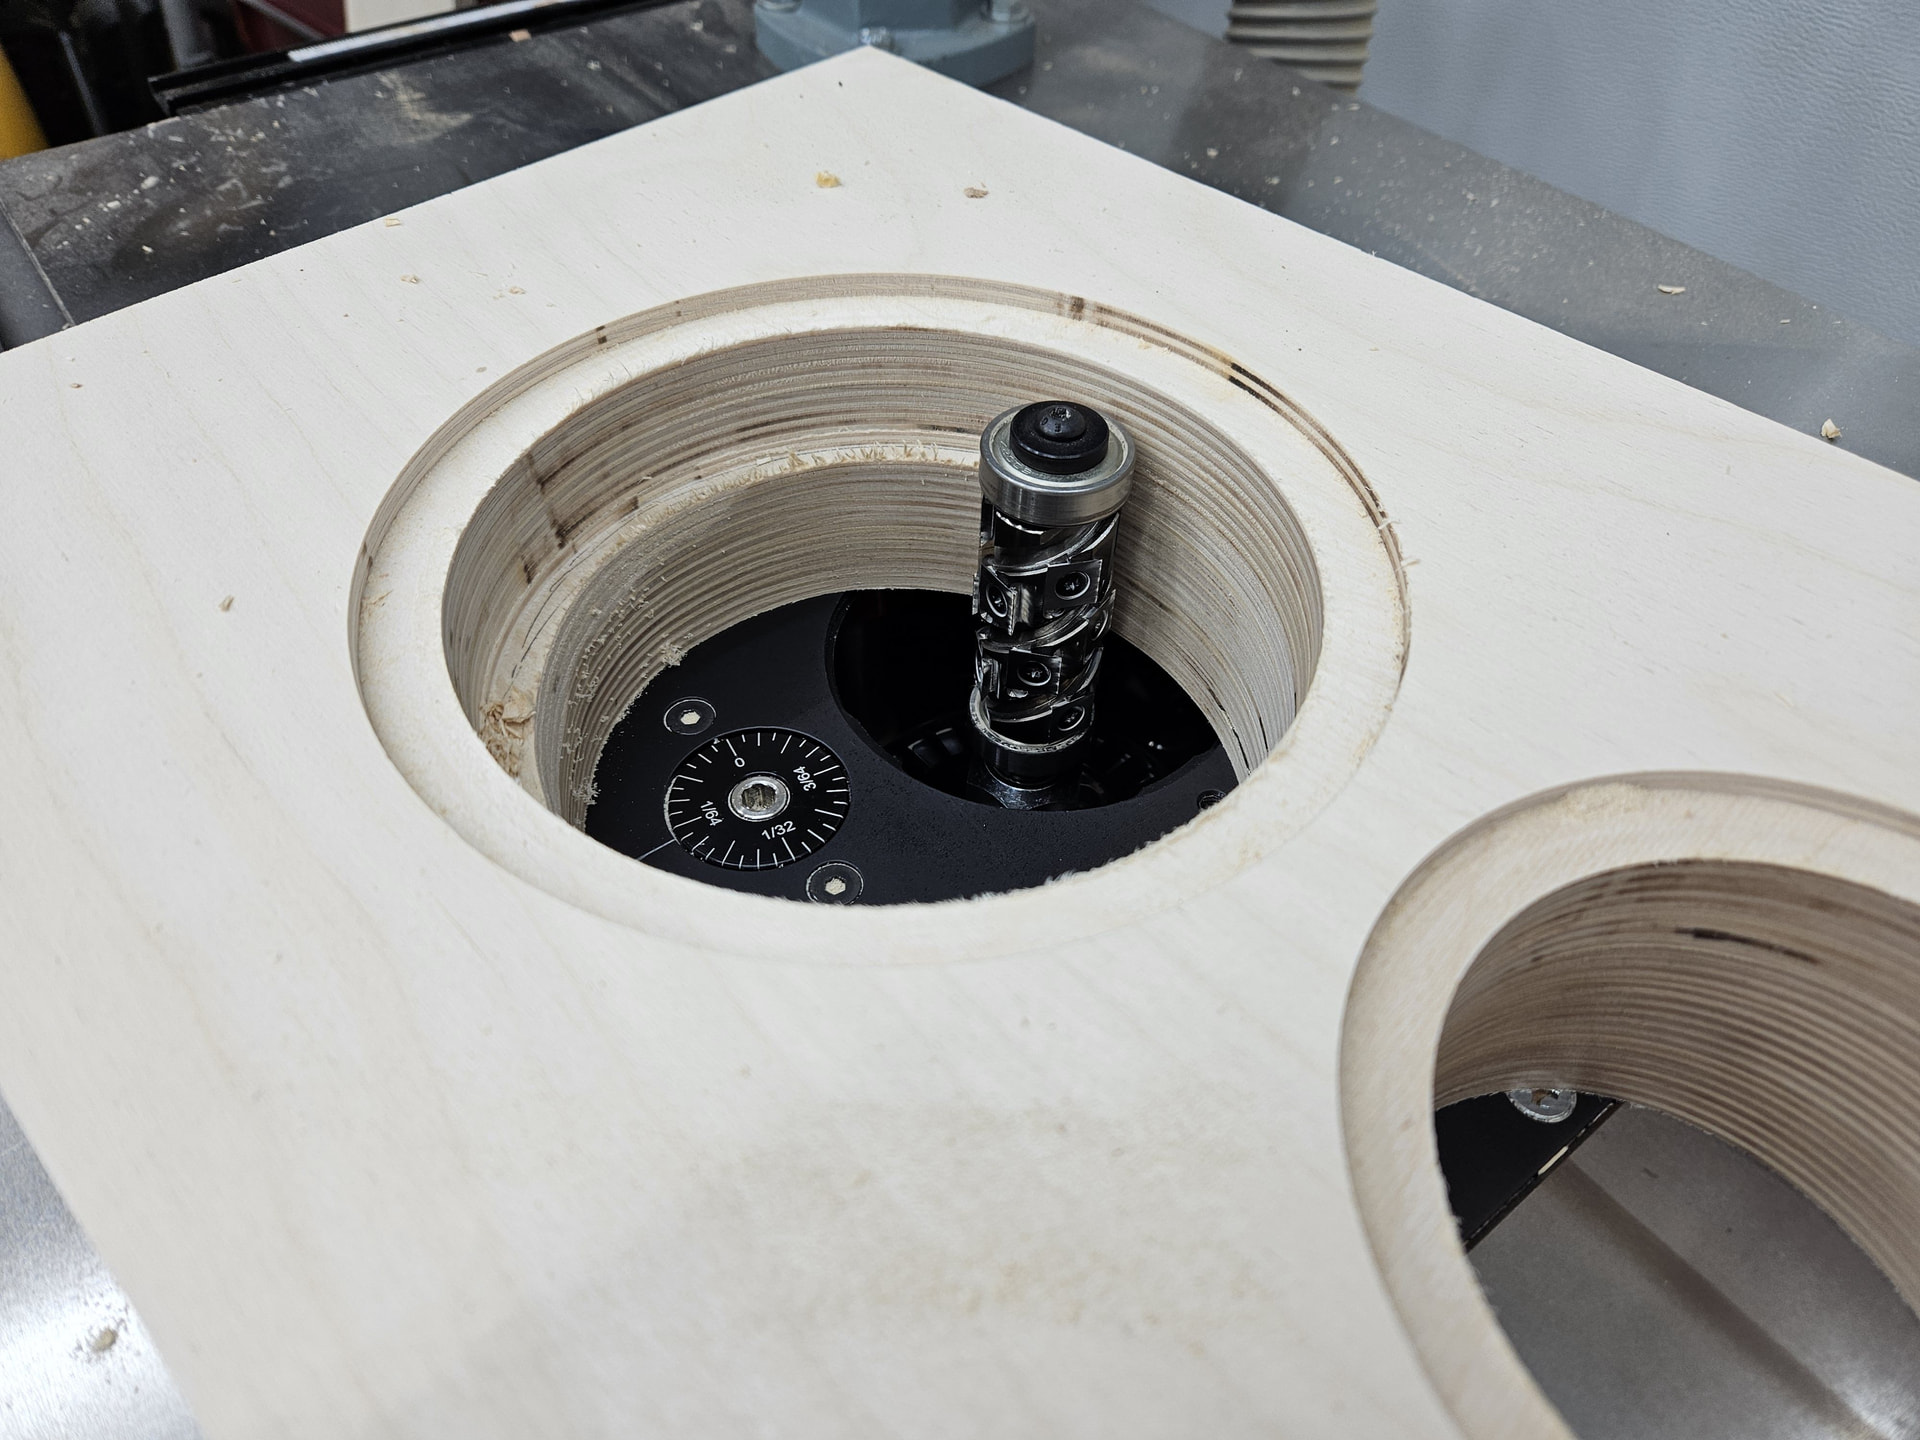
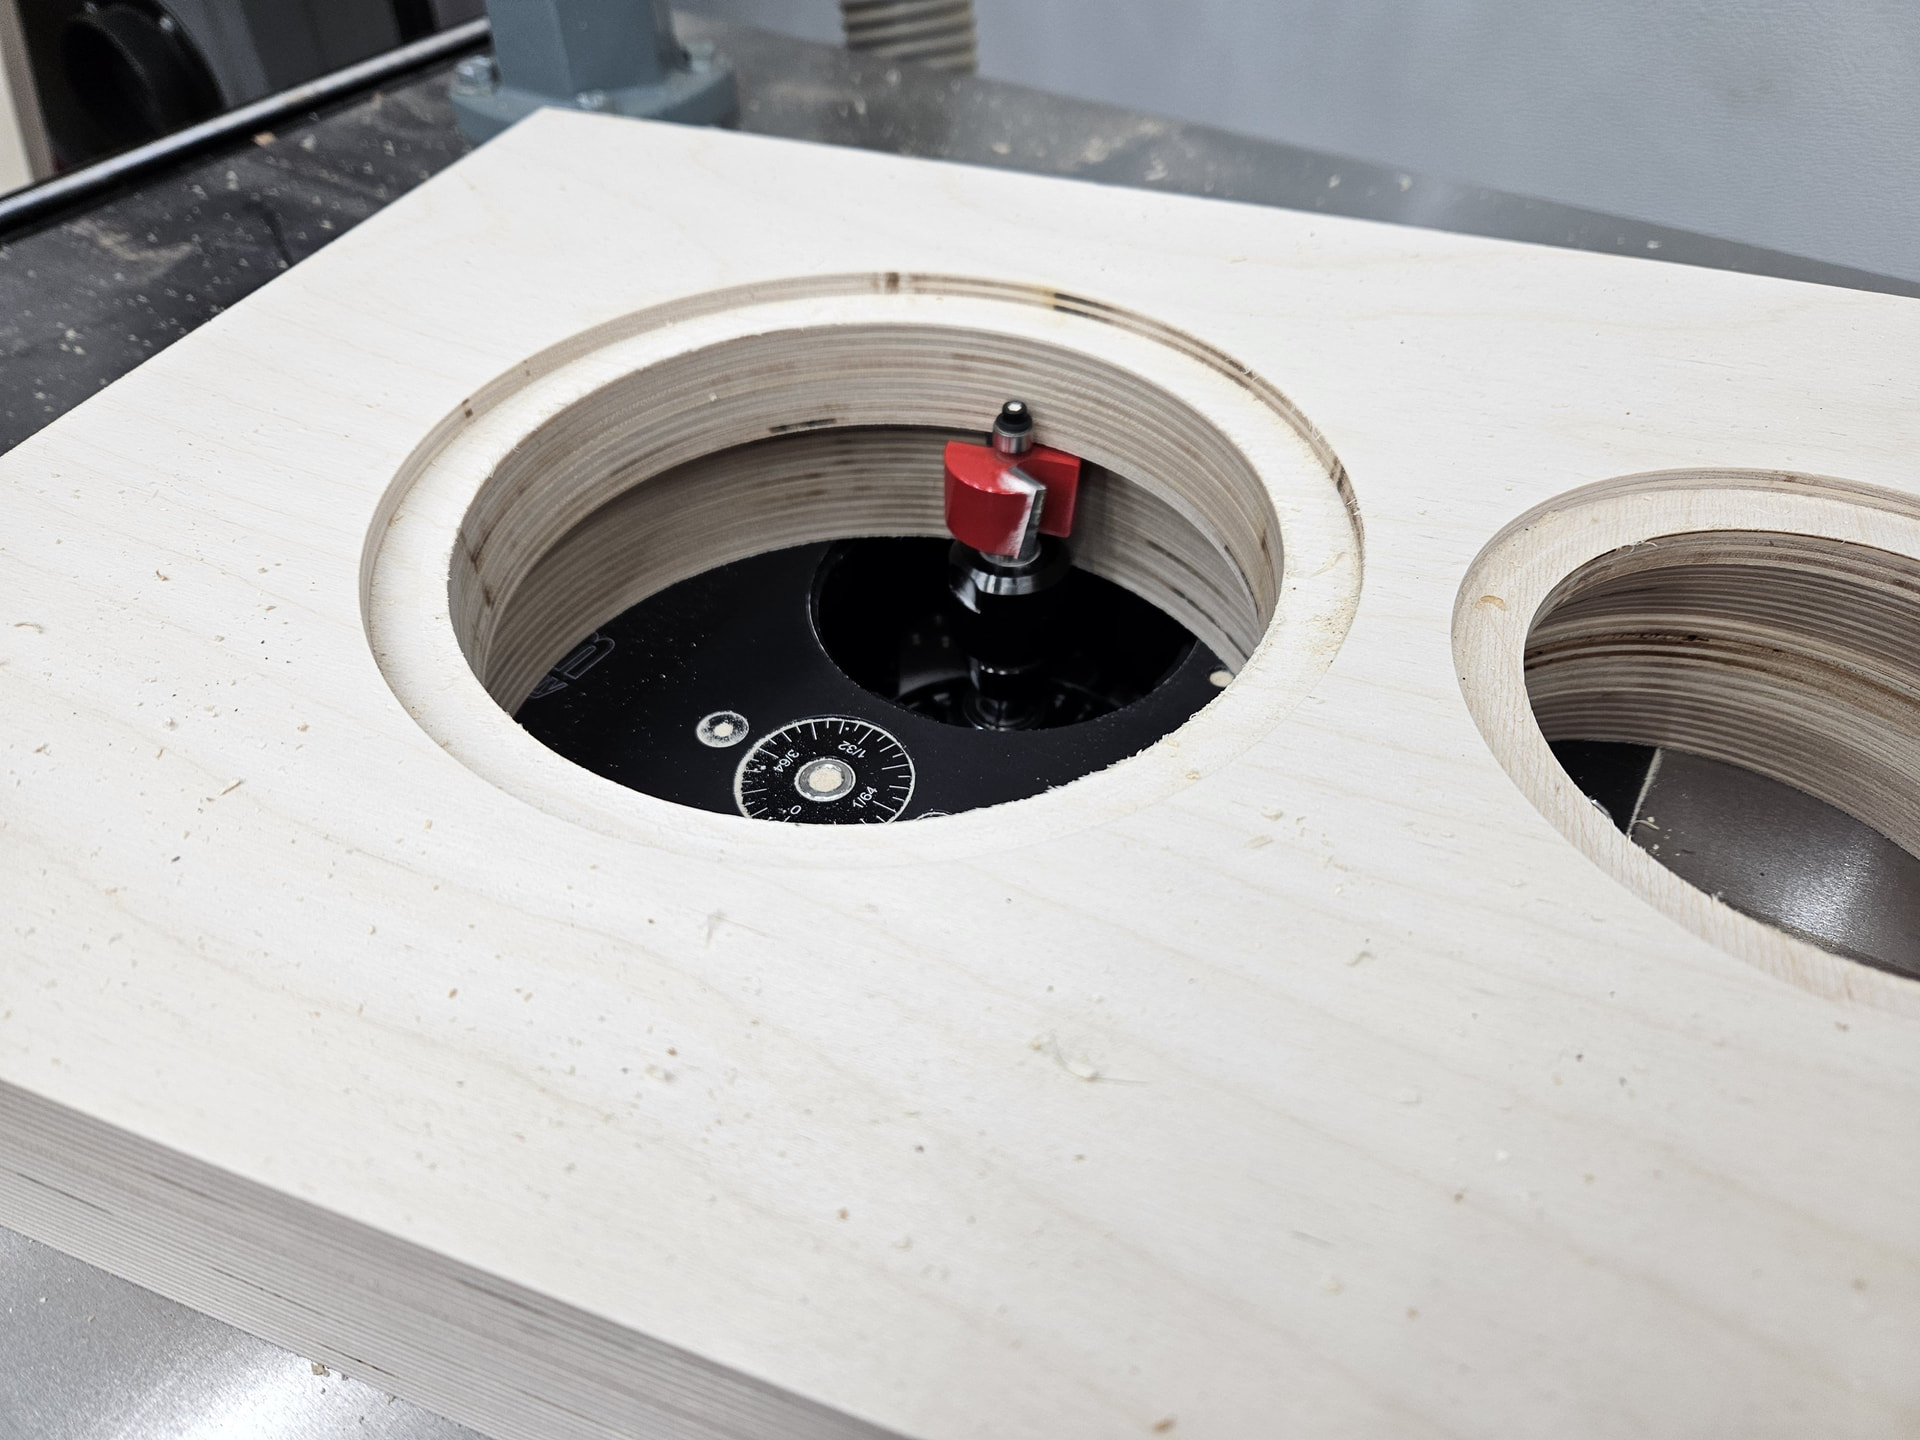
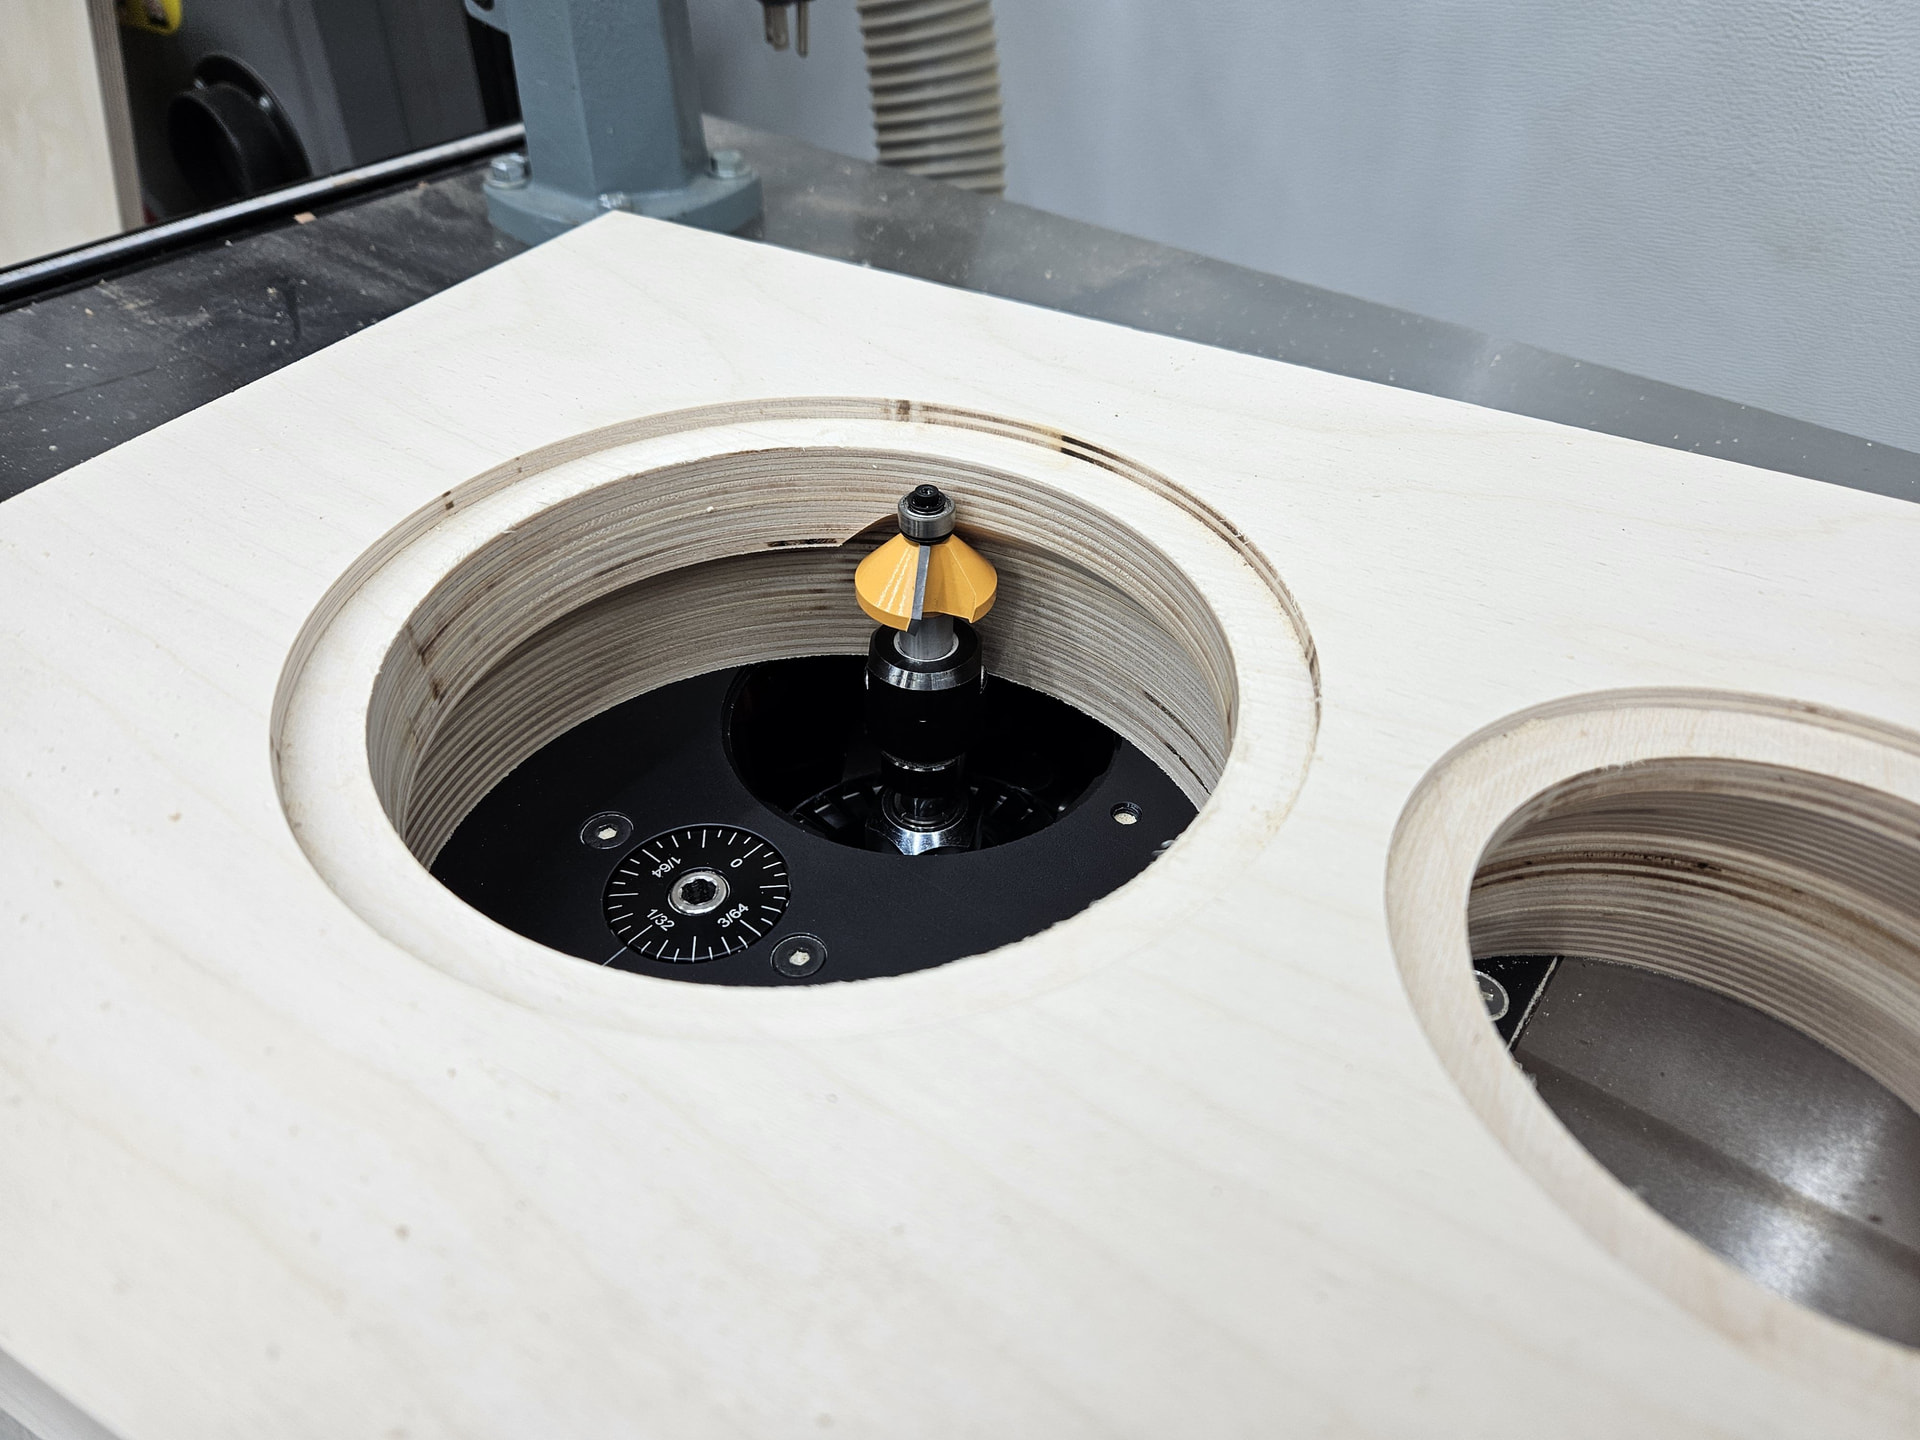
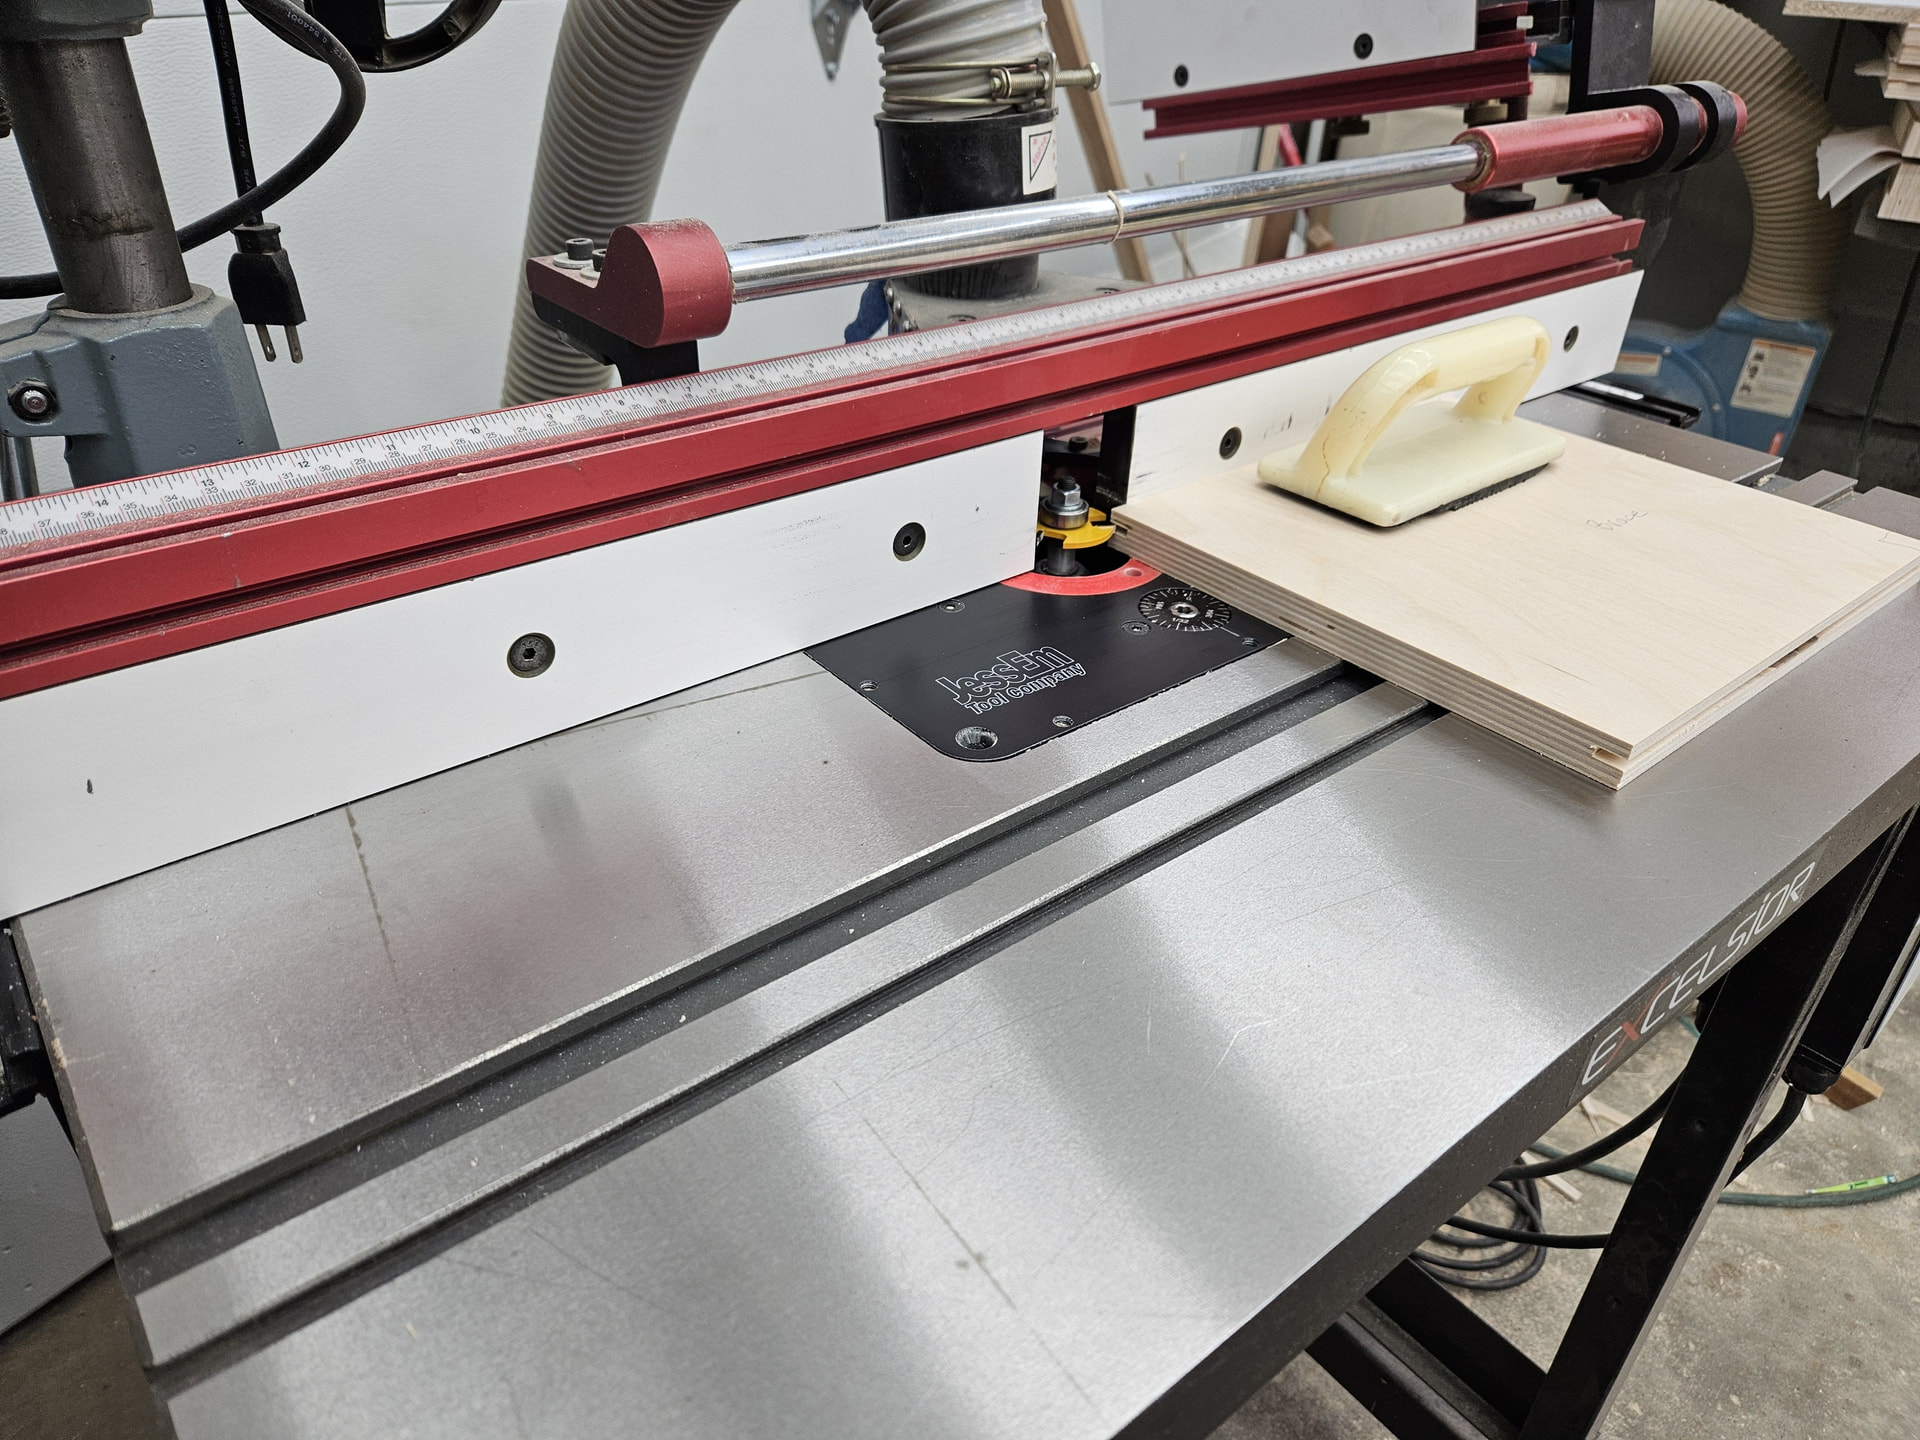
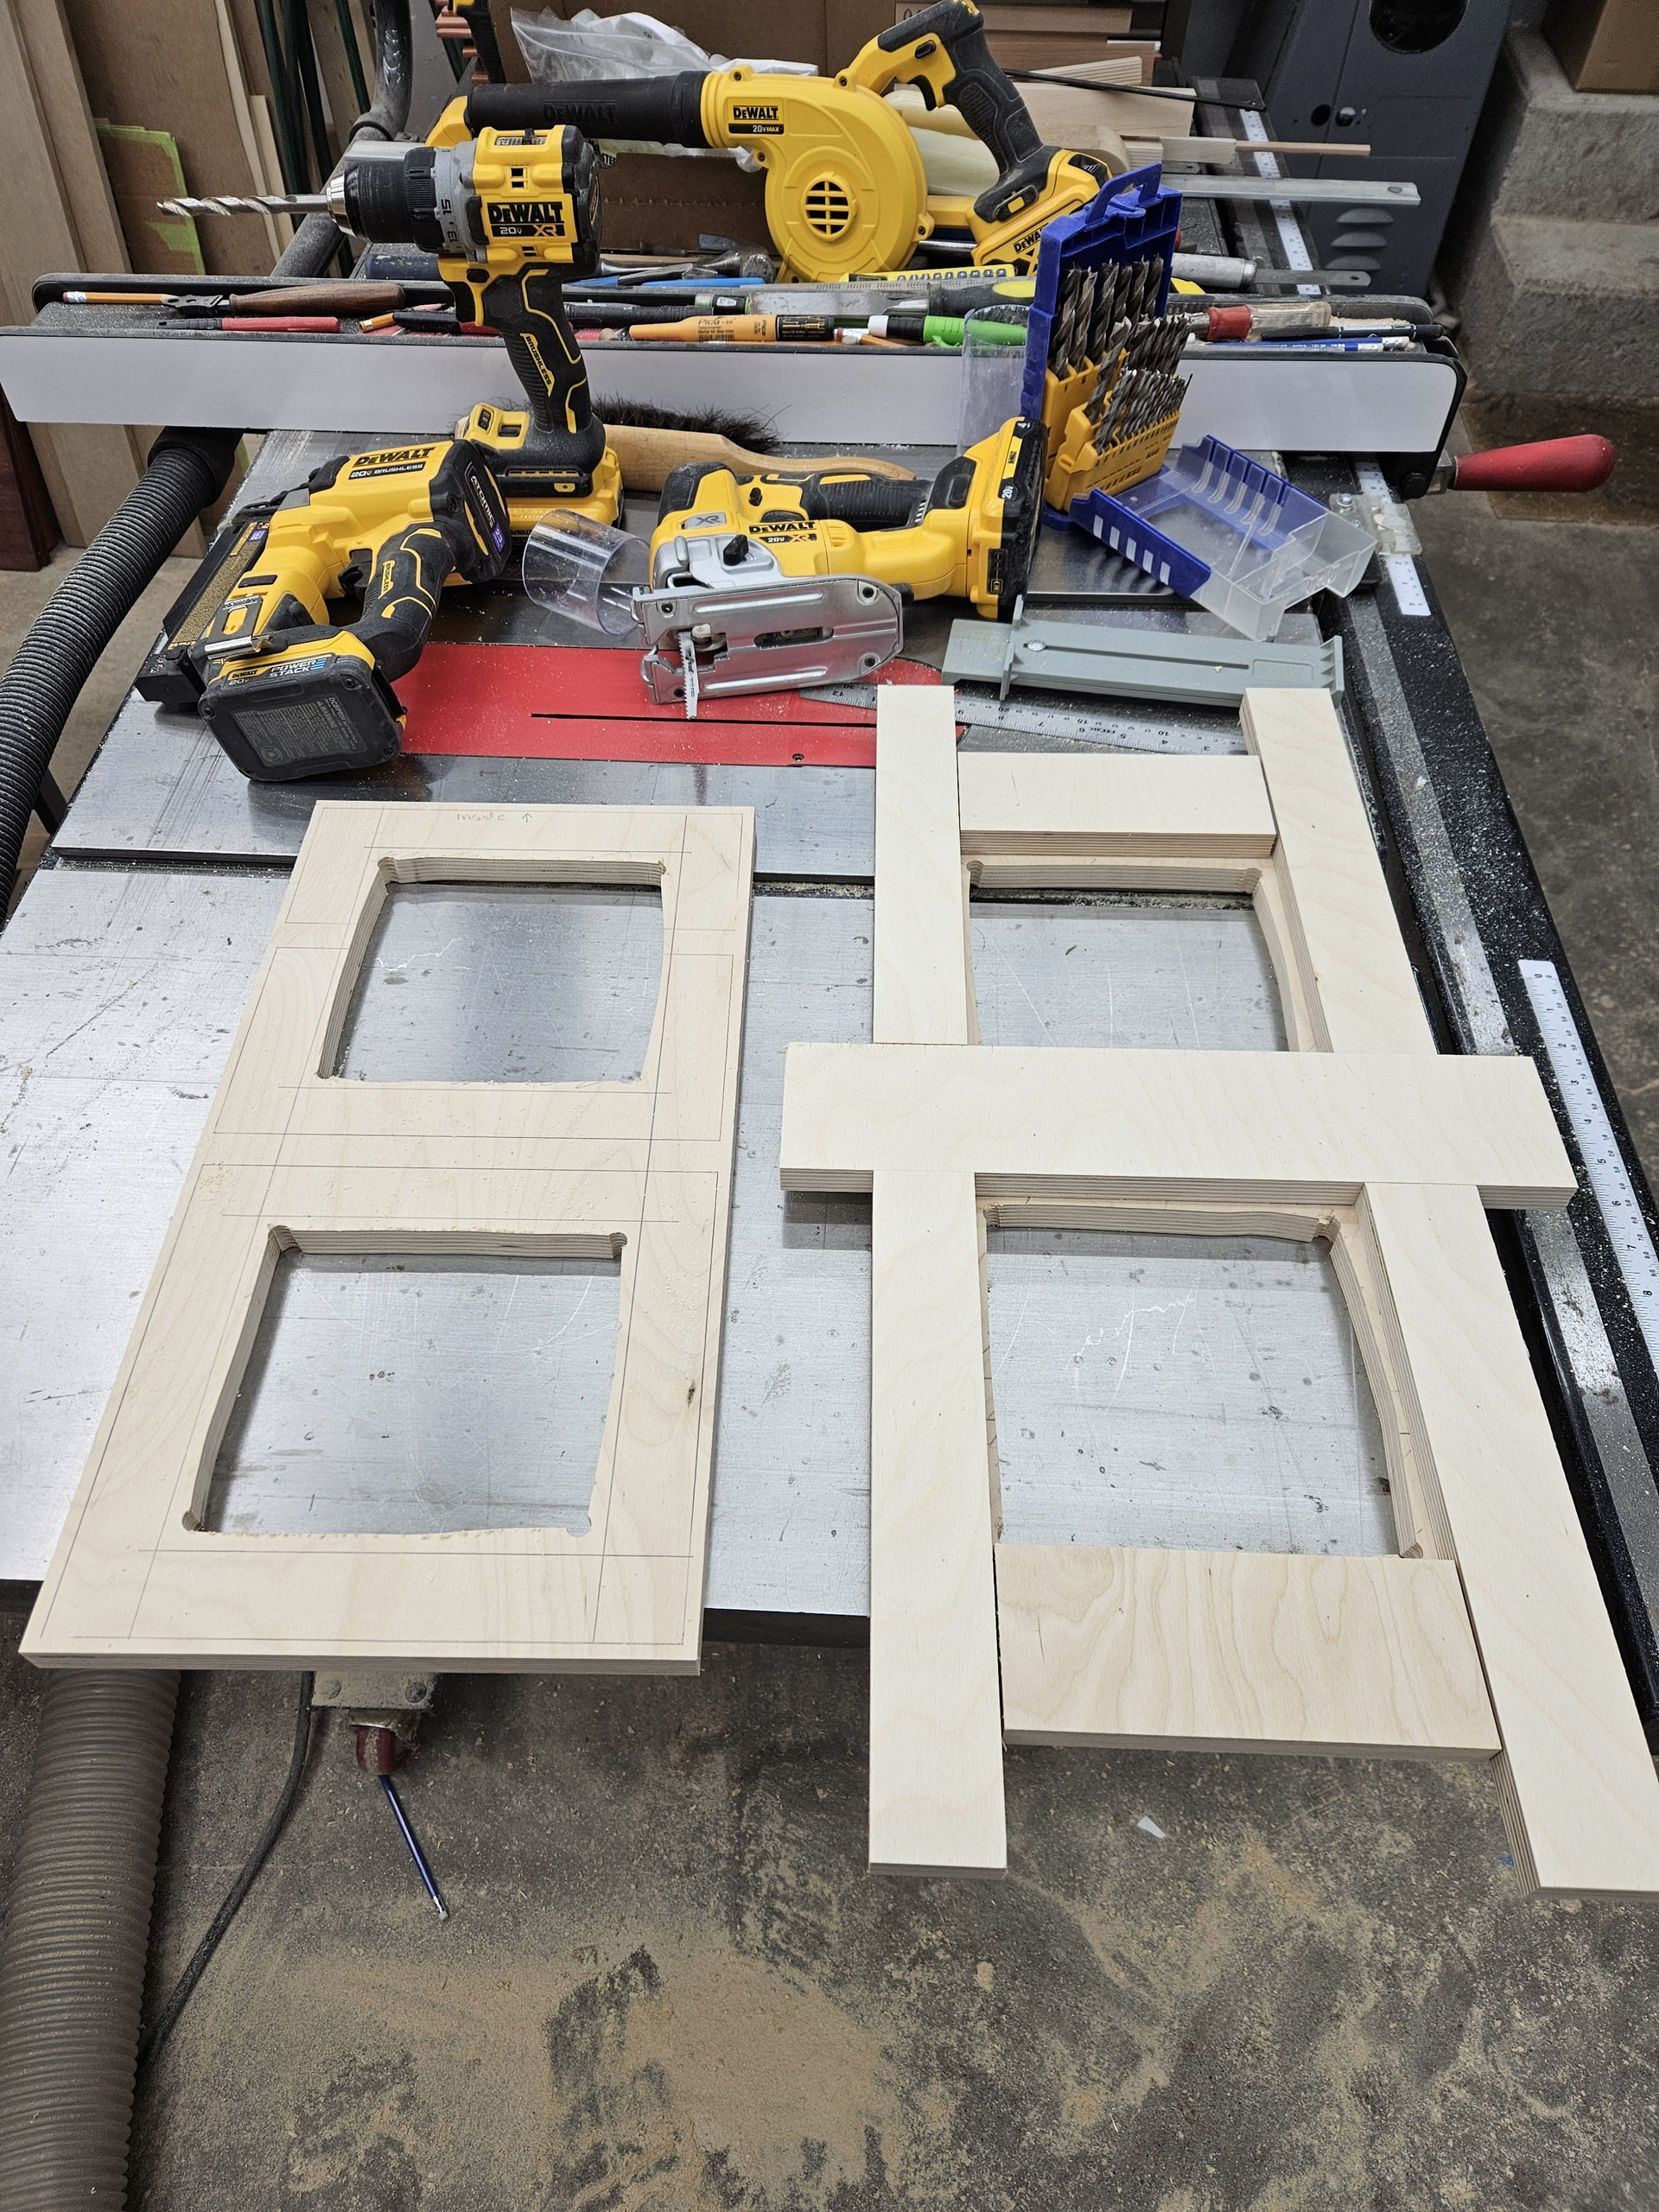
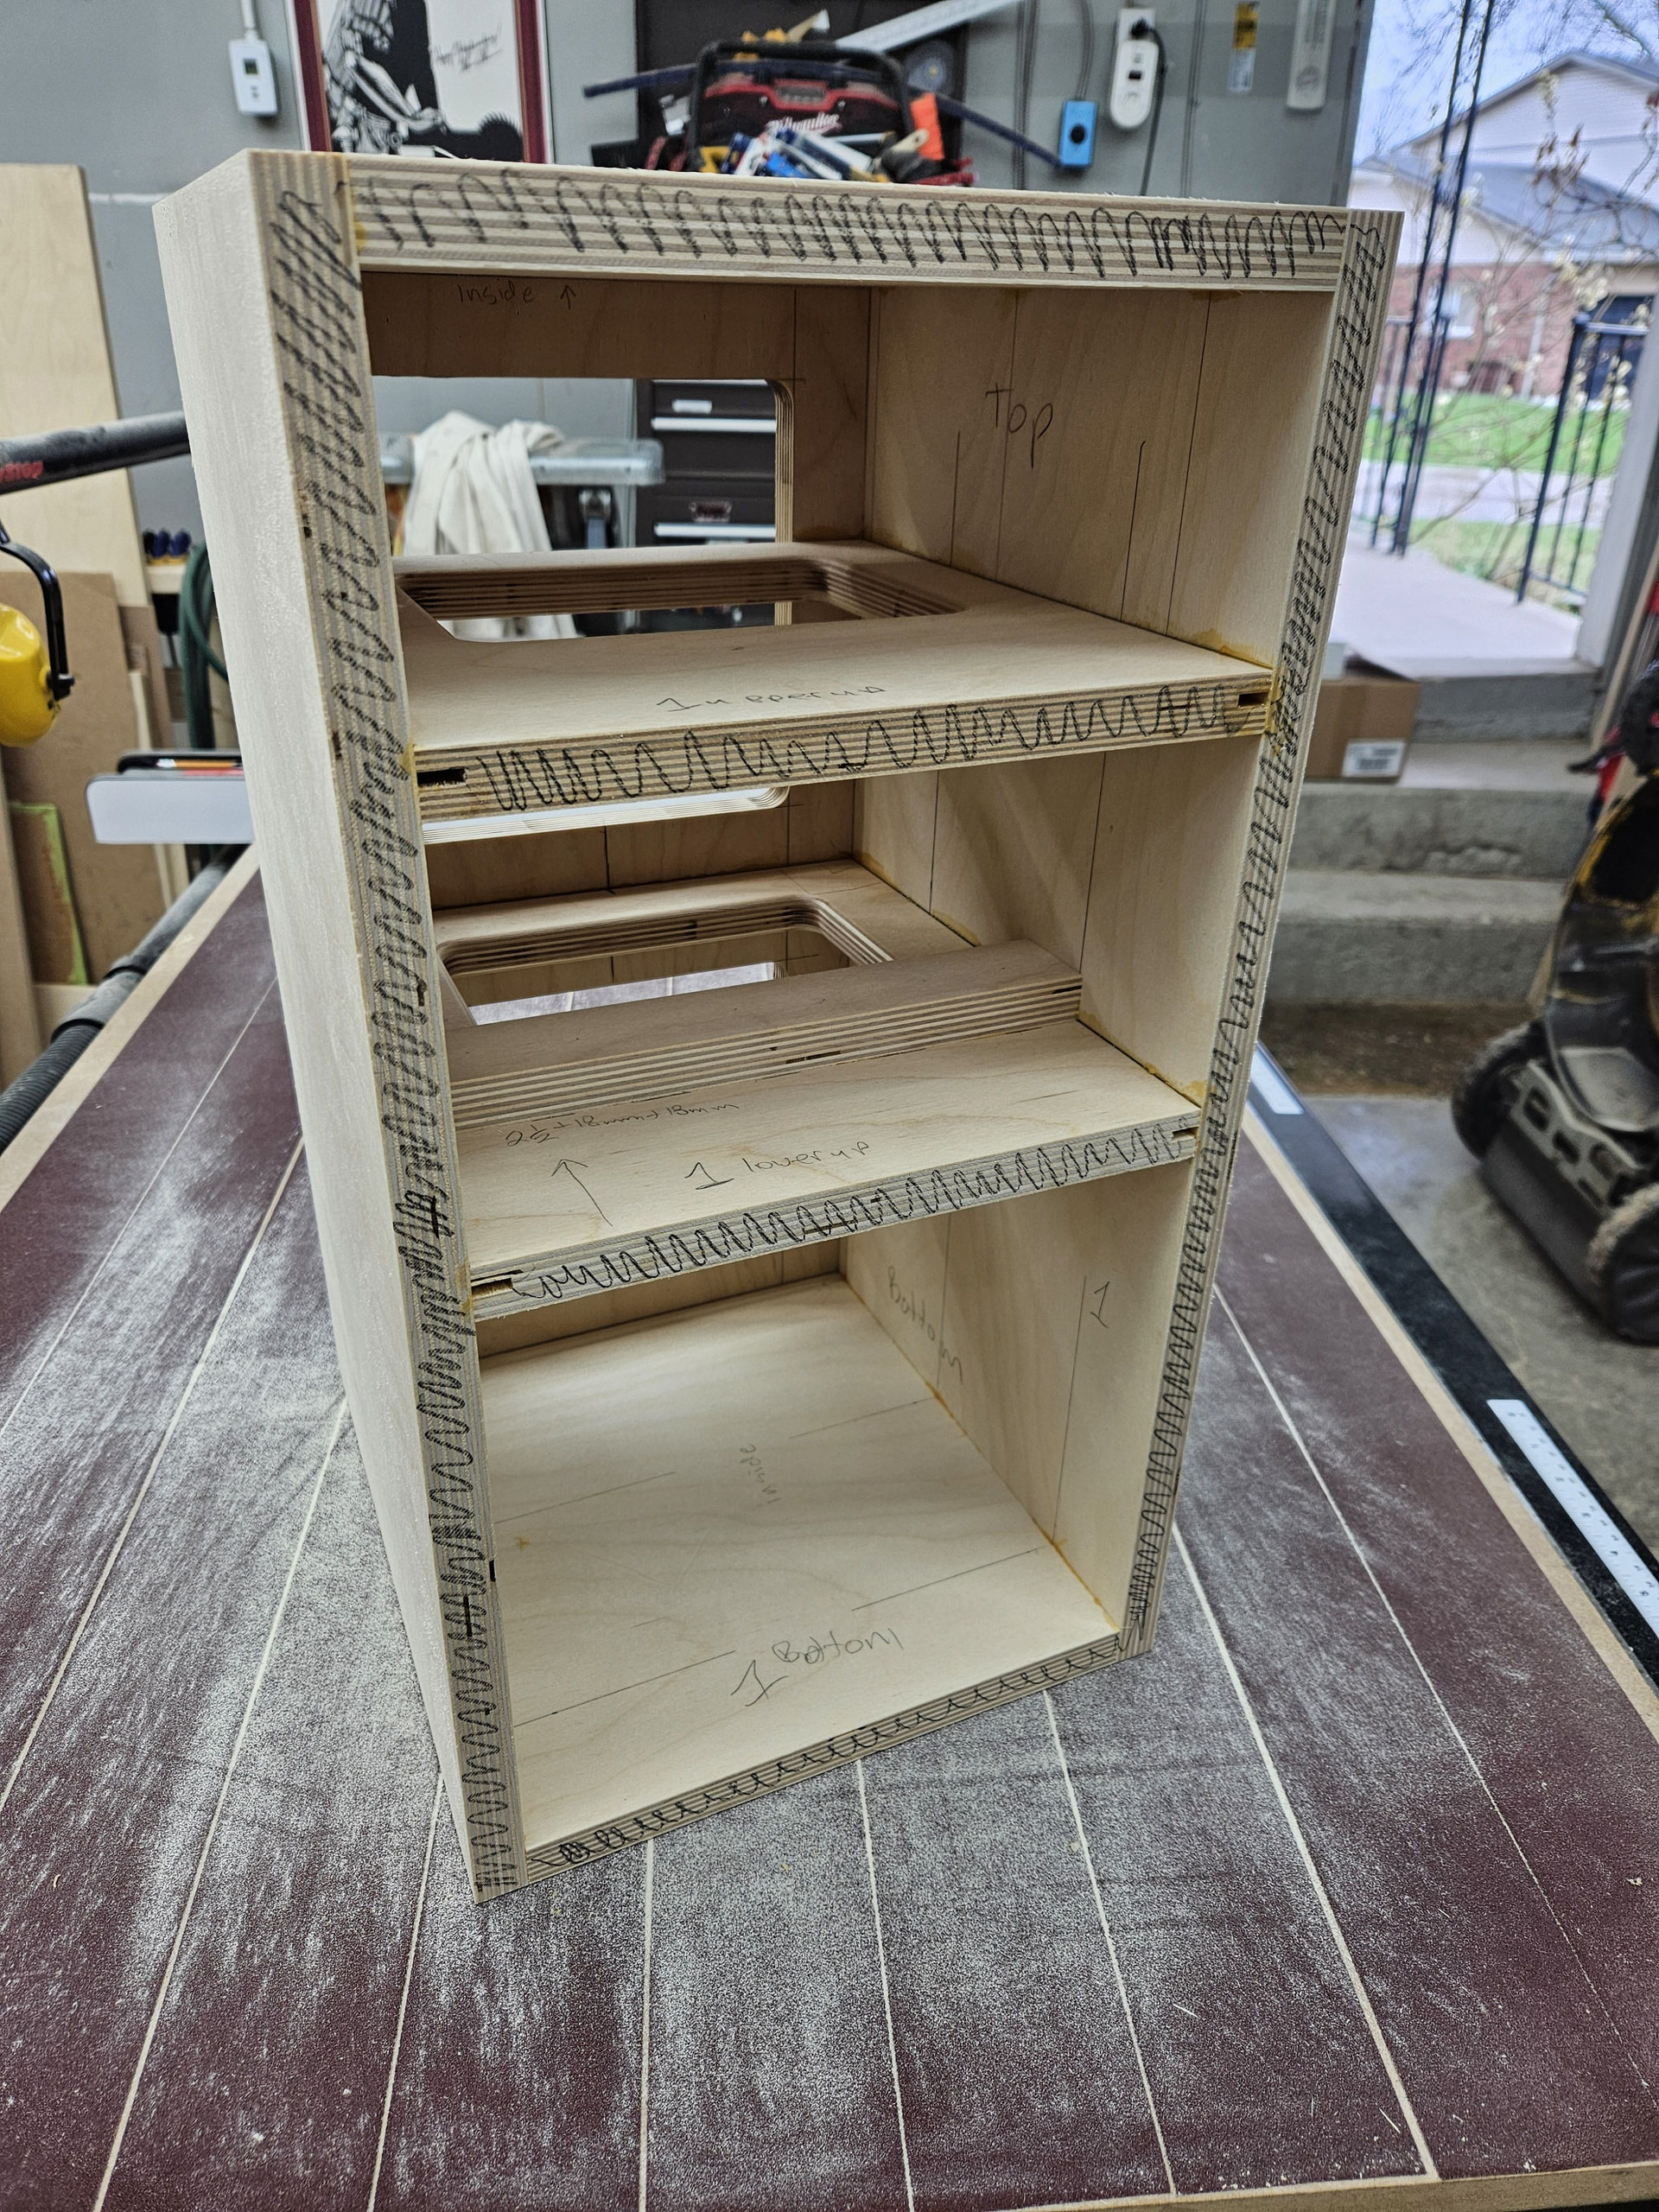
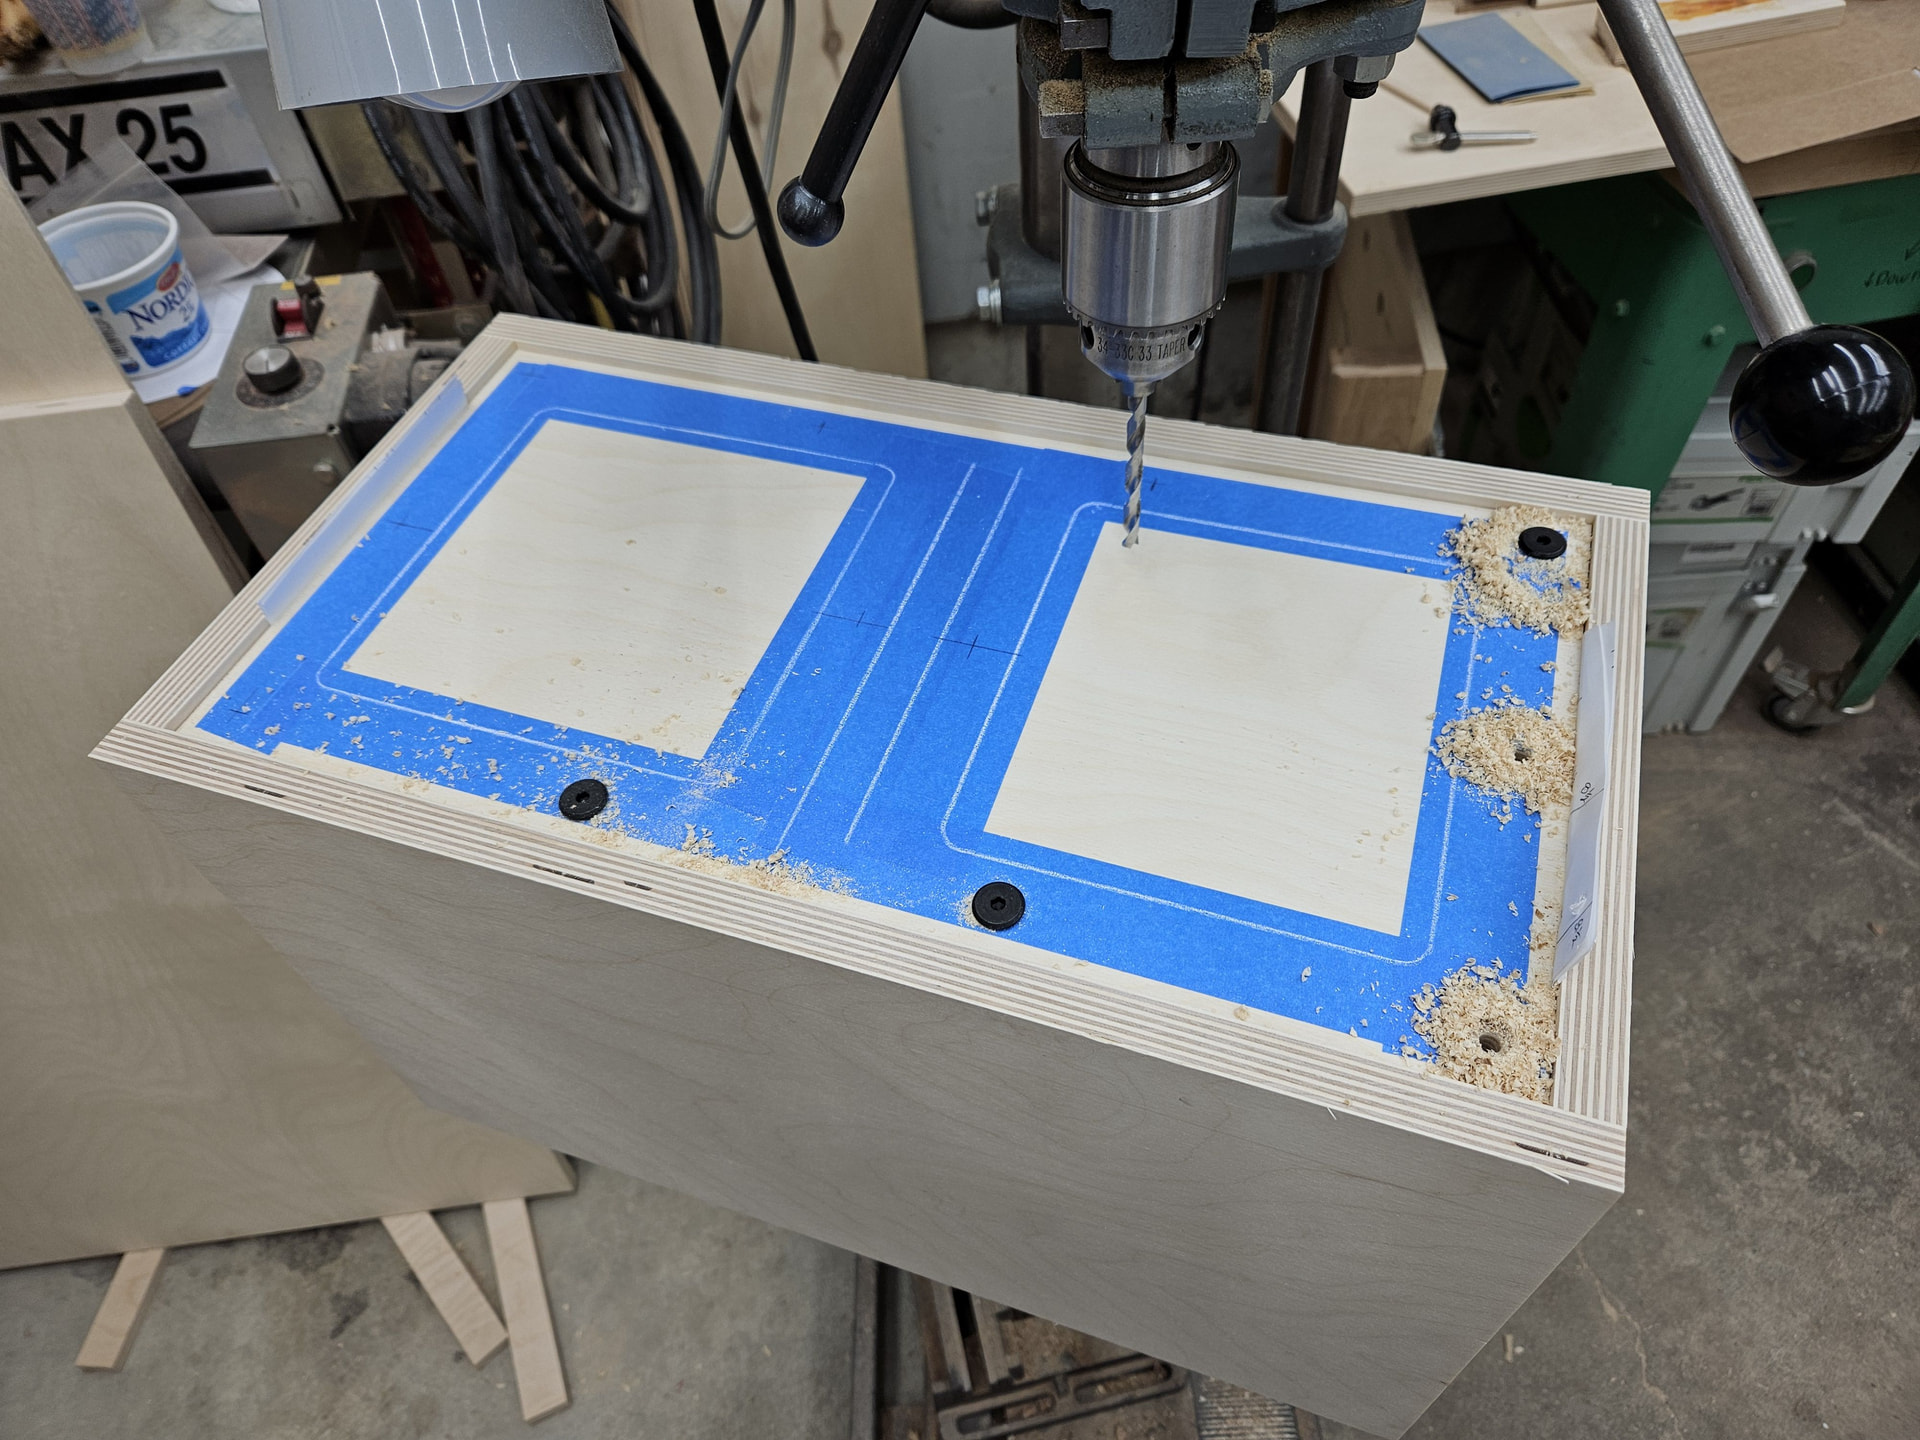
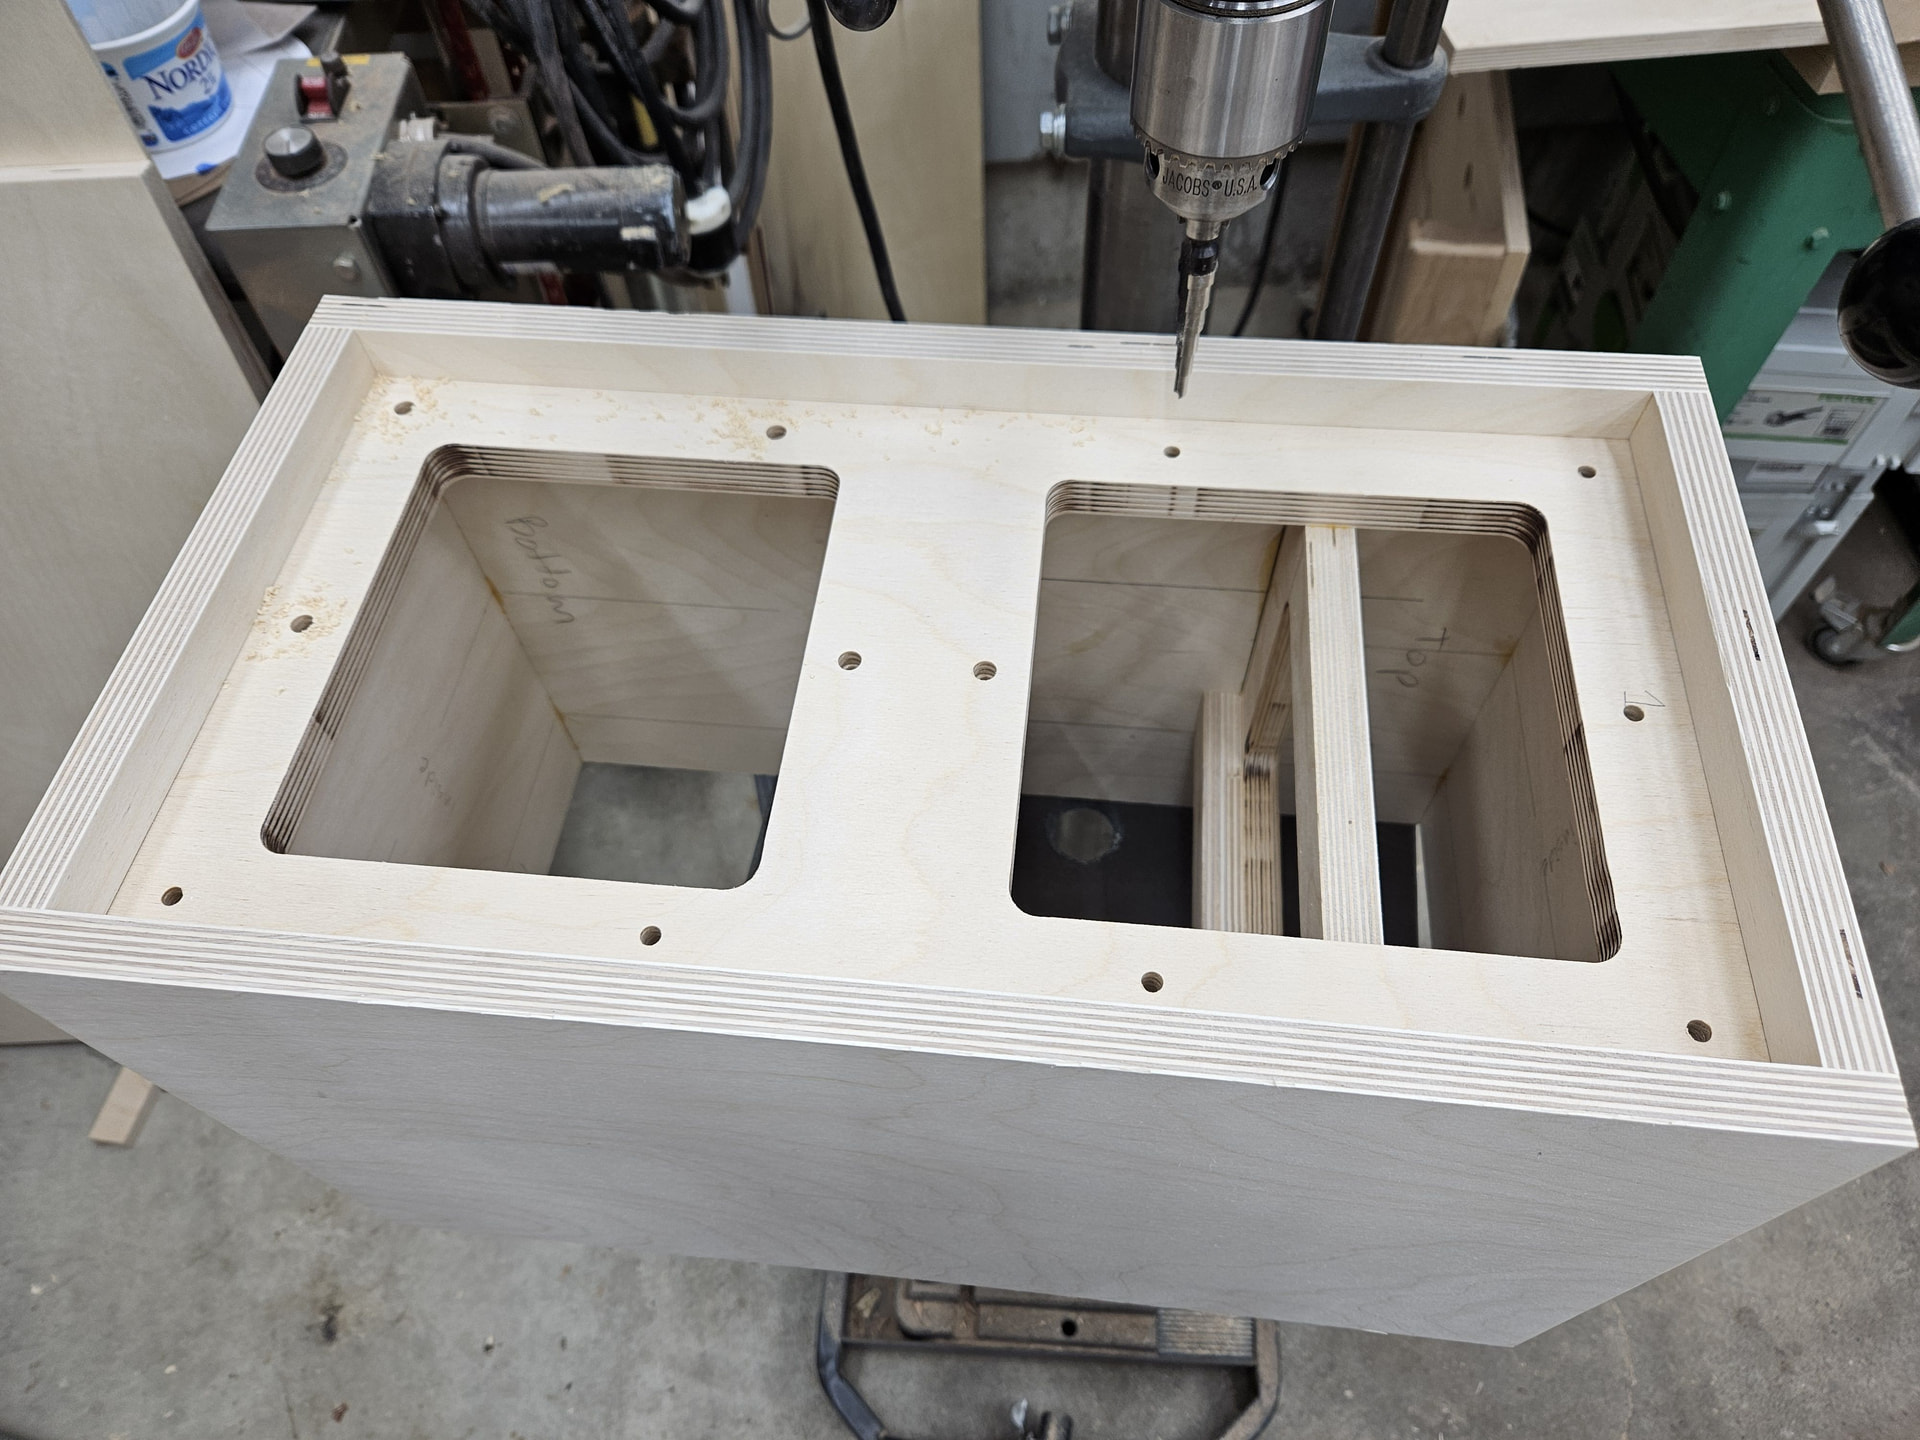
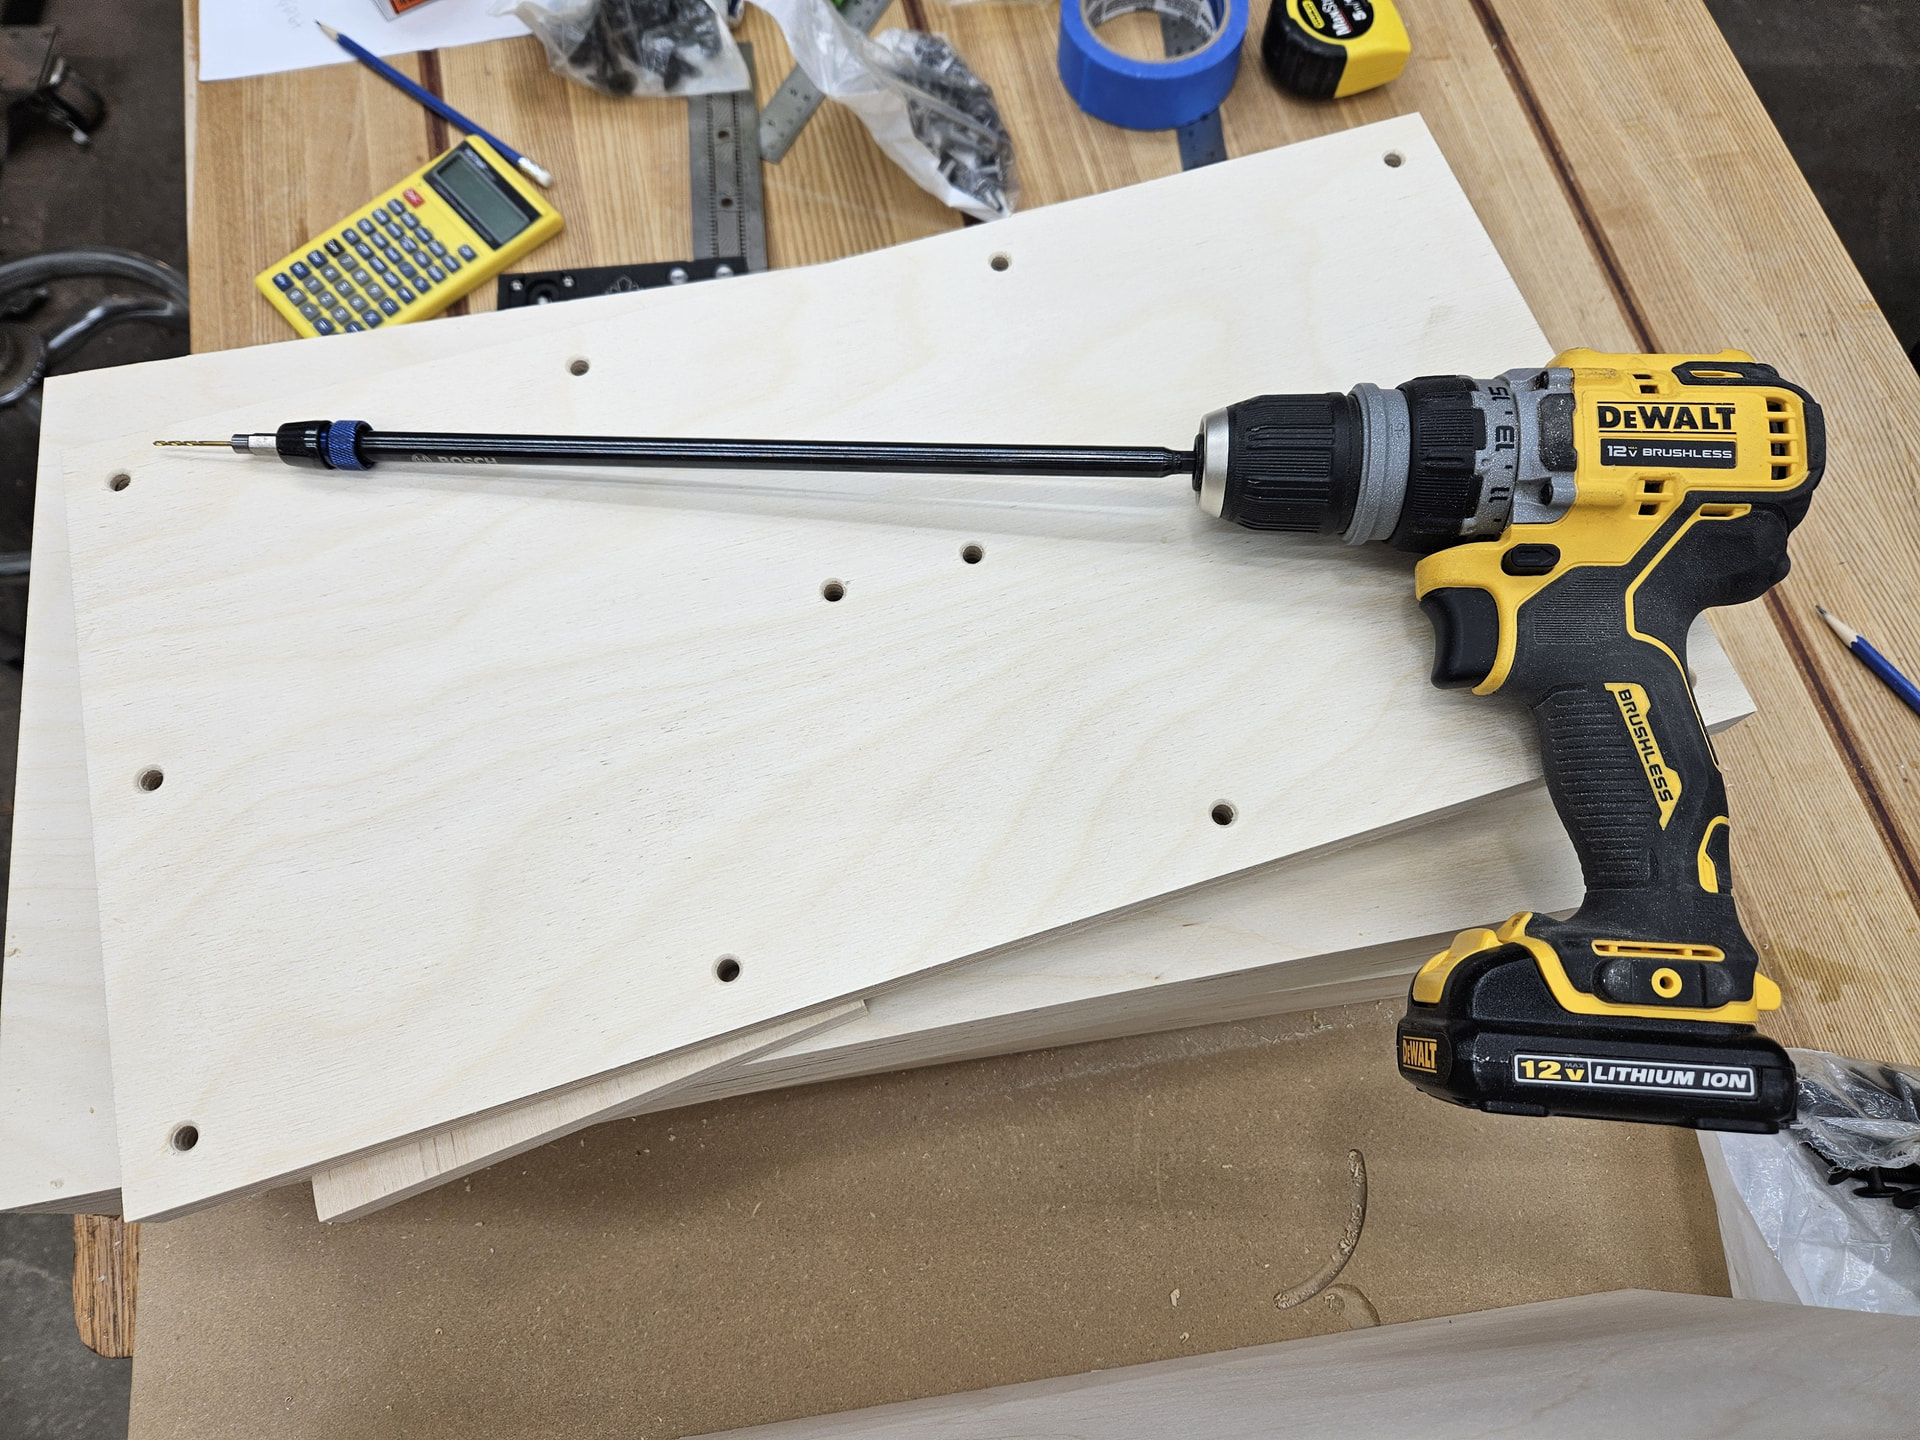
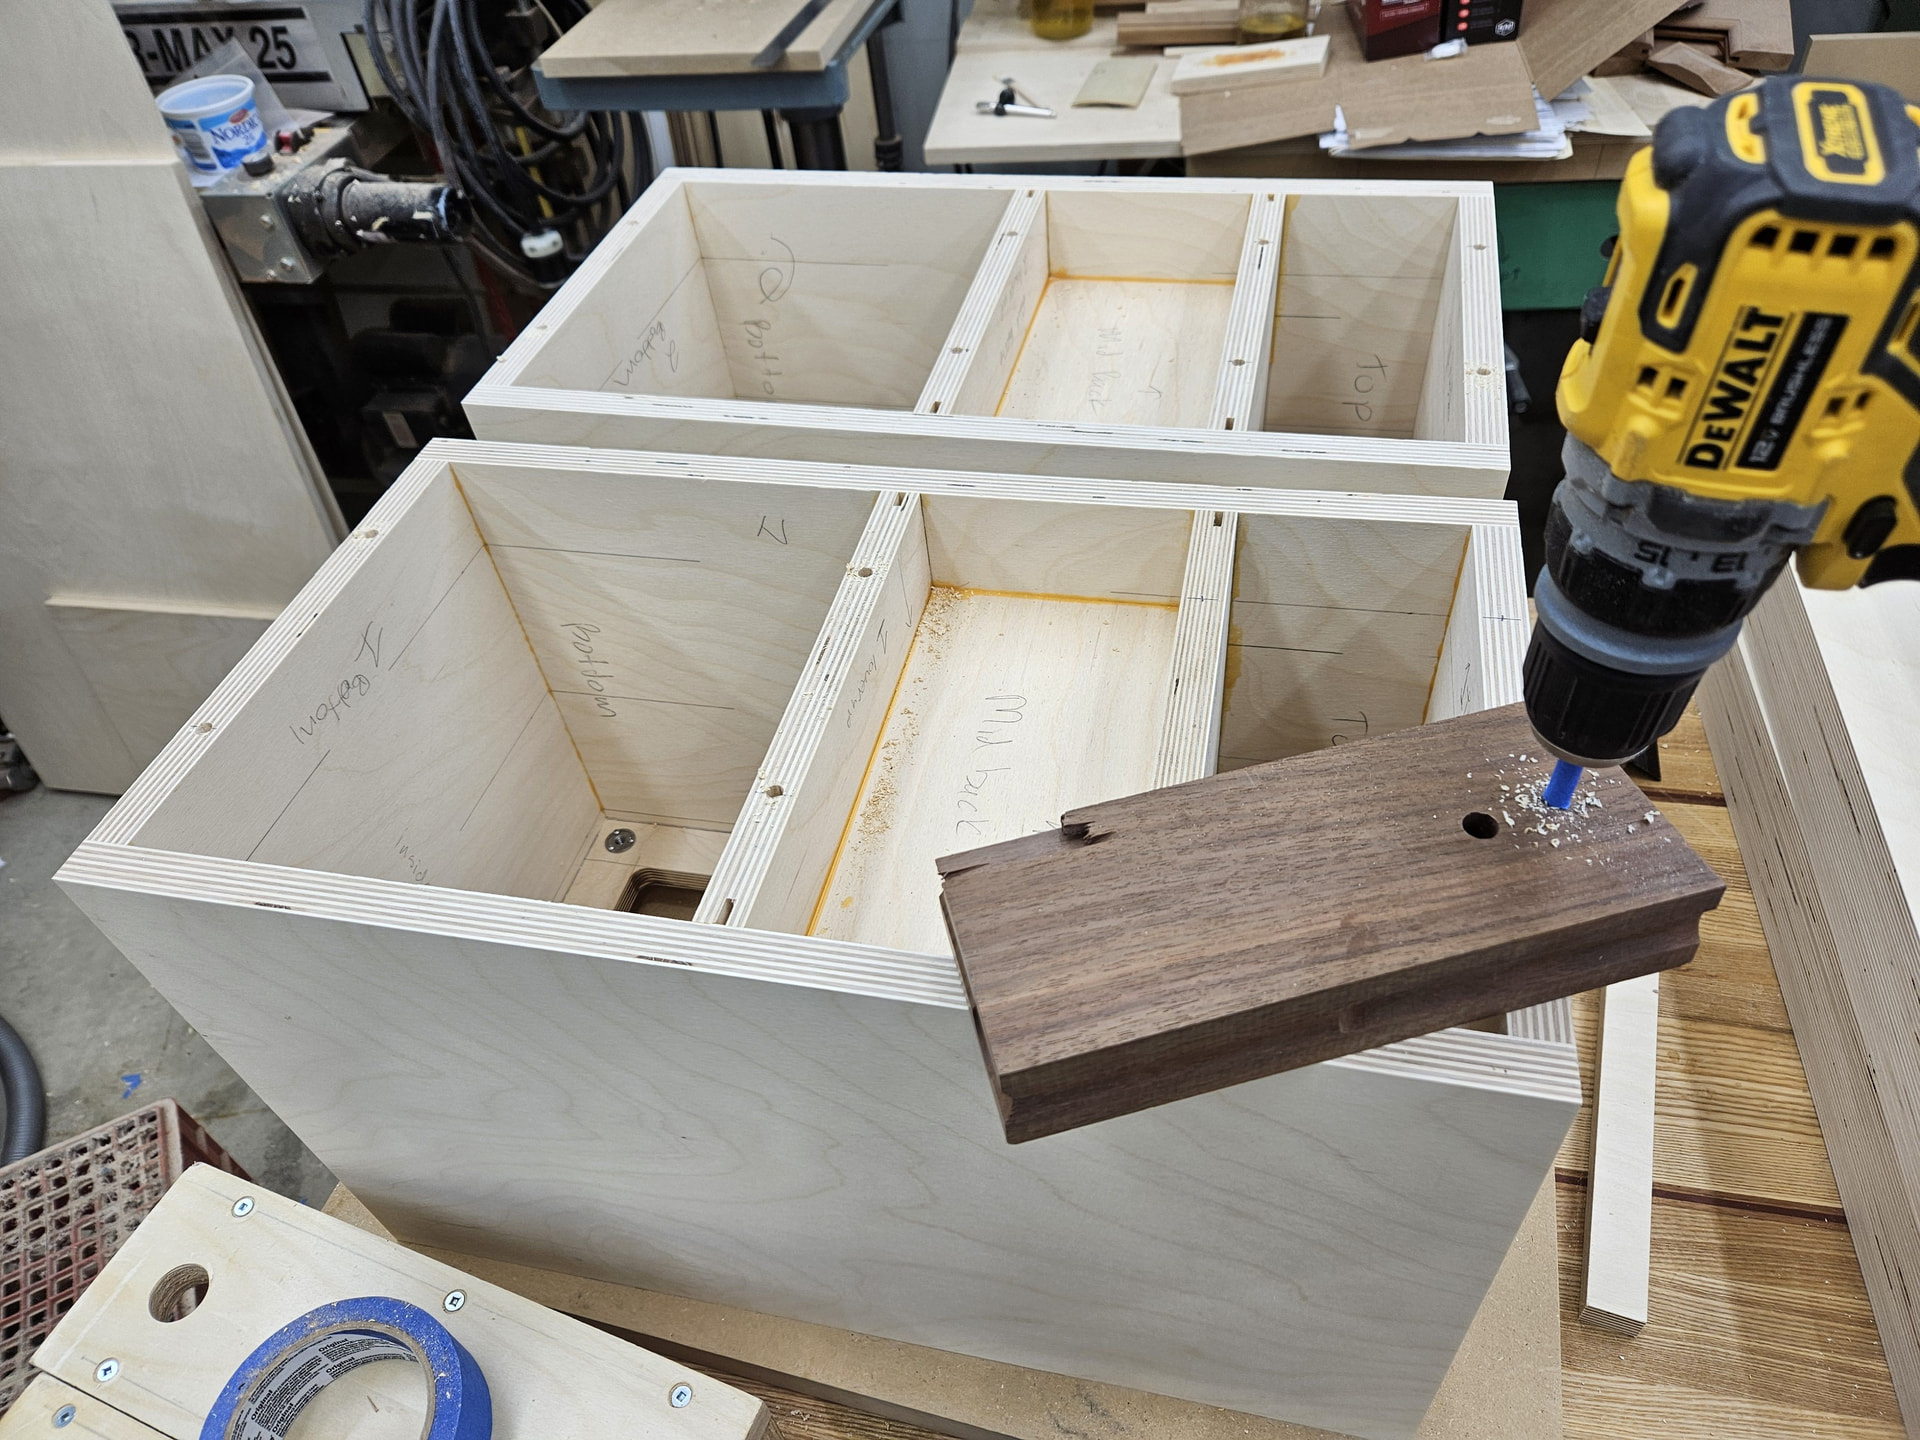
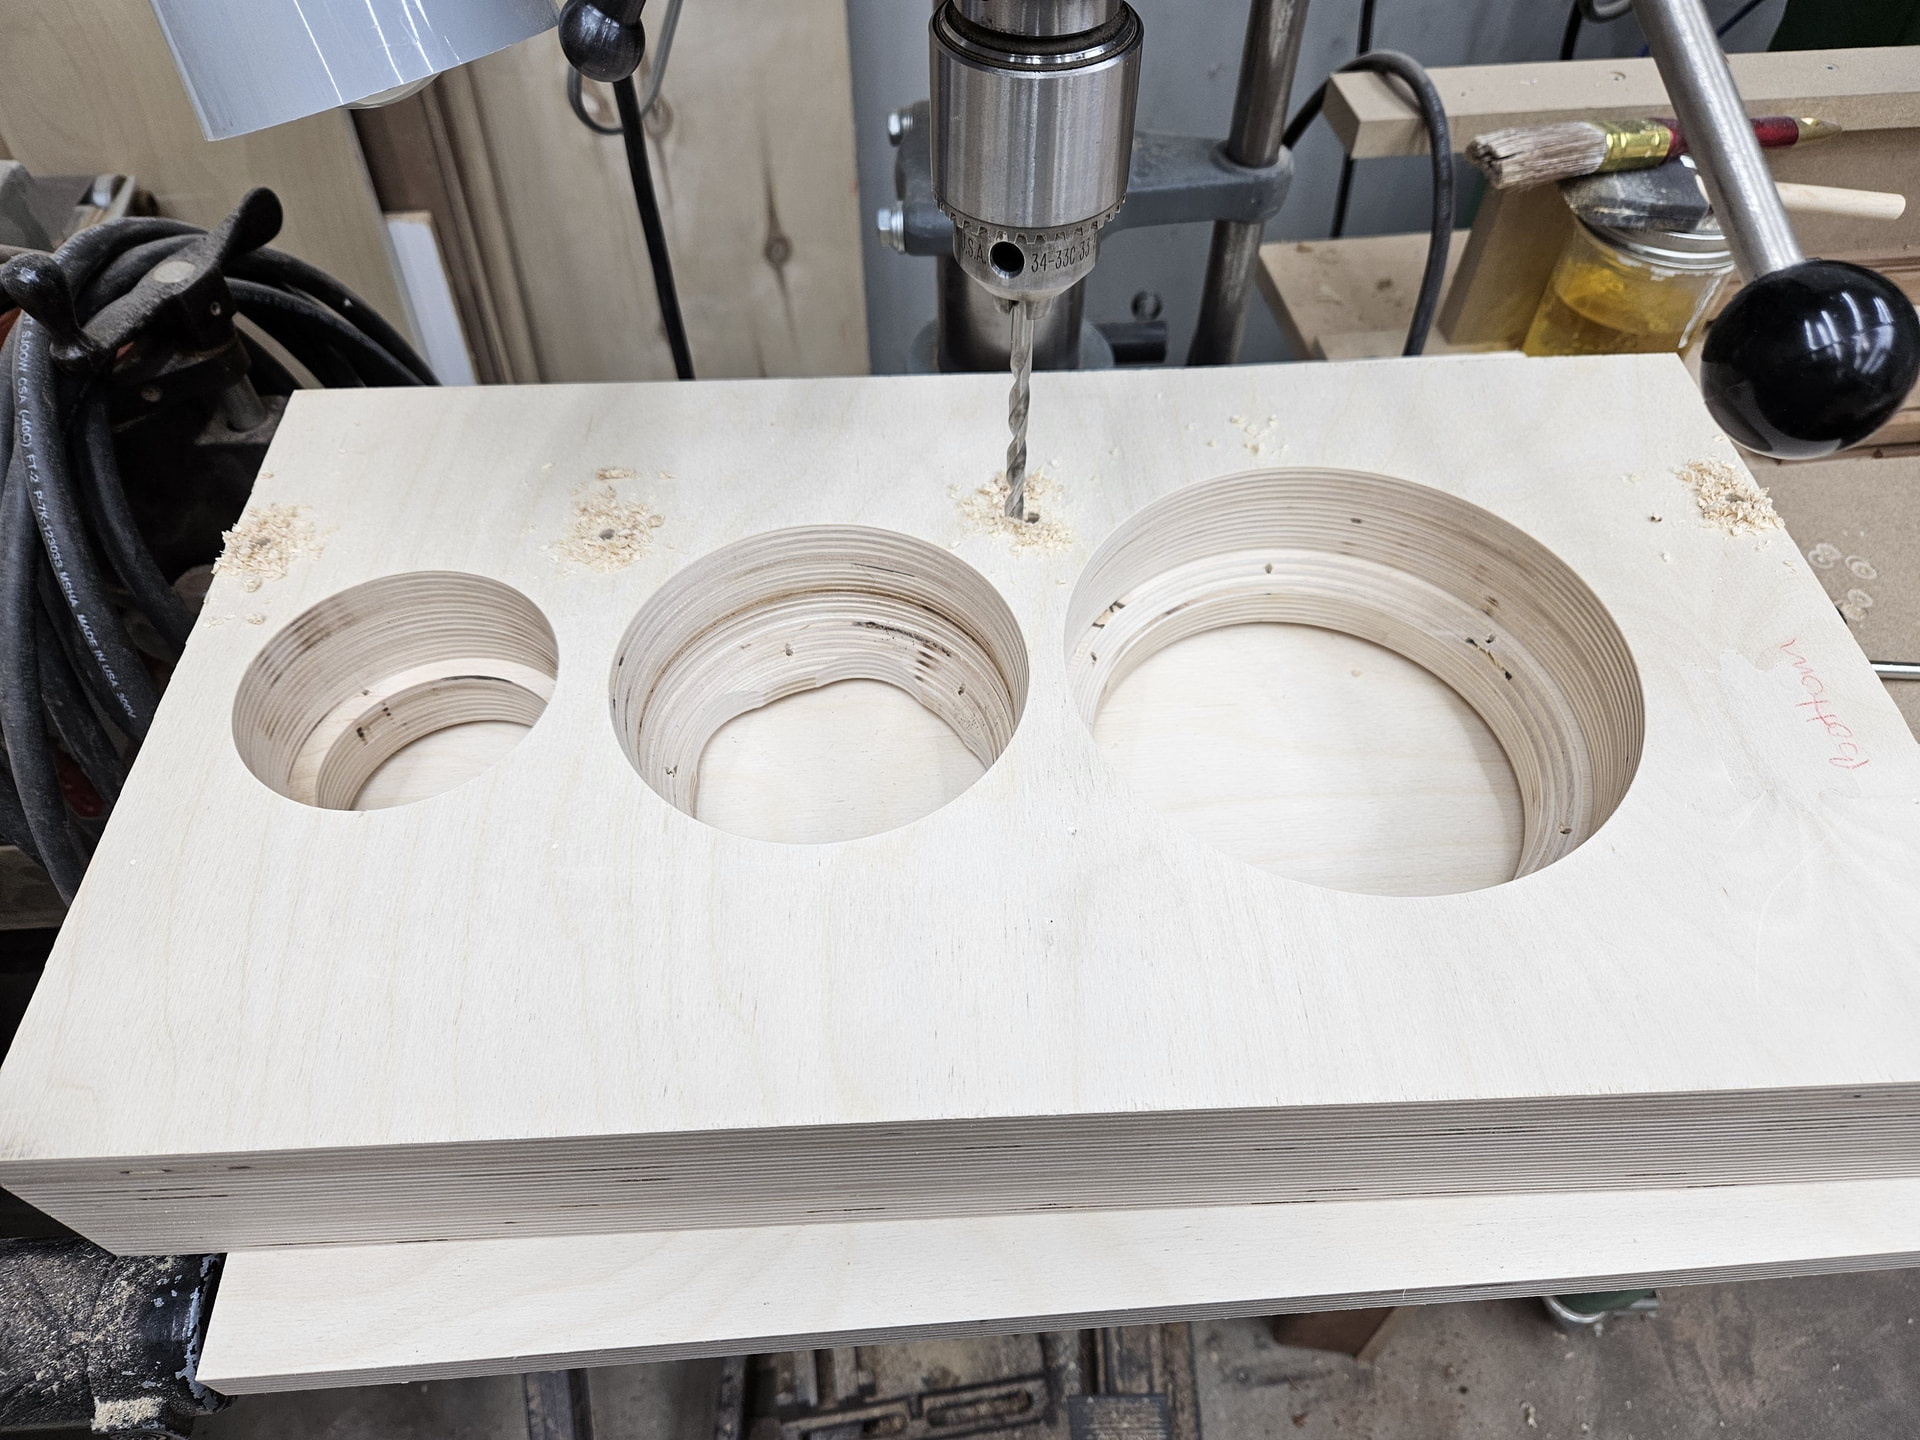
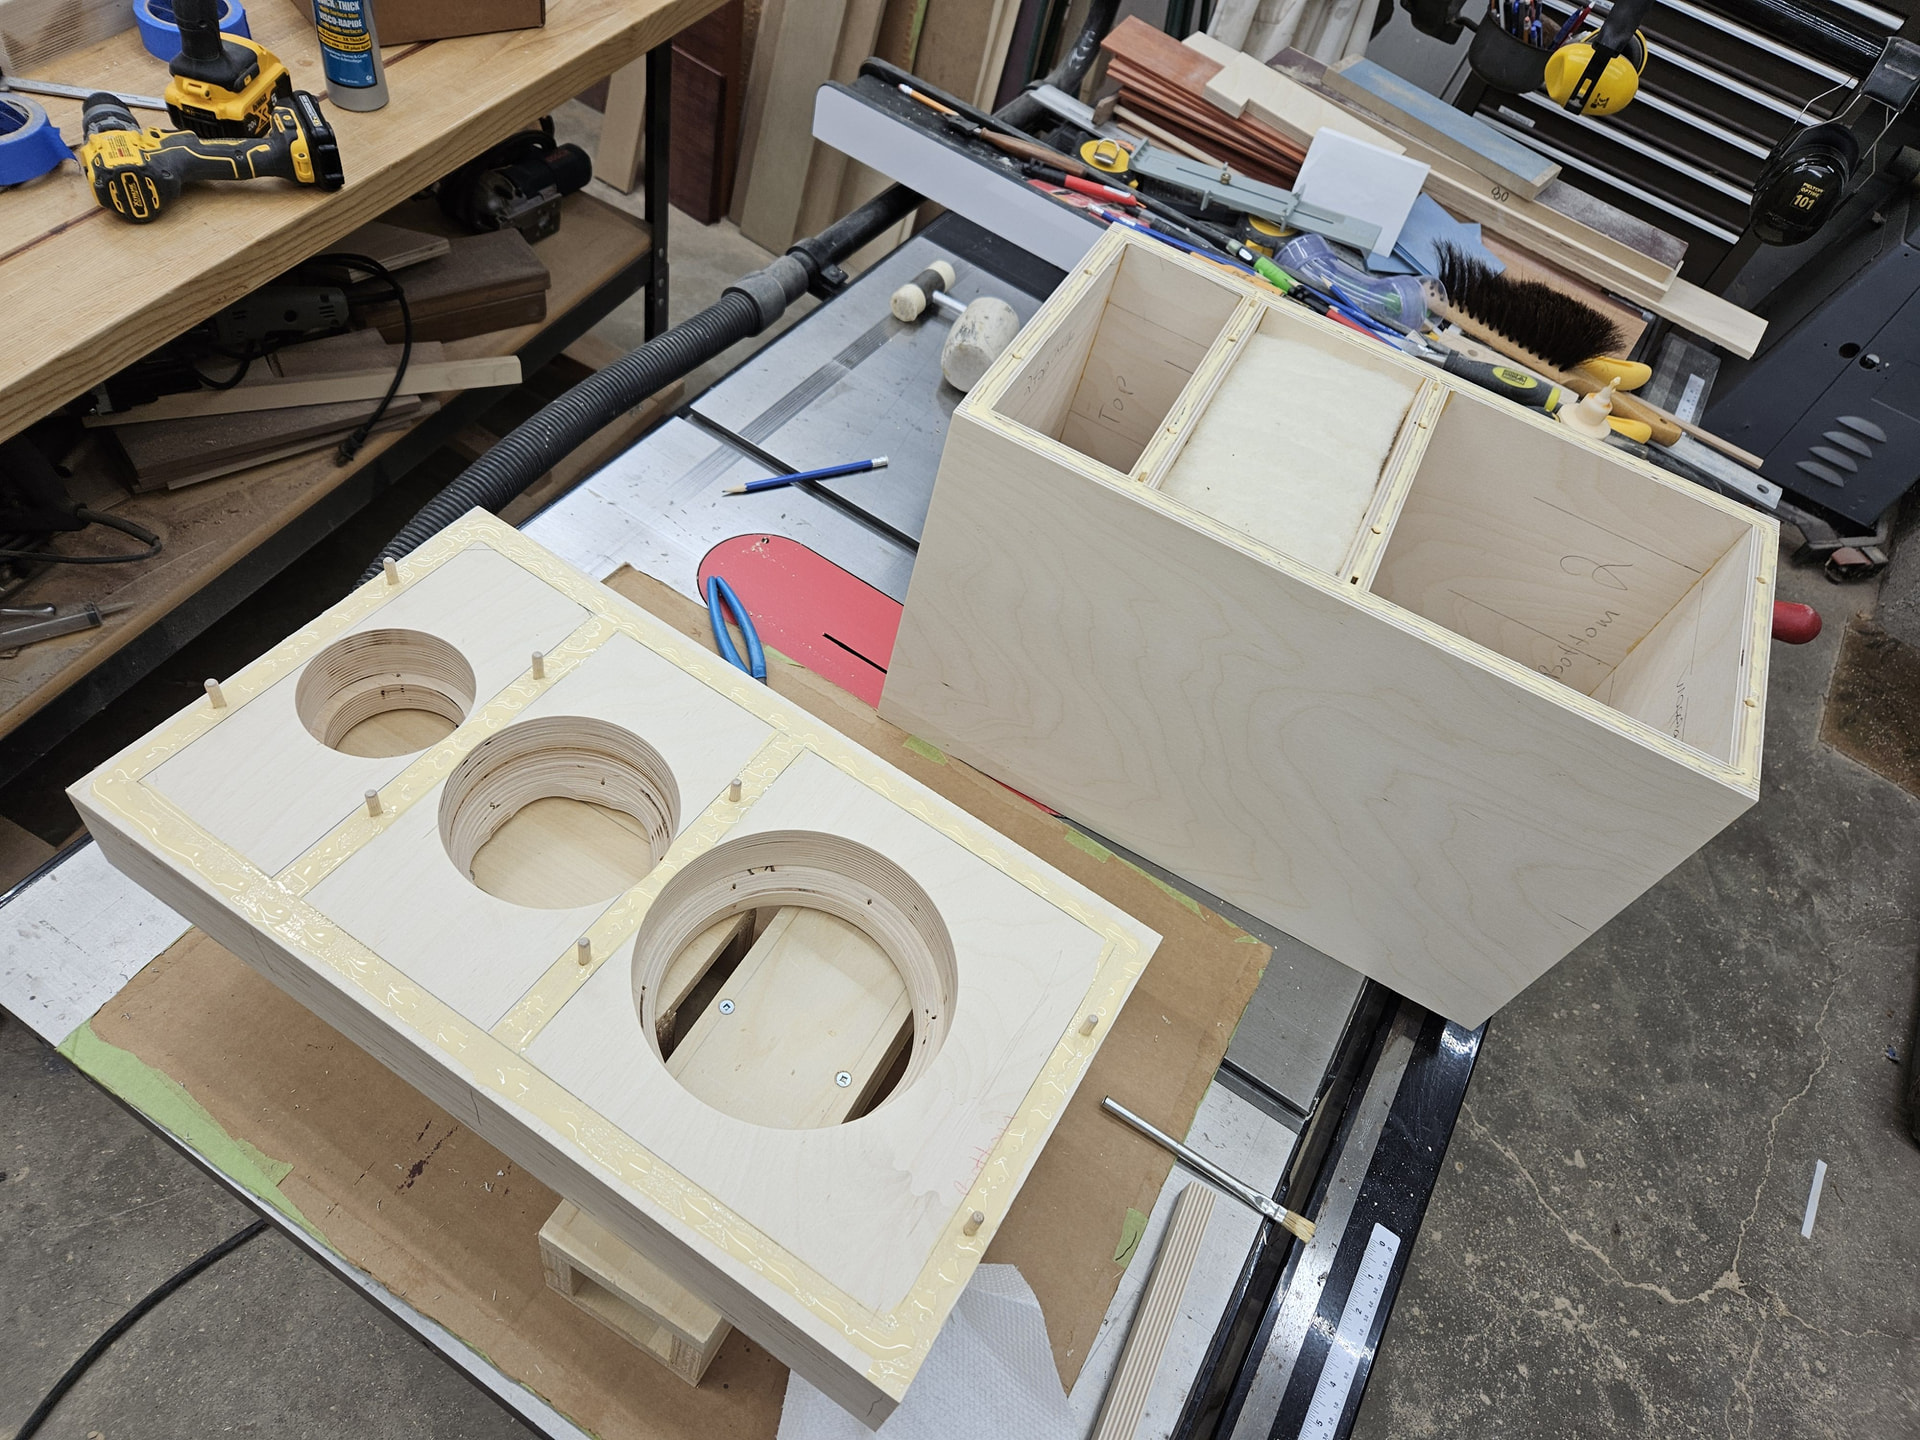
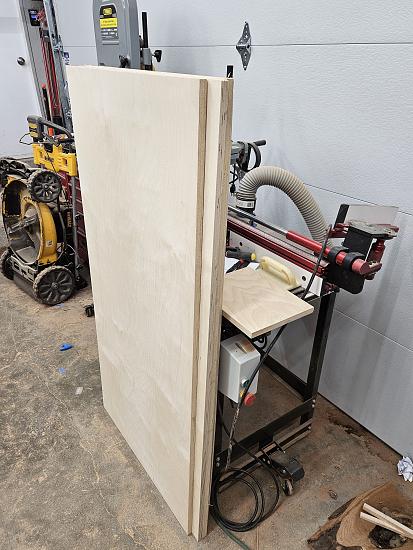
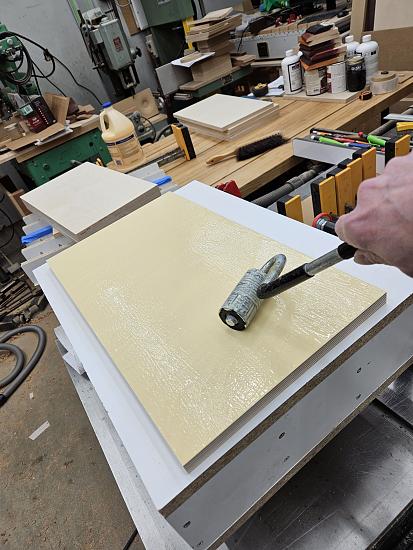
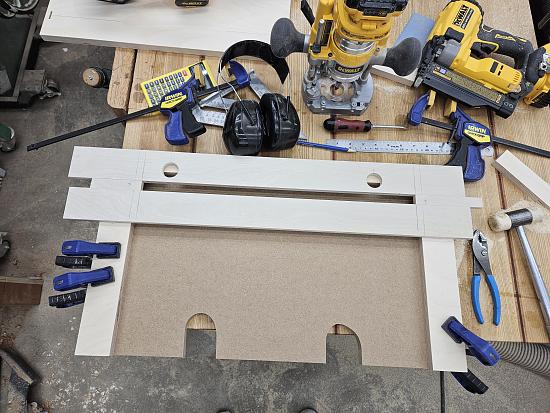
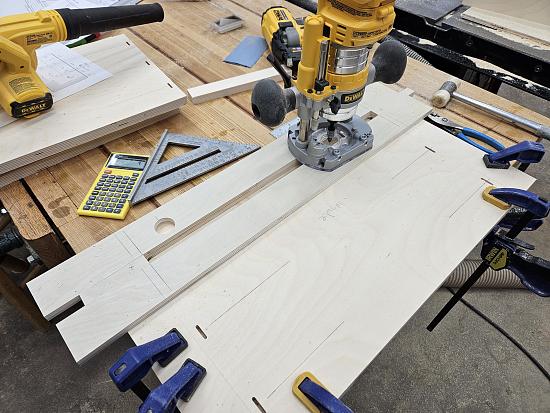
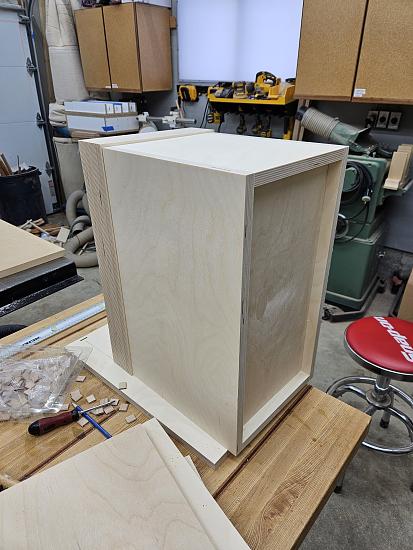
Pics are kinda boring, just a guy cutting up some plywood, doing some joinery and showing a box that still needs a lot of work.

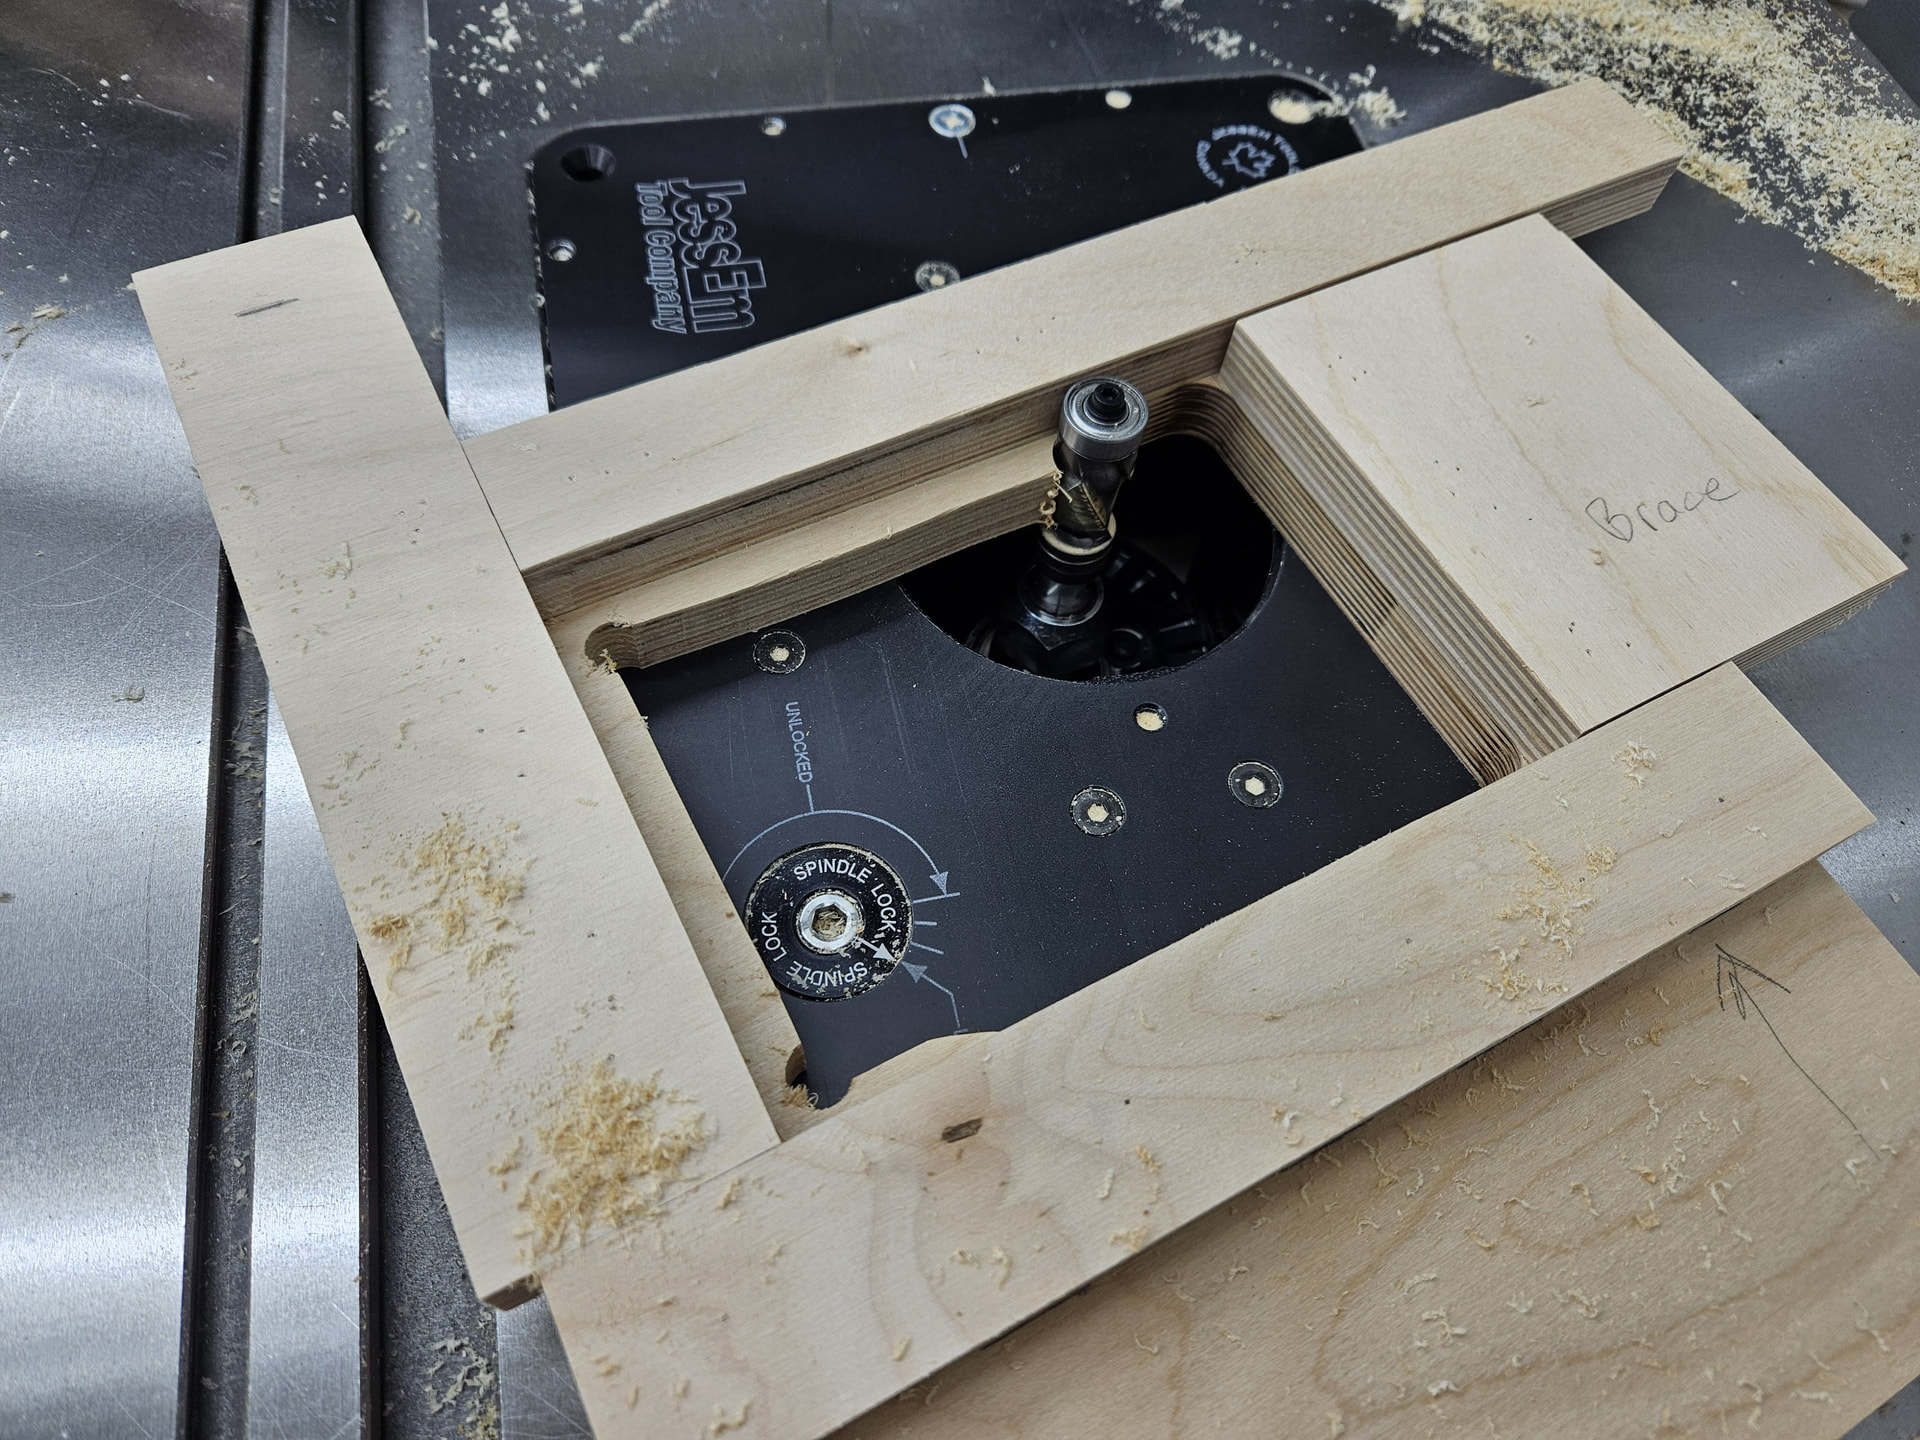
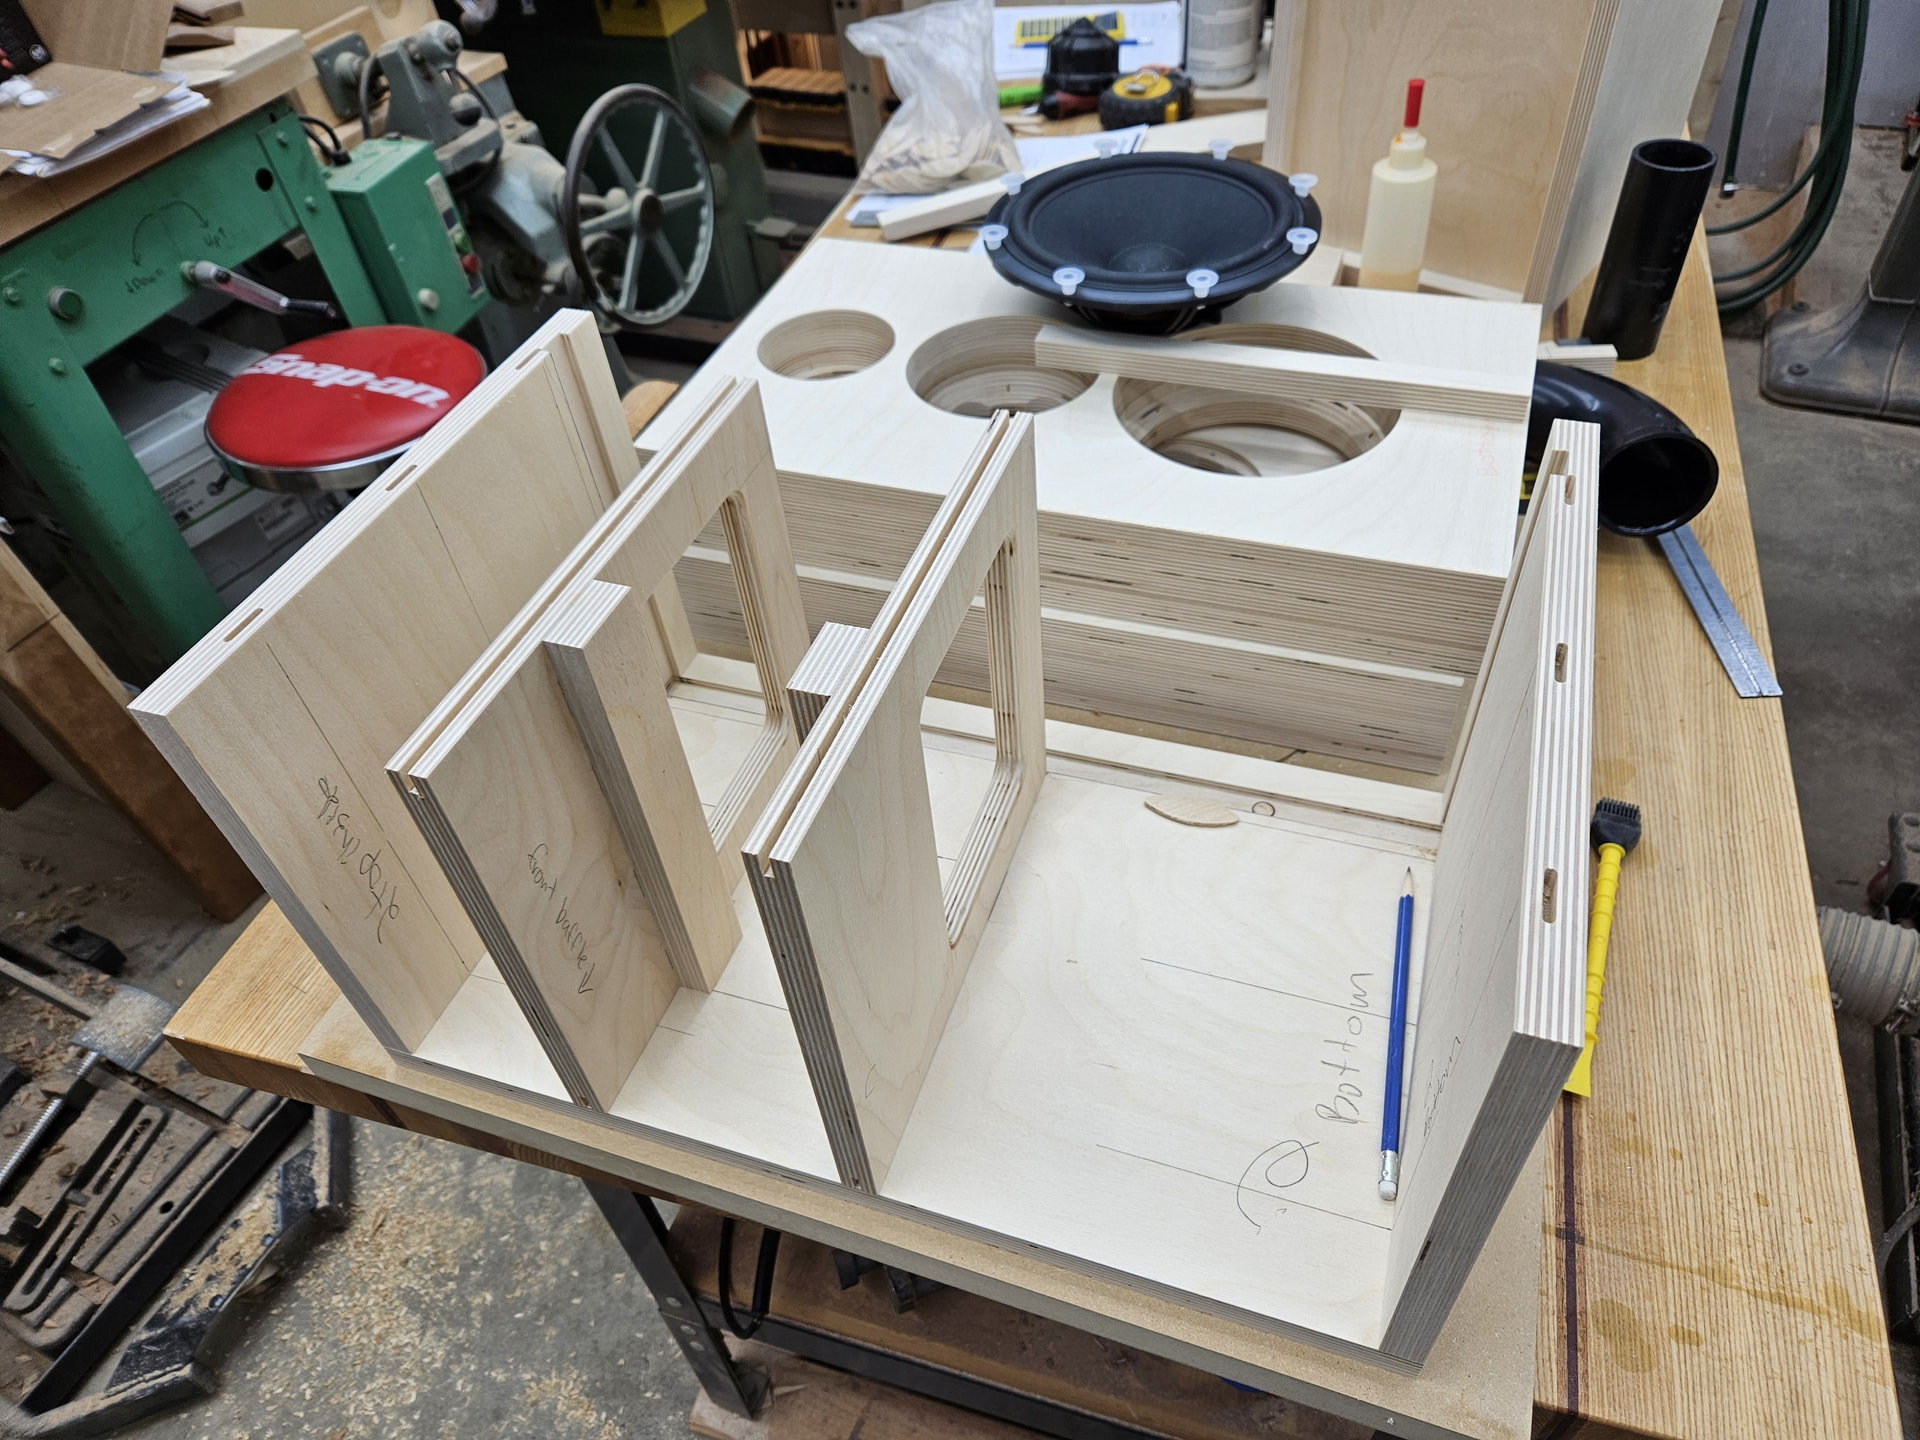
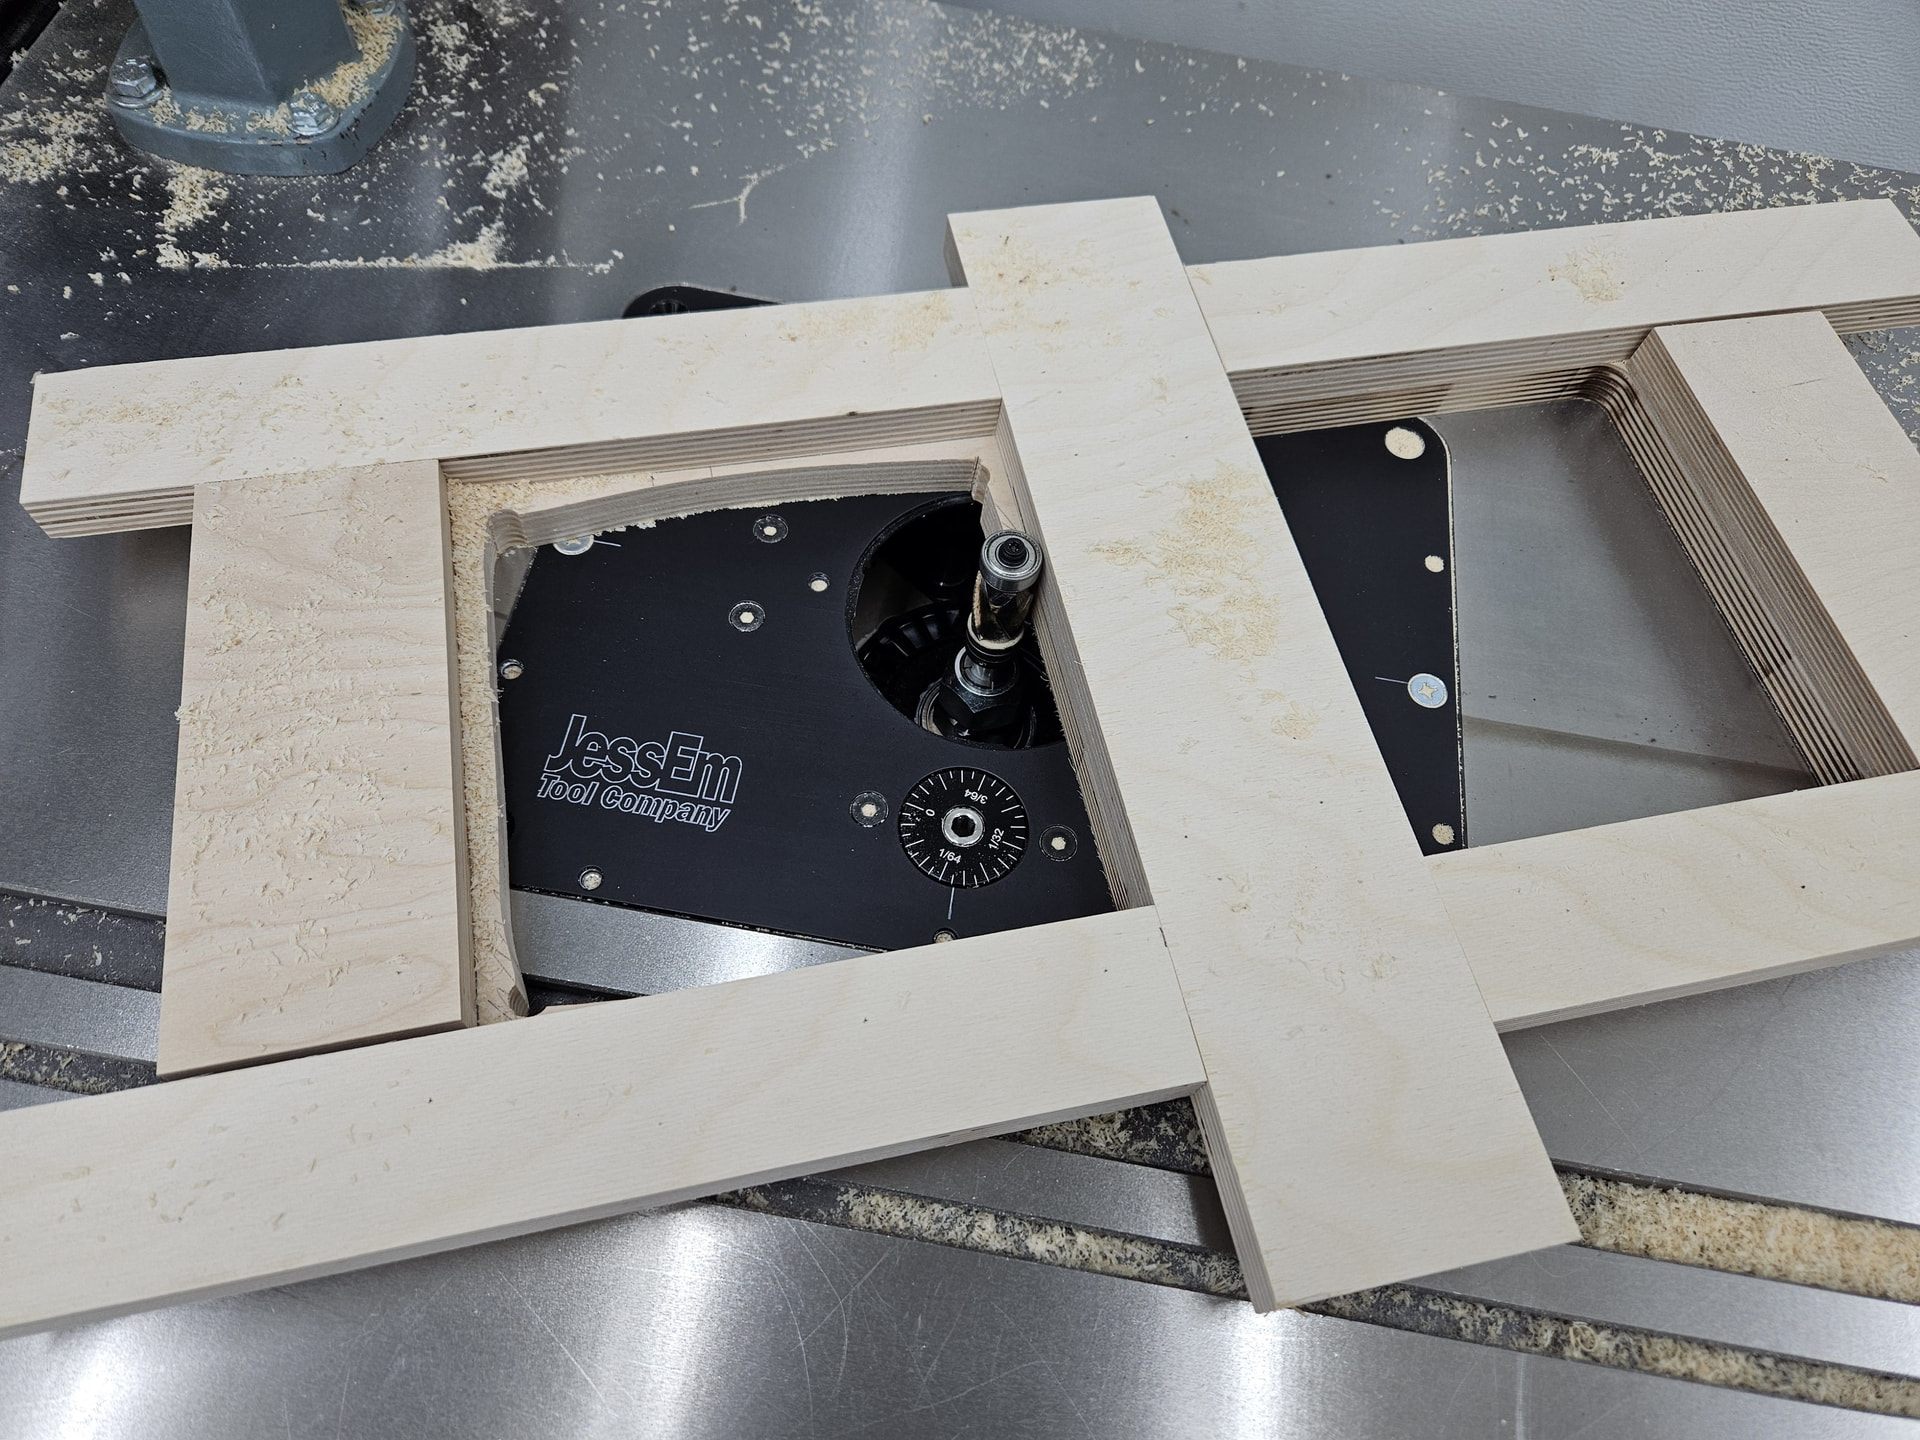
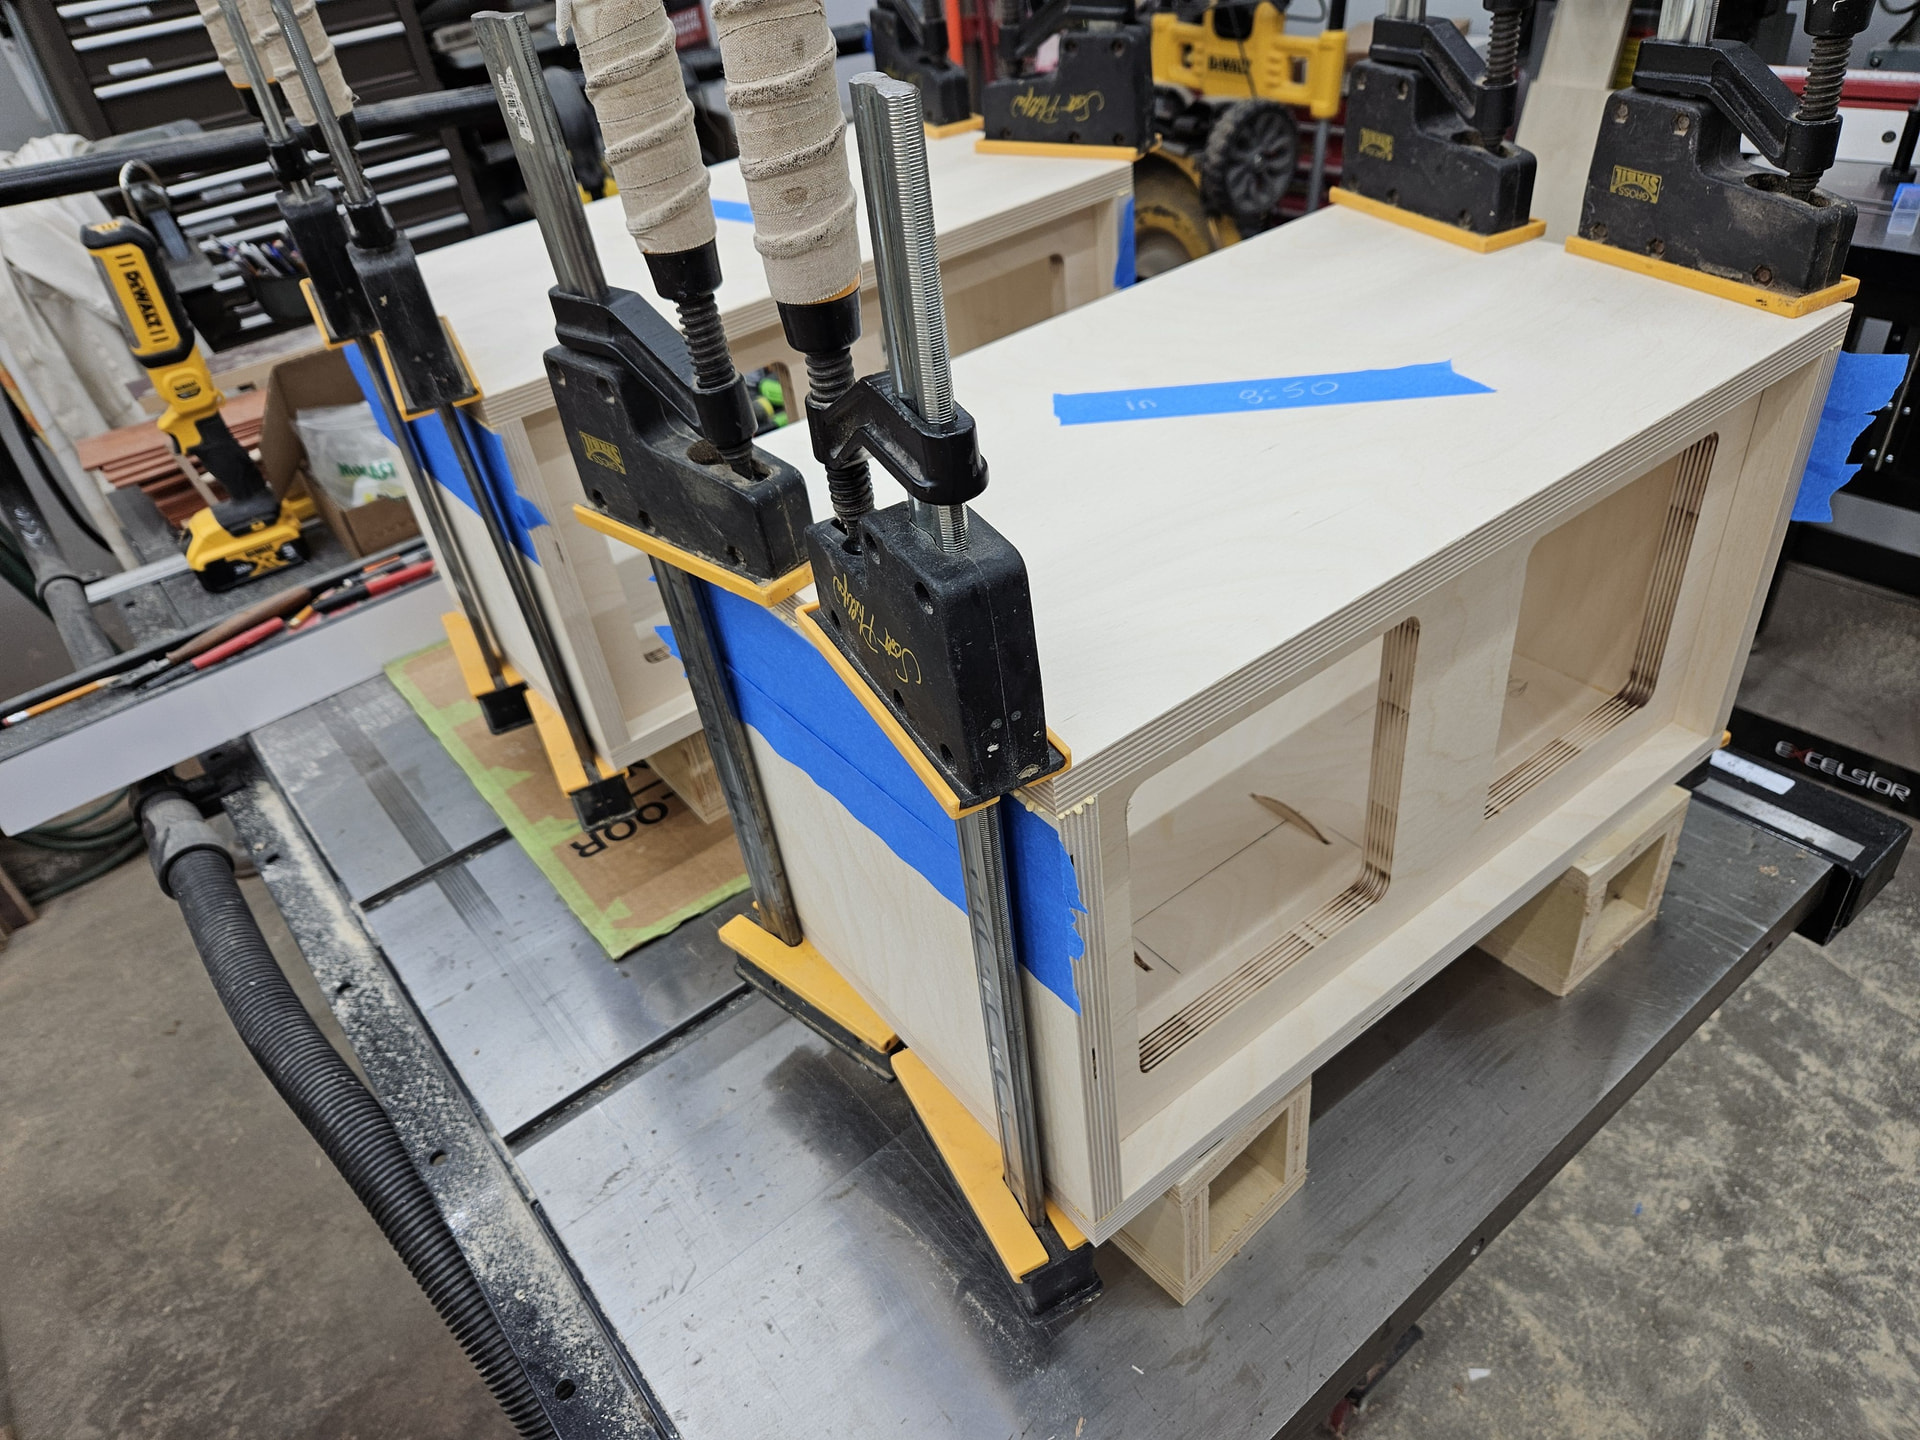
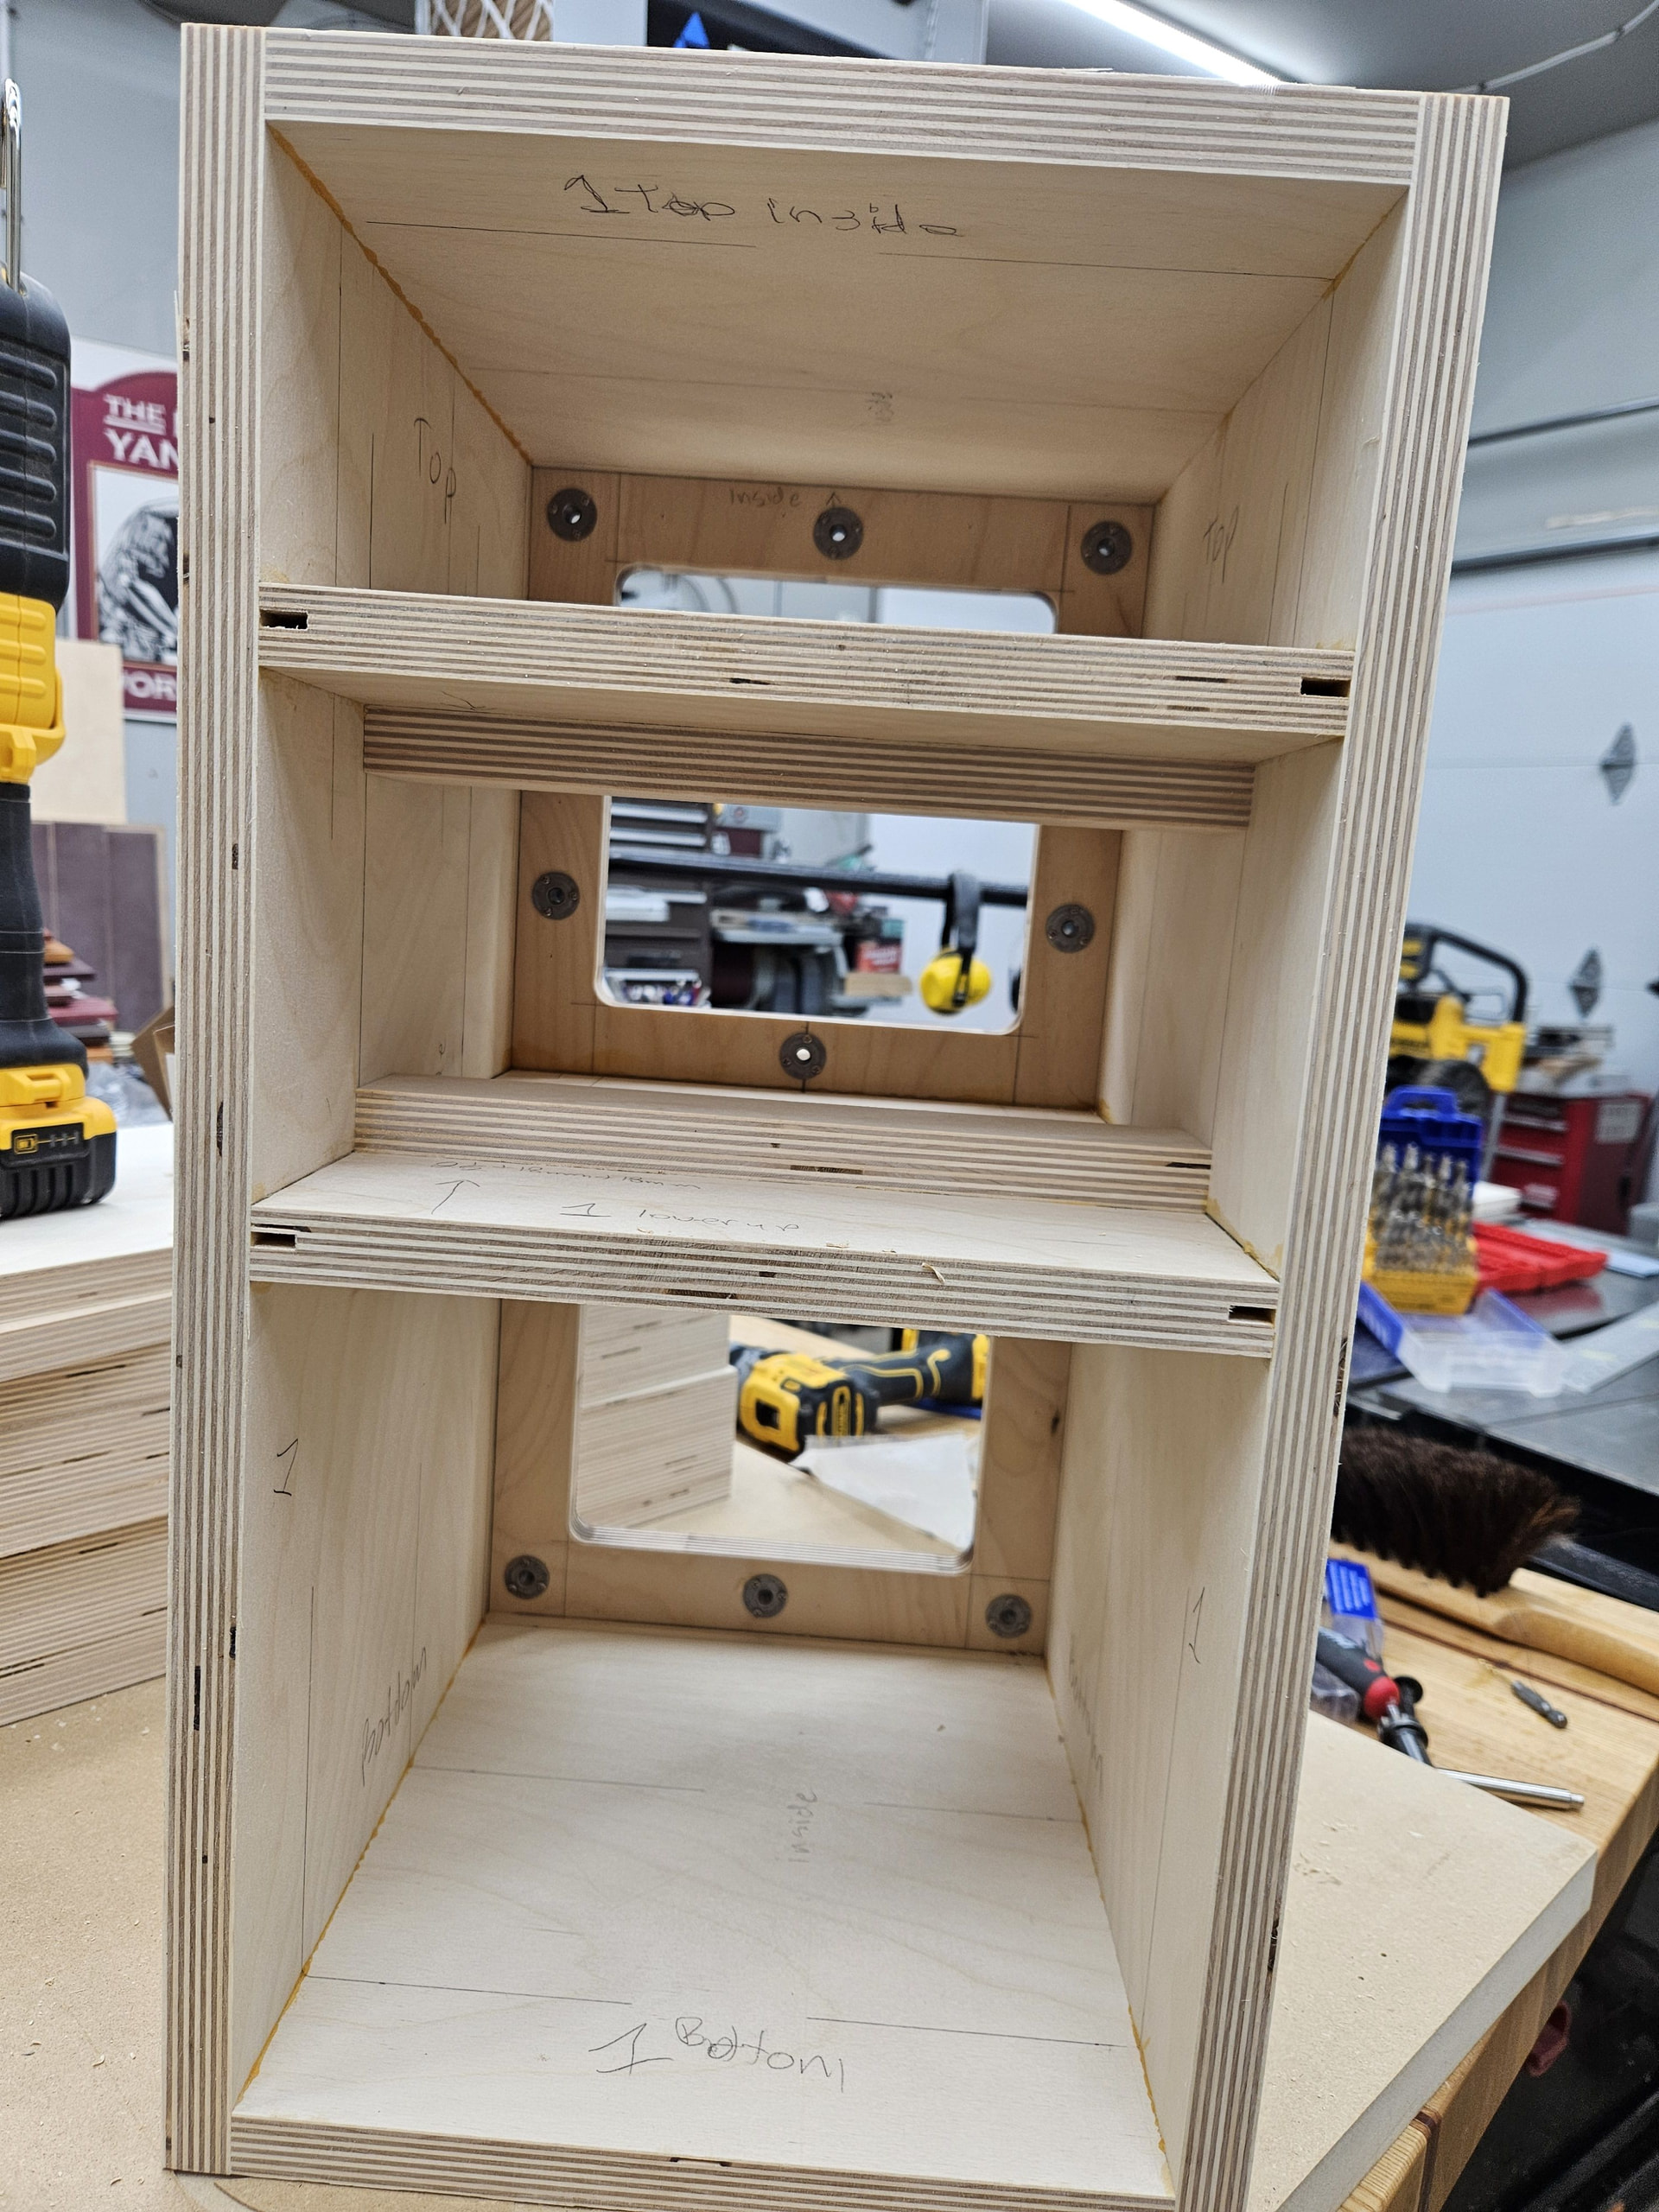
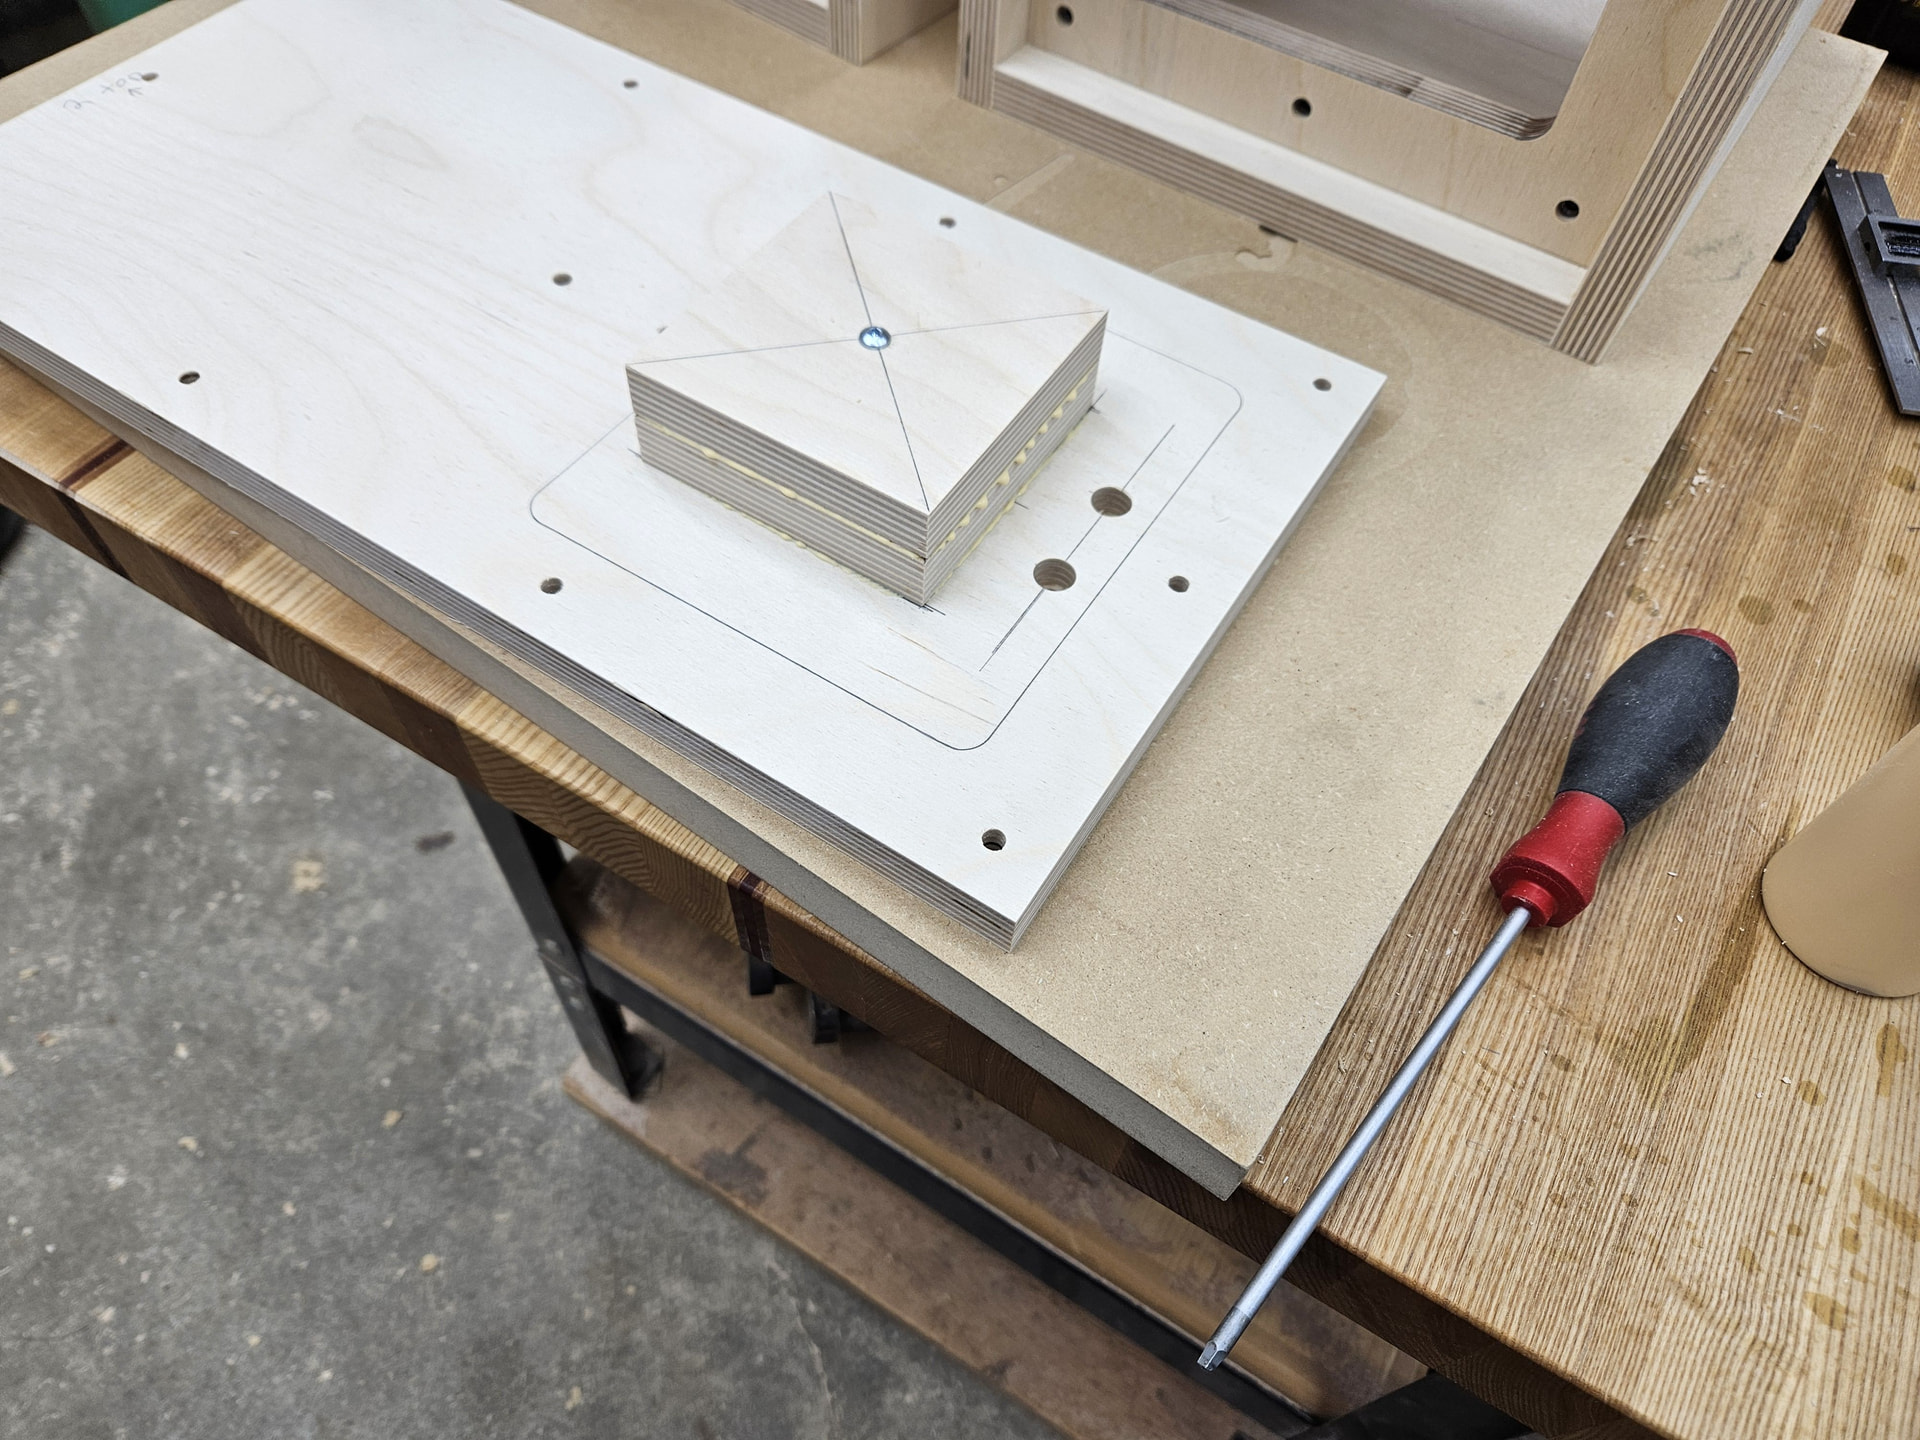
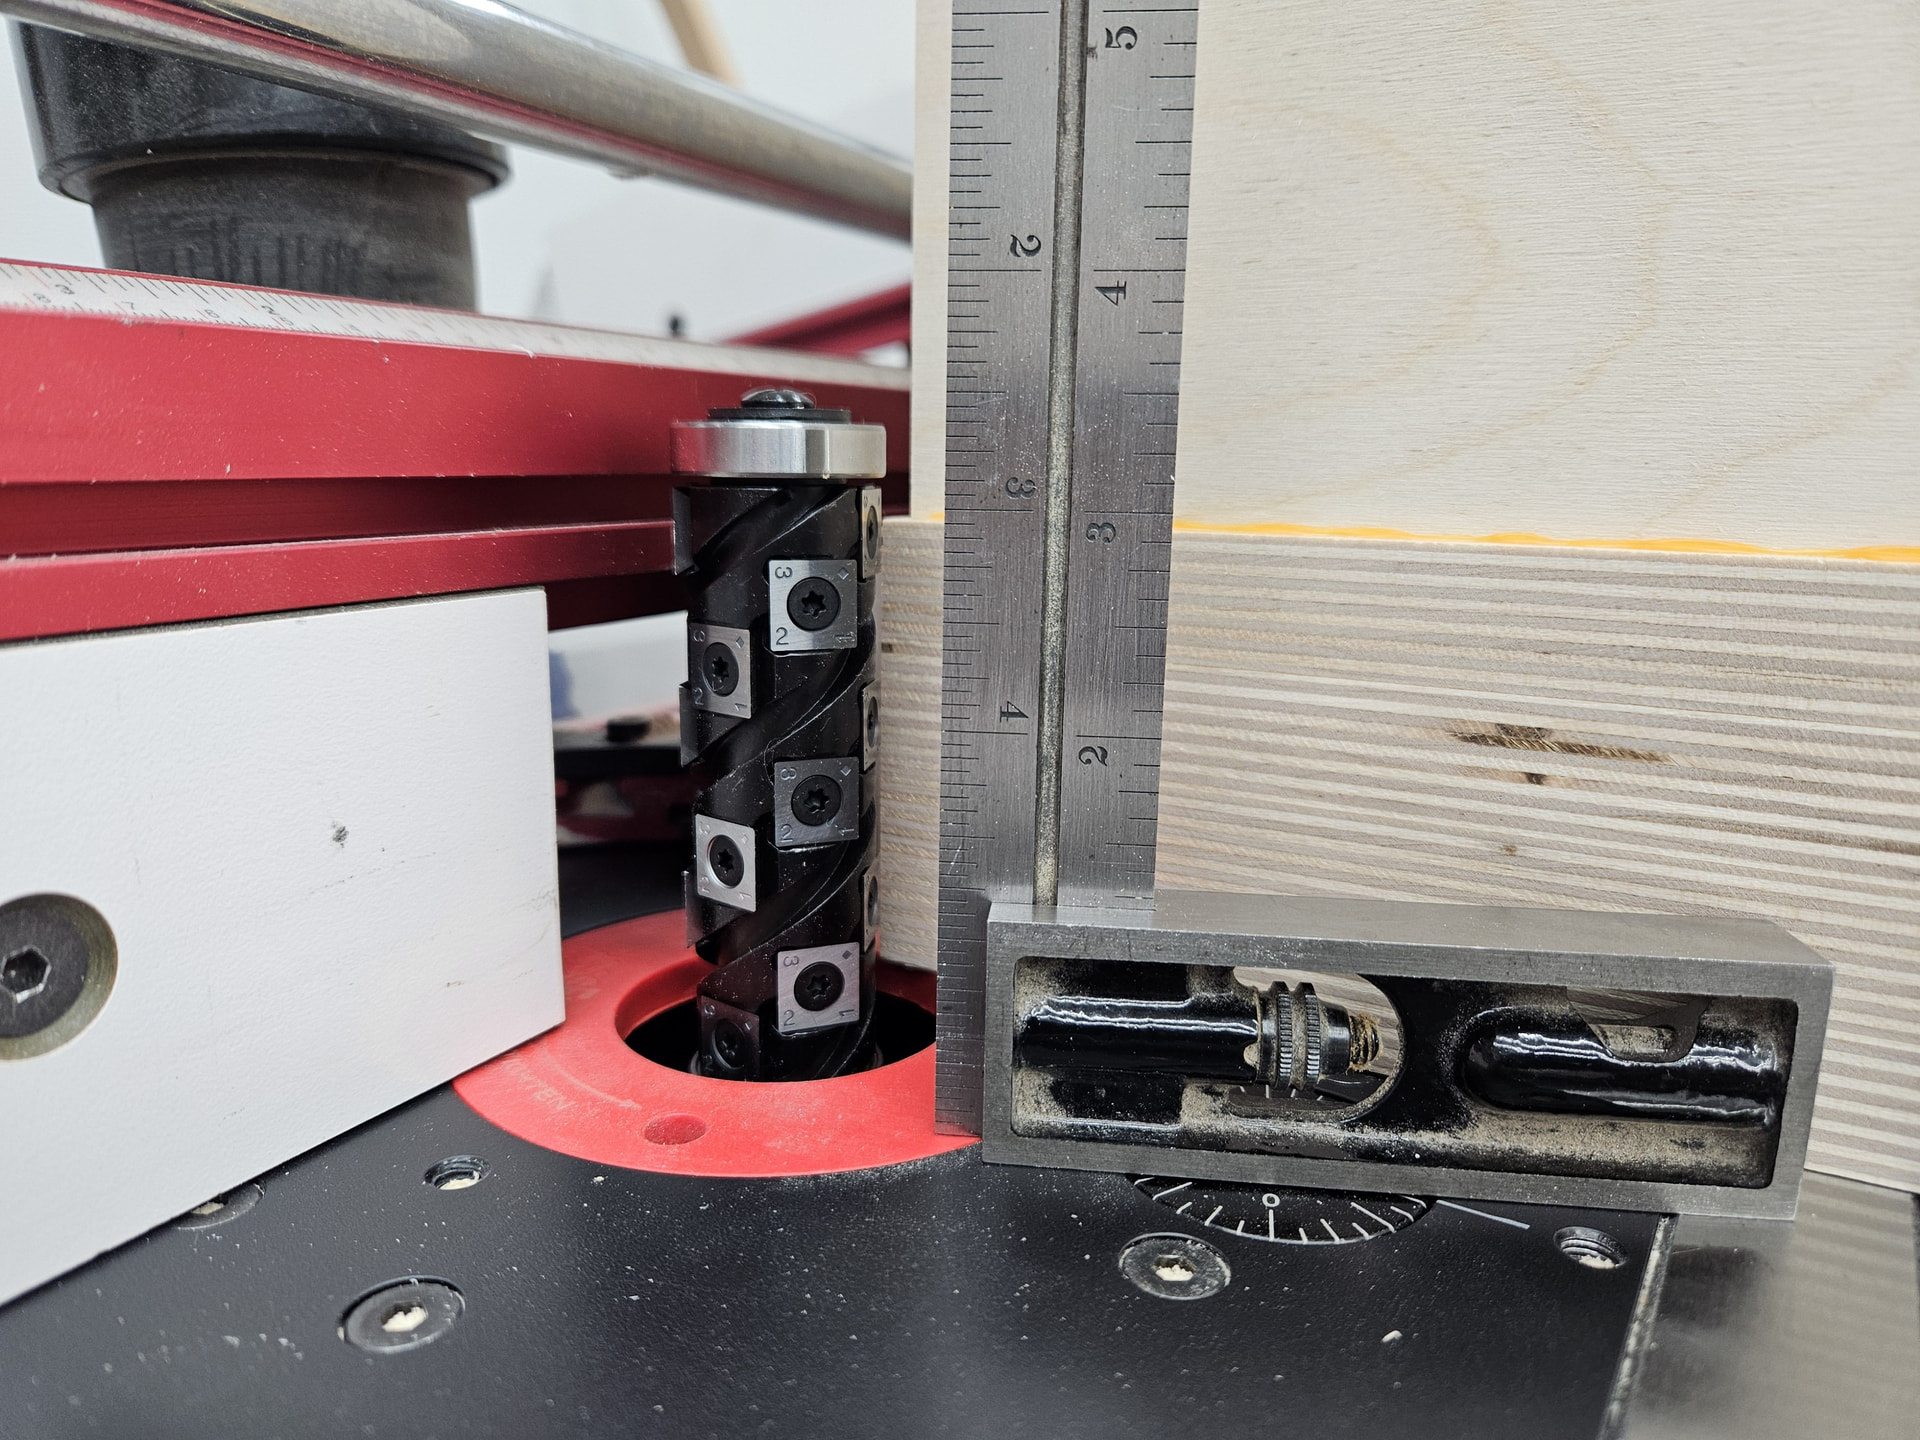
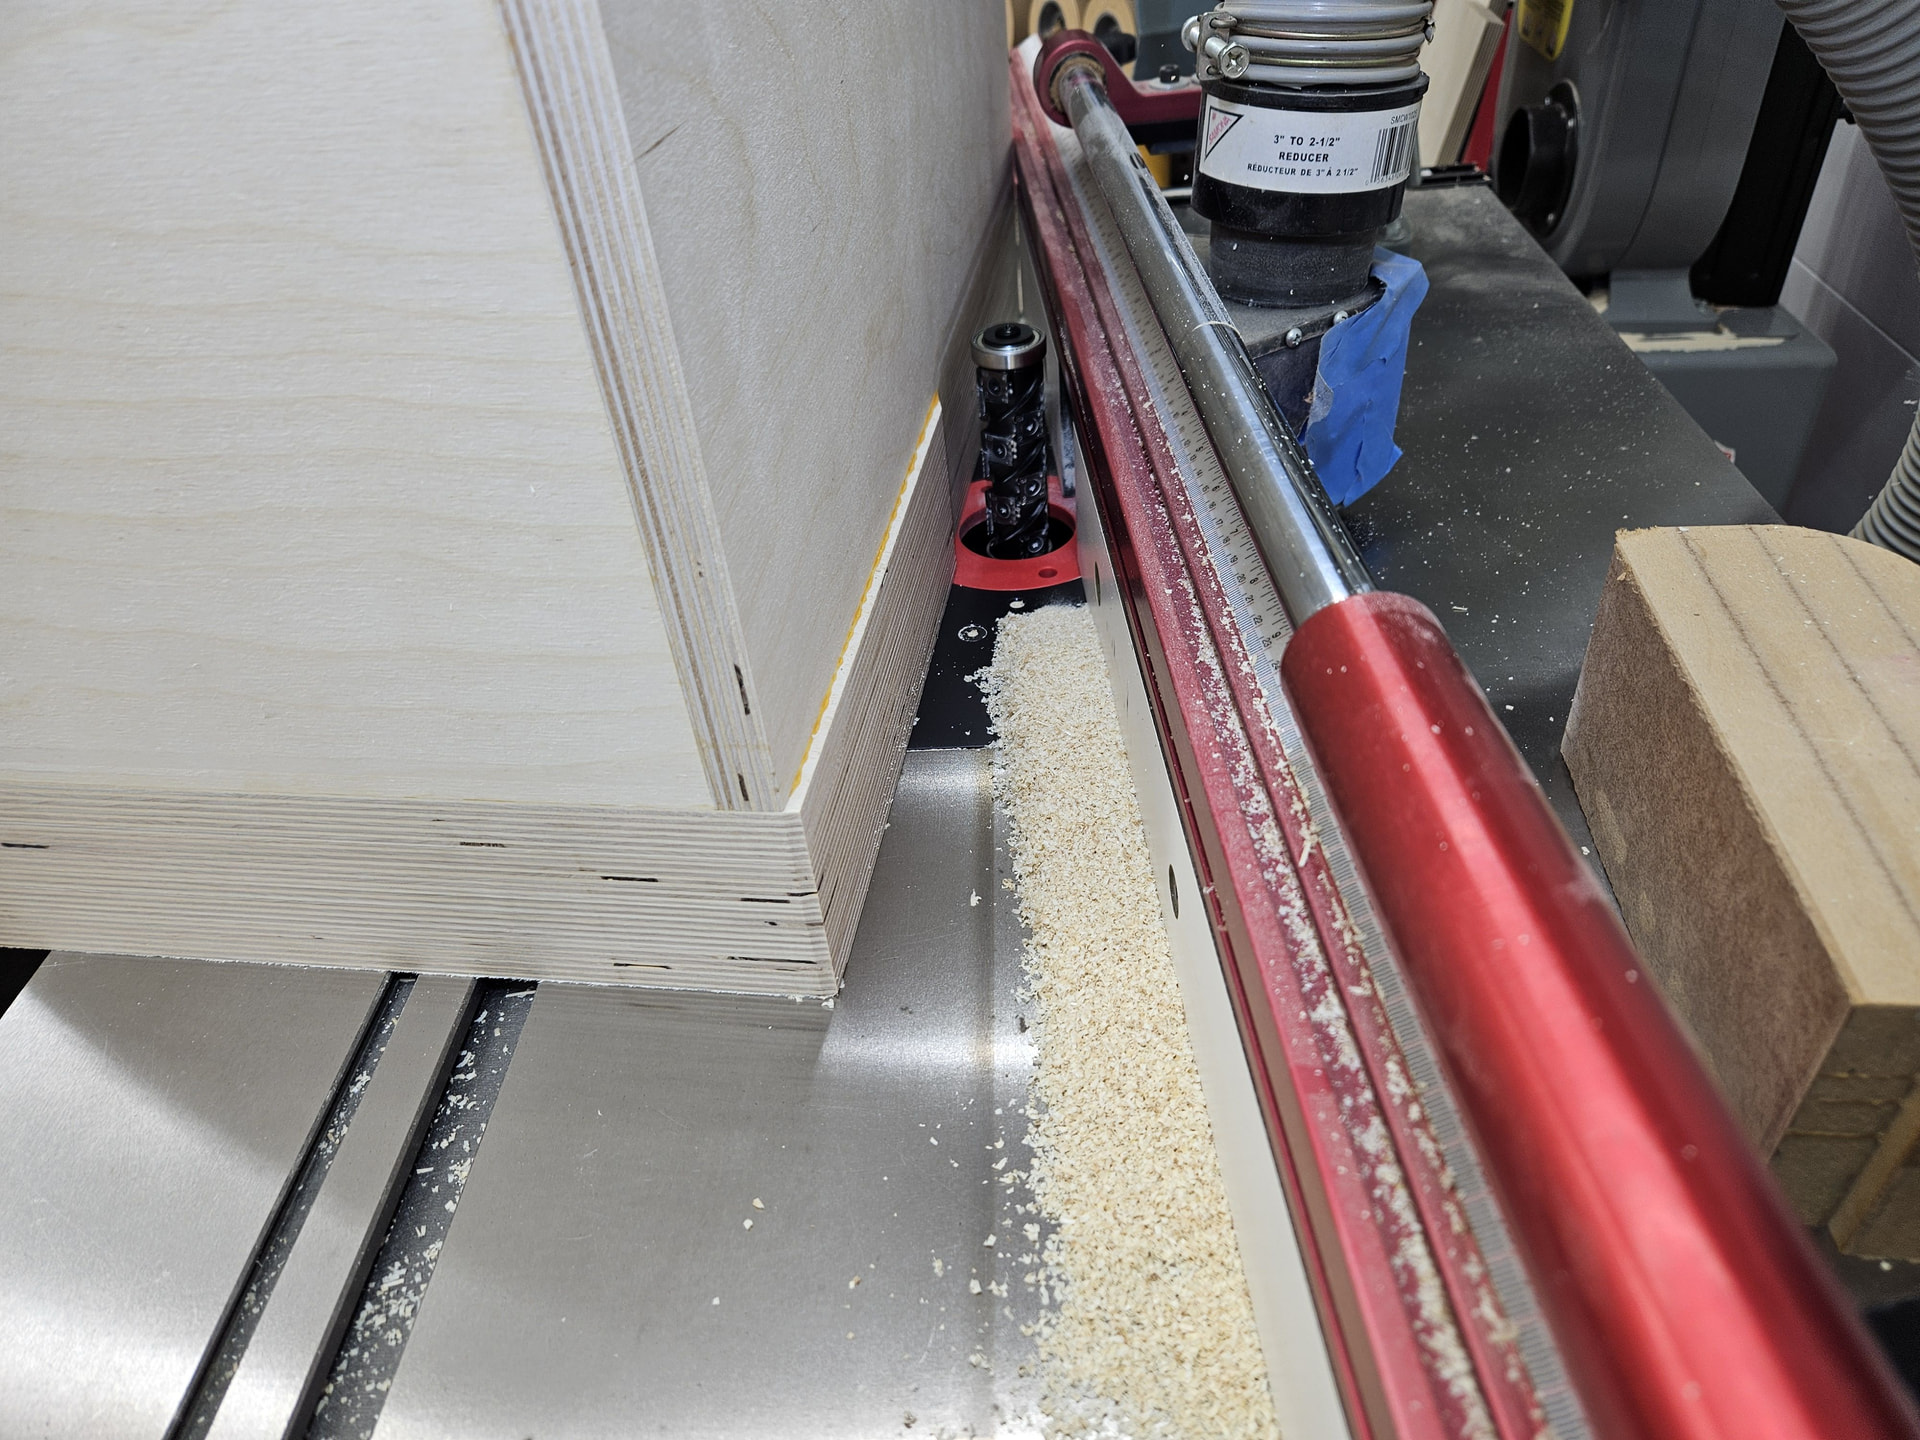
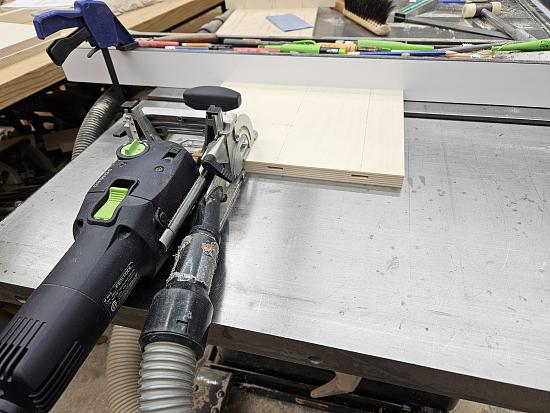
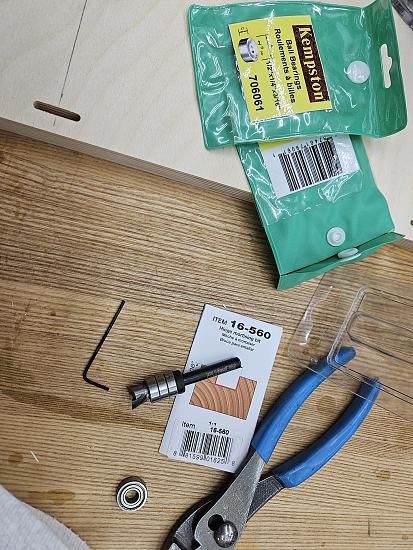
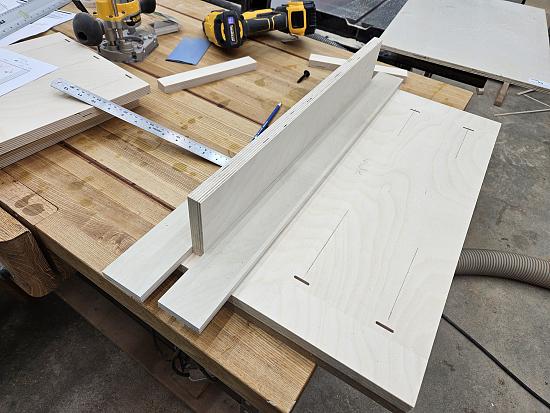
The back you see in the pic is not the back. It will be a “window” style frame (no windows yet) that the interior braces will attach to at the rear of the box and a place to screw the actual (presently not seen) back onto. It will make more sense in later installments. Since I don’t have an 18mm router bit, plus I wanted the groove that held in the back frame to be a stopped cut, I made a jig to route the groove in the sides/top/bottom to capture the rear window frame using a 1/2" downcut hinge mortising bit. I had not made this type of jig before, it worked well.

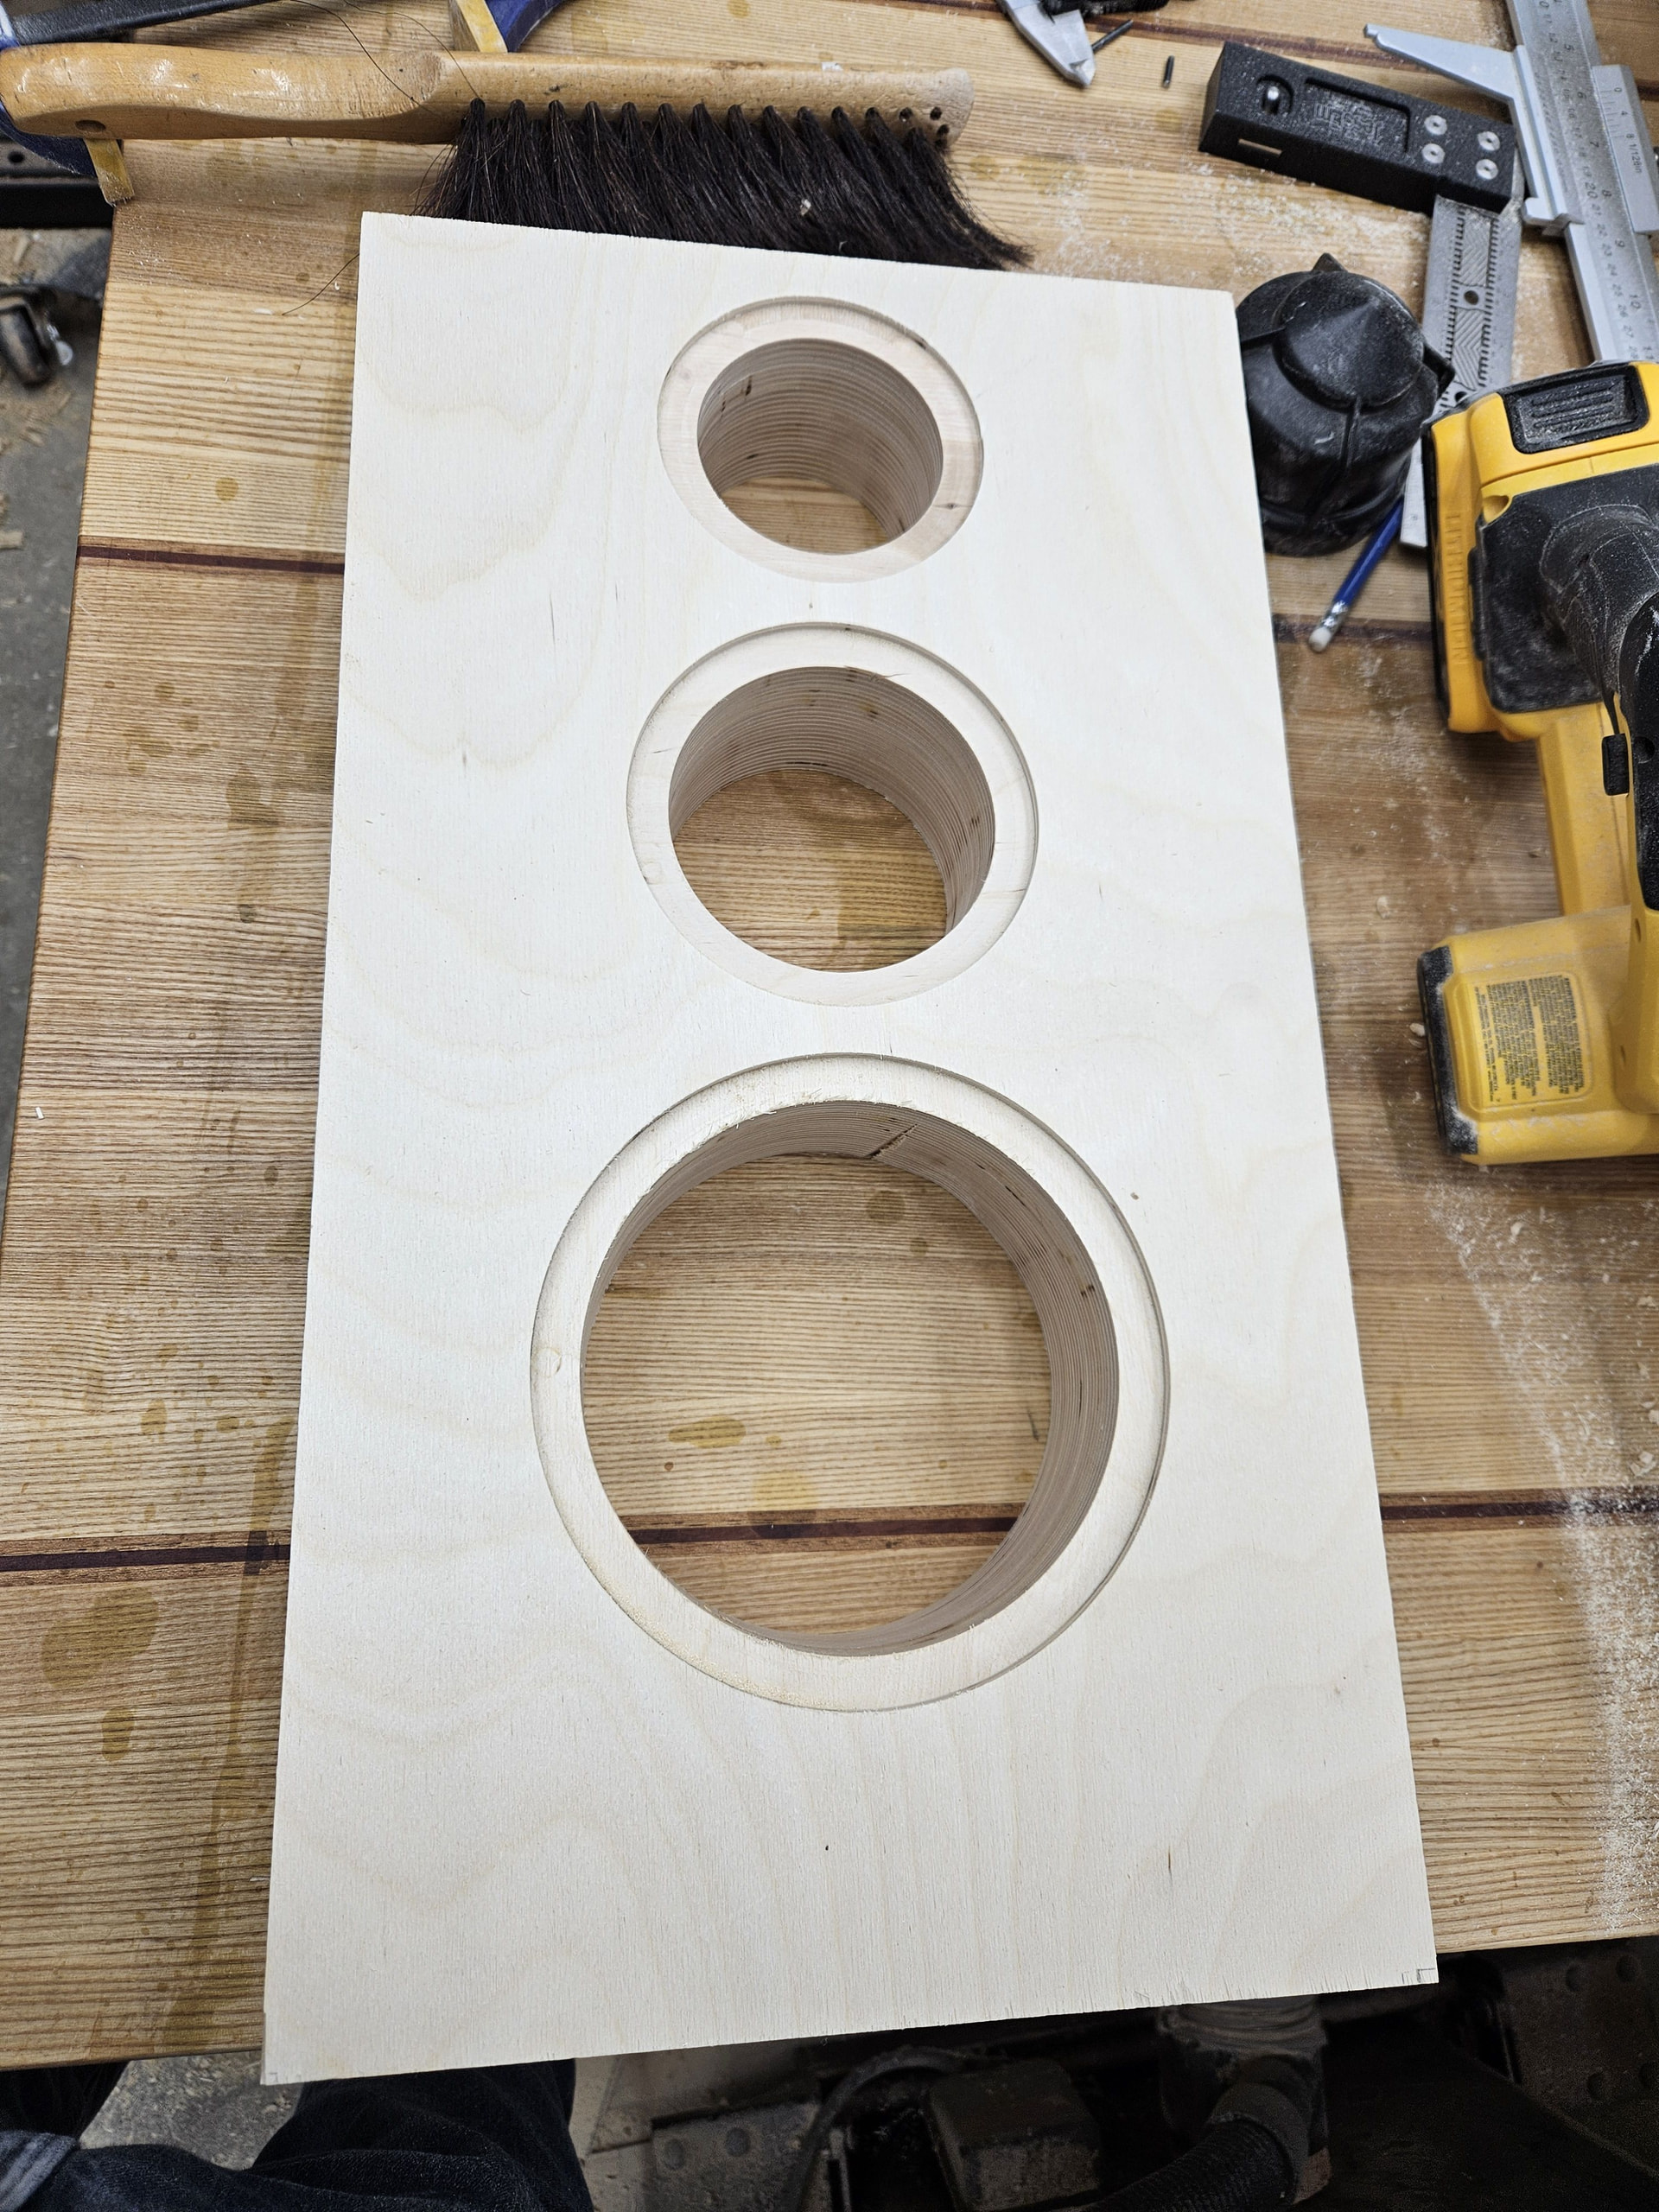
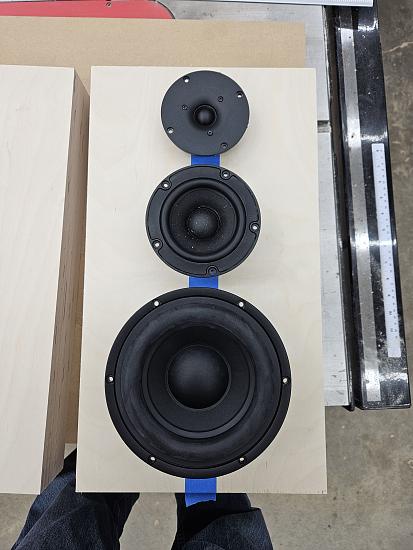
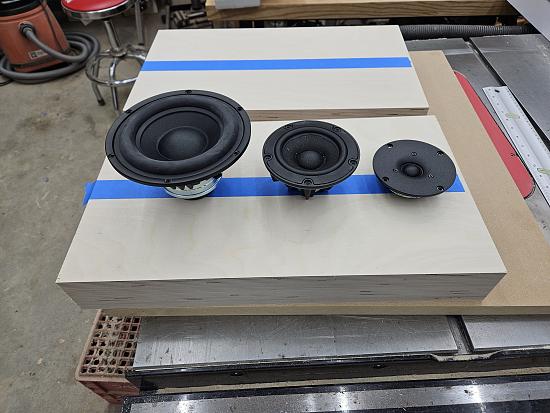
Drivers are Wavecor TW022WA06 22mm tweeter (been sitting on these for about 6 years from a Solen sale), Peerless NE123W-08 4" full range (last years PE prize money) and Bold North Audio BWX-6502 6.5" 8 Ohm Subwoofer (good deal from Q-Components here in Canada).

Doesn’t look like much so far, but this was a good two days work to get to this point.**

**Thanks for looking,

David.

#meetthefocktaves**

8 Likes

3 13/16ths baffles- hefty little 3 way !

Looks well thought out and executed so far- nice

Opps, edited, 2-13/16” not 3-13/16”.

1 Like

Impressive so far! That’s a lot of BB. Driver selection is excellent. Wish I could hear these.

Seems like these will look fantastic and I second the driver selection being very nice.

Very cool project!

Not really much to say here, just a lot of pics of working on the baffle and building a box.

I don’t like complicated glue ups, so I try to break things down into may steps.

When gluing the box together, I only glue on one side at a time. I even did the braces so they could slide in after the box had four sides and the back frame.

One of my favorite Phil Hartman SNL bits was the Anal Retentive Chef’s and I found him to be a slacker compared to how I obsess about small details no one will ever see in everything I make. Hence how I ended up using a 23g pinner to tack strips onto the window braces and back frame to flush trim them to be all square and pretty like compared to just free handing them with a jig saw.

With the baffle being almost three inches thick (4x18mm) I didn’t have a router bit long enough to make the full cutouts in the baffle with the circle jig, so I finished the cutouts with a jig saw and used a large flush trim bit to make everything, um, flush.

In order to remove material from the back of the baffle, I needed to use a router bit extension with a large rebate bit. Yes, I know, no reason to open the tweeter opening, other than to just remove material to make this slightly lighter.

Try as I might, the front and back edges of the speaker box were not 100% flat, so I always lap them on my big sanding block.

4 Likes

a few more,

6 Likes

That spiral muti cutter flush bit it insane!! Nice work as always​:+1:t3:

4 Likes

Great work. That’s going to be one solid box.

Very nice. I like the 4mm slots. I might need one those. I cant afford the helical flush trim.

Amazon has some of those flush trim bits for about $70.

1 Like

you sir have some serious tools.

That looks like quite the build.

1 Like

Did some more work over the last few days, time is running out, got the removable back done and the baffle glued on.

Laid out for all the holes on painters tape, drilled the back and the back inner frame at the same time on the drill press with a 1/4” bit.

Inserts are 5/16”, and just going into the 1/4” hole with a normal 5/16” bit would not make for concentric expansion, so I used a step bit which does concentrically expand the hole. The existing 1/4” hole acts like a pilot for the 1/4” portion of the step bit and the 5/16” portion of the step bit is perfectly aligned. Still have to go back with a 5/16” bit to finish the through cut, but this is the best way to do this.

I hadn’t thought through how I was going to drill the pilot holes for the inserts and drive the screws, but a 1/16” hex shank drill bit on a 12” extension did the trick. Not use I have ever used 5/8” #2 screws before.

Glued on a block for the port to mount to, more on that later.

Putting the entire box on the smallish drill press table was awkward, so for drilling 1/4” dowel holes, I drilled a pilot block on the drill press and used that as a perpendicular drill guide.

I like using dowels to attach the baffle to the box as it is easy to align things. Who would have thought a small project like this would have dominos, biscuits and dowels!

The baffles being 18mm*4 thick, I had to get out the bigger flush trim bit this time.

Just need to mount the port and bevel the baffle now.

8 Likes

Great work and thanks for the great pictures!

Time to think of a colour, I prepared a number of samples from different stains and dyes I had kicking around.

Don’t really care for how most of the colours turn the end grain ply almost black.

Lower half of each piece has two coats of Osmo.

I had high hopes for the blue, but honestly, I am liking the Mustard and the plain with a strong leaning towards the plain.

Your pick/thoughts?

1 Like

Got a pic of the room/venue they will reside within for aesthetic colour matching?

The Mohawk Blue is purty. I wonder what 2 or 4 parts of that mixed with one part medium mahogany might look like?

I really like the two blues as well.

I use cheap throw away pipettes to blend stains and make small samples accurately. I don’t like to be limited to what is in each can, as long as they are compatible.

i like the plain. The blues are good - but are you able to go a bit darker? another coat maybe - it looks almost there, but not quite, same for the other colors, expect the plain - which looks most at home.