Link back to an existing thread:
1 Like
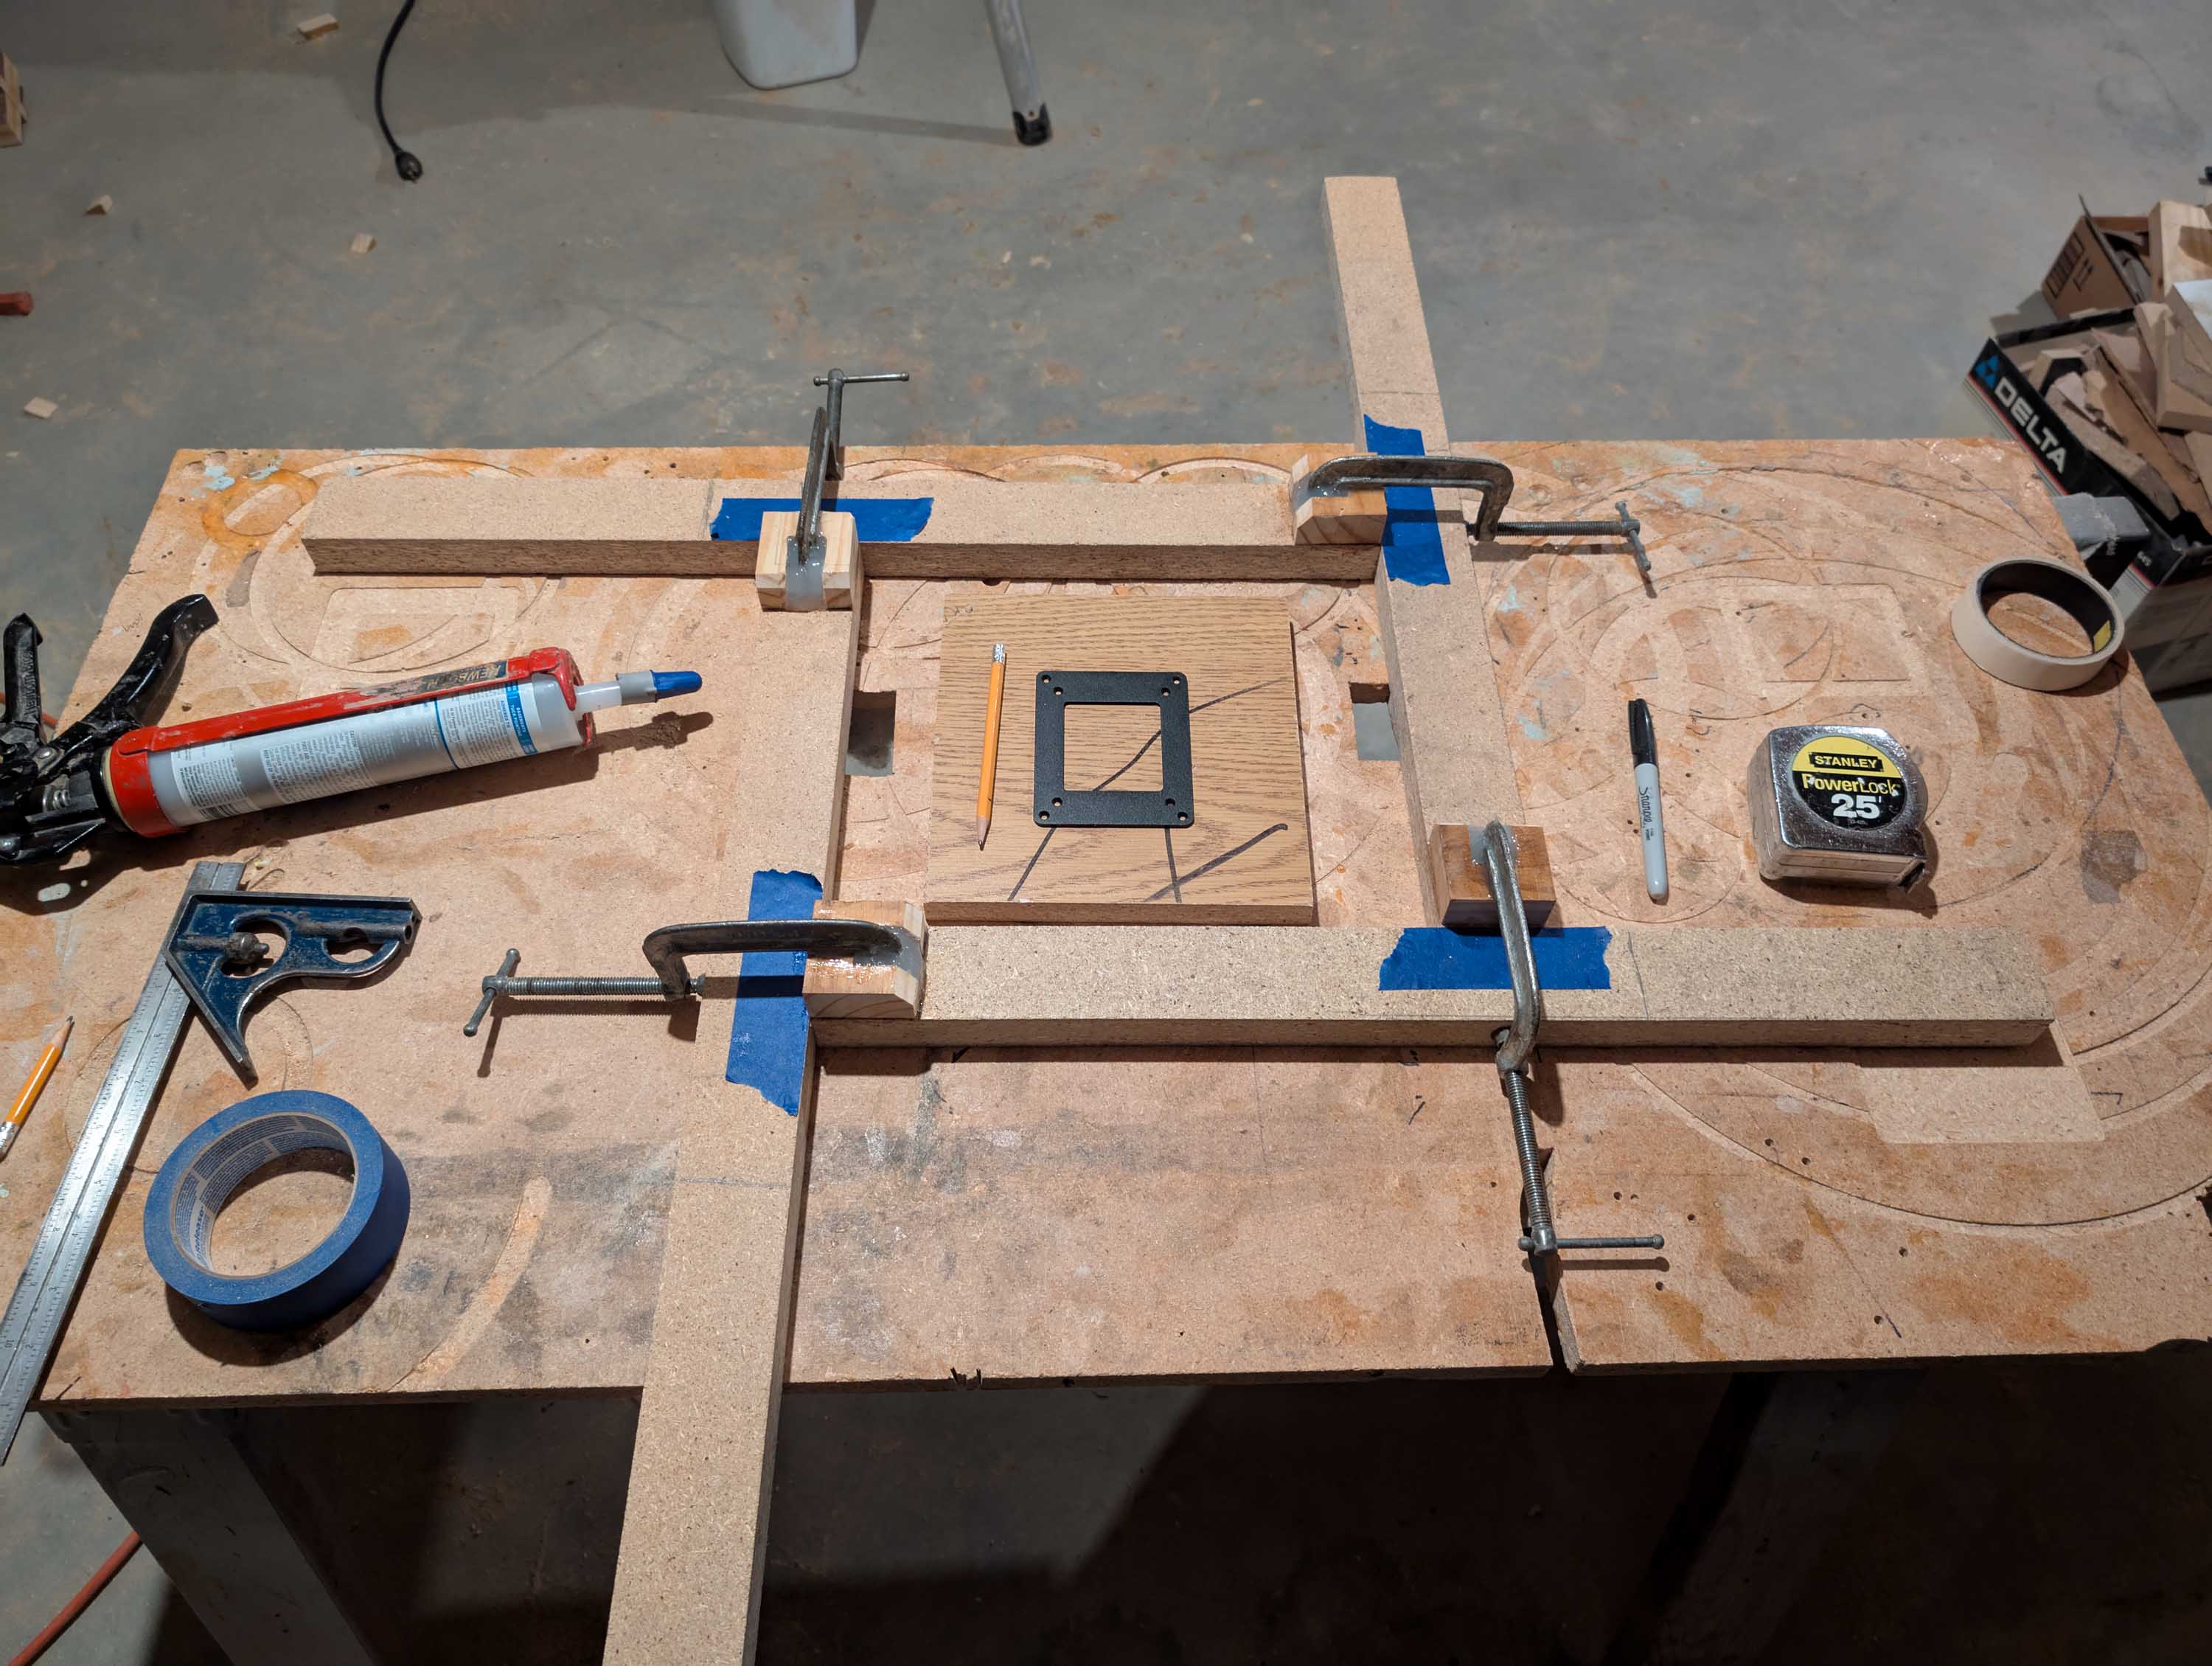
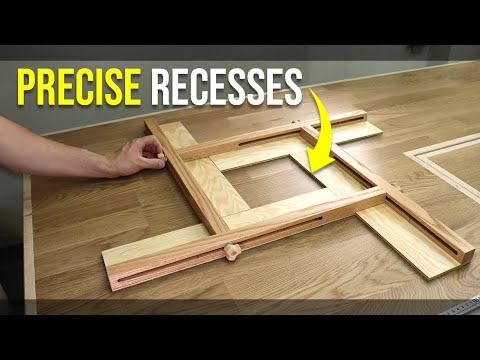
I made an experimental “juice groove” style jig to cut rectangular tweeter and midrange baffle recesses and through holes. If you don’t know what a “juice groove” jig is, just do a youtube search on “DIY juice groove jigs” and you will get tons of short videos on the subject. After watching several vids, I figured I could modify this concept for speaker building.
Jig consists of 4 particle board stair tread guide rails, measuring 1 1/8" thick by 2 1/16" wide by 24" long. And four 3" c-clamps siliconed into slotted joints on each end. I decided to use c-clamps instead of the traditional “youtube” style slotted guide rail systems in order to increase the clearance for the router handles when making through cuts on 3/4" material.
I’m currently waiting for the silicone to set up, which will hold the clamps permanently in position. Should be ready to test on a real baffle in about 24 to 48 hours.
4 Likes
The juice groove also works to make a faux “paneled” look on a board. I did that on some edge glued aspen panels for doors on a wine cabinet I made my mother 15-20yr ago. Kinda funny to think back now, that I was basically making cutting boards with hinges.
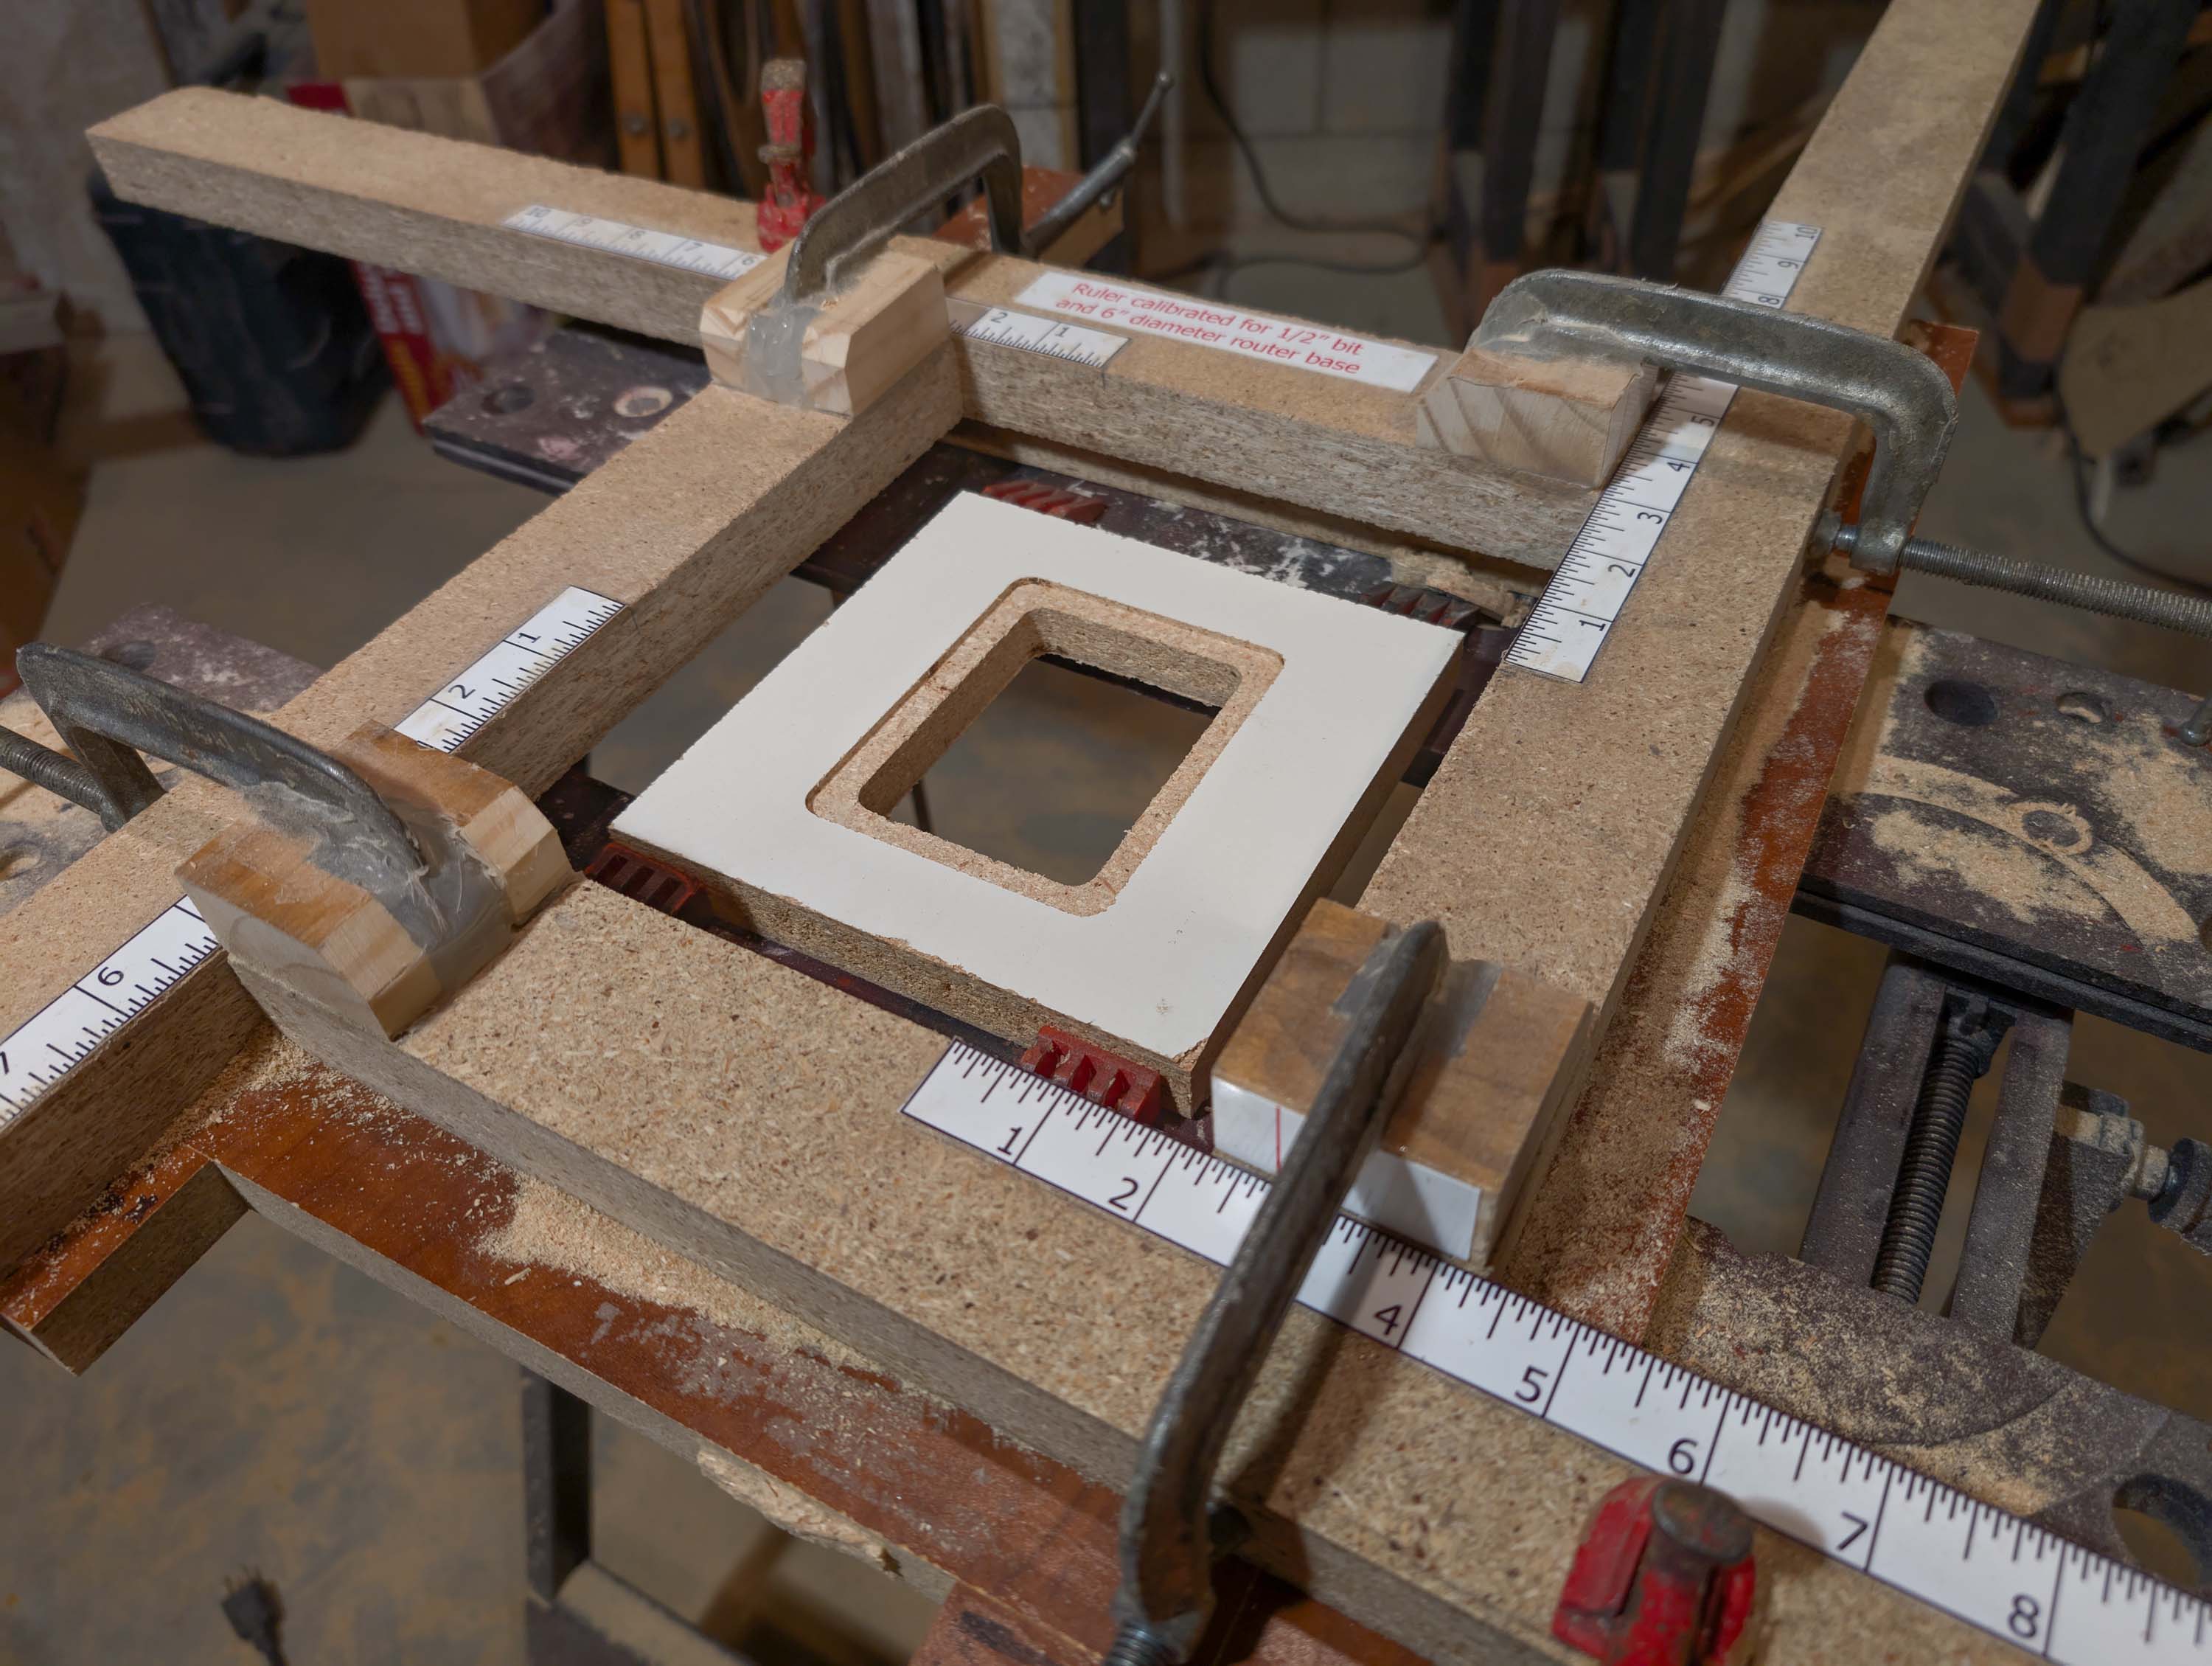
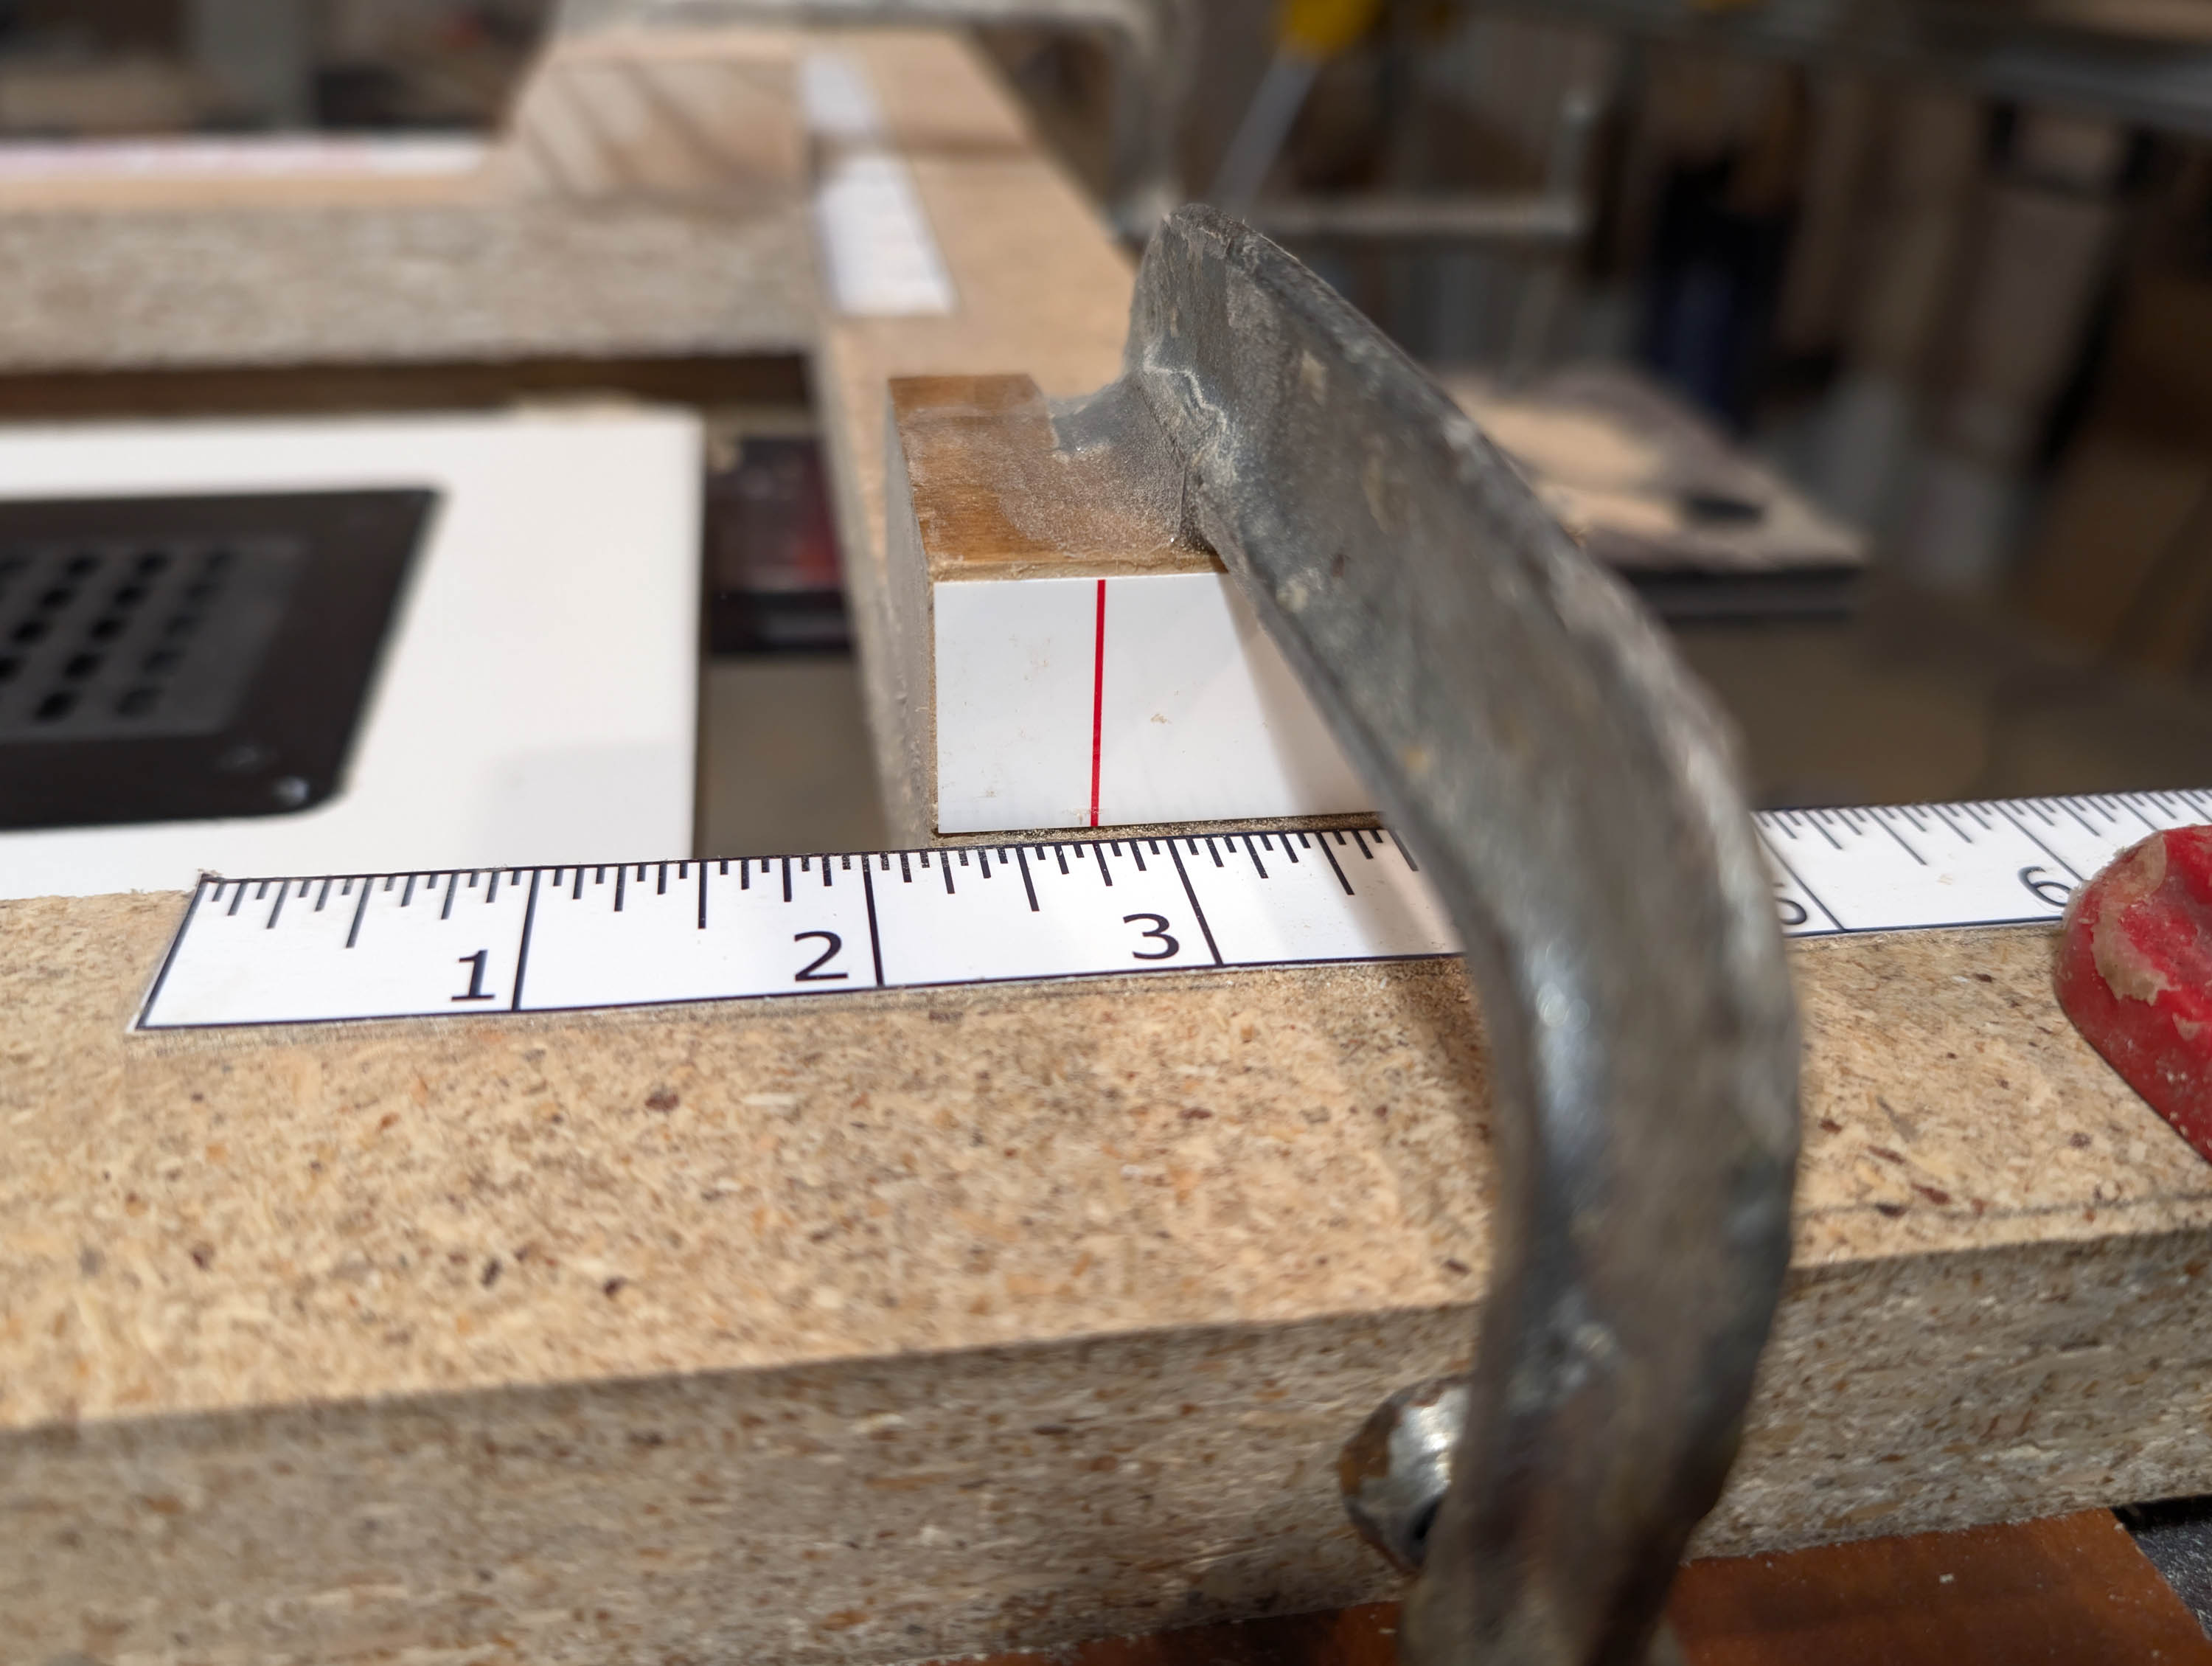
My juice groove jig was difficult to use at first, so I calibrated it to a tolerance of 1/32" with my dial calipers. To do this, I made four 10 inch long rulers in photoshop, then silicone pasted and aligned them to thin red markers at each corner (see pic). The vertical guide rails are precisely set by loosening the two adjacent clamps, sliding the two guide rails into position, and then re-tightening the clamps. Then, I repeat this same process to align the two horizontal guide rails. The rulers are calibrated for a 1/2" router bit and a 6" diameter router base, so if I change router bit diameter for another project, I will need to add or subtract the difference from a 1/2" bit when setting up the rails.
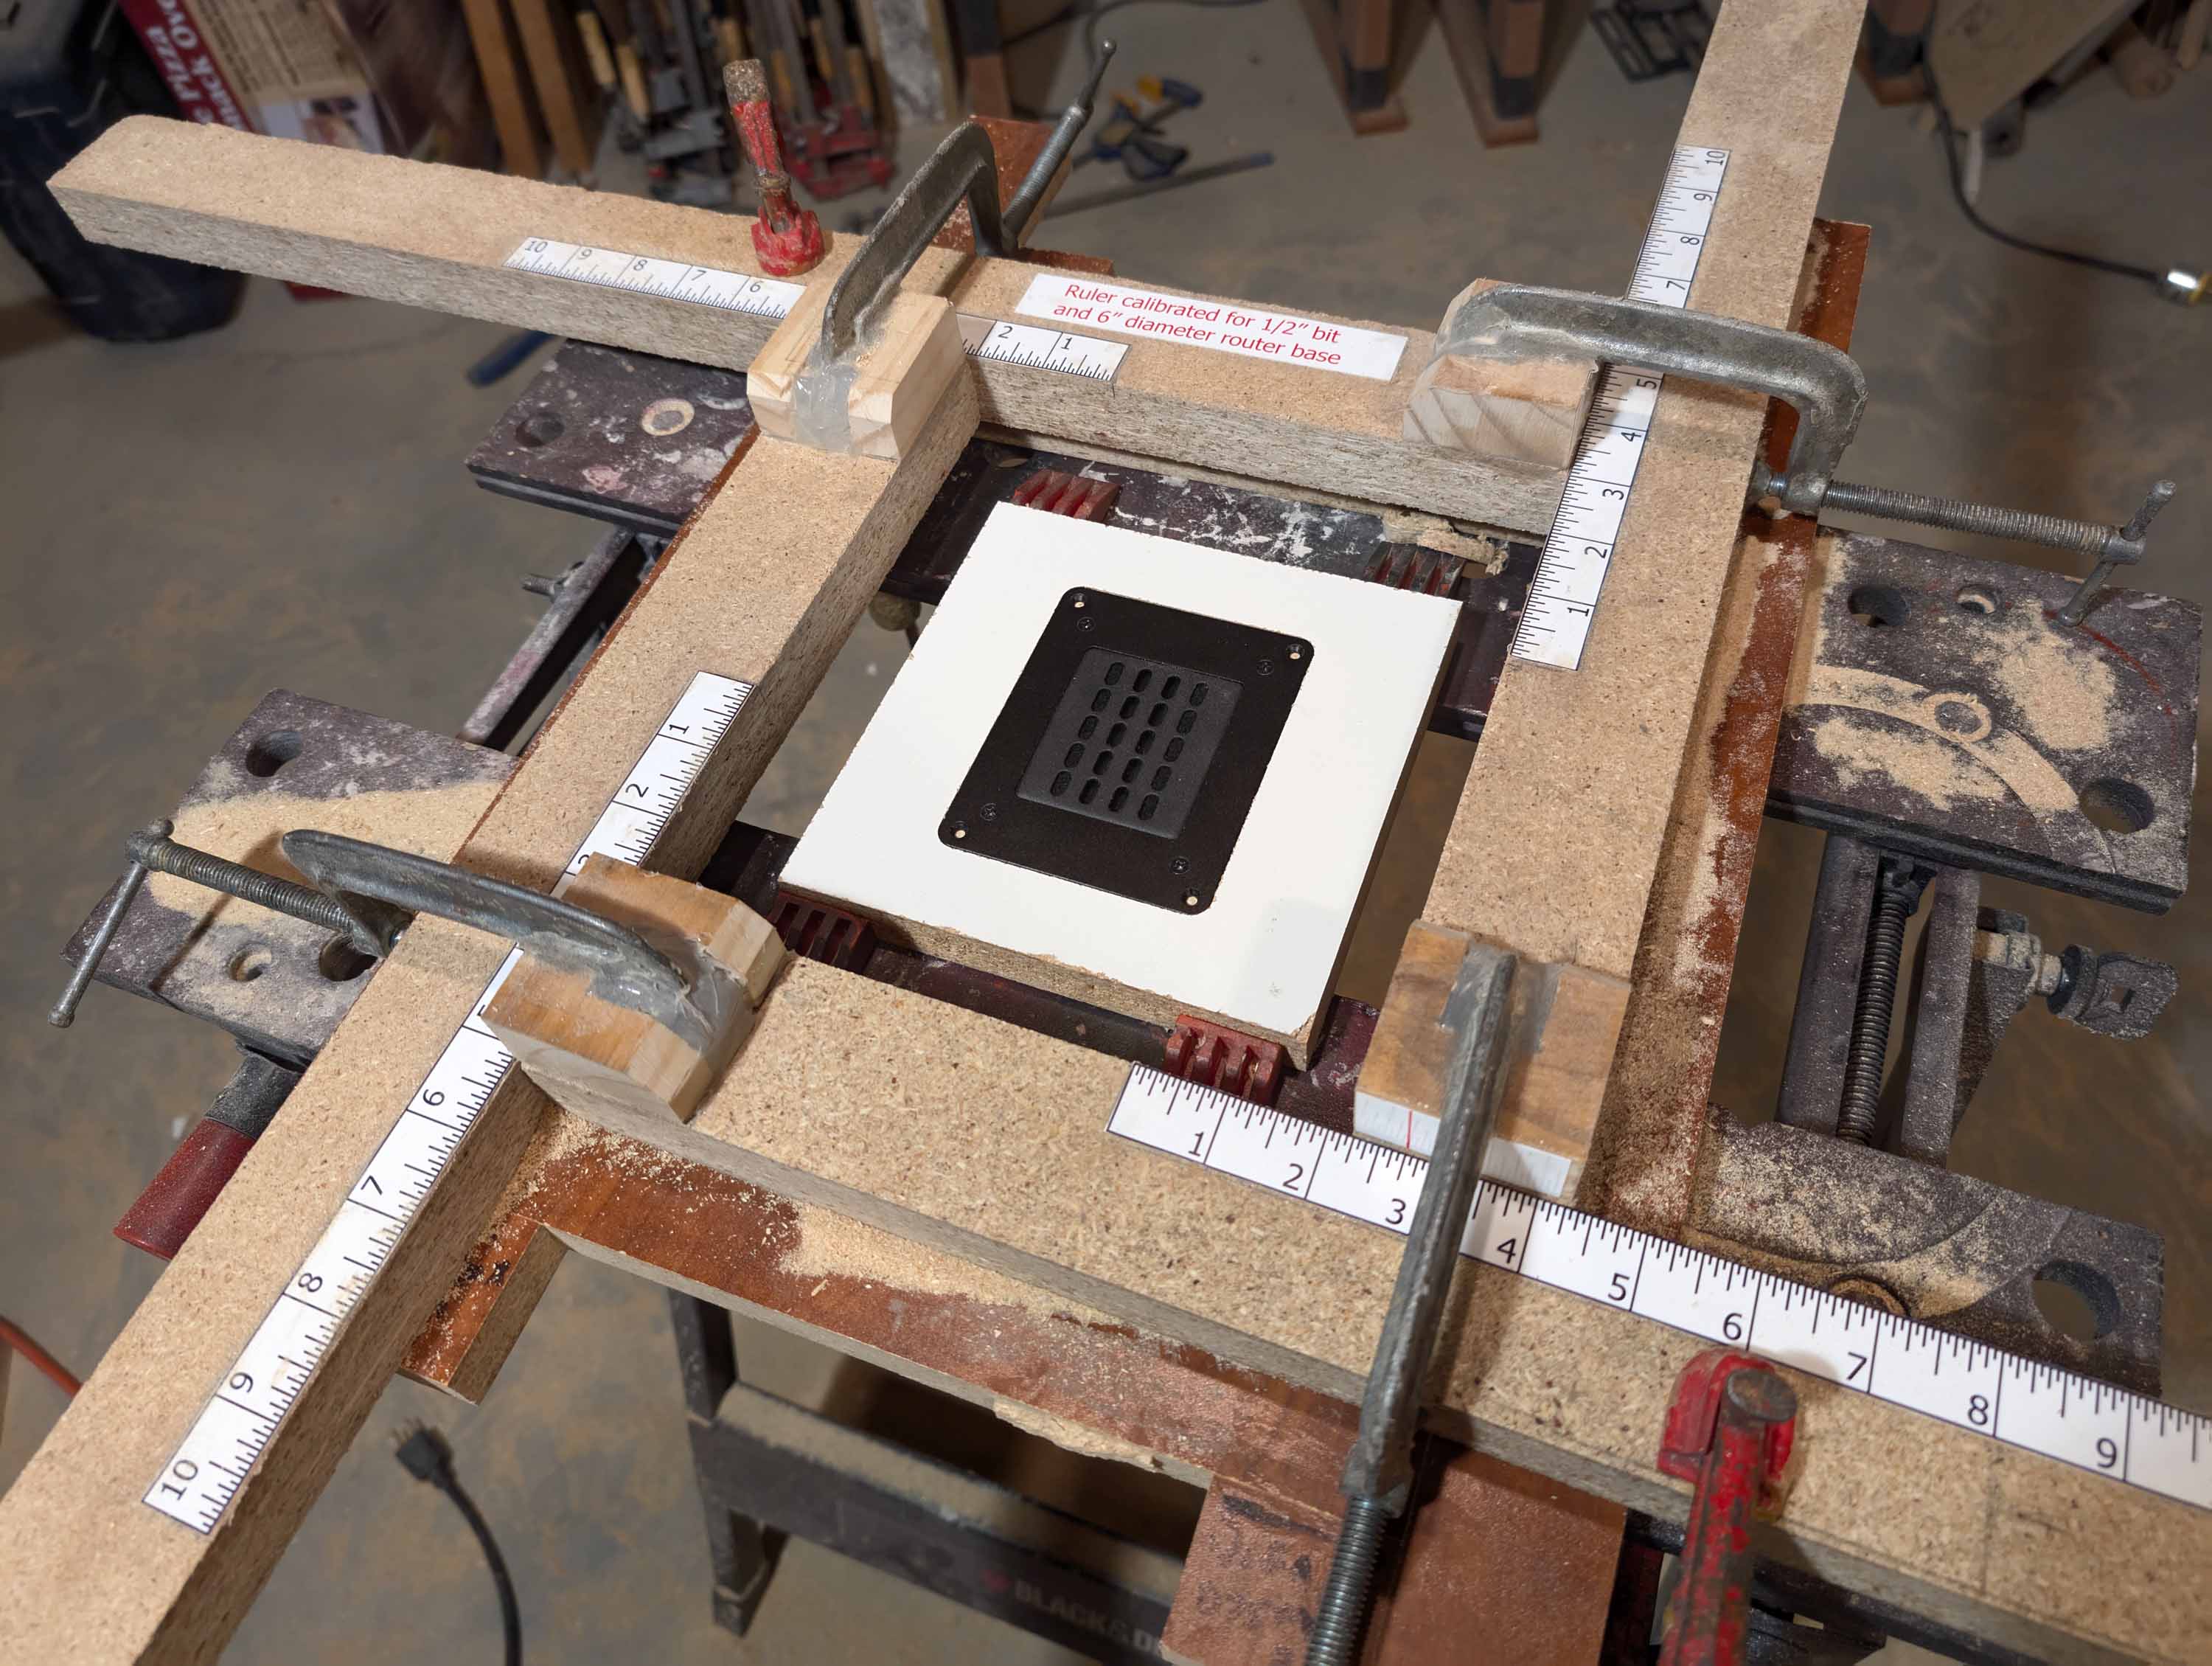
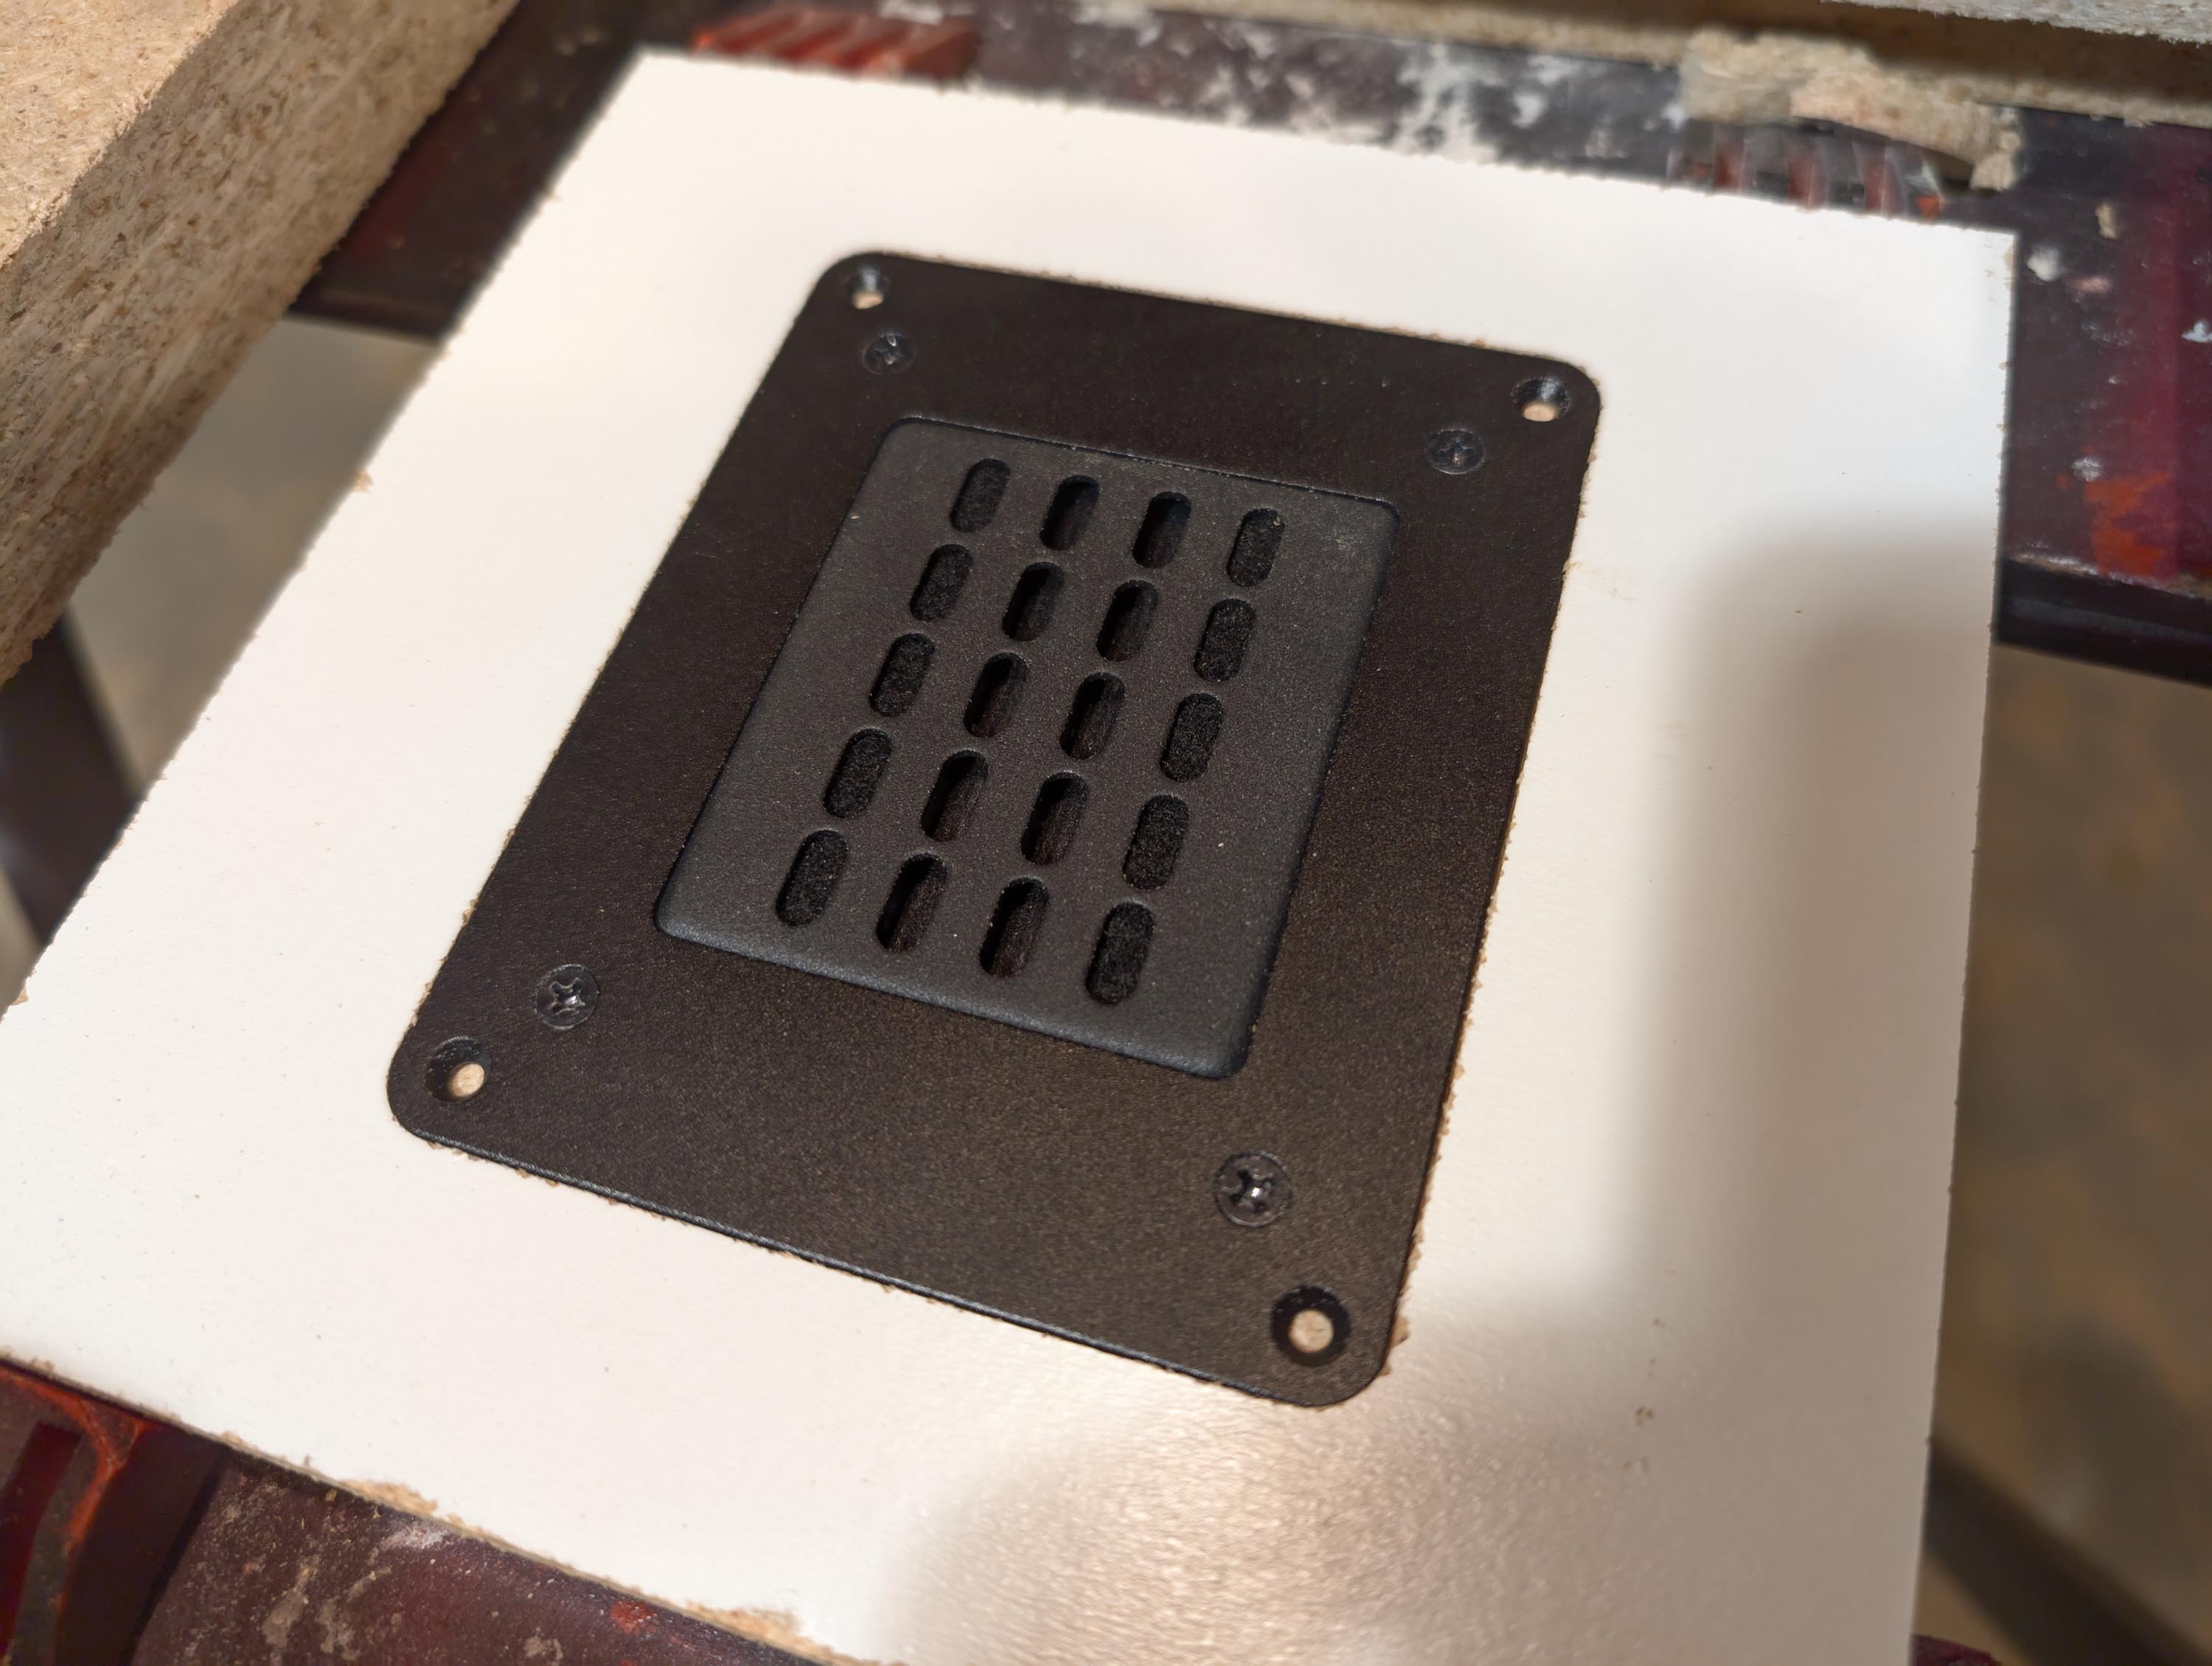
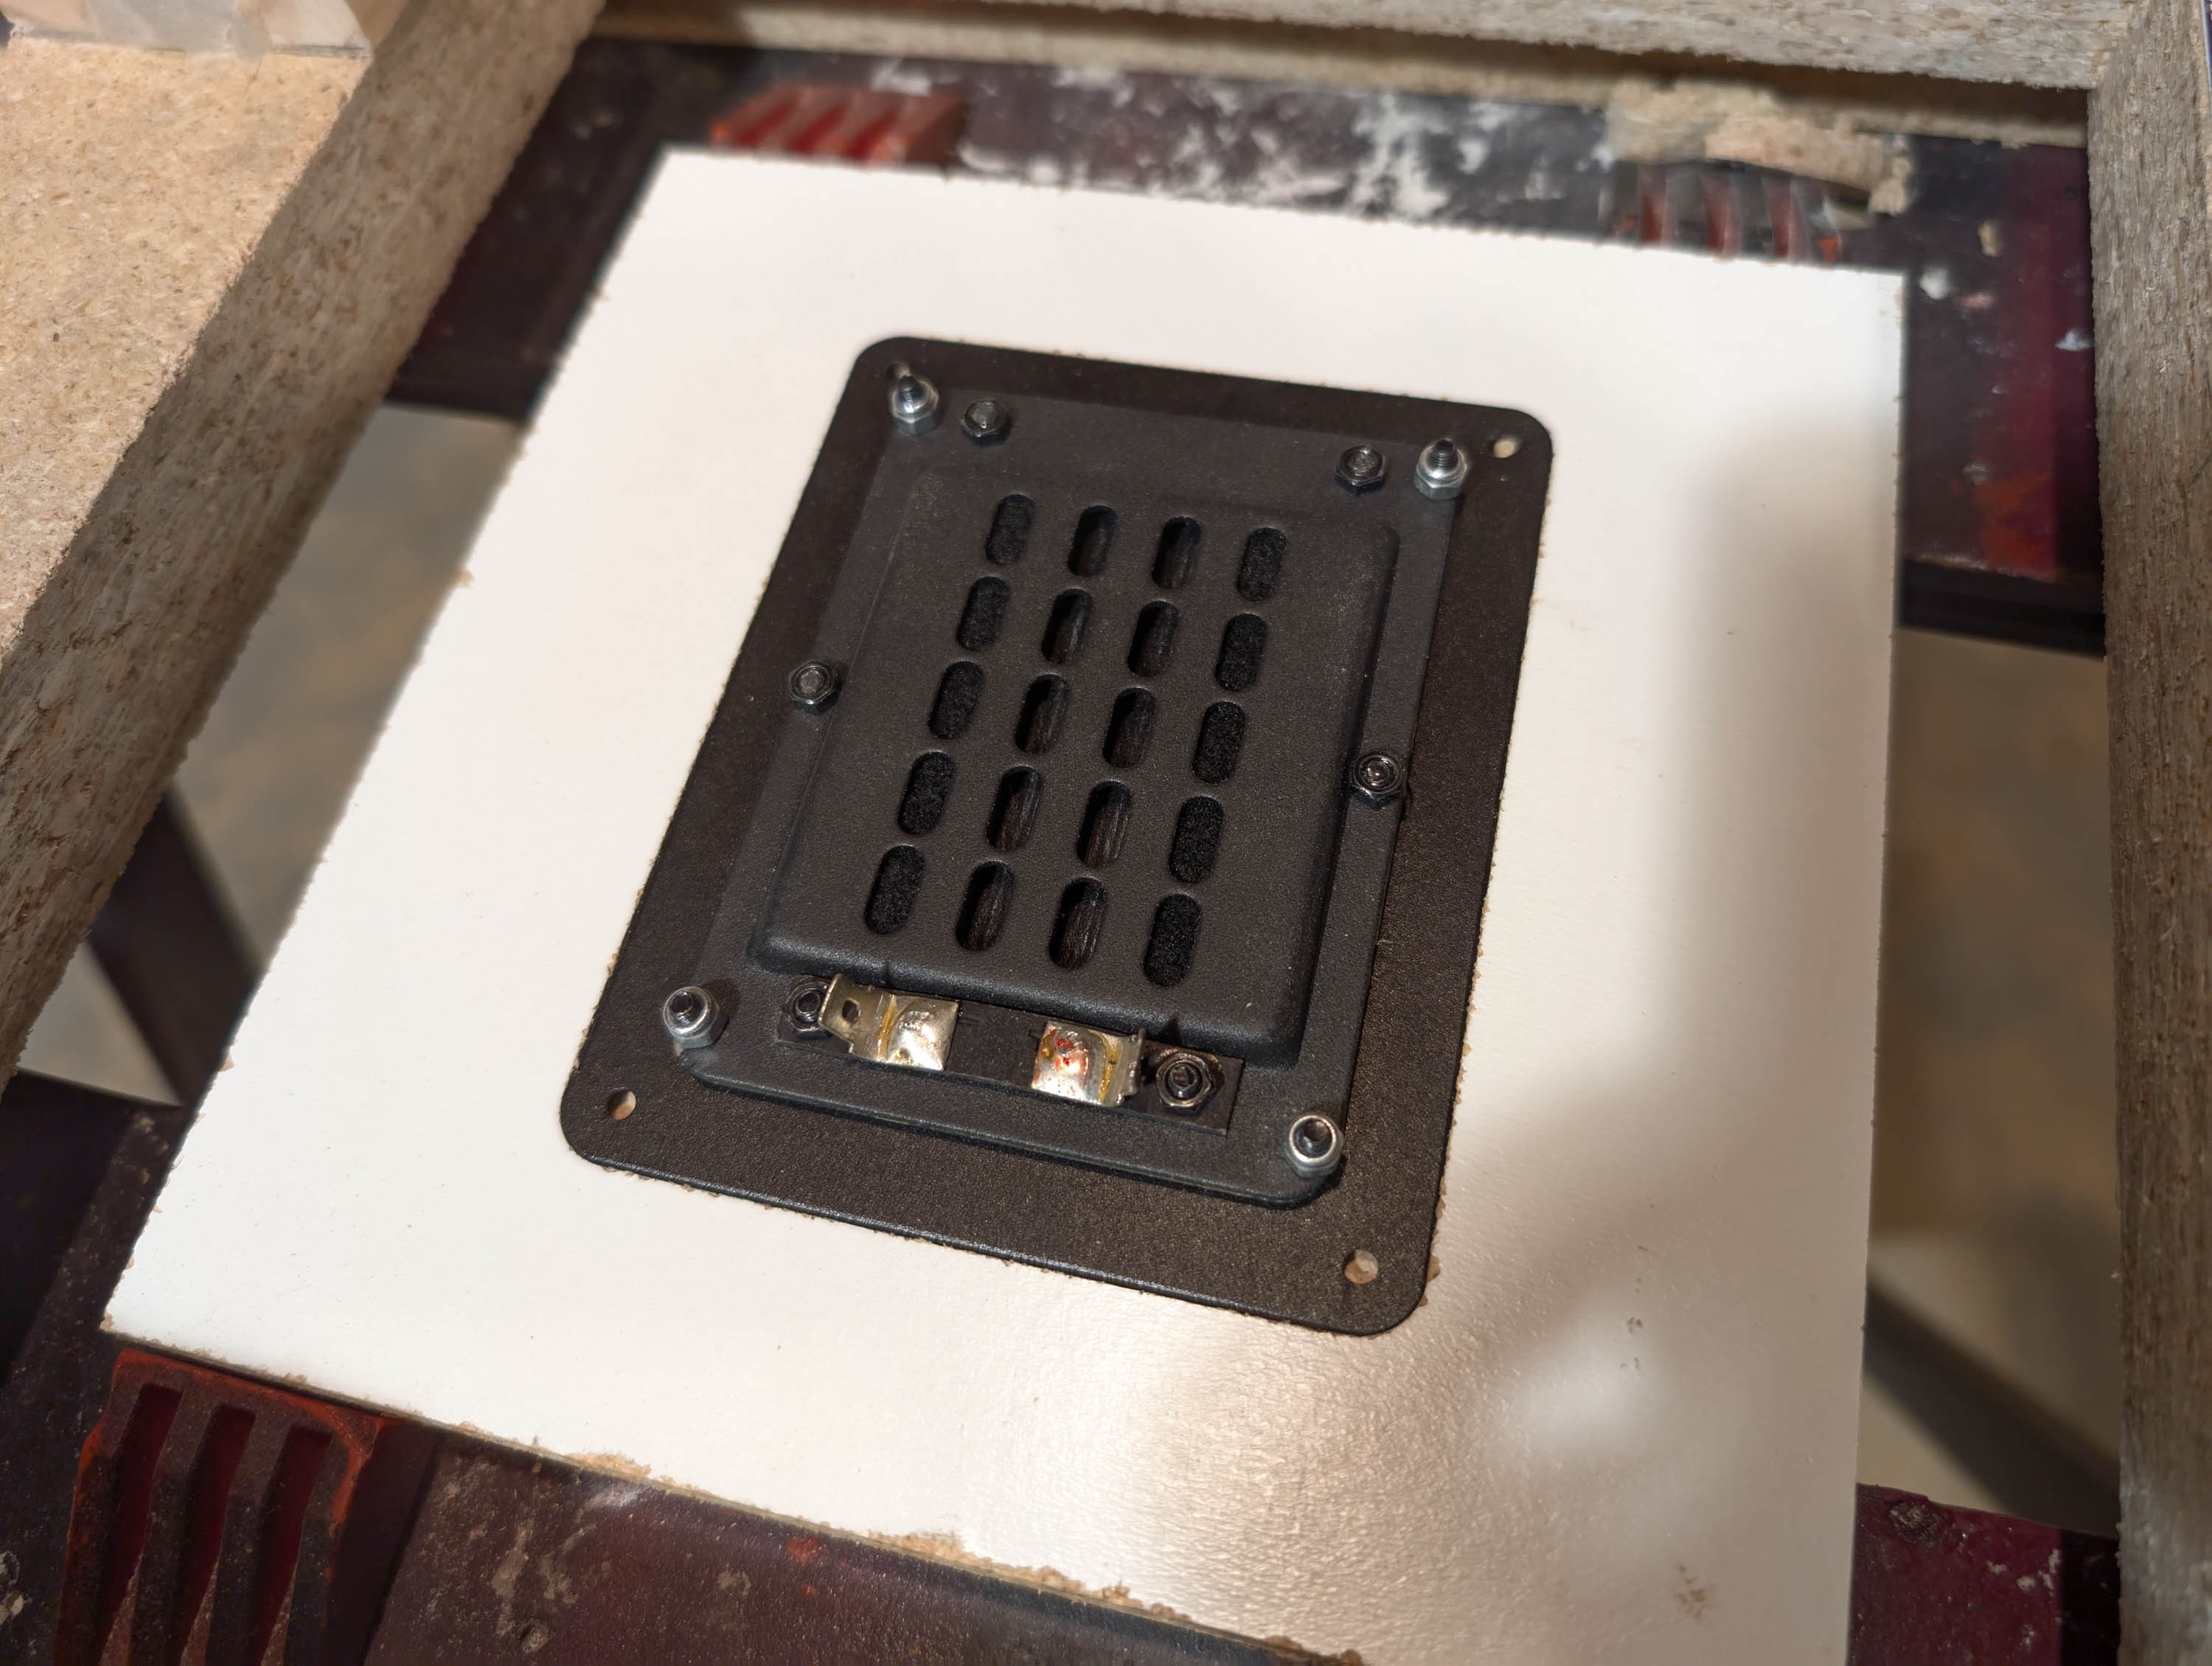
The pics below show my first test cut. I mounted a GRS PT2522-FP face plate with PT2522-4 3.5" planar tweeter to a 6.5" square baffle. I did the outer recess first, then re-positioned the jig to do the through hole. Fits like a glove.
7 Likes
That’s a super handy jig I could definitely use.
Can’t tell you how many times I have struggled with this!
There are much better looking commercial versions of these devices available on-line, but many of them do not have marked off ruler scales and none of them have scales that are calibrated to a router bit or 6 inch router base. Now that I have my DIY contraption working, I think I’ll build another one, replacing the c-clamps with something that looks a little bit better. I’ll also cut the 24" length of each guide rail down to about 15" or so. Rectangular tweeter or midrange flanges don’t go much beyond 6 or 7 inches square.
2 Likes
You can get fence clamps on Amazon that might work well for that.
2 Likes
Ya, that would be just the thing. I was looking for something like this but came up empty. So I ended up going with 3" c-clamps instead.
I would suggest running the pieces where the c clamps are long so they overlap the cross rail. It will make it much more solid.
Correct me if I am misunderstanding your suggestion, but I do not think that this would work. If I moved the long parts of the c-clamps down so that they overlapped the cross rail, then the c-clamp’s pressure pad would no longer line up with the center of the rail’s outer edge. The pressure pad would miss the rail and fall beneath it. This is why I silicone glued the c-clamps about an inch proud of the cross rail.
What I had in mind is to take the end with your vertical making line and extend it so it slides over over the rail with the measuring tape, but Bill it’s your jig make it any way you want.
Ok, now I understand what you were saying. Yes, that would work. Thanks for the tip.
Tom, I might try this out as well. Initially, I was going to build it like this. But I went with end clamps instead because the slotted rails and support panels could only be a total of 1.25" thick or less to clear the router handles when making a through cut. Your picture looks like this is about that thickness, using hardwood material.
Does anyone else remember the original Incra Jig?
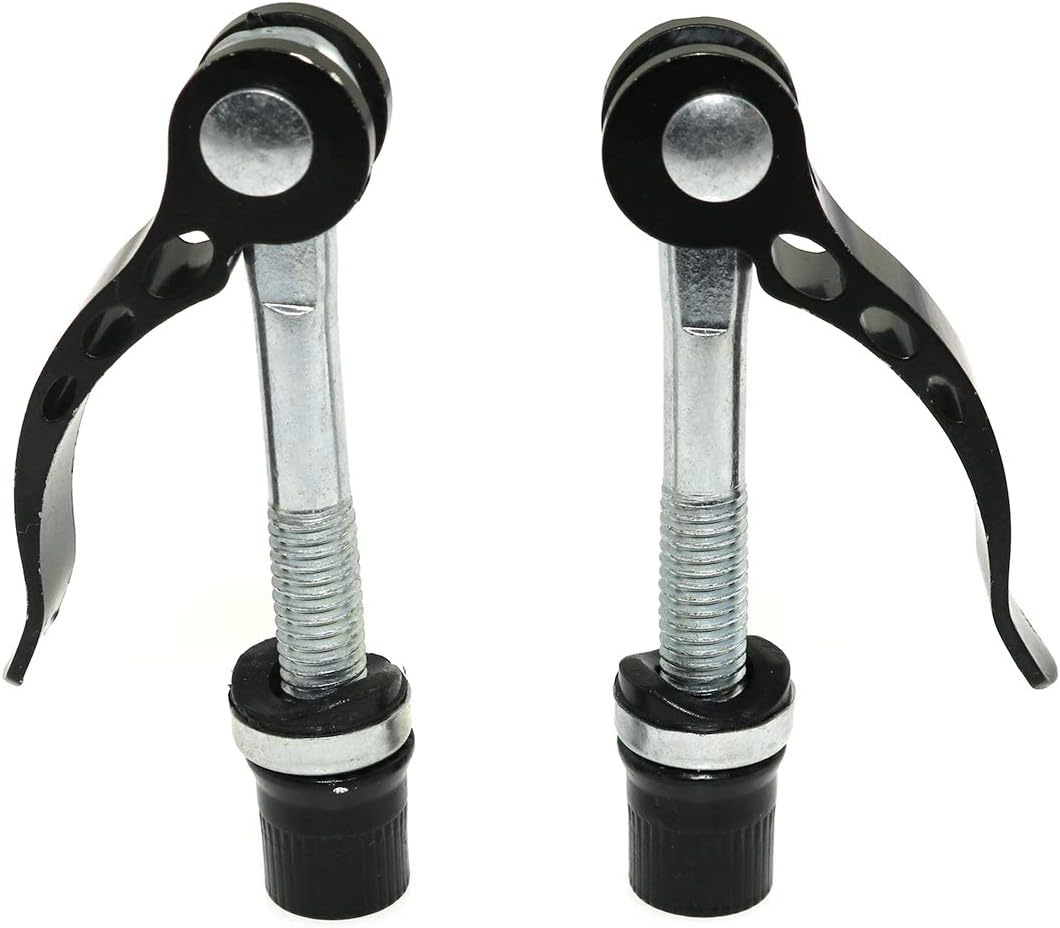
Here’s a DIY version using threaded rods - https://www.youtube.com/watch?v=Q3WaH3pJn9g
1 Like
I don’t have a whole garage work space. I have a small portion of a garage work space, any any sawdust needs to stay outside only. I previously spent $$ for a small Black and Decker folding protable workbench, but have never been happy with it, mostly due to the cumbersome setup and take down process. Today I found this nice Dewalt Express folding workbench, and I’m pleased to find that it sets up and tears down in 3 seconds flat, and is VERY sturdy. On sale right now at Big Orange for $89.
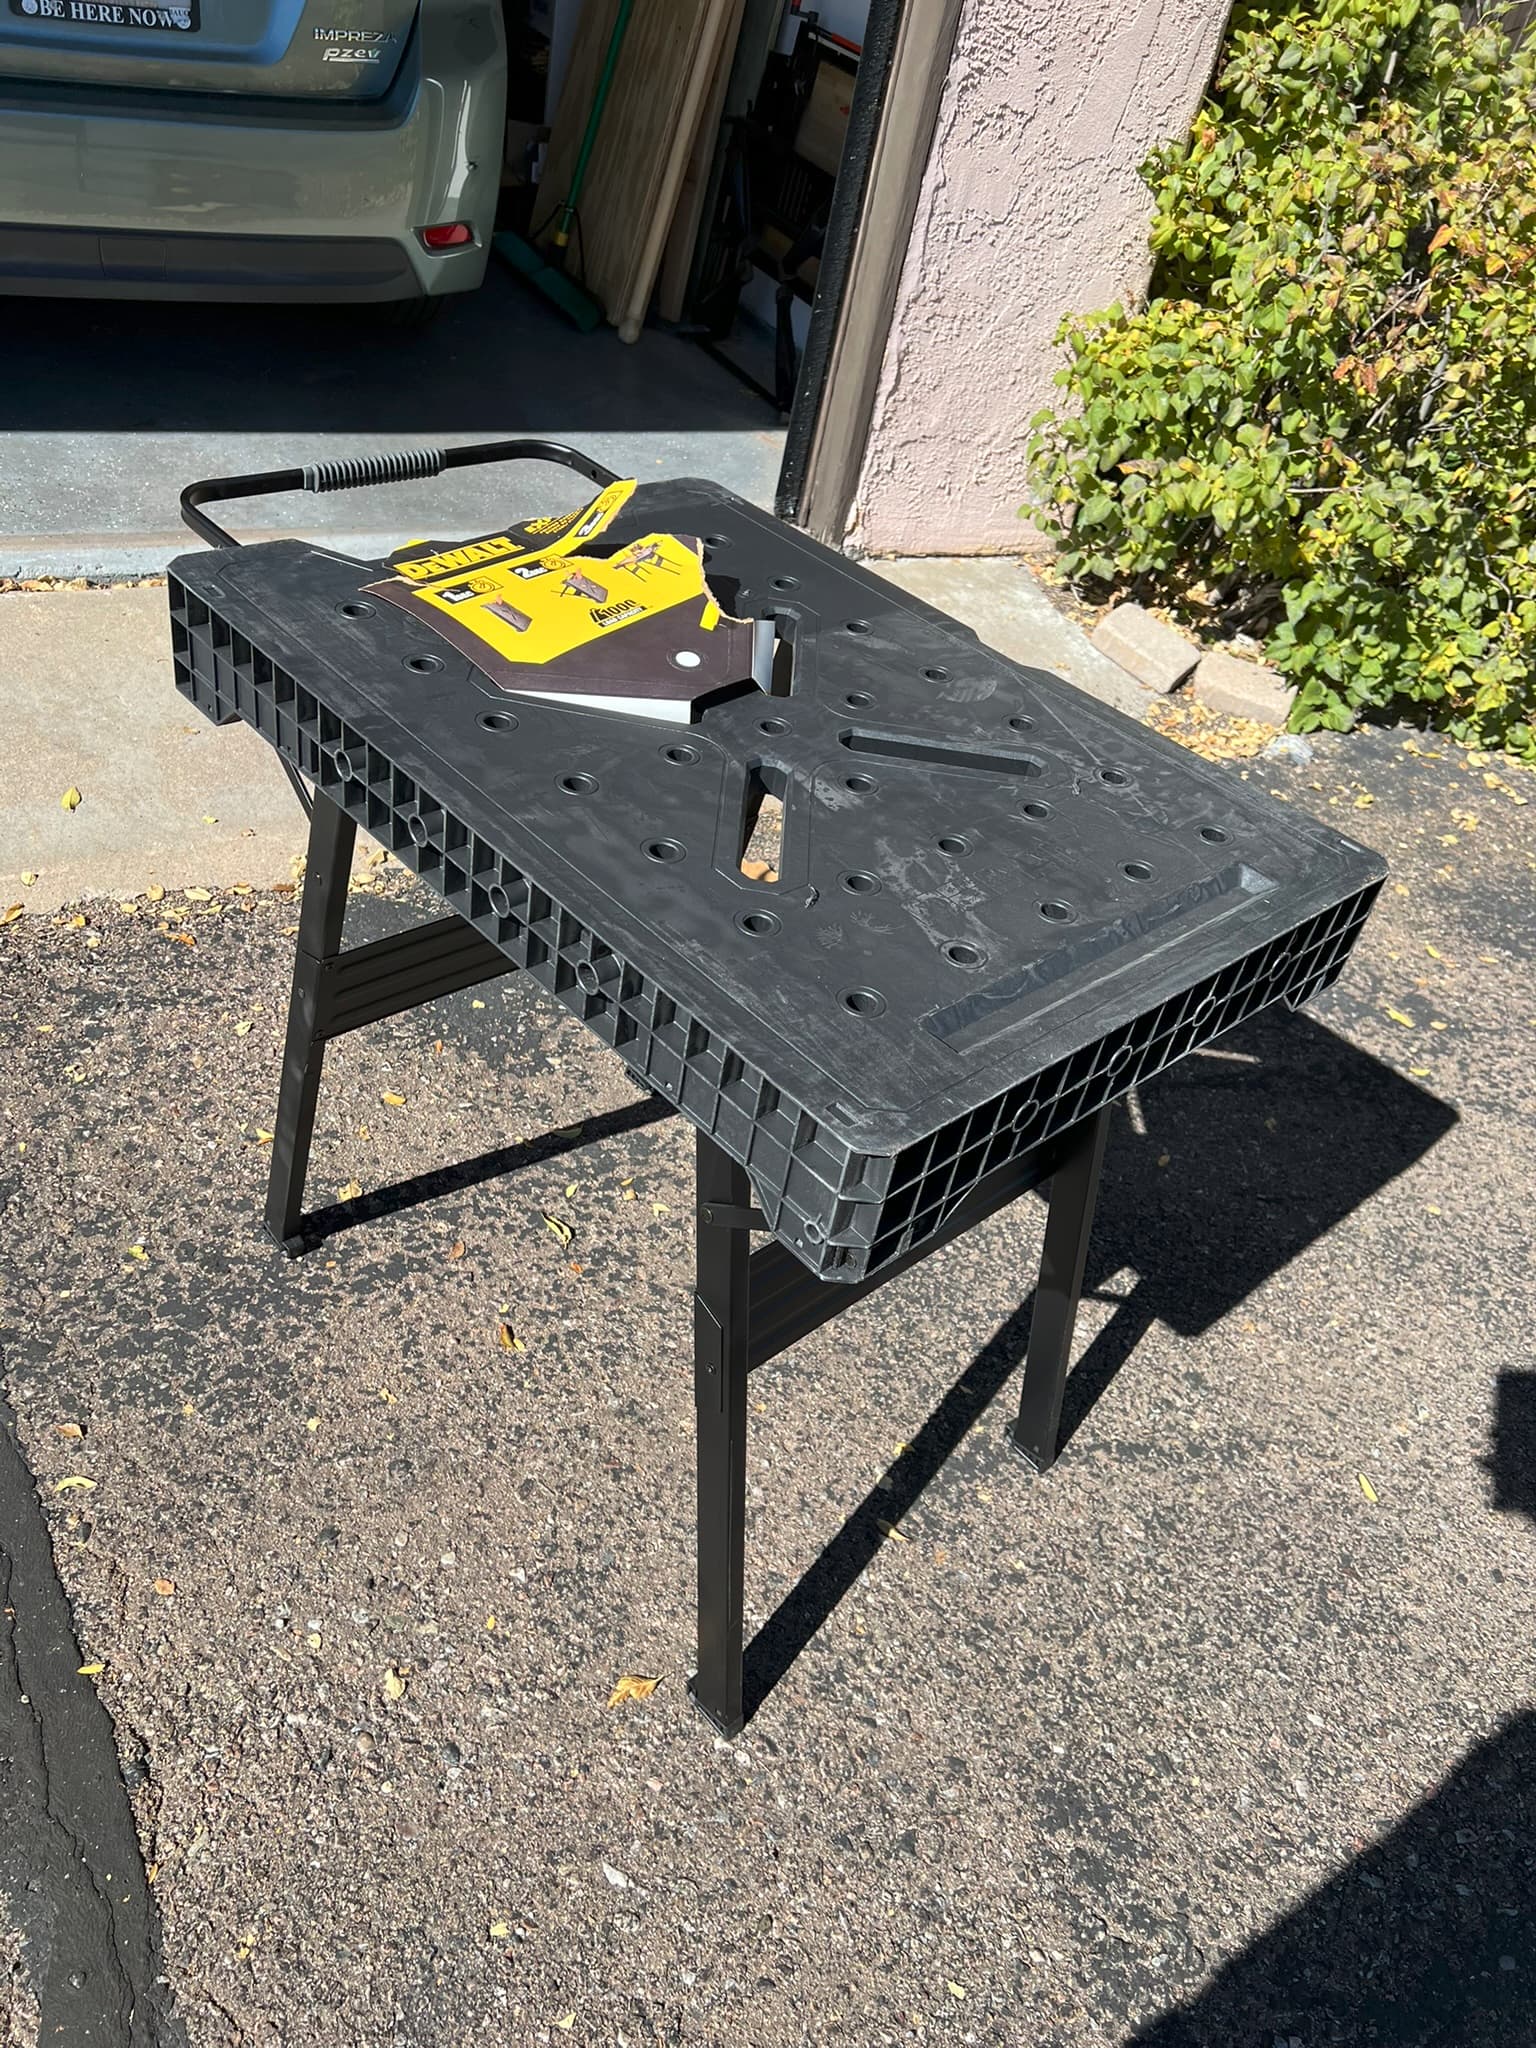
5 Likes
I’ve been happy with Worx thing like that since 2020, considered getting another now that they are back to original price, at least for holidays.
Anyway… what’s the safest way to cut 6” PVC pipe? Recall someone mentioning, think Jack P, at SDC about how it’s dangerous. Already had one table accident way back in 2006 heh.
It’s perfectly safe to cut PVC pipe into shorter length pieces. But yeah, very dangerous to cut it length wise on a table saw as it wants to close uptight , get grabbed by the saw blade and kicked back right at you. I’ve been succussful cutting it in half length wise on our big bandsaw at work where I was cutting both the bottom and top at the same time, thus releaving the stress.
1 Like
Ah, this basically an 18” that want to cross cut into 8.5-9” lengths. Not think 12” miter saw open enough. Long ago had a sizeable band saw, but didnt use enough so unloaded.