Is this your own design? The front end of reminds me of a Morgan Jones amp.
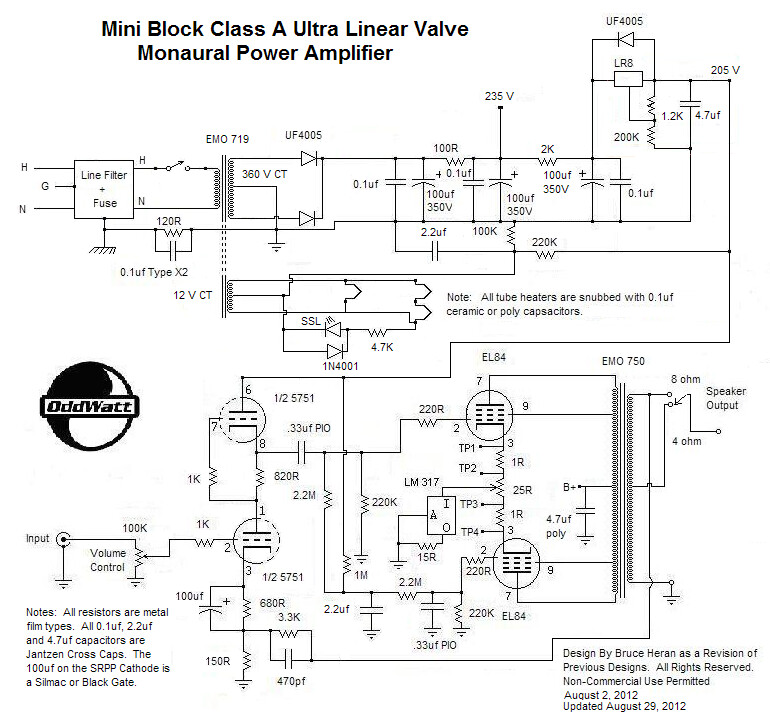
The front end is a very close ripoff from a circuit John Broskie (tubeCAD) published. It’s actually very similar to many other EL84 push-pull driver/splitters I’ve found. I don’t care for that SRPP front end used in the OddWatt circuits.
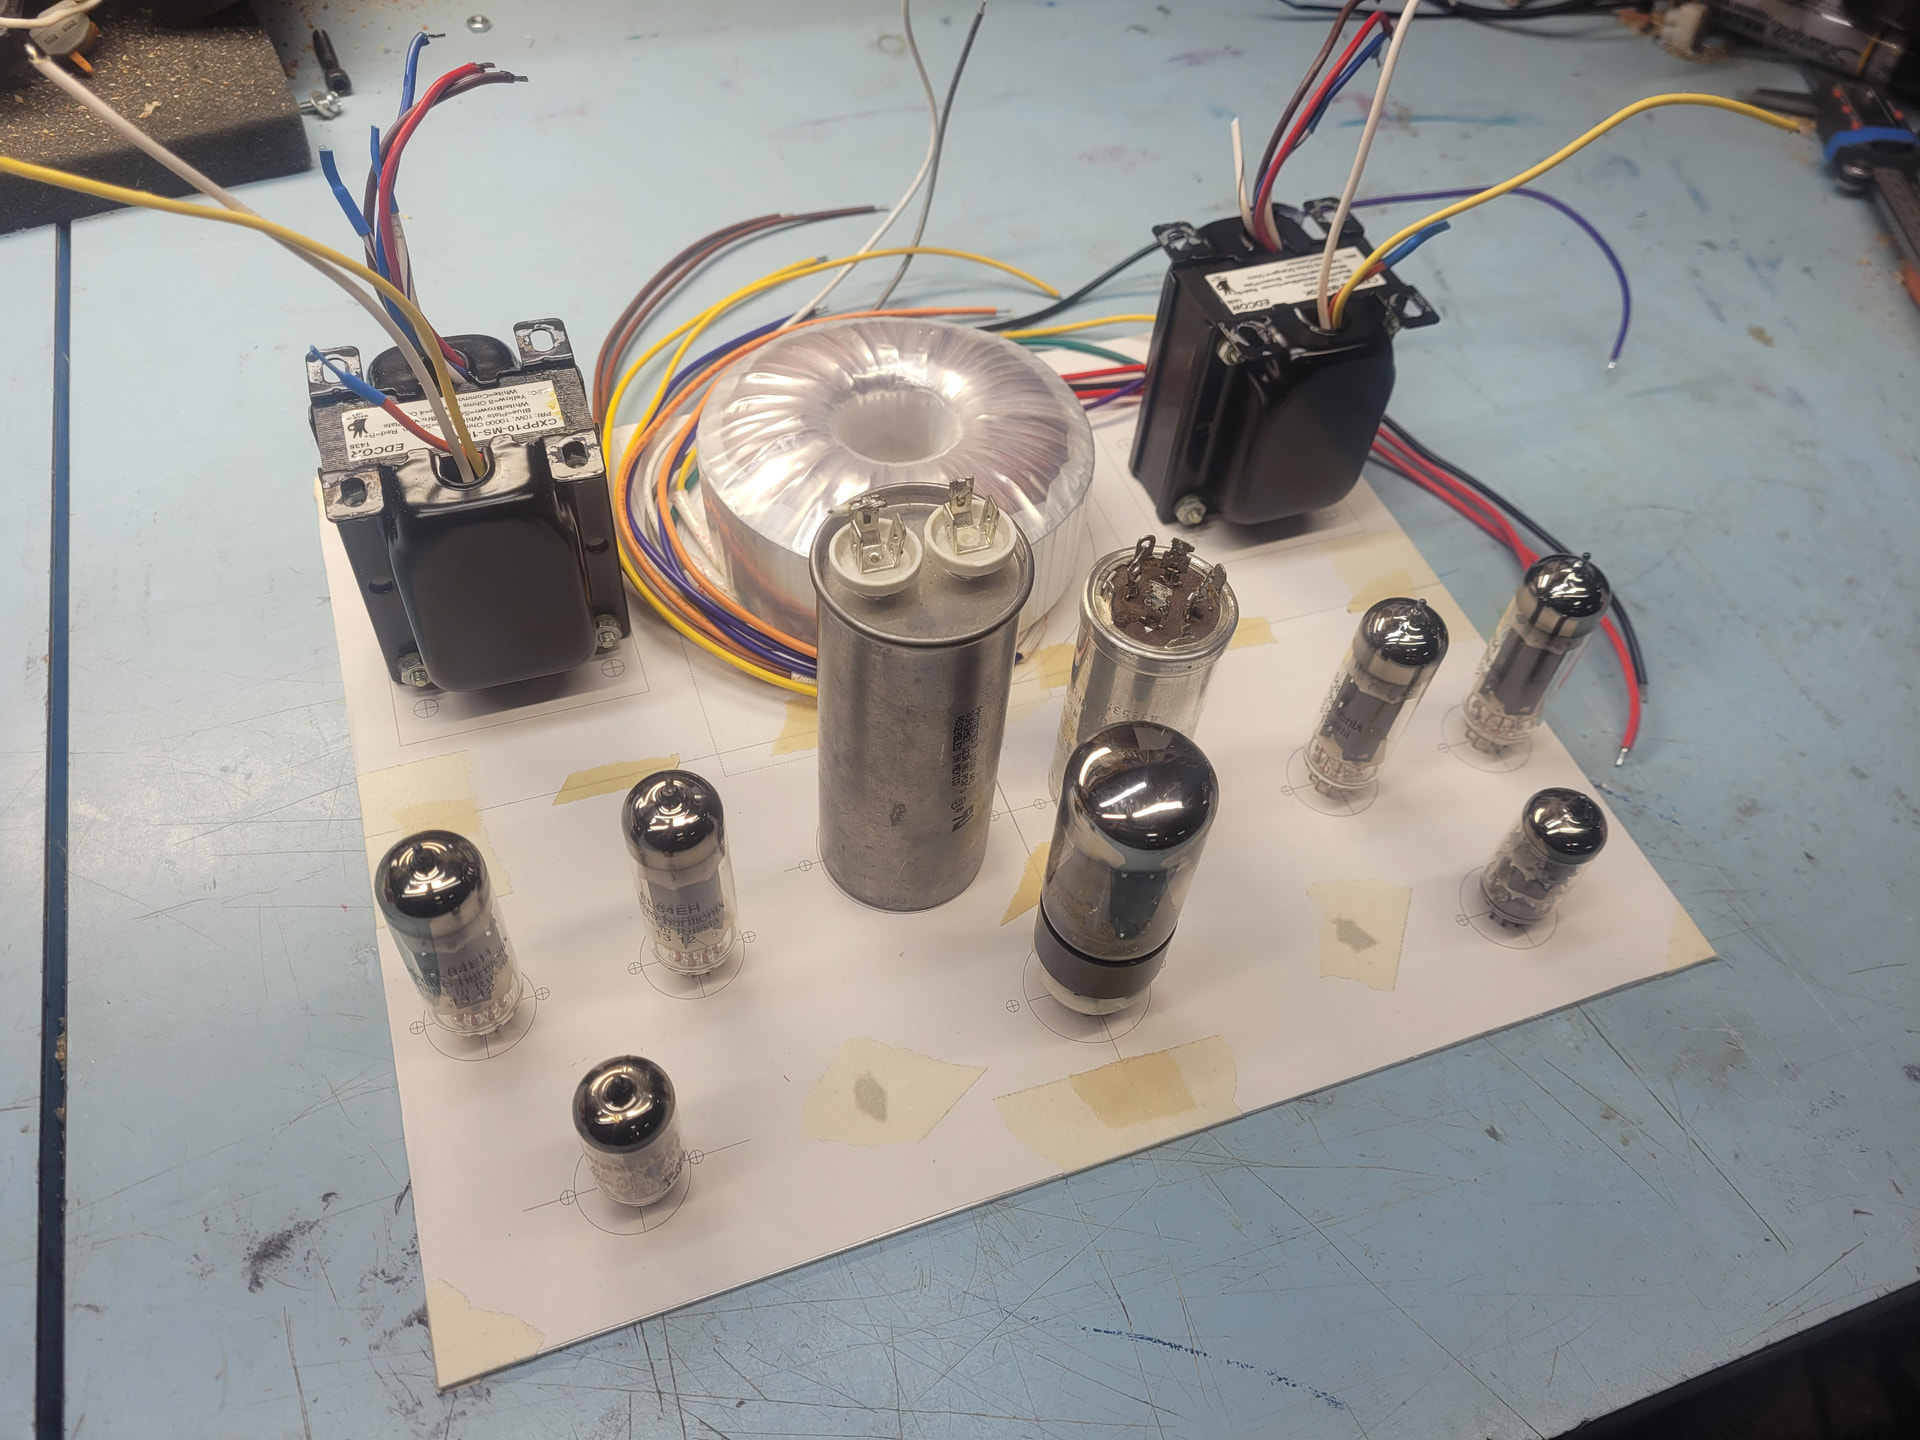
I did some load testing Sunday morning and realized that this power transformer Eric so graciously send me isn’t up to the task for this particular project. Never fear, I have a plan in my head to build a SET tube headphone amp with it… so it will end up in a good project eventually. Thanks again Eric!!!
So I ordered a much larger toroid power trasformer from Antek. This one will easily power all of the tube filaments, and has way more than enough headroom for the B+ supply, and enough leftover gonads to power and use a 4AR5/GZ34 tube rectifier. I had honestly forgot how low cost the Antek transformers were…. and shipping was ony $9.
Once it gets here I can start to layout and drill the top aluminum plate.
2 Likes
An urelated question for the more savy/experienced wood workers. I will be building the 4 sided case out of a 3.5” wide x 0.75” thick x 48” long hickory board. In the past I have cut the 45 deg ends by tilting the blade to 45 degs on my table saw, laying the board face flat and then use my sliding miter attachment set perpendicular to the blade to send them through. I always end up with some slight angle mismatch and sometimes some unfortunate tear out. It almost seems like the saw blade on a 45 deg angle is pulling the wood into or out of the cut depending on which side I’m cutting from. Does that even make any sense???
I have a 10” Ryobi miter saw that I bought used but it seems very tight and barely used. Would standing the board up on its 0.75” edge and tightly (clamped) against the fence with the blade set at 45 degrees yield any better results? If yes, should I buy an 80 tooth blade to eliminate/reduce tearout? The blade it came with seems super sharp but it’s more like a 40 tooth you’d use to build a deck or frame a house.
Anytime it’s mission critical, I buy a new blade. The Diablo ones from HD are pretty affordable and cheap insurance on a great outcome. Crosscutting, more teeth, 60-80 is fine IMO. Alternatively, if it’s an option in your area, have your blade sharpened.
Yep high tooth blade and do a somewhat slow cut. Issue I have with miter saws is the fence is crap on anything but high end ones (where each side is seperate and adjustable). They always seem to create a V one side compared to the other. So if you are cutting a full length board in the middle you can get a good 90deg angle, but if just trimming down an end, the angle in the fence causes the cut to be a few degrees off.
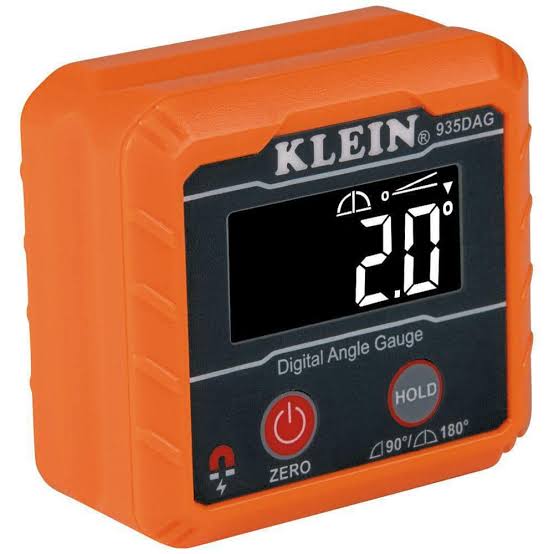
If it feels like its pulling to or away from the blade the jig or the lumber is moving up and down. Clamp the peice to the sled and make sure the sled is flat against the table saw. I use a digital angle gauge and I’m never going back.
I have a 10” Ryobi with a 60 tooth Diablo blade, but chop only, no slide.
The fence on mine is one piece, and has a semicircular join across and behind the cut area. Once in a while, I check the square of it. This is only because once it moved on me. Factory tight must not have been as tight as I then made it.
I have done quite a few miters with it. Laying flat operation mainly, because the height is likely more restricted on my model. It does tend to pull the workpiece laterally with it. This is because the force is not only downward but to the side as well. Slowing down tends to help, and a clamp to the surface, not the fence, is more prohibitive of the lateral motion.
Brad has a sliding miter of another make, and has stated that lateral slop feels a lot worse fully extended than all the way forward.
If you can clamp to the fence, on the edge, and be able to make the cut, it is likely better because you are creating a smaller consistent cutting area with less friction as the cut progresses. Laid flat, the friction and cutting area changes as the cut is made.
1 Like
Yep, all the one piece fences I’ve had were the problem. The castings seem to have a bend in the center (probably occurs as the metal cools) making the faces non-parallel. That spot is probably too springy to be fixed in the face flattening process, with how fast they crank out these products.
I get more chipout when cutting a board vertically. However, if you make the cut so the blade teeth exit on the inside of the board all of that chipout will be unseen on the inside of the amp chassis.
I bought a cheaper (poplar) board with the same dimensions. I’ll make a few test cuts to see how it does.
1 Like
Are you using a large cross-cut sled that uses both table saw miter slots to hold the work perpendicular to the blade? Or does your sliding miter attachment use only one of the two table saw miter slots?
No sled, just this guy:
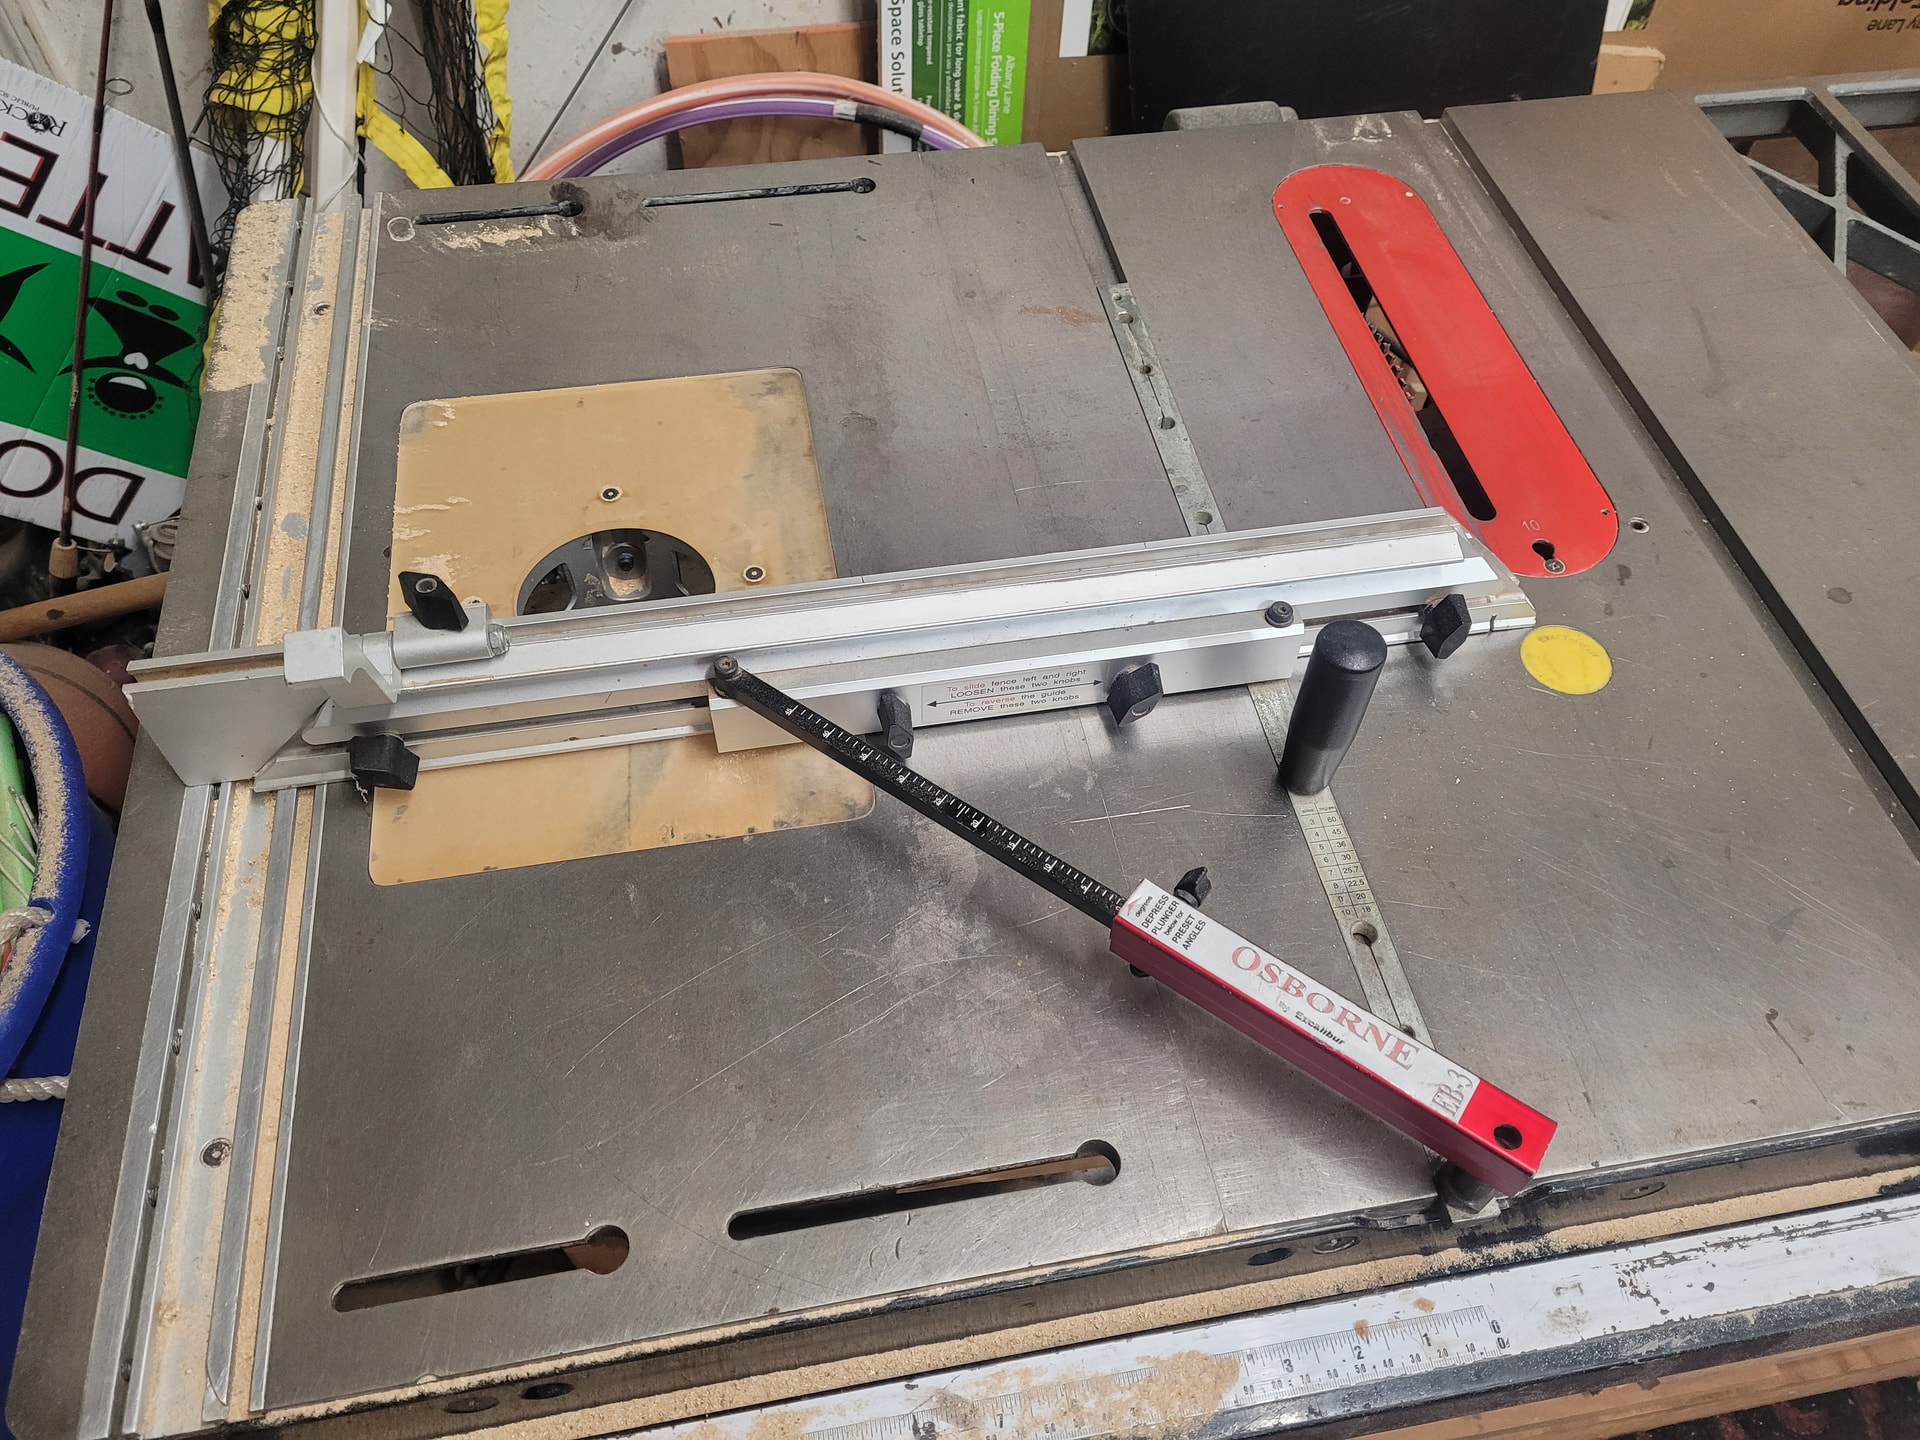
It is very sturdy and there is no slop in the slot (the sliding rail has adjustments to take up any error).
2 Likes
My Son and I worked on our Ryobi miter saw when he got home from school. The aluminum fence was not perfectly straight. We used a 24” long piece of machined 1” x 1” tool steel and clamped it to fence in 4 places and got the fence straight and bolted down square with the blade. Before that we installed a new Diablo 60 tooth blade.
2 Likes
This is pretty much my final top deck layout, be what it is. Always trying to push all the glass up to the front whether it makss sense or not:
3 Likes
Push glass to front because they are pretty to look at. ![]()
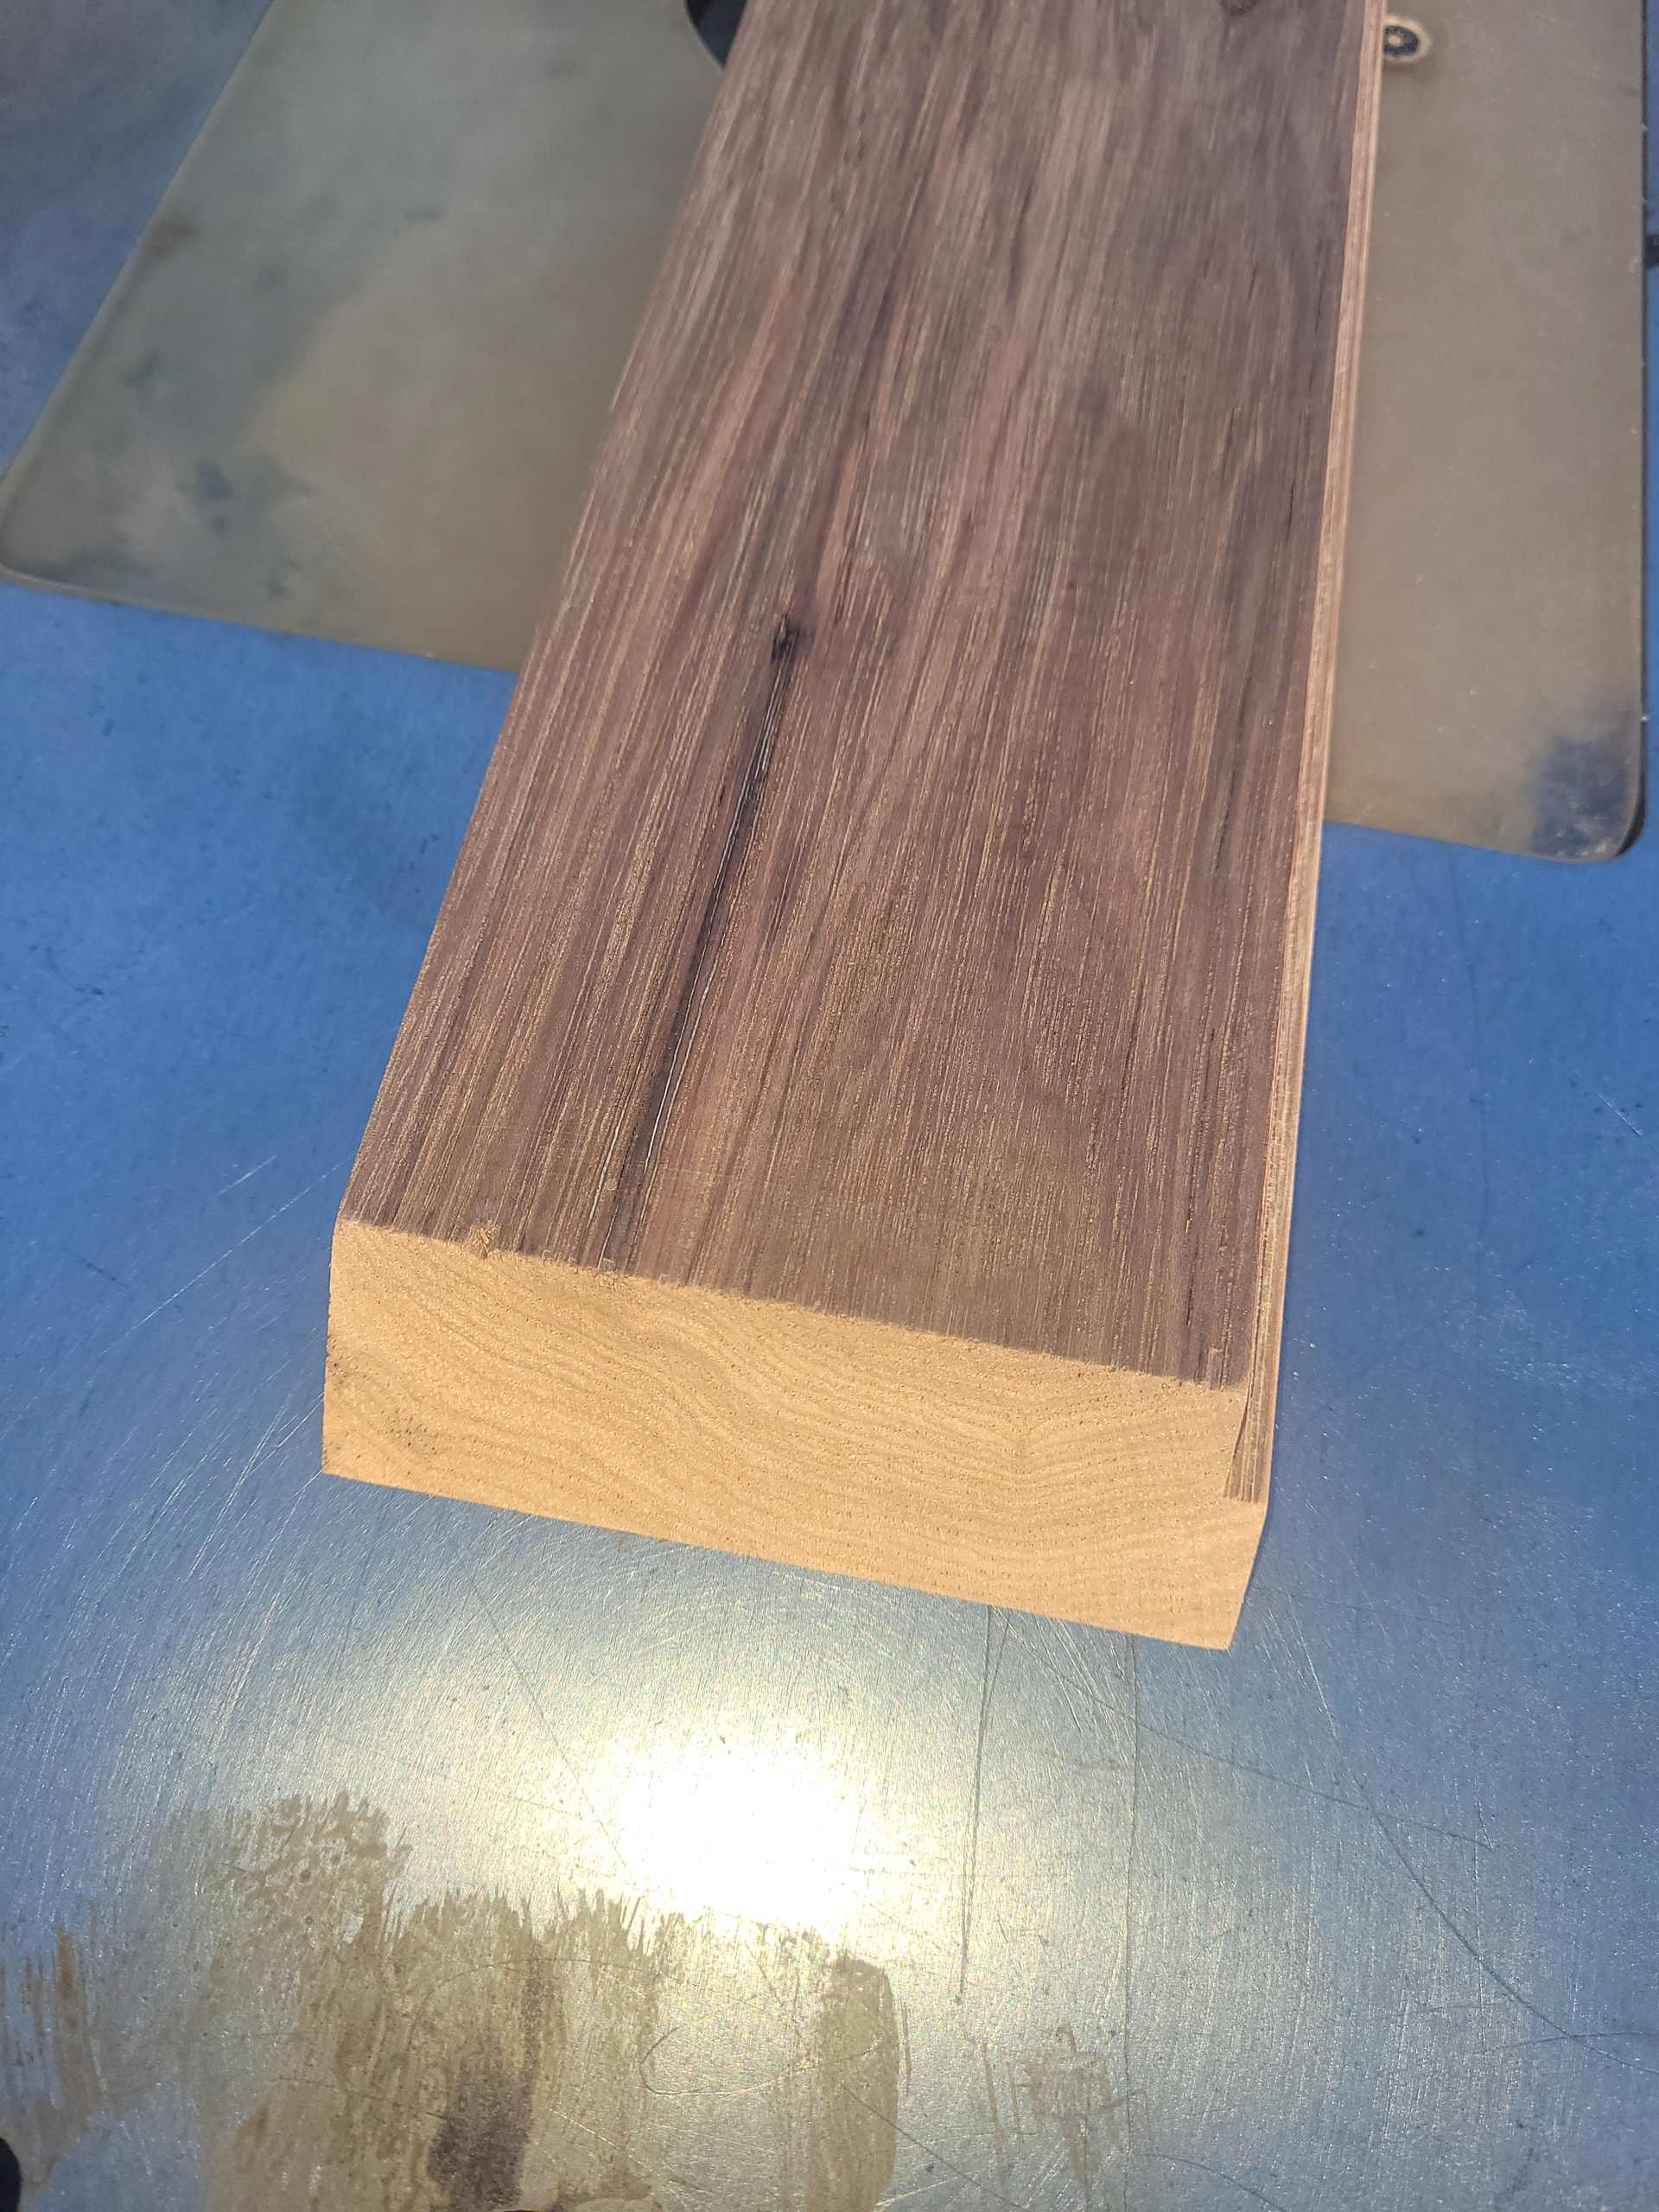
The weather today was absolutely wonderful for northern IL: sunny, 51 F and just a little breezy. I took full advantage of it and started to make the hickory case for this amp project.
The brand new saw blade and the setup work my Son and I did paid off big time! It was super easy to setup and make all of the 45 deg cuts and they all turned out perfect in my book. There was almost zero tearout which is common for hickory (at least for me). I made all the cuts so that any tearout would be on the inside edges. This is a picture of the worst tearout:
2 Likes
Just another picture. The four sides are only held with a small piece of painters tape at each corner.
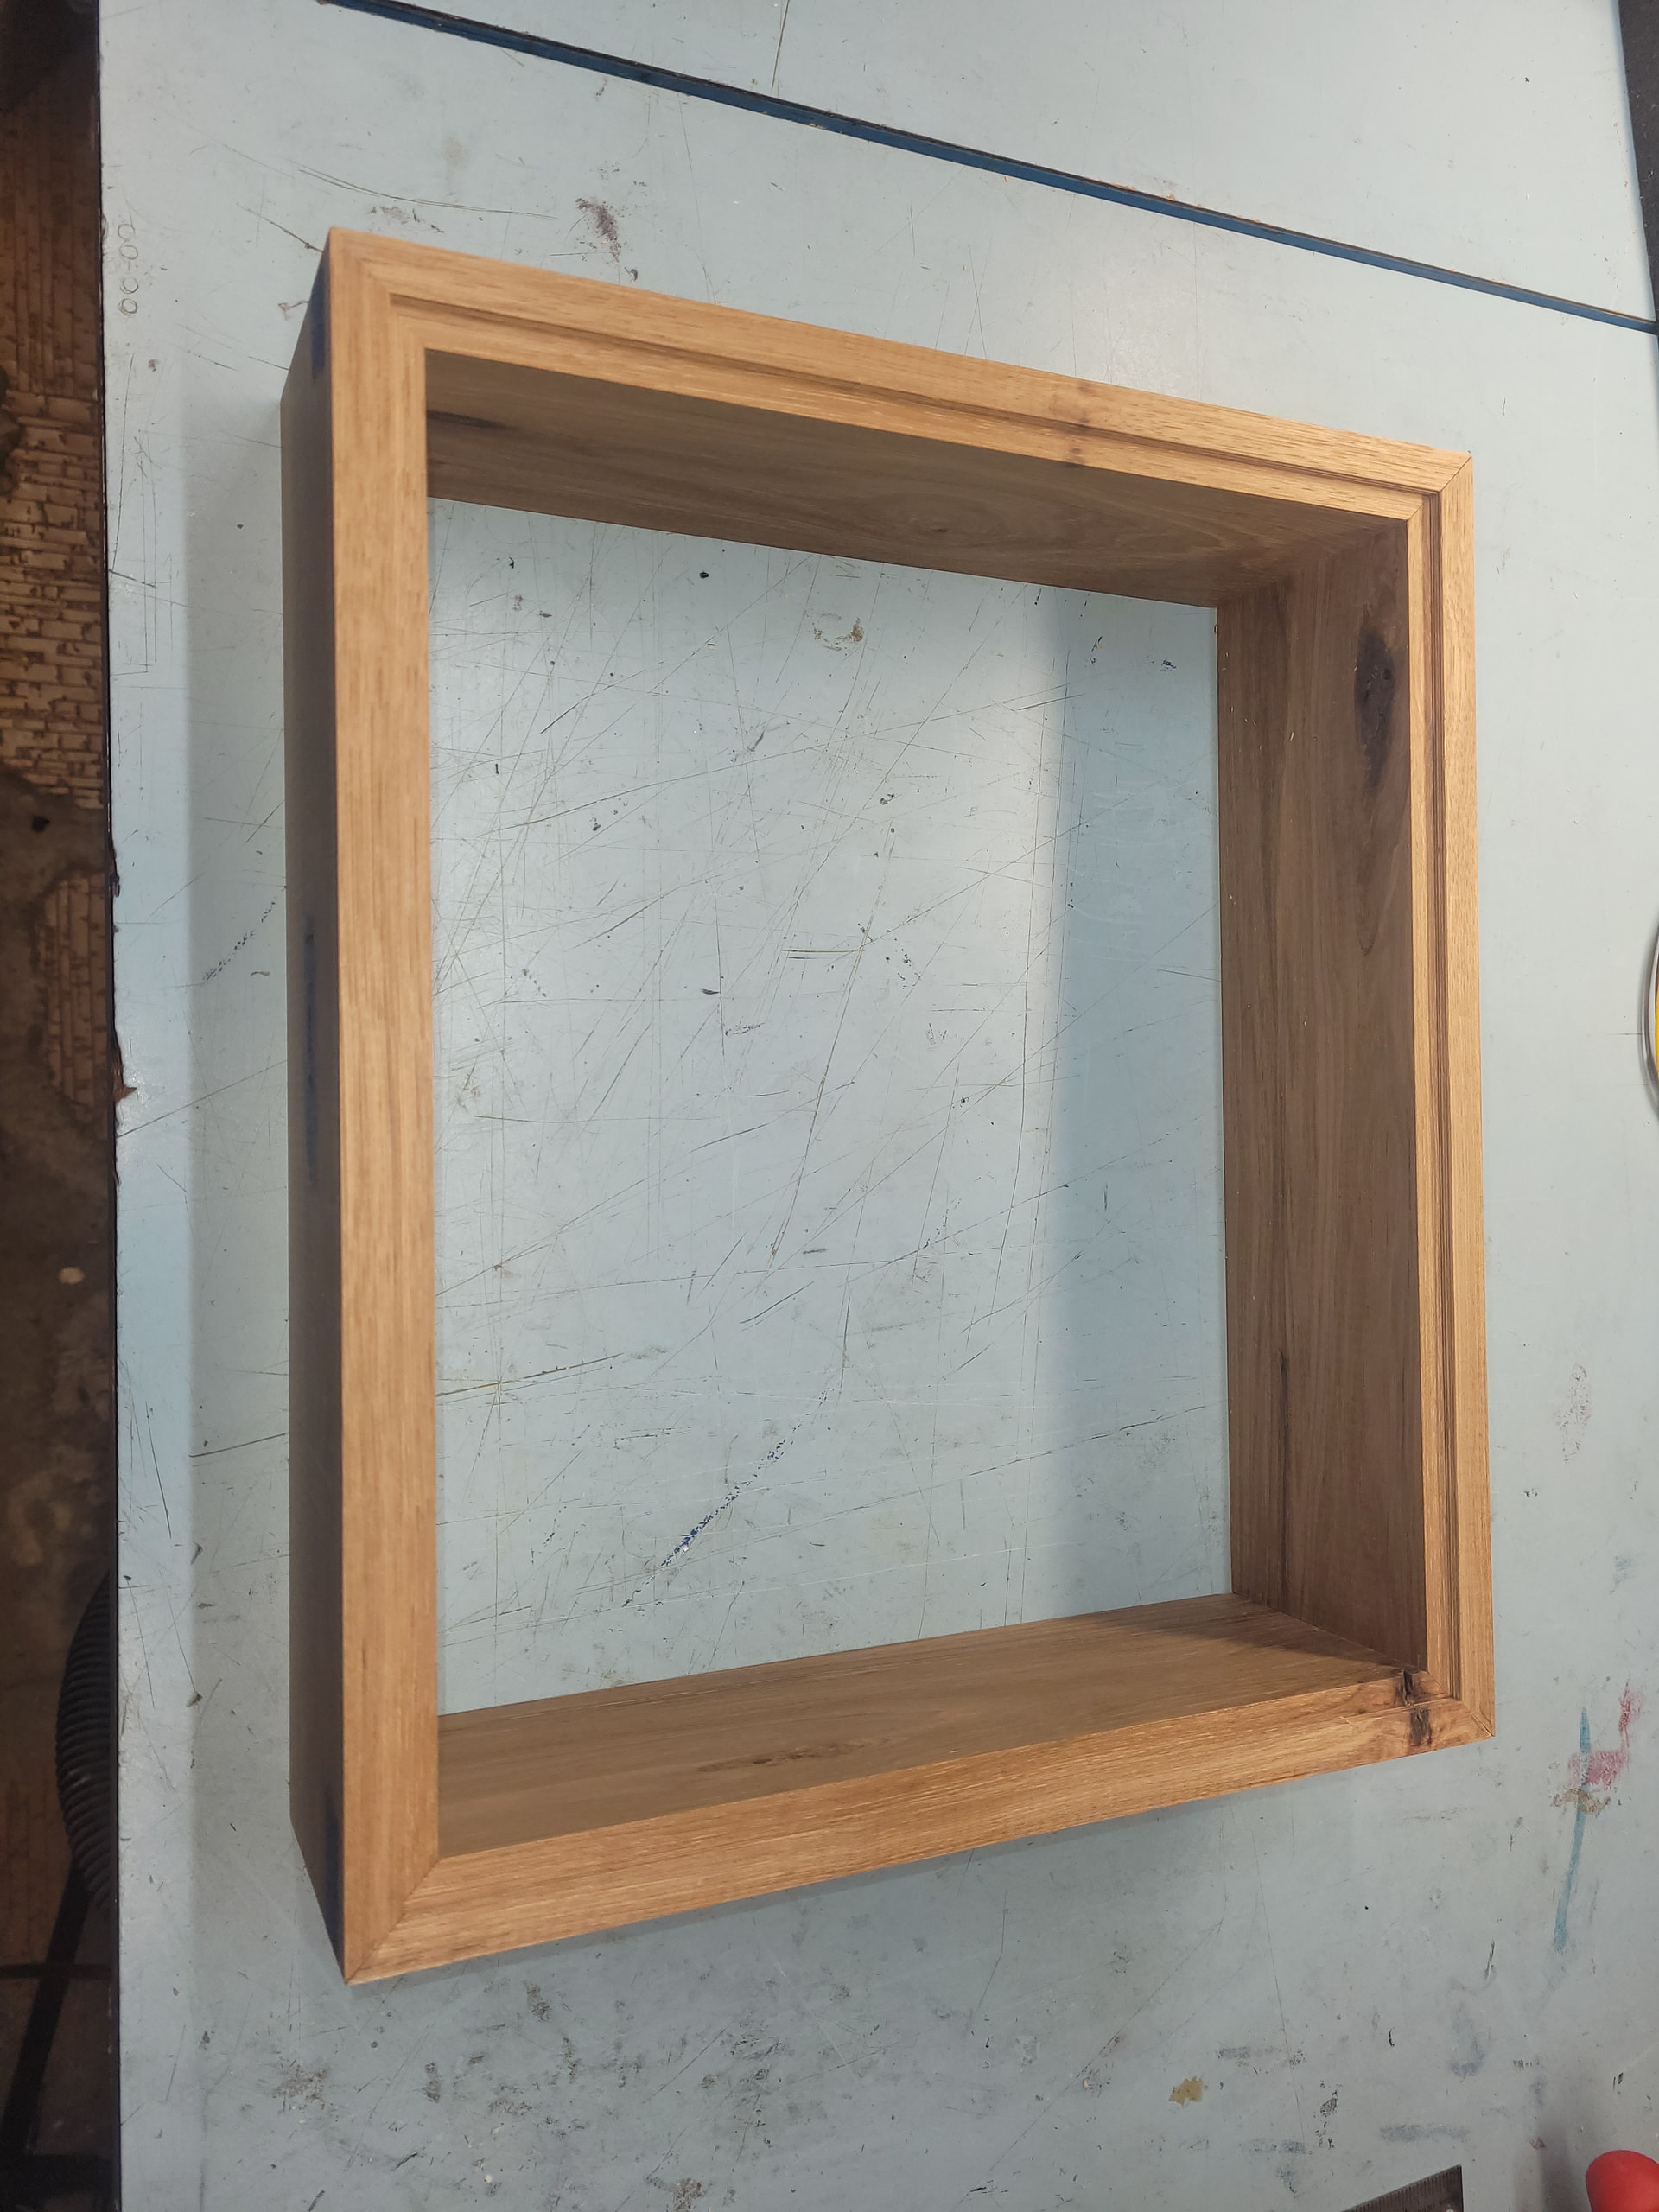
11 Likes
Those are some sexy miters!
Nice work!