Trying out a minimum starting info style of project log. That might make updates a bit more interesting.
Step 1: Acquire sheet goods
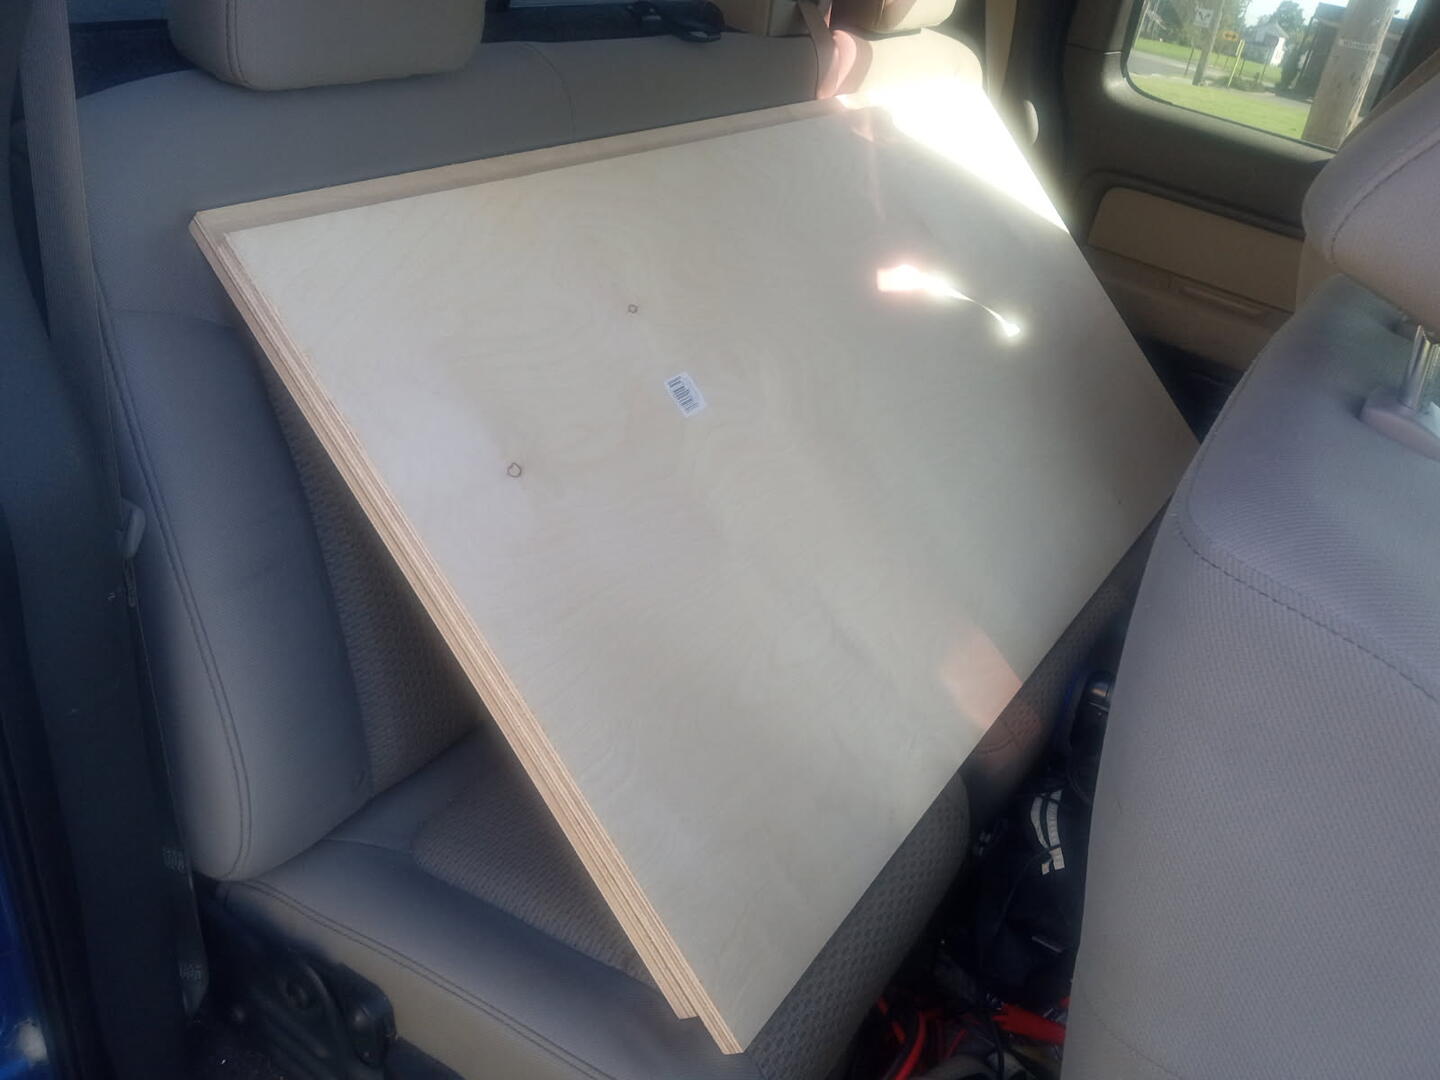
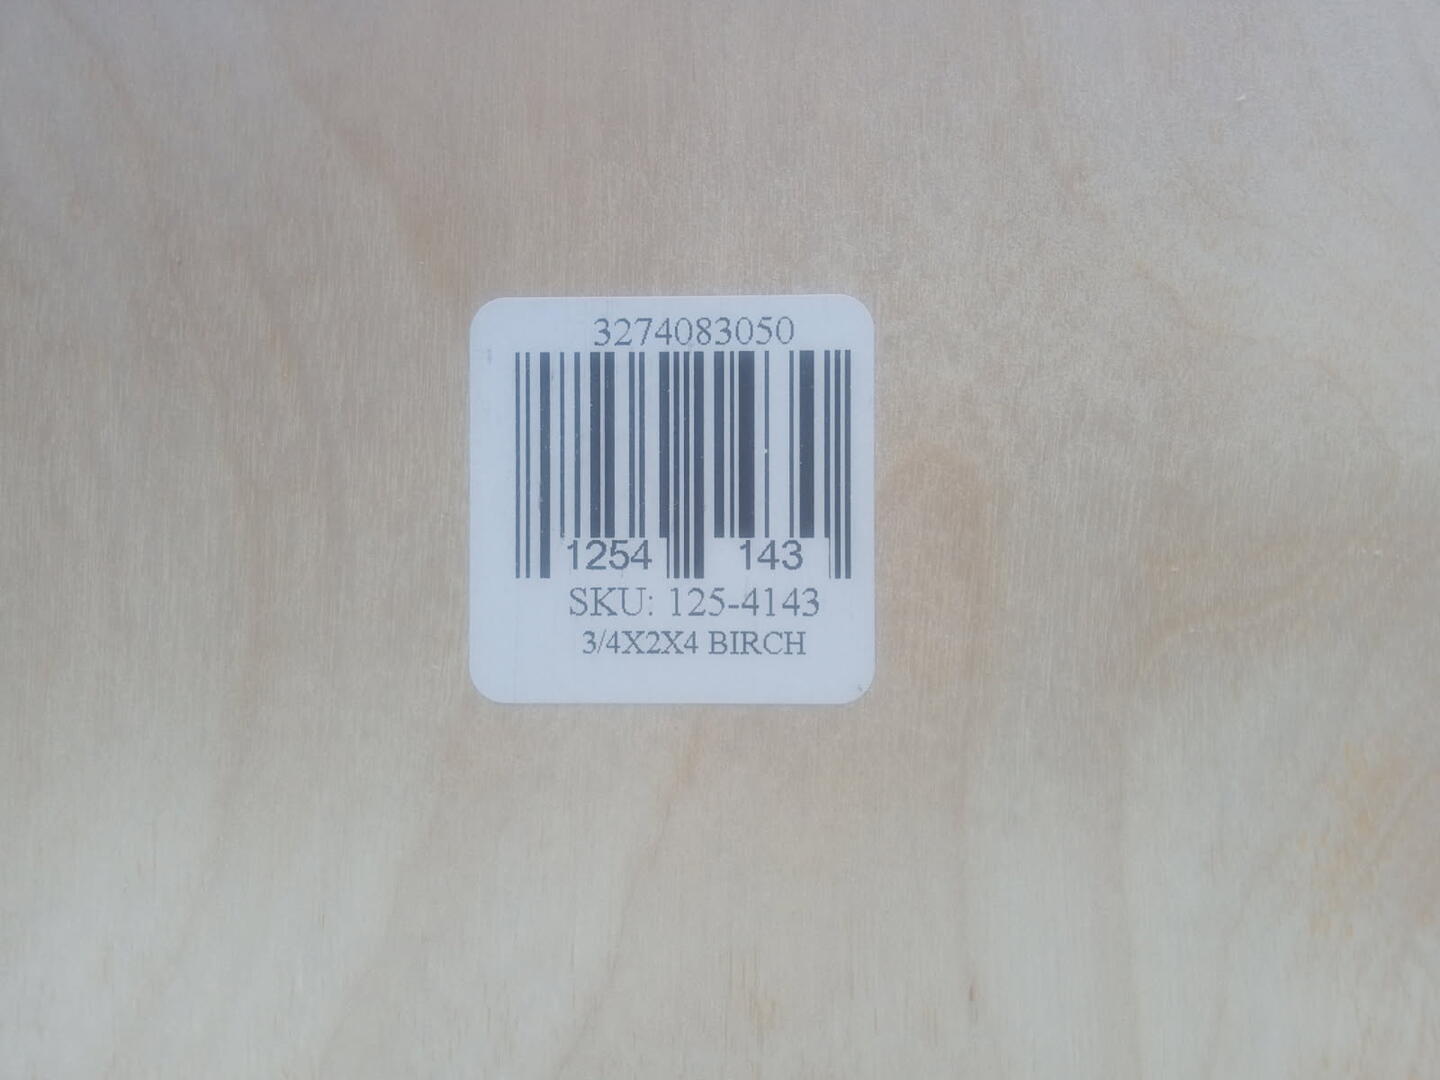
I opted to actually get two 2’x4’ sheets. Regular birch ply from Menards (not “baltic birch”). Easy to get home and can go straight on the tablesaw without processing down, like a large sheet would require. But there is a cost for that convenience ($36ea )
One issue I find is they likely cut these from regular 4’x8’ sheets. So, the actual dimensions can vary due to blade kerf and whatever actual dimension they set the saw to. Which could lead to the last board being smaller than the other three from the sheet. In my case one board was a little over 23 7/8" and the other a little over 23 3/4". I plan to trim them down to the same dimension so I have two “identical” boards to start with. The difference only being pretty much a blade width anyway. @wolf is this ok?
Ok, I’ll need to cut them in half lengthwise. So I’ll try to get the measurement as close as I can to half of the smaller board (minus half the kerf) and run both pieces through to equal them up.
I need as much internal volume as I can out of these boards, but gotta leave a smidge to flush trim too.
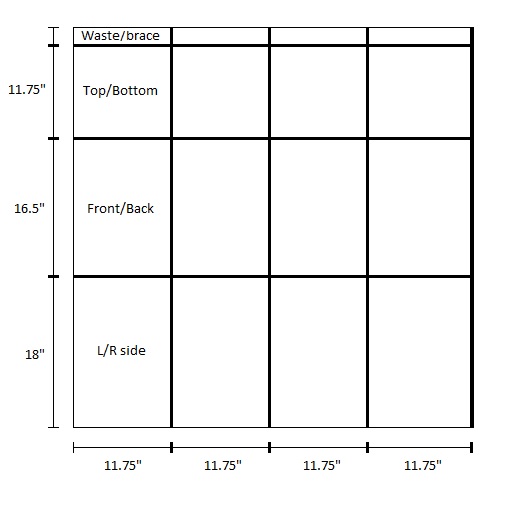
I used this basic cut template that I came up with years ago for two 2’x4’ or one 4’x4’ sheet for two 1.1ish cf enclosures. But this time I stretched the dimensions a bit to use as much of the board as I could while still getting a couple narrow cross brace pieces per box.
The measurements were “safe” general dimensions in case sheets had a damaged edge or were extra undersize. Today I bumped out the 11.75" measurement an extra 1/16". The 18" became 18 3/8". The 16 1/2" became 16 5/8". This left the brace pieces probably a hair over 3/4".
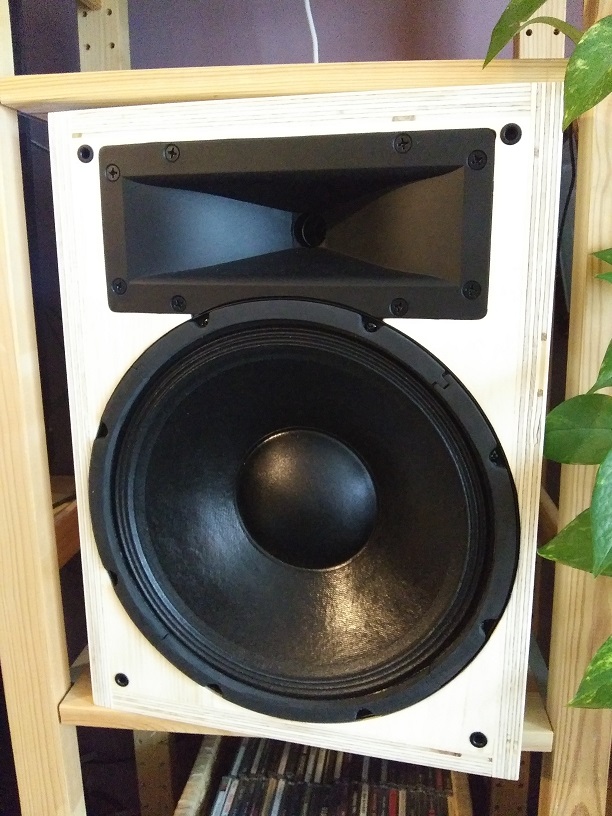
These speakers will have lineage back to ones I built 6 years ago. Before I even had a measurement mic. The issues I had with em prompted me to finaly get a mic. Which ultimately led to the project being a bust. But, I had fun listening to the changes and learning to see on the graph what I was hearing. From these I learned I kindof like a mid-forward speaker. They were pretty dang good for watching TV. And, made voices extra big and clear in music.
I found that horn/wg for $4ea as a closeout. It was a version of the one used in the latest Klipsch Heresy. It did not have the woofer cutout in it, but it did have a faint line of the cutout in the mold. So I just followed the line with a flap disk on an angle grinder. Now that I know more. I think there is a reason klipsch use it as a Mid horn instead of higher up. The abrupt change in angle at the throat is probably what caused the big 10khz dip I saw in the measurements. So I won’t be reusing it this time.
This used an MCM woofer and CD. It was basically research and a precurser towards what ended up being my “personal debut” into the scene: the Faux pas. There were builds in between.. But that is for another time.
This all happened before I even joined MAC. Mind blowing to think I’ve only been around here for such a short time.
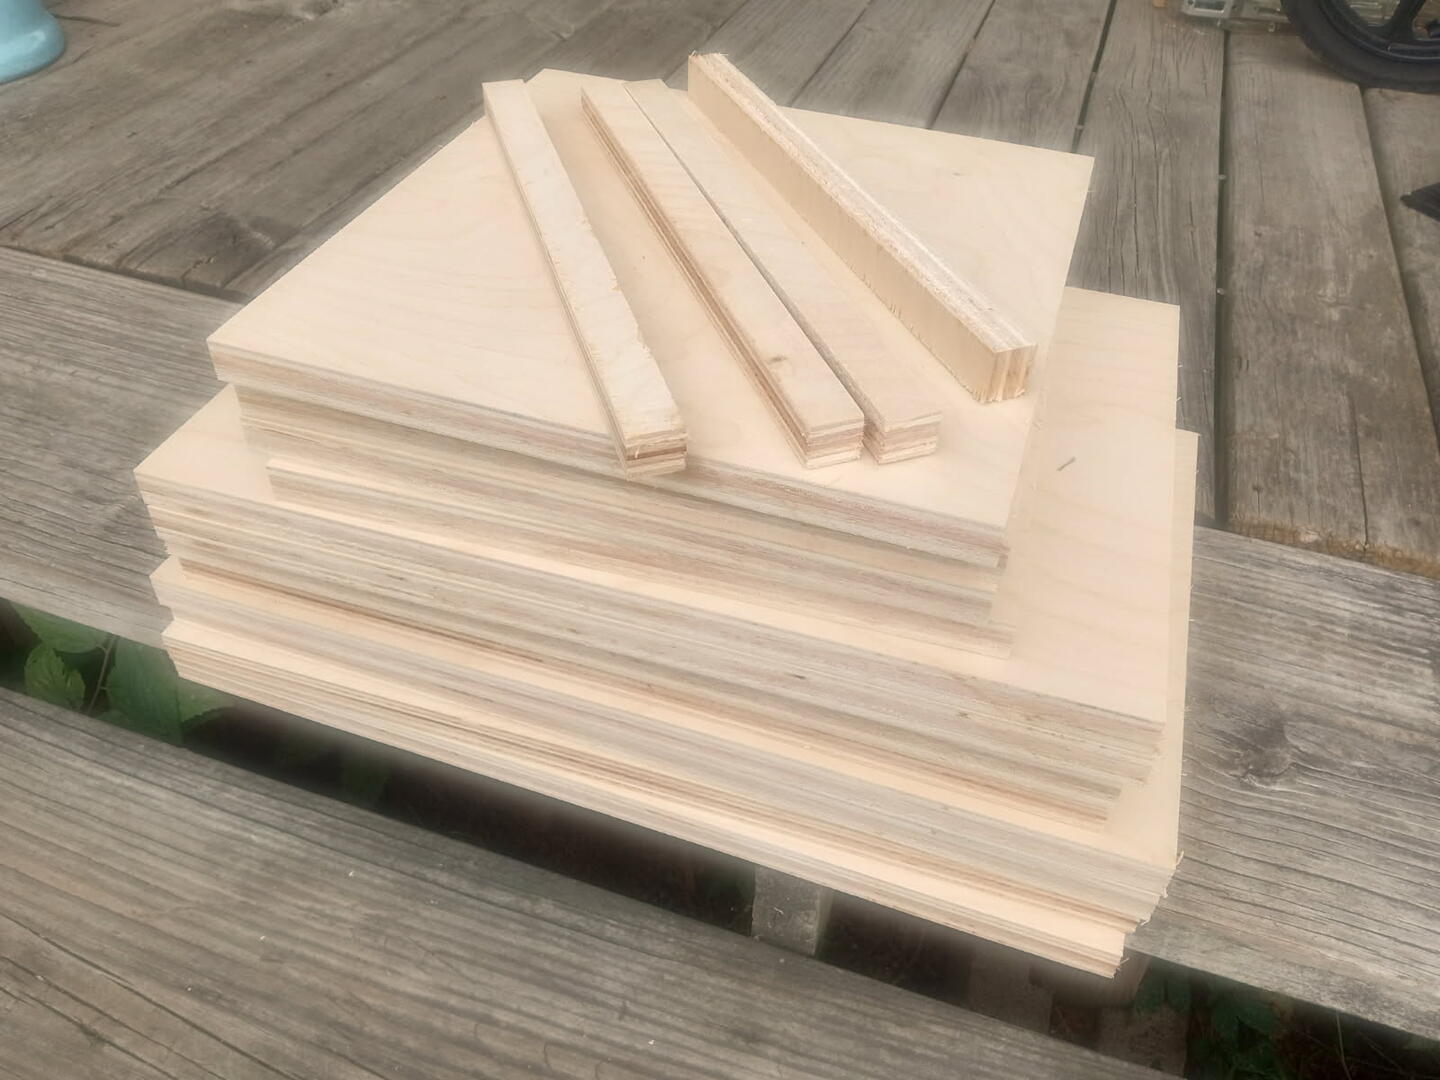
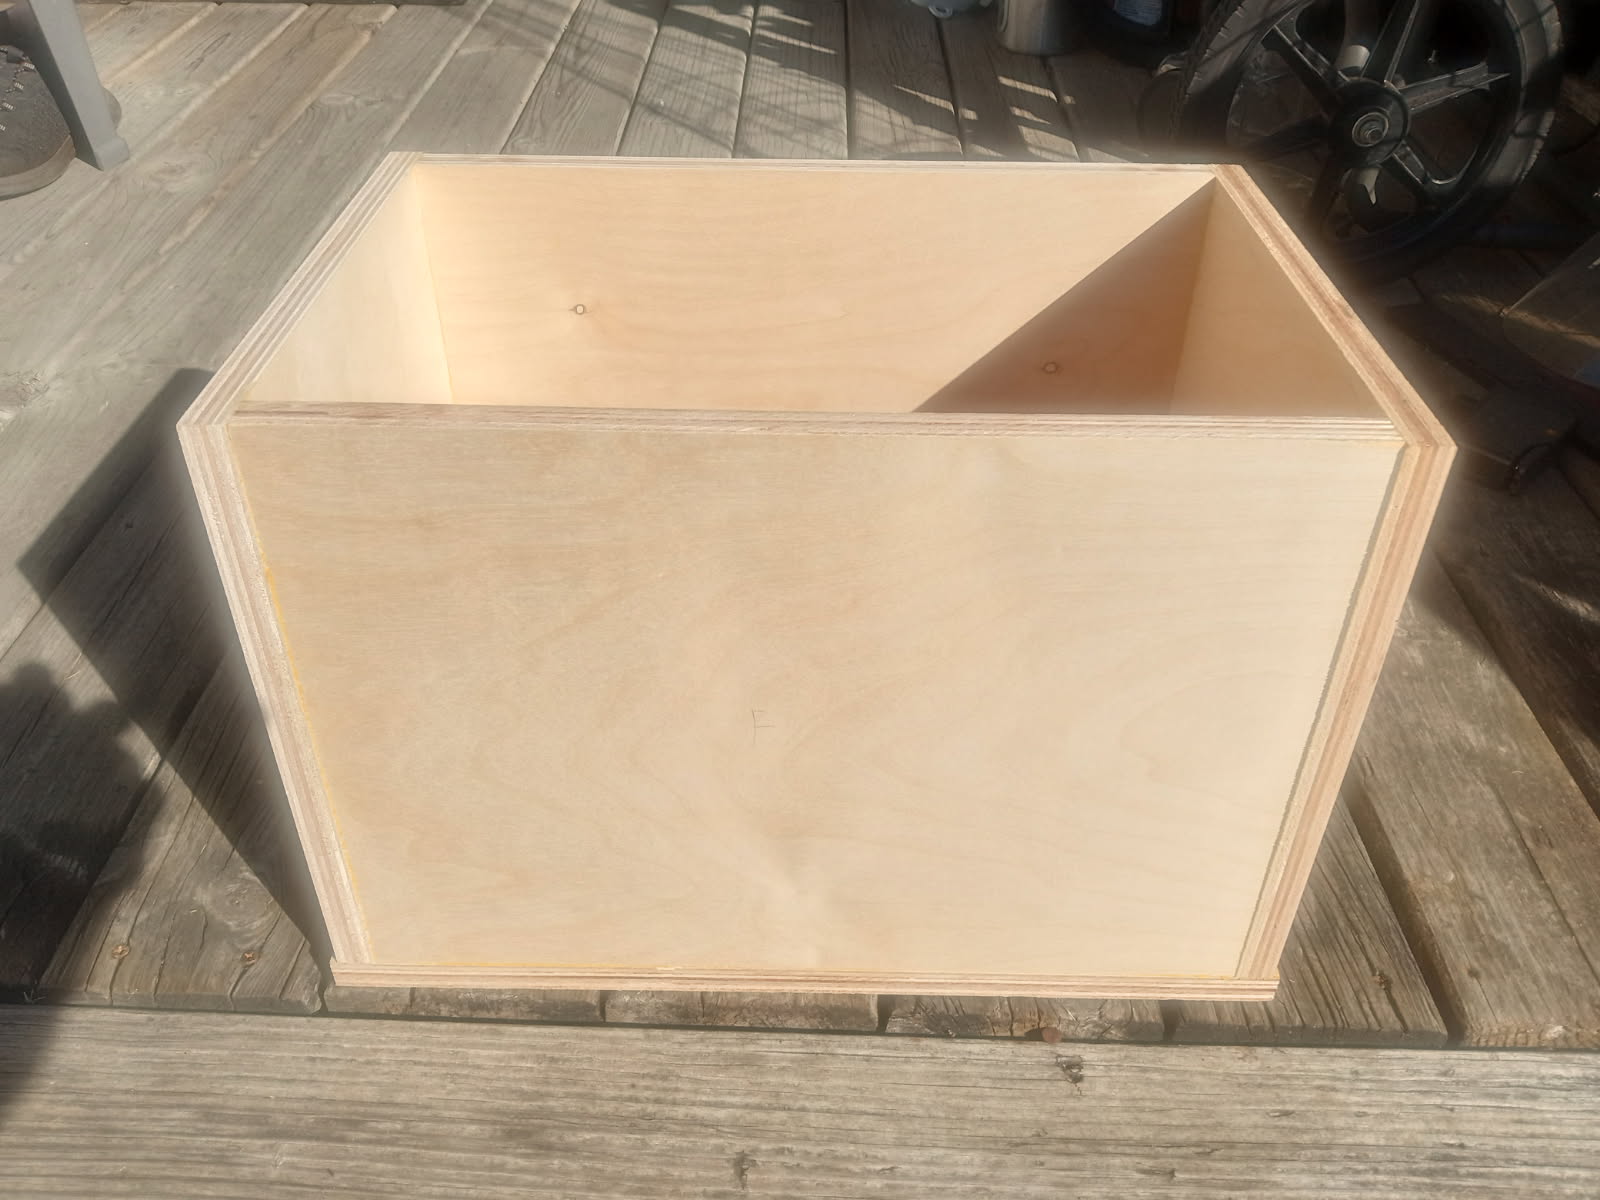
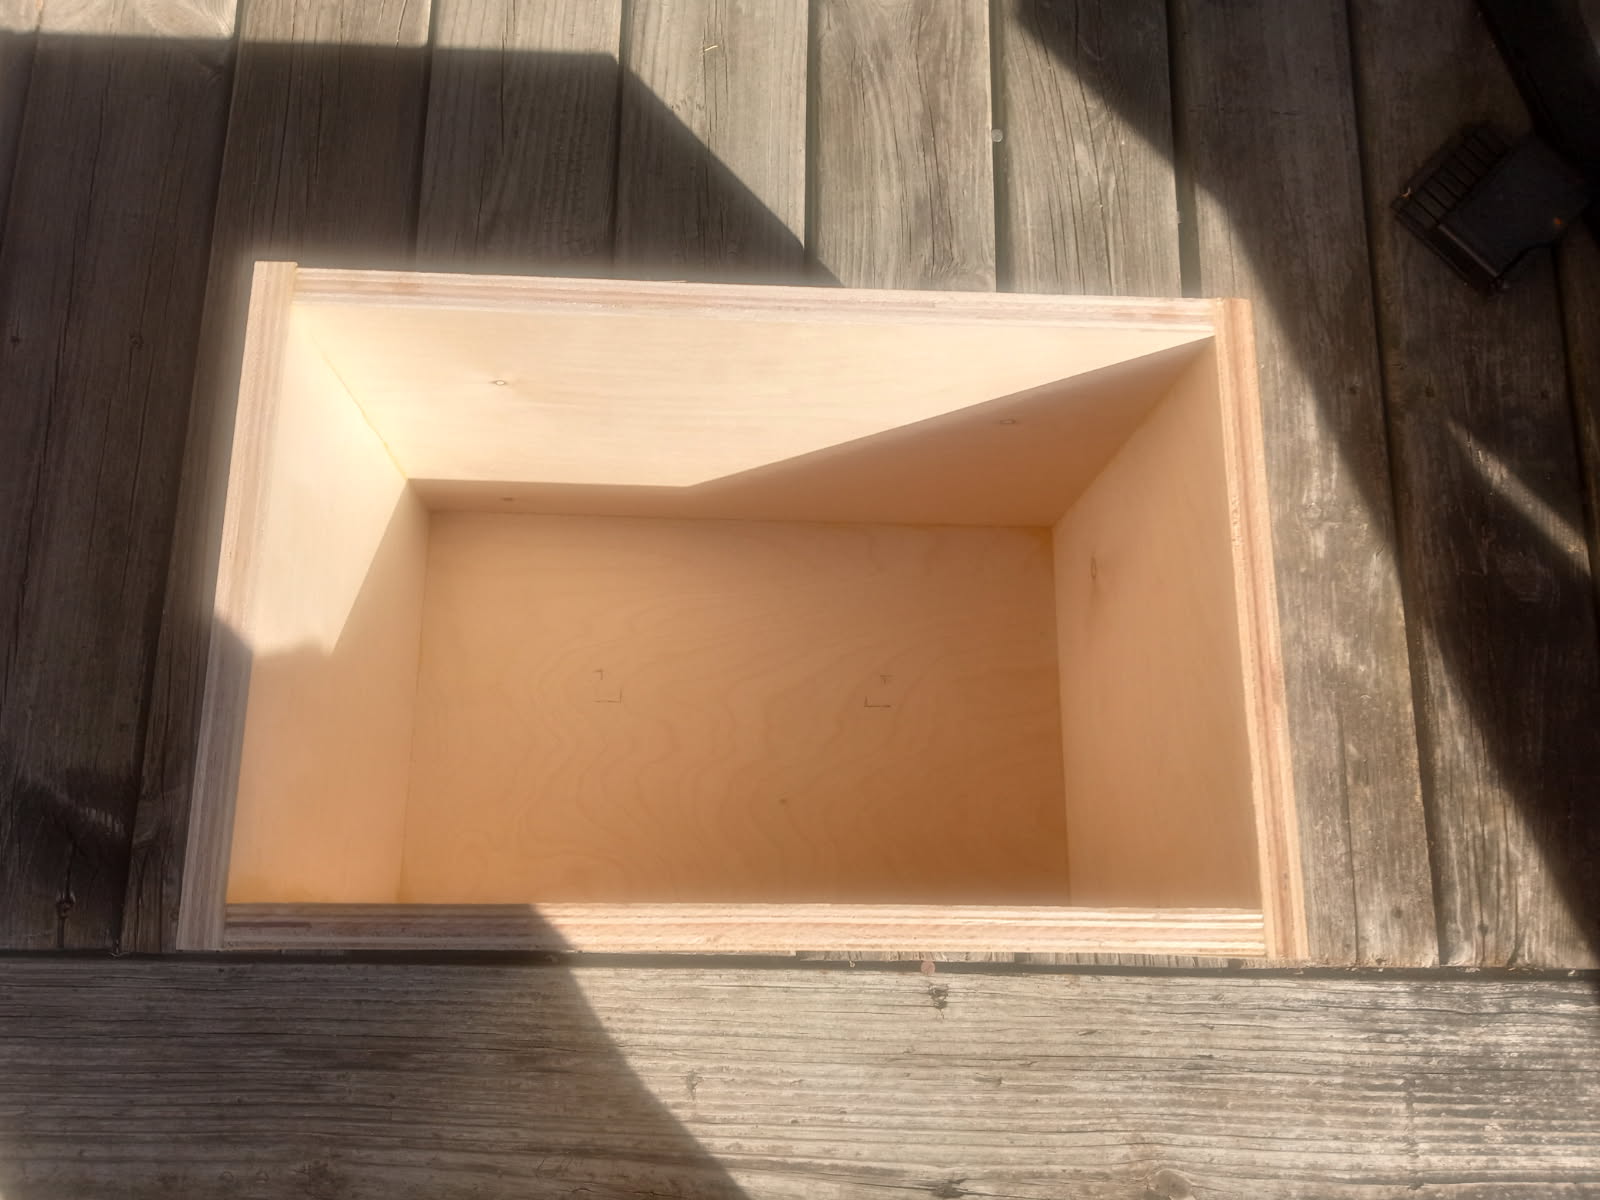
Always a joy to work with decent plywood. The low weight to high stiffness compared to MDF or particle board just feels higher quality. Not that it necessarily does any better for resonance.
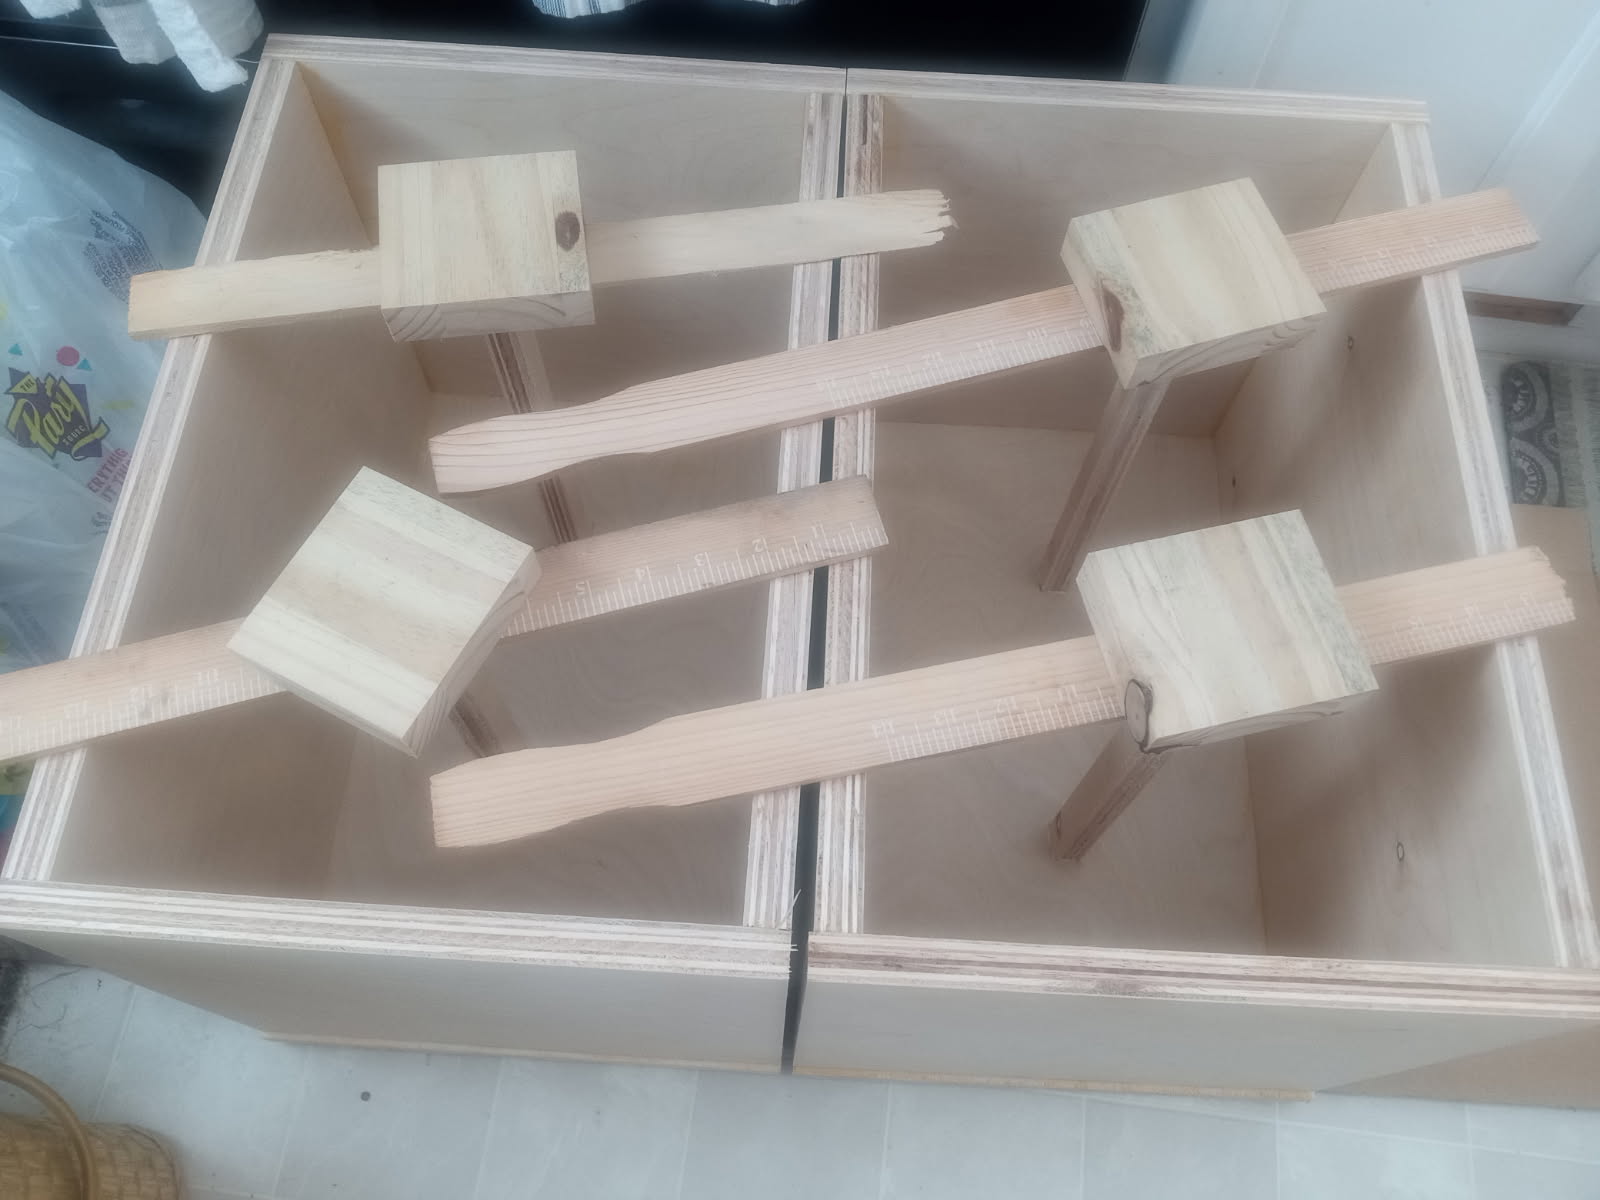
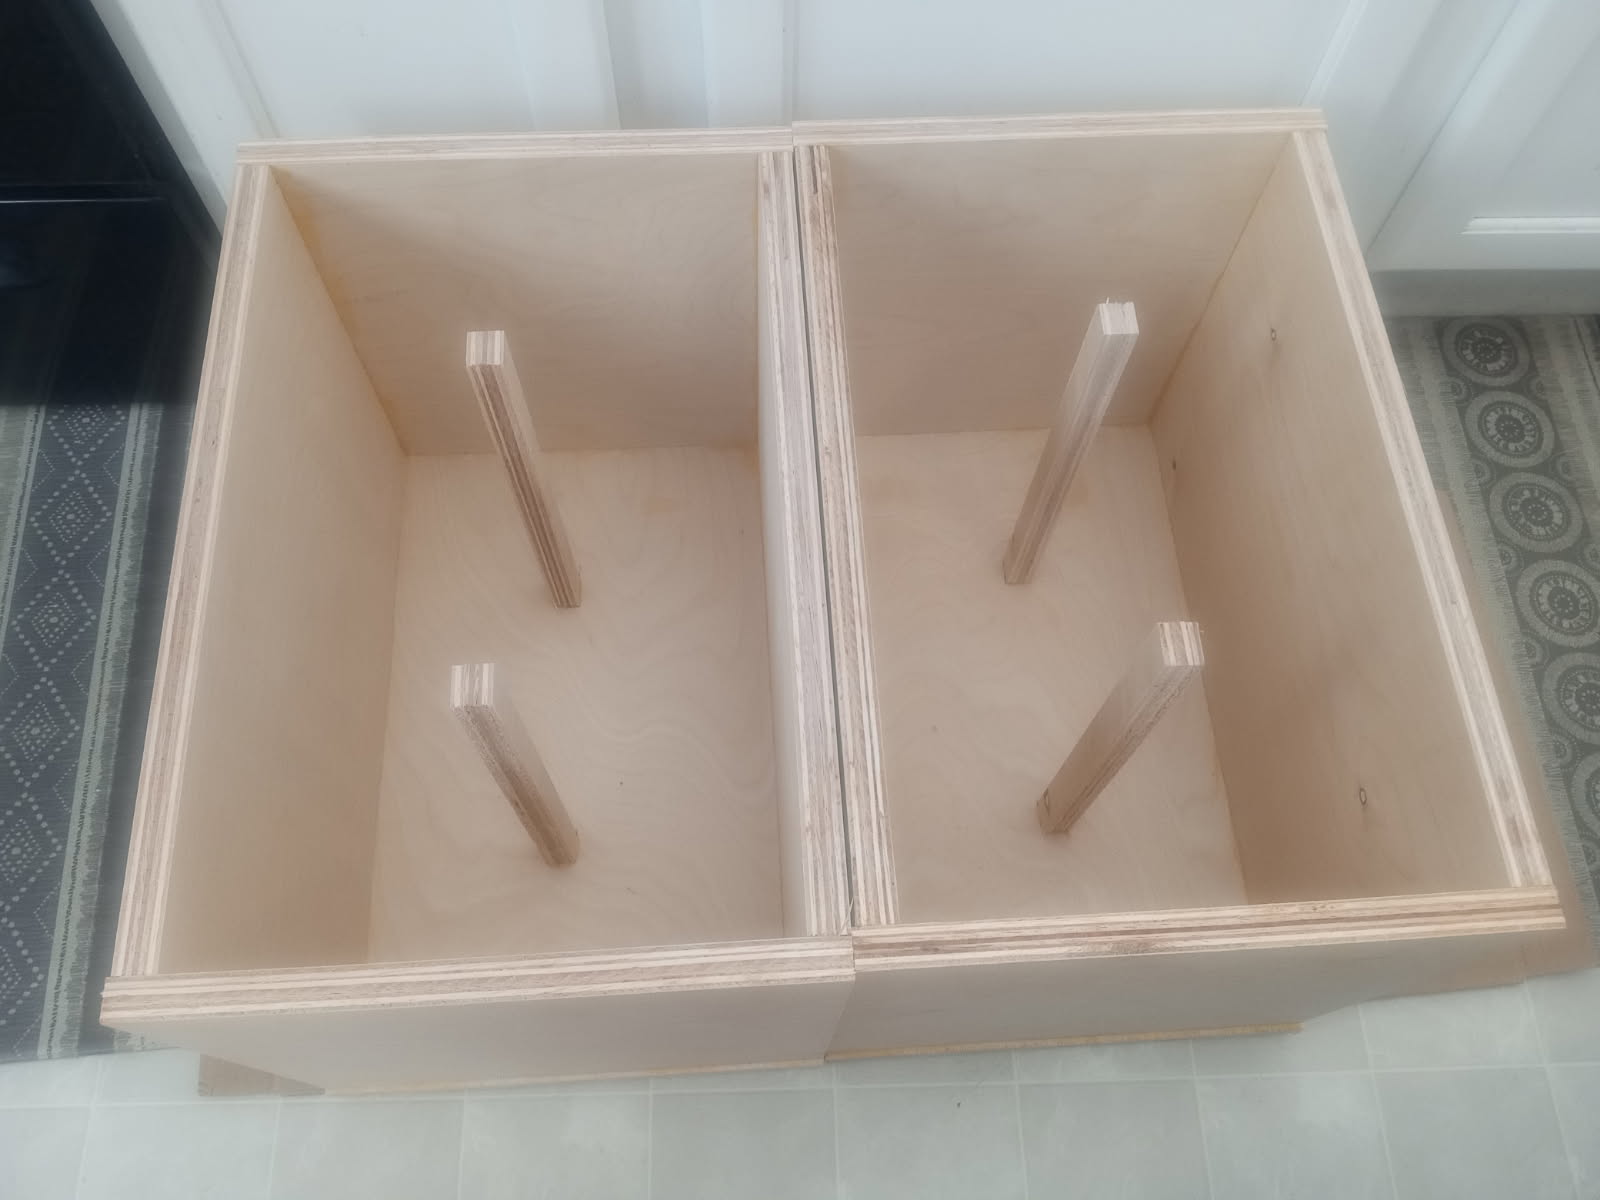
I’ve tried several techniques for gluing in braces over the years. Even as simple as: shove the braces in with some glue and clamp both sides over them at once. This time I took a more accurate approach by gluing one side on then adding the braces in before I glue the final side on. The large paint sturrers/shims offer a little tipping resistance and a small block of wood for mild weight.
The overall height and width will be about 13 1/4" and a hair over 18". I guess I goofed the cut measurements slightly, as they should be a bit different than that. No biggie, splitting hairs. That aught to put it right at 1.15cf minus bracing and woofer volume. I imagine the max internal volume you can get from a true 2’x4’ piece is around 1.25-1.3cf; if no scraps were leftover for bracing, and glued to the max dimensions without accounting for flush trimming. and maybe even using a thin-kerf blade.
I’m bursting at the seams to divulge more… I think this is going to be a fun one. Trying to use that as motivation to work faster . I’ve already spilled the beans to @6thplanet when we met up.
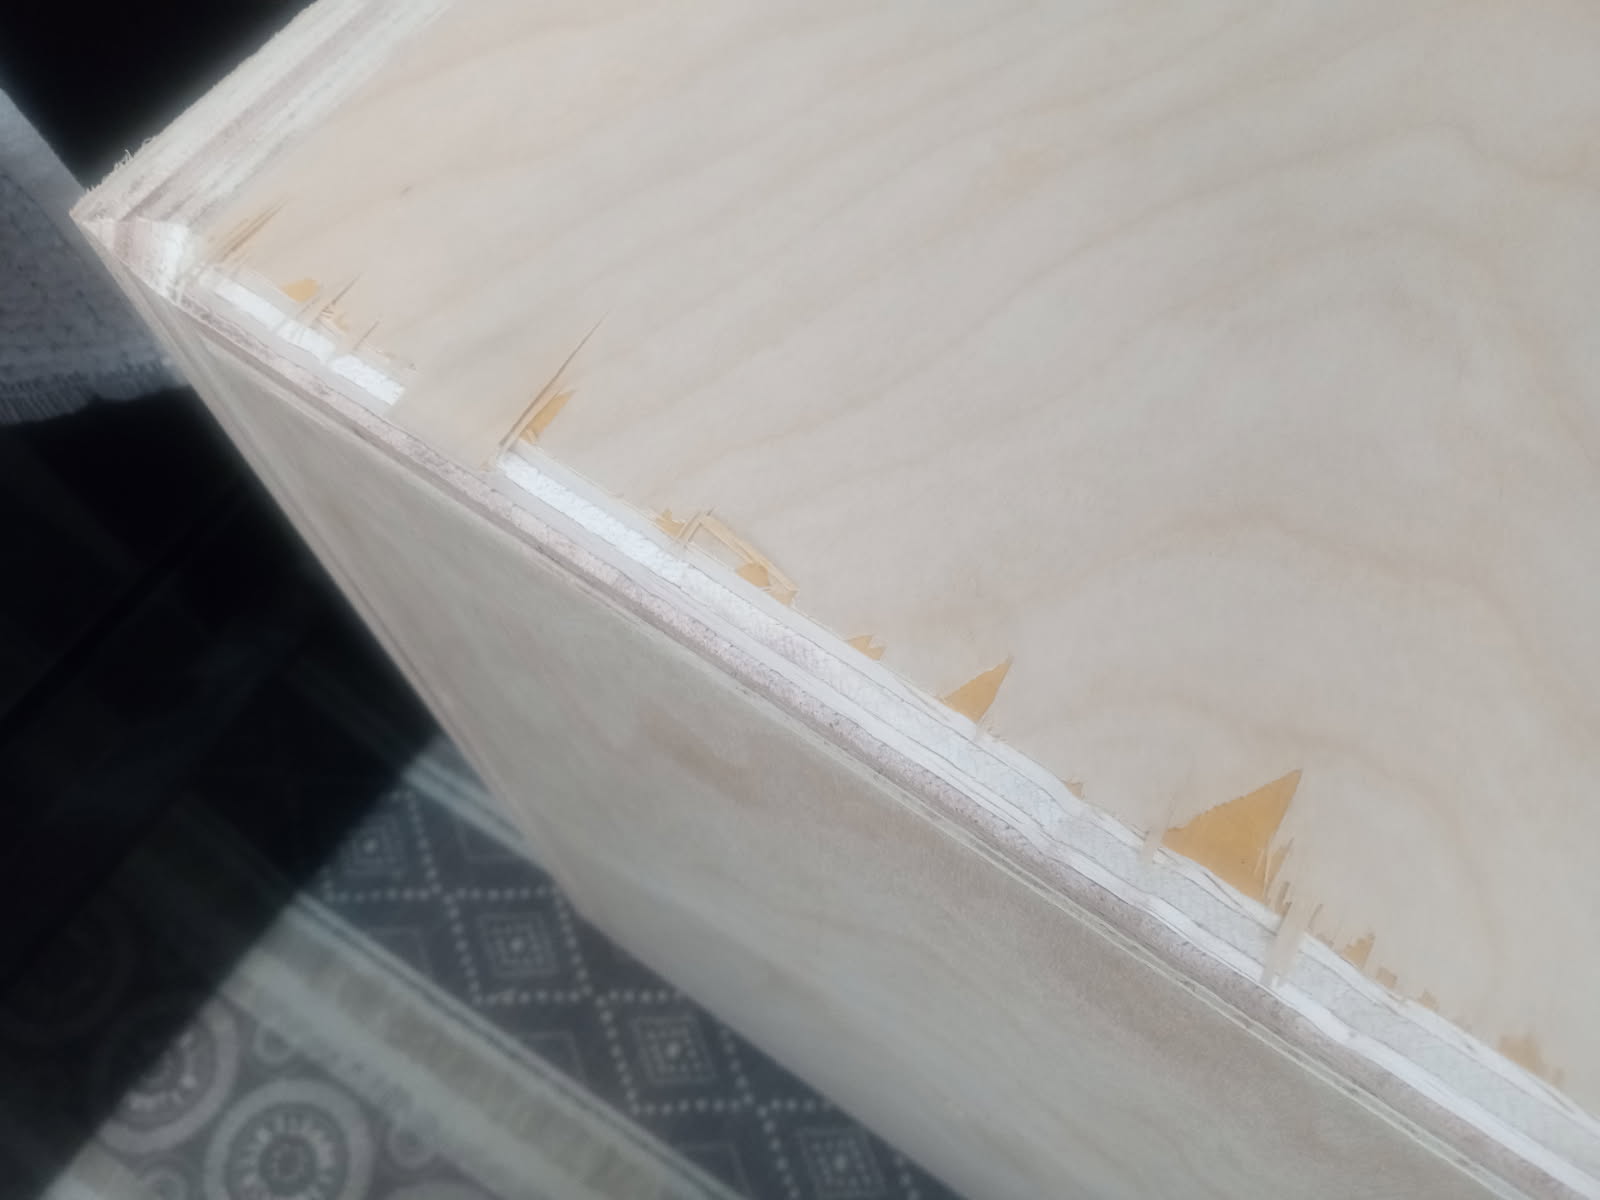
Tonight I flush trimmed the boxes. Then I wanted to put a chamfer on the corners. I tried a chamfer router bit, taking out a small bite at first. That went badly. The super thin outer veneer wanted to tear off in big chunks. I probably should have seen that coming. I guess I’ll try gluing on the pieces I can find and do the chamfer with the table saw instead. I’ve not tried that method yet.
On splintery ply I found going with the rotation of a router the best option.
Can be a bit unwieldy, but doing it in small passes seems to be fine. Stand from more behind the router so it’s trying to pull away from you, it’s easier to control than being perpendicular to it.
If your table saw will accommodate, then definitely try it that way. That can also have chipping issues.
Cool. I do have some experience climb cutting so I could try it.
I think I was also trying to go the wrong orientation for the ply direction. I was too worried about chipout at the end of the pass.. stopping short and how I was going to finish that off. I didn’t give it all enough thought before jumping in.
My table saw should be able to do it without too much issue. I just have not tried chamfering with it before. Seeing how reasonably well it already did ripping this plywood it is starting to sound like a better idea. I might try a slightly higher angle to see if I can cut off the majority of the booboos. If there is much cutoff/scrap then I guess I can glue it in the inside corners as a fillet. For theme sake.
Ended up too dark to get pics last night as I was losing light while working on it.. One more reason I was hurried straight into this big goof up.
There is a very large hanger a few inches away from the end. I managed to save a few other big pieces to glue back on. The rest I’ll see how much I can chop off with the full chamfer and probably rub some color-match filler in any that remain after that. The other side (first pass) wasn’t as bad, but still same issue.
I order Baltic Birch from Woodworkers Source- it’s always been top quality. ‘Course I don’t have any choice out where I live - so probably not the least expensive. Then again Ben’s suggestion of painting tape is a good idea, as well as having a high tooth count blade for my table saw (cleanest cut is the bottom of the board- I believe). And I always google for proper routing direction, multiple cuts and slow down.
I’m sure it is identical to the 4x8 birch panels Menards has. I had noticed a while ago the super thin veneer didn’t hold the greatest (judging by similar tearout on the larger sheets). But sometimes I’ve just gotta touch the hot burner .
 )
 . I’ve already spilled the beans to
 .