I like the direction this thread is going. Tubes, vinyl, and horns, oh my! Looks like you are moving in the direction of a vintage 1950’s style “High Fidelity” system. 
Oah yes. There will be horns. 
The question is which ones? I have so many to chose from.
I get hard-set on one, then start pondering the merits of another 
I had pretty much decided on more modern short horn style. As I figured that would satiate the palates here. But I do have a couple long horn options that would realy lean towards the oldschool vibe. 
Neat idea! Tough the cartridge does look to be way off tangential in the pic? Would only get worse as it goes down towards the end.
Yeah - it wasn’t set up at all. It’s just plopped down on an old trashed AR table. I just wanted to see if the platter was running at speed.
1 Like
CF kite tube is also an option, probably same thing as arrow shaft but might have more size and thickness options.
Could use flat CF plate for a fixed headshell. When I was younger I used to cut out my own RC car chassis parts by hand with a dremel.
That’s a great idea! I didn’t even know about kite tubes.
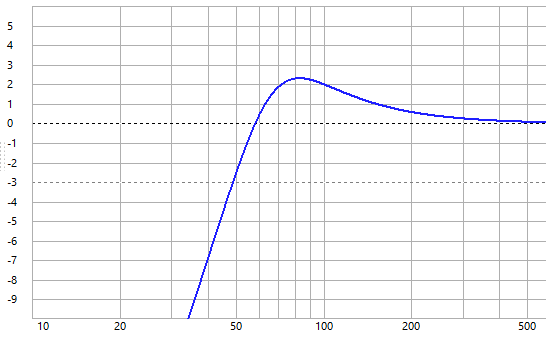
Here is what WinISD has to say about this woofer in ~1.1cf with .5ohm in series for aprox. coil dcr.
I’d first thought of just using light shellac on the cabinet and that is all. But now thinking about possibly staining it. I’ve got some of @R-Carpenter’s walnut stain. I have an urge to try it on this. I know it would more heavily darken the end grain plys. I’m not the most enthusiastic to mess with sealing the edges though. Seems like it would be very fiddly, and I’d guarantee I’d stray from the lines. I could try doing one coat of shellac on the whole thing as a general sealer then stain over it, but not sure how I’d prevent my shellac application from being uneven leading to blotchy staining. I’m trying to keep it an oldschool rubbed finish without spraying. Shellac being king to me due to super quick dry time and reduced odor.
All my builds have some sort of experimentation added in. And I always seem to figure out a way to make it work. Maybe I just need to jump in and try it.
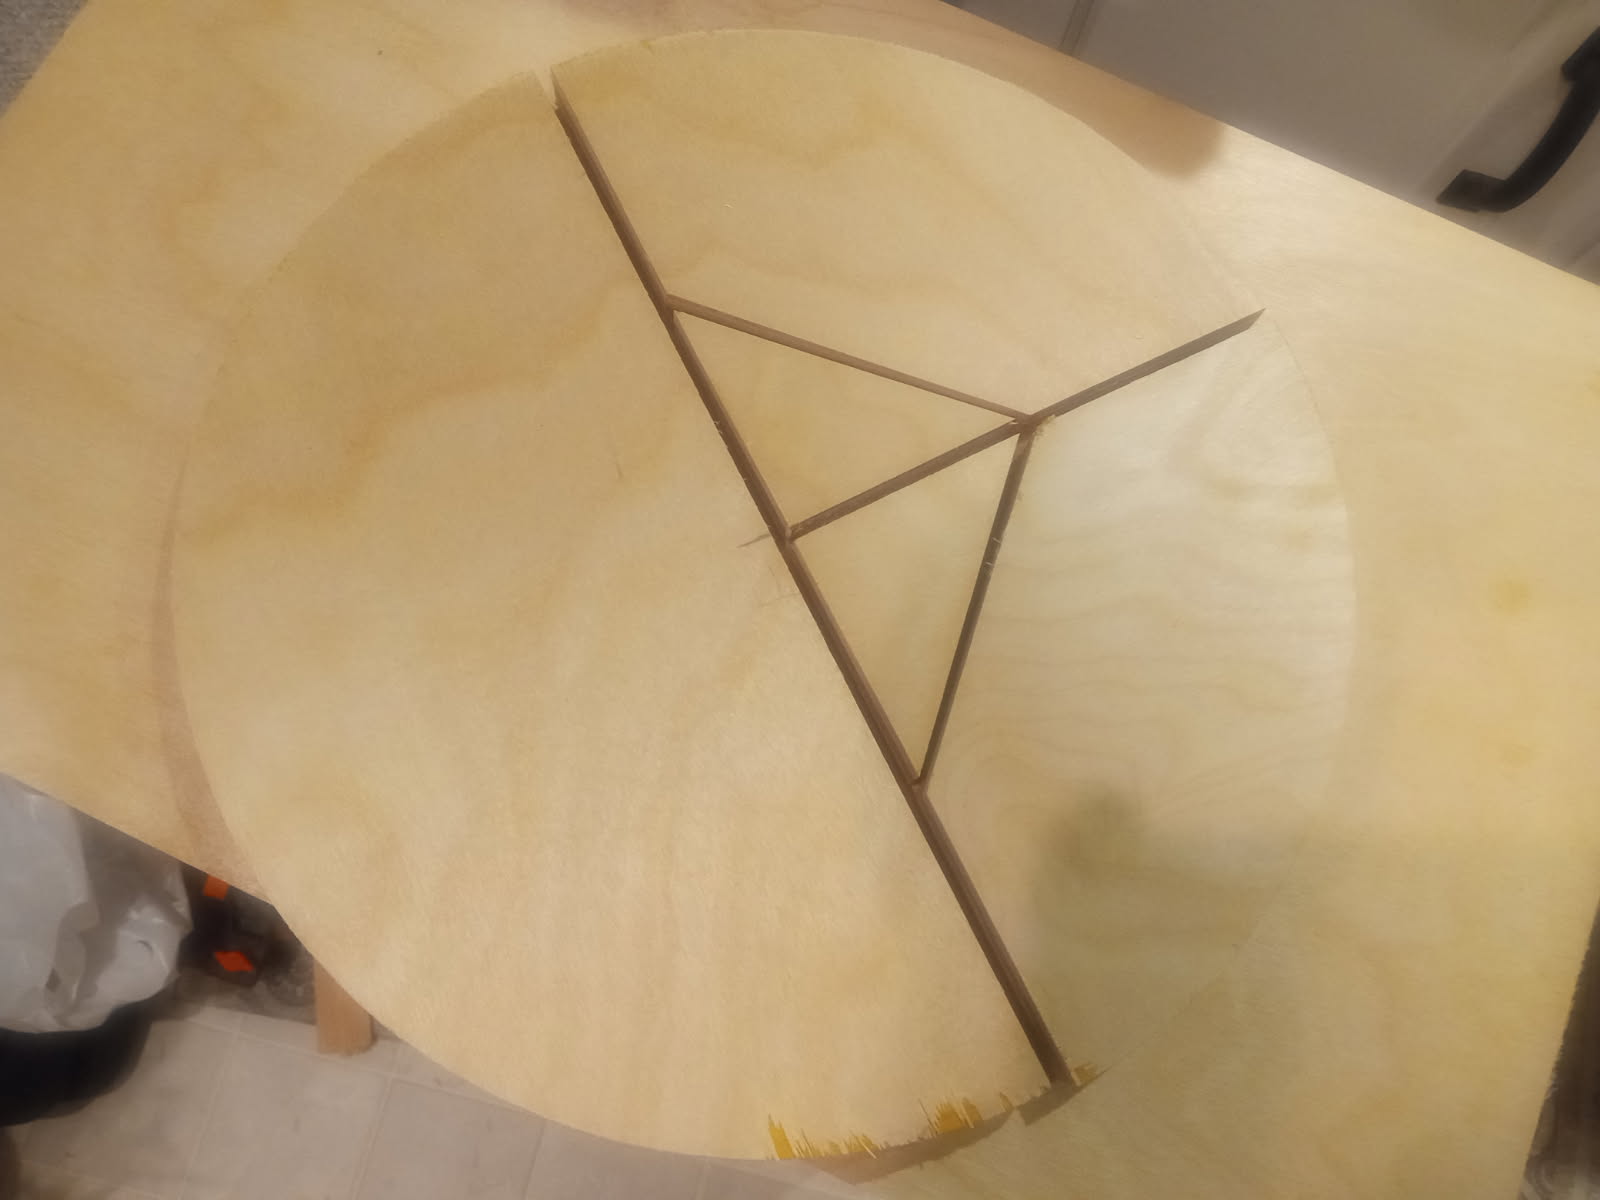
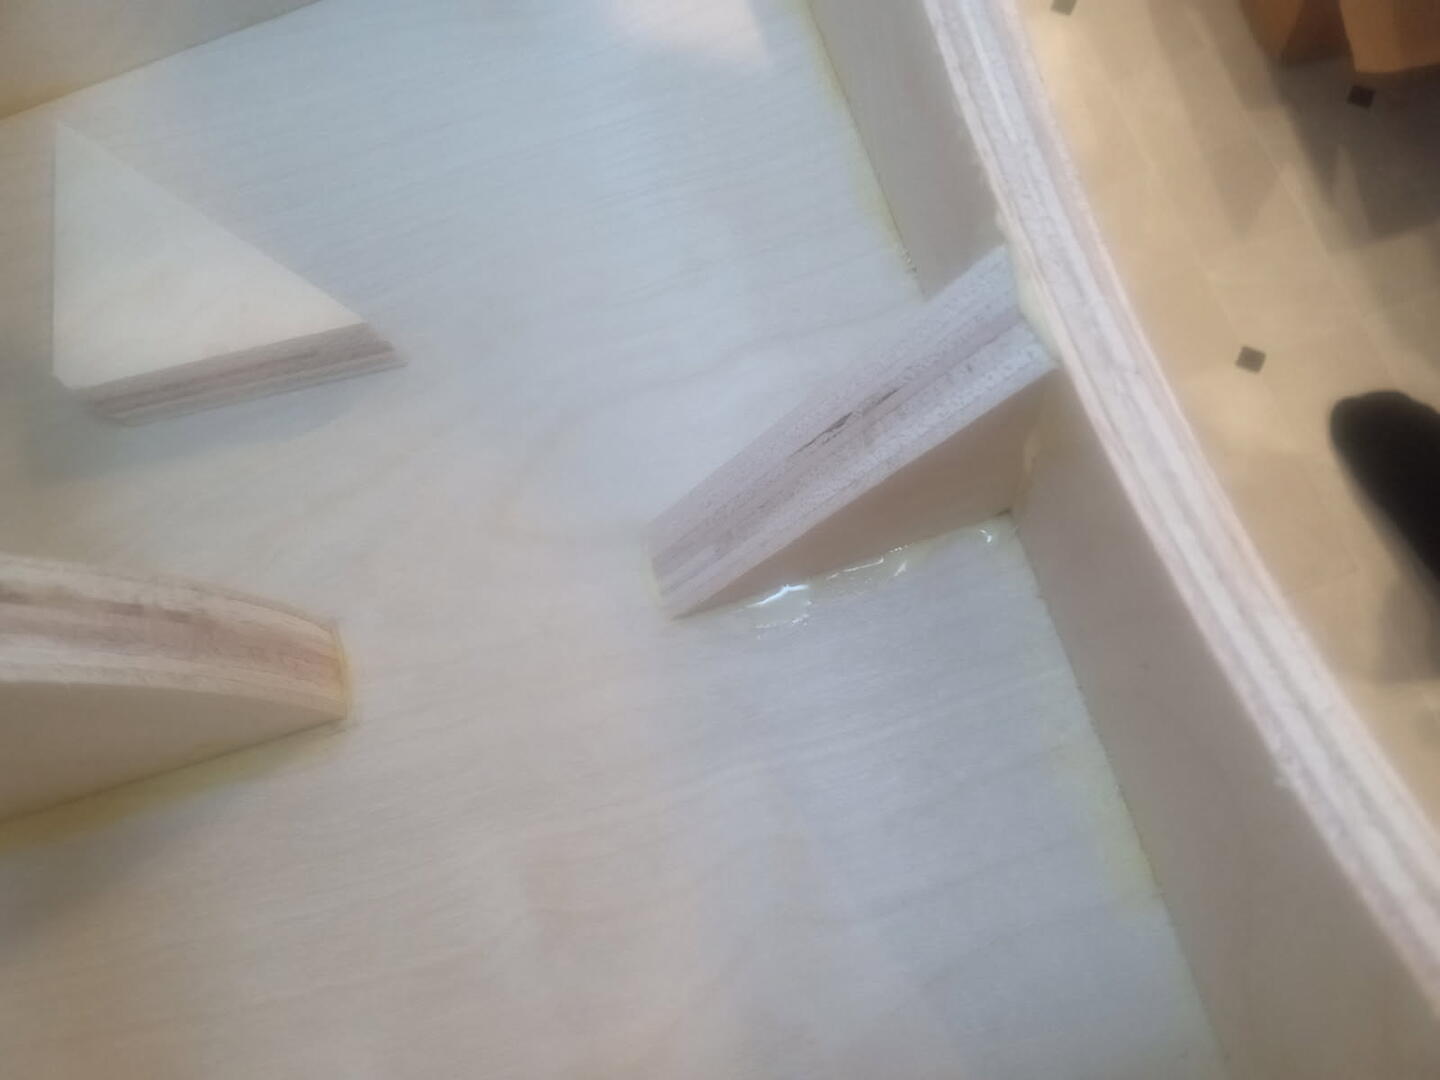
Since we gotta use our cutoffs: I chopped up the woofer cutout for some corner bracing. The bigger quarter pieces will go at the back and sides. The small triangles will go at the front and sides, placed so the outer woofer screws tie directly into them. Gives those screws a little extra meat to bite into as bonus. The other half will be used farther along.
This is how I convinced myself to try the theme challenge. Keep things simple and do what typical frugality would warrant 70+ years ago. Then it becomes part my self-imposed theme. Which is turning into a bit of a resto-mod idea. Or maybe like a retro-modern kit car. Build something that looks old with new parts, injecting some newer tech while also embracing older ideas.
5 Likes
Pretty cool so far
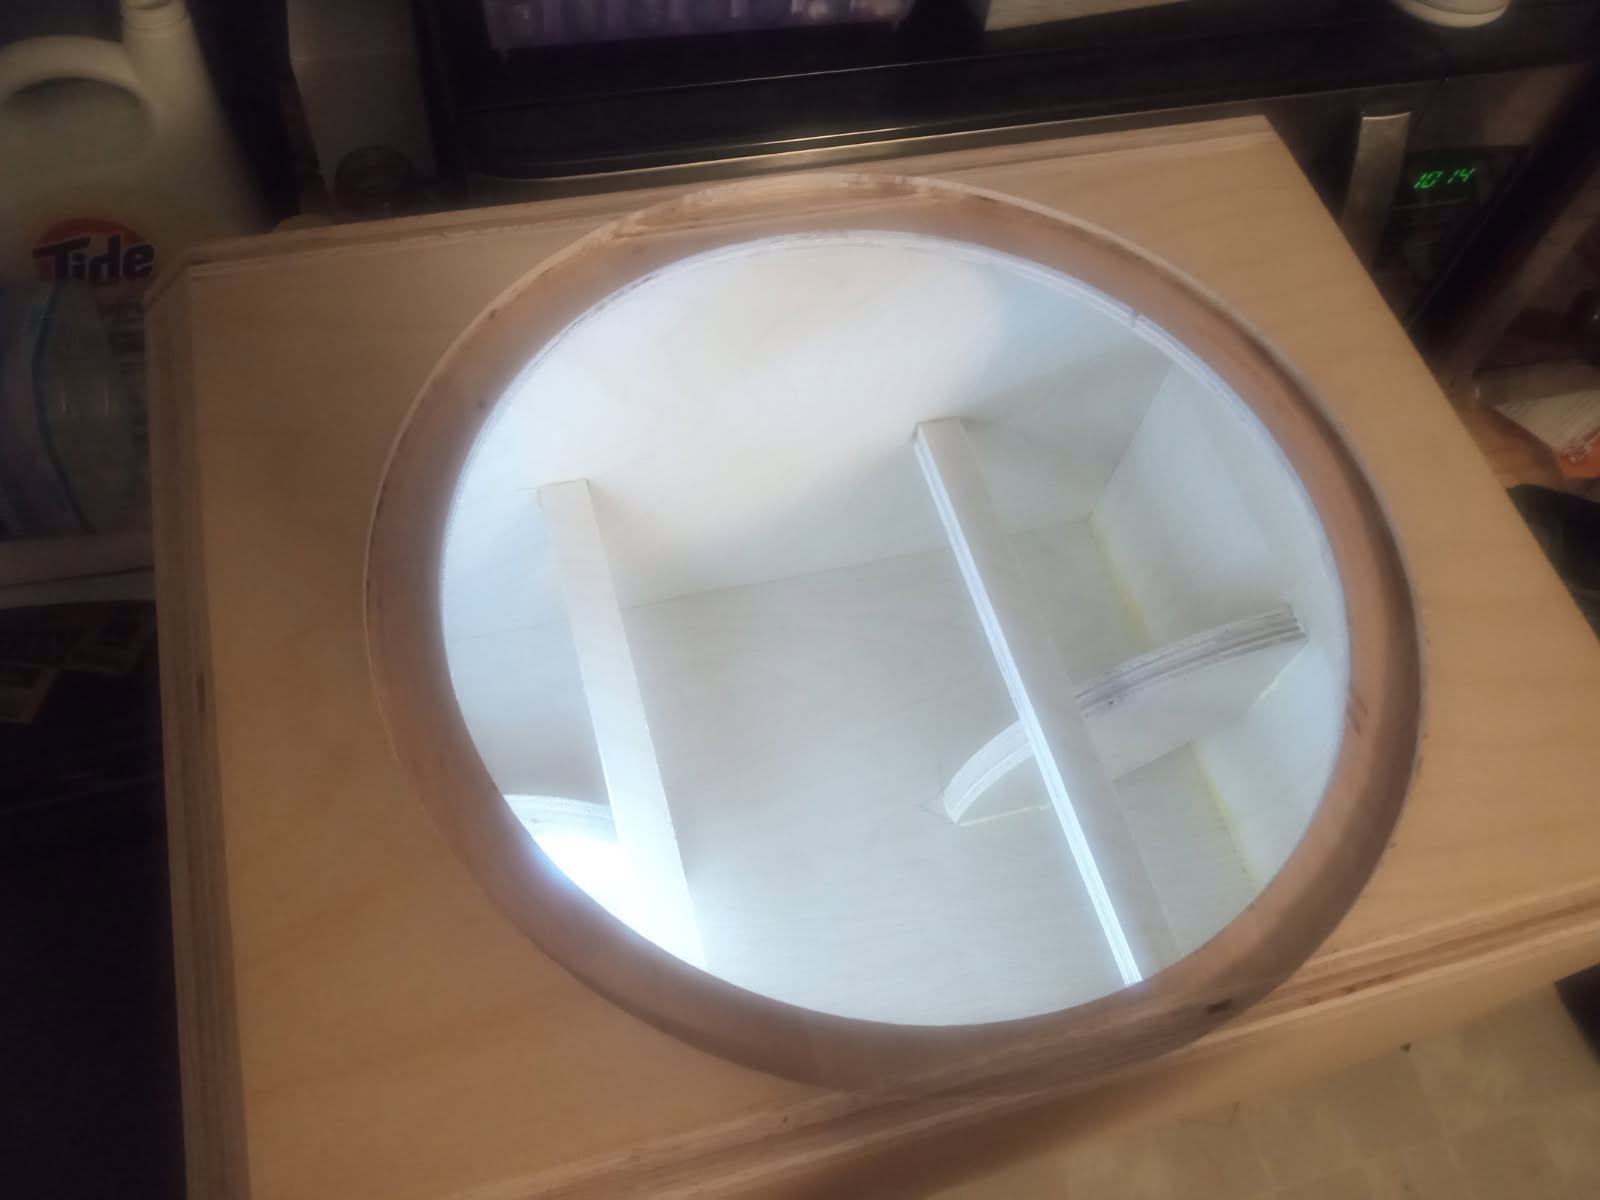
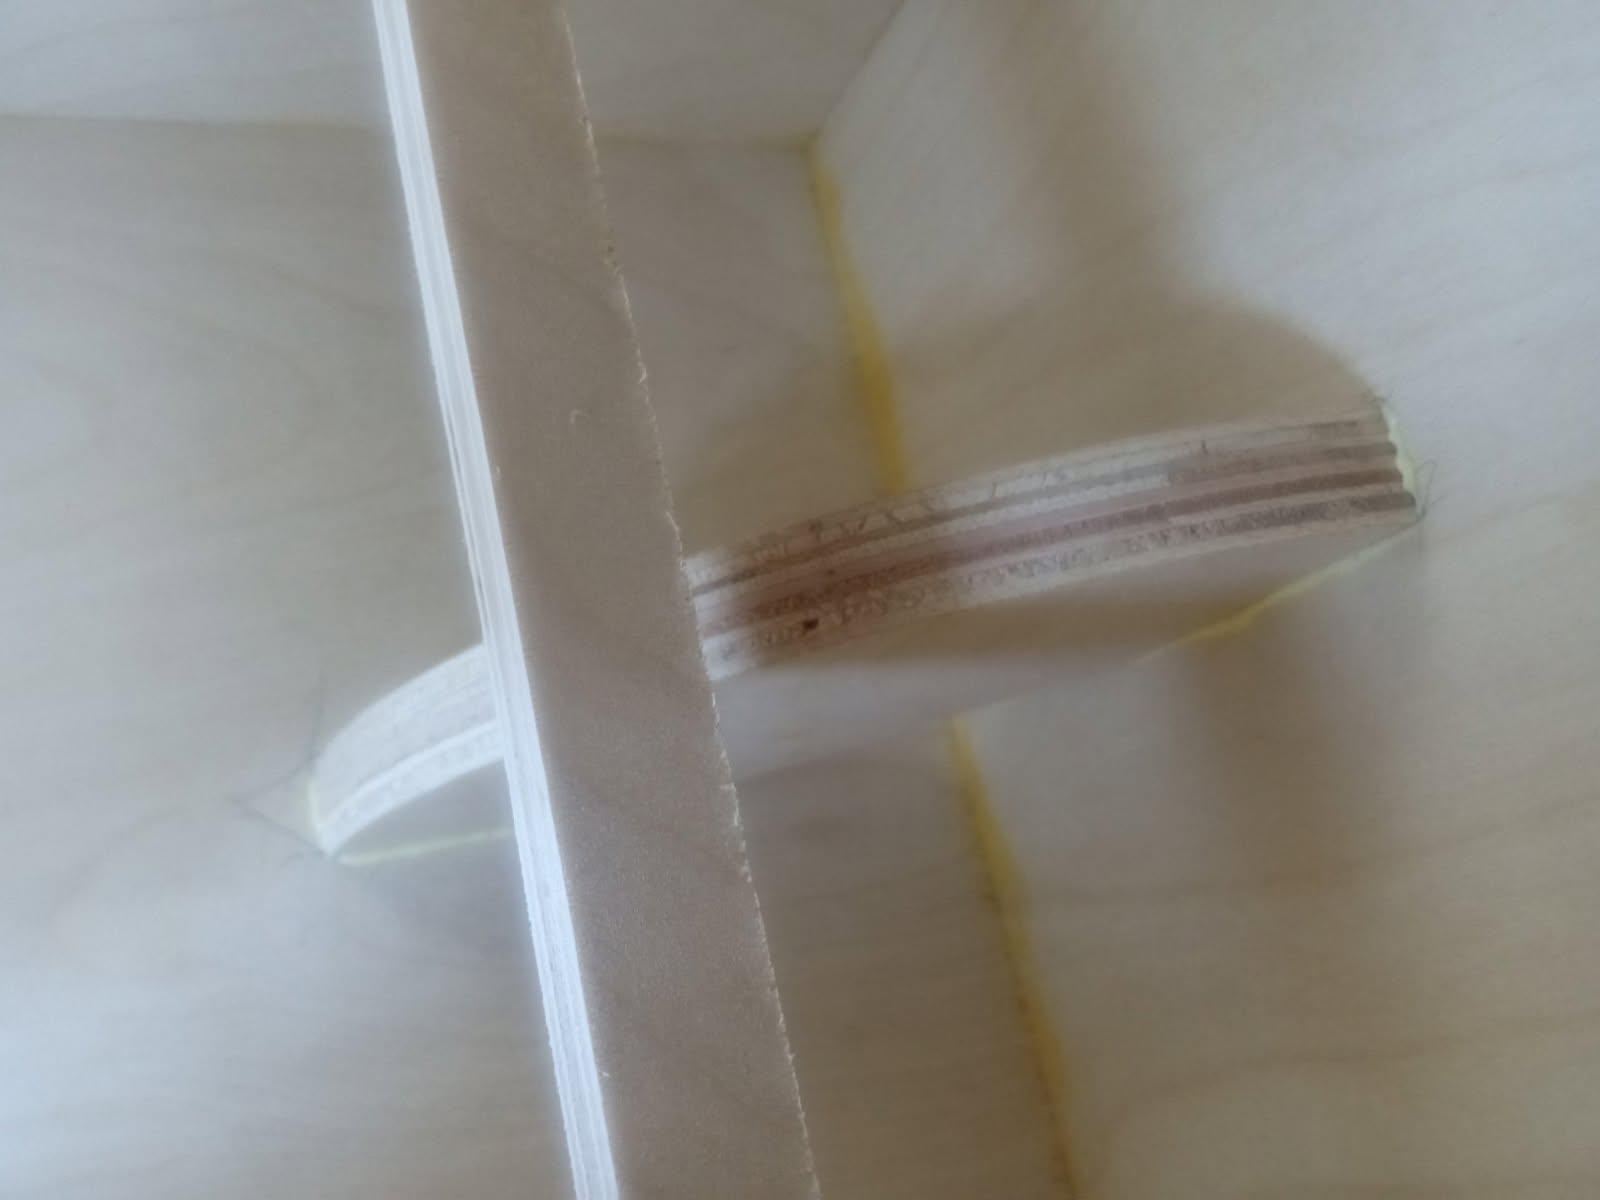
Looking good sir 

 I can’t stop.
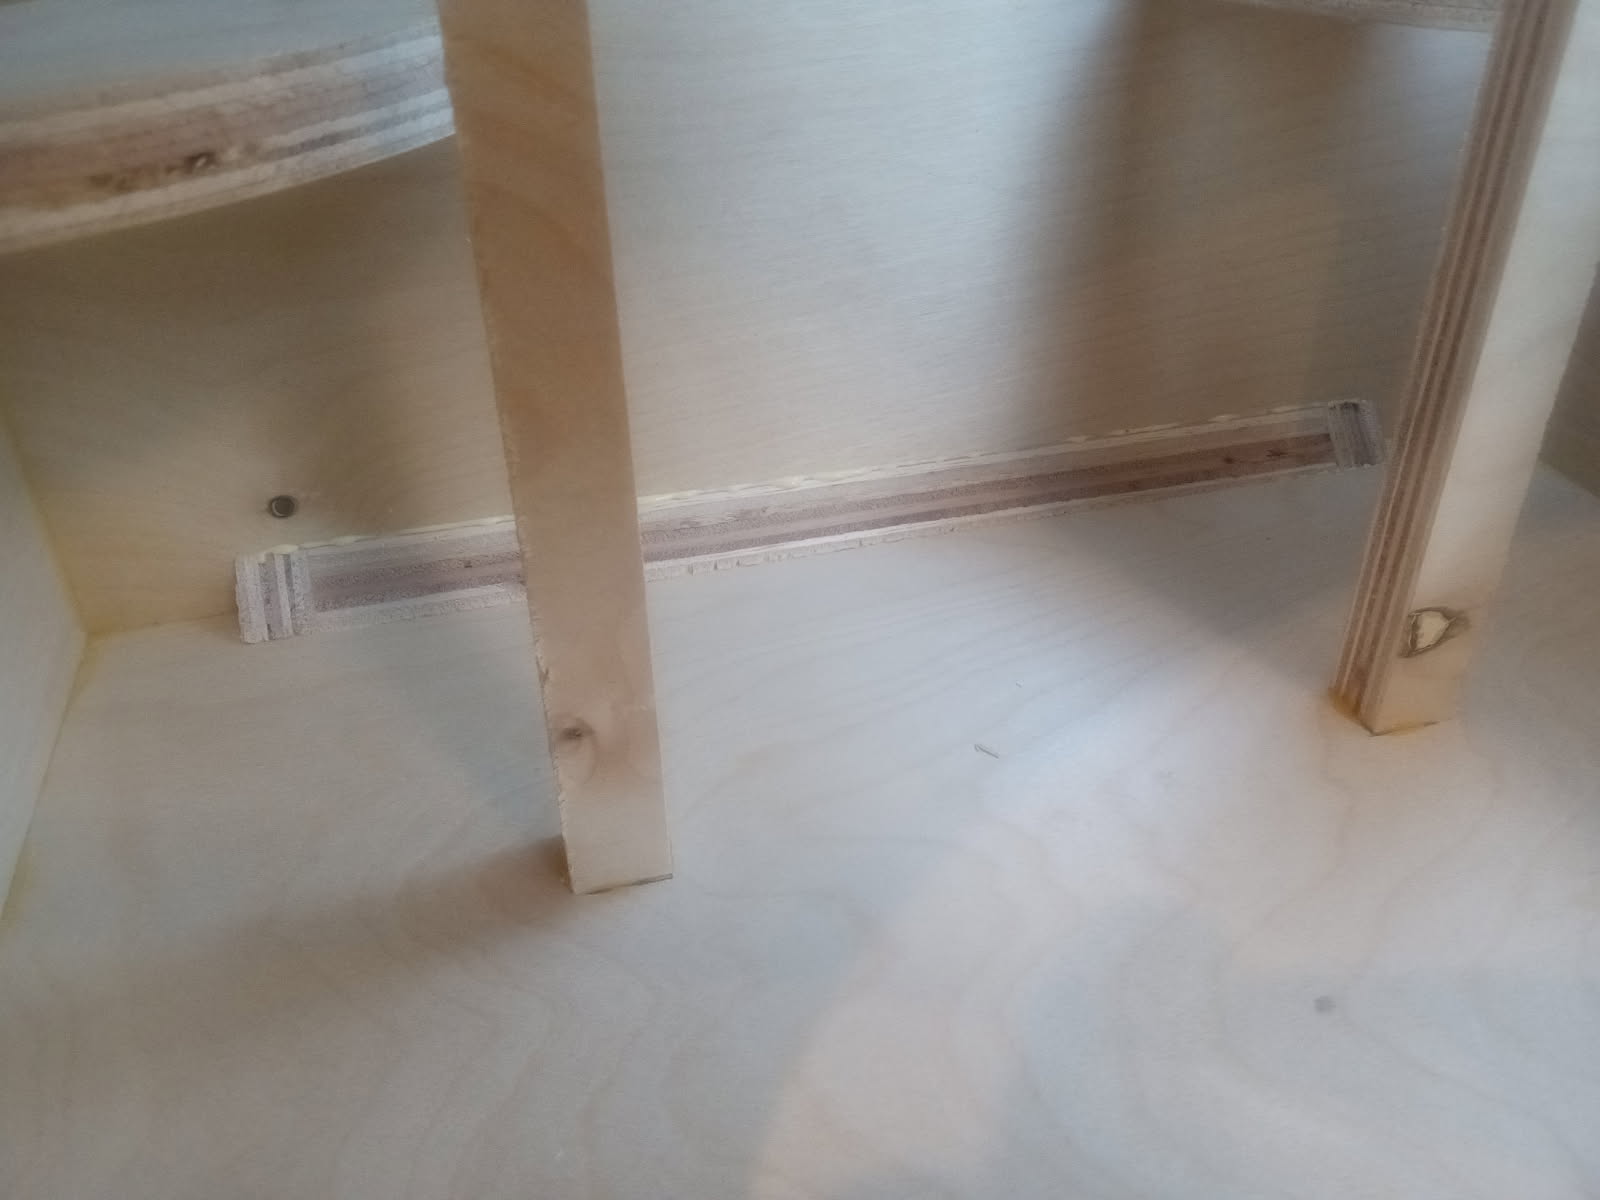
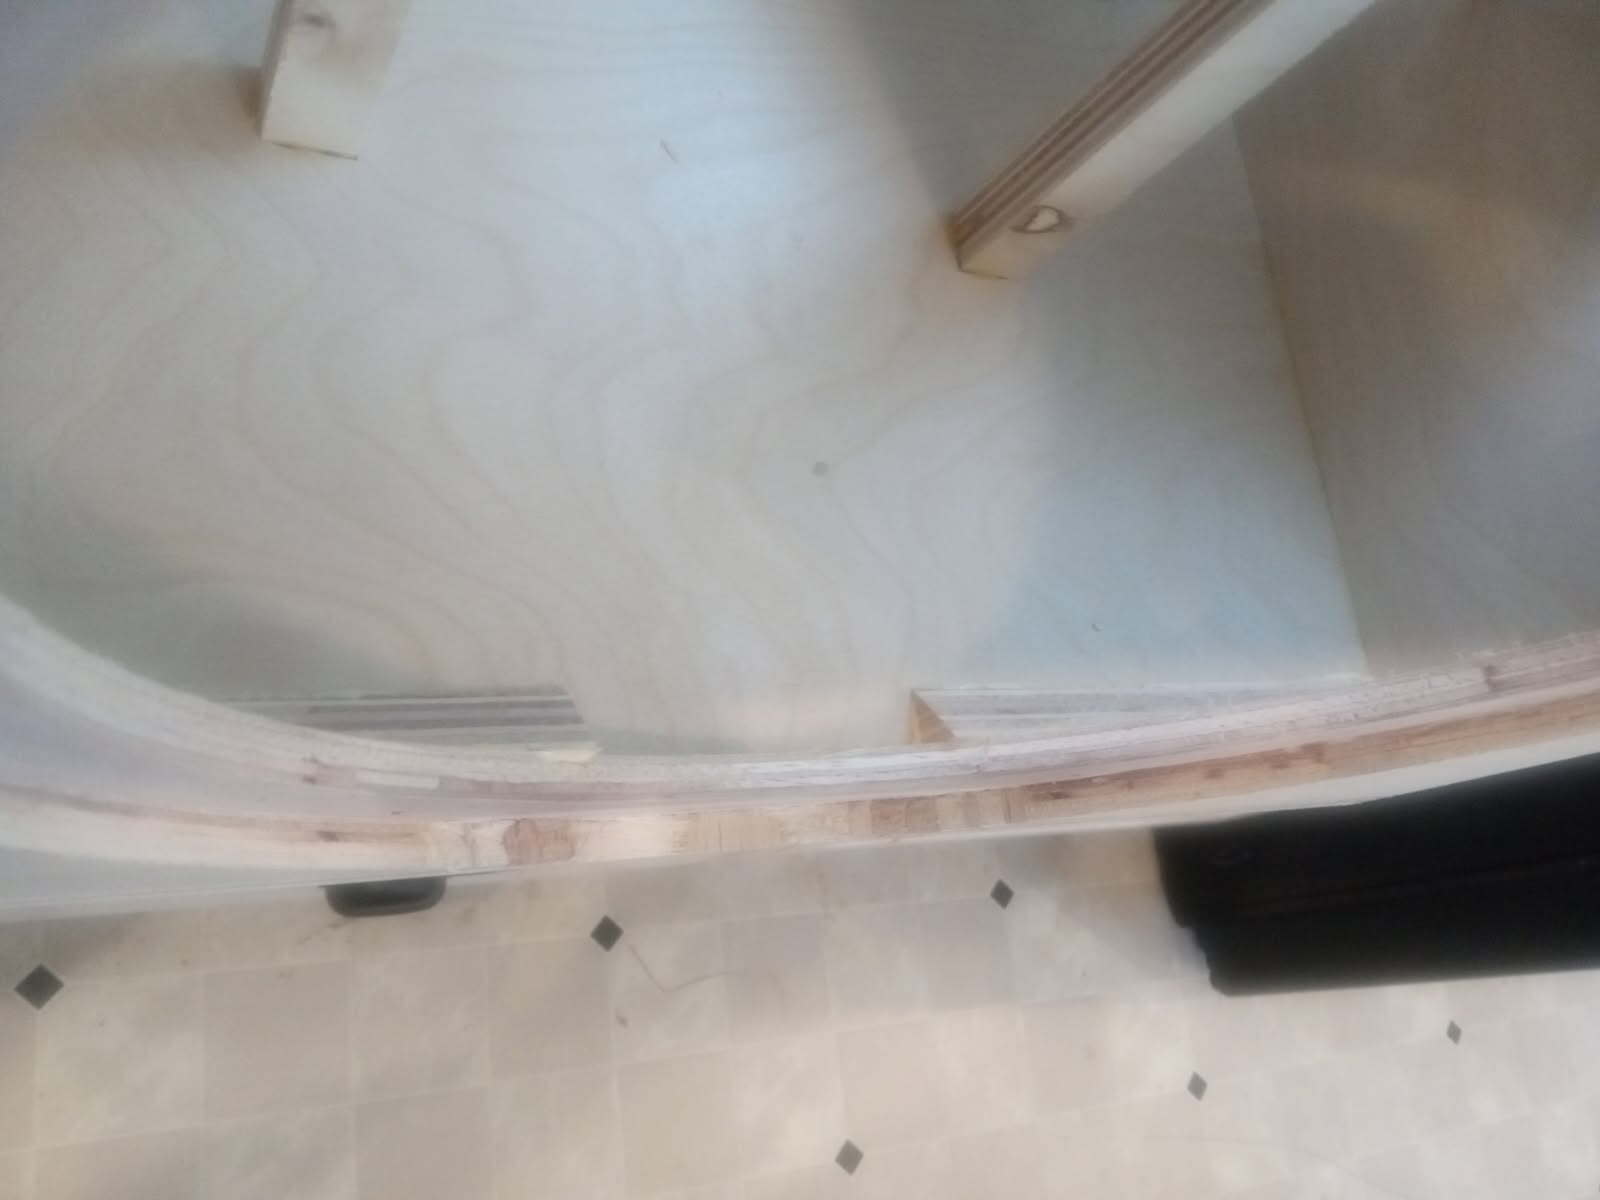
That about sums up the enclosure construction. Any further work on it should encompass drilling some holes and doing any sanding for finish and knock down sharp edges.
Now I suppose it is time to address the elephant in the room: What is going to fill the top end?
You already know it is a horn. And for a rather visualy basic chunk of bass bin I think it needs to be something big and bold enough to contrast. But I decided the sound needs to maintain some level of neutral competency. So no long horns that would pinch/neuter the upper octaves too much. And a compression driver that is smooth enough to not be too offensive to discerning ears.
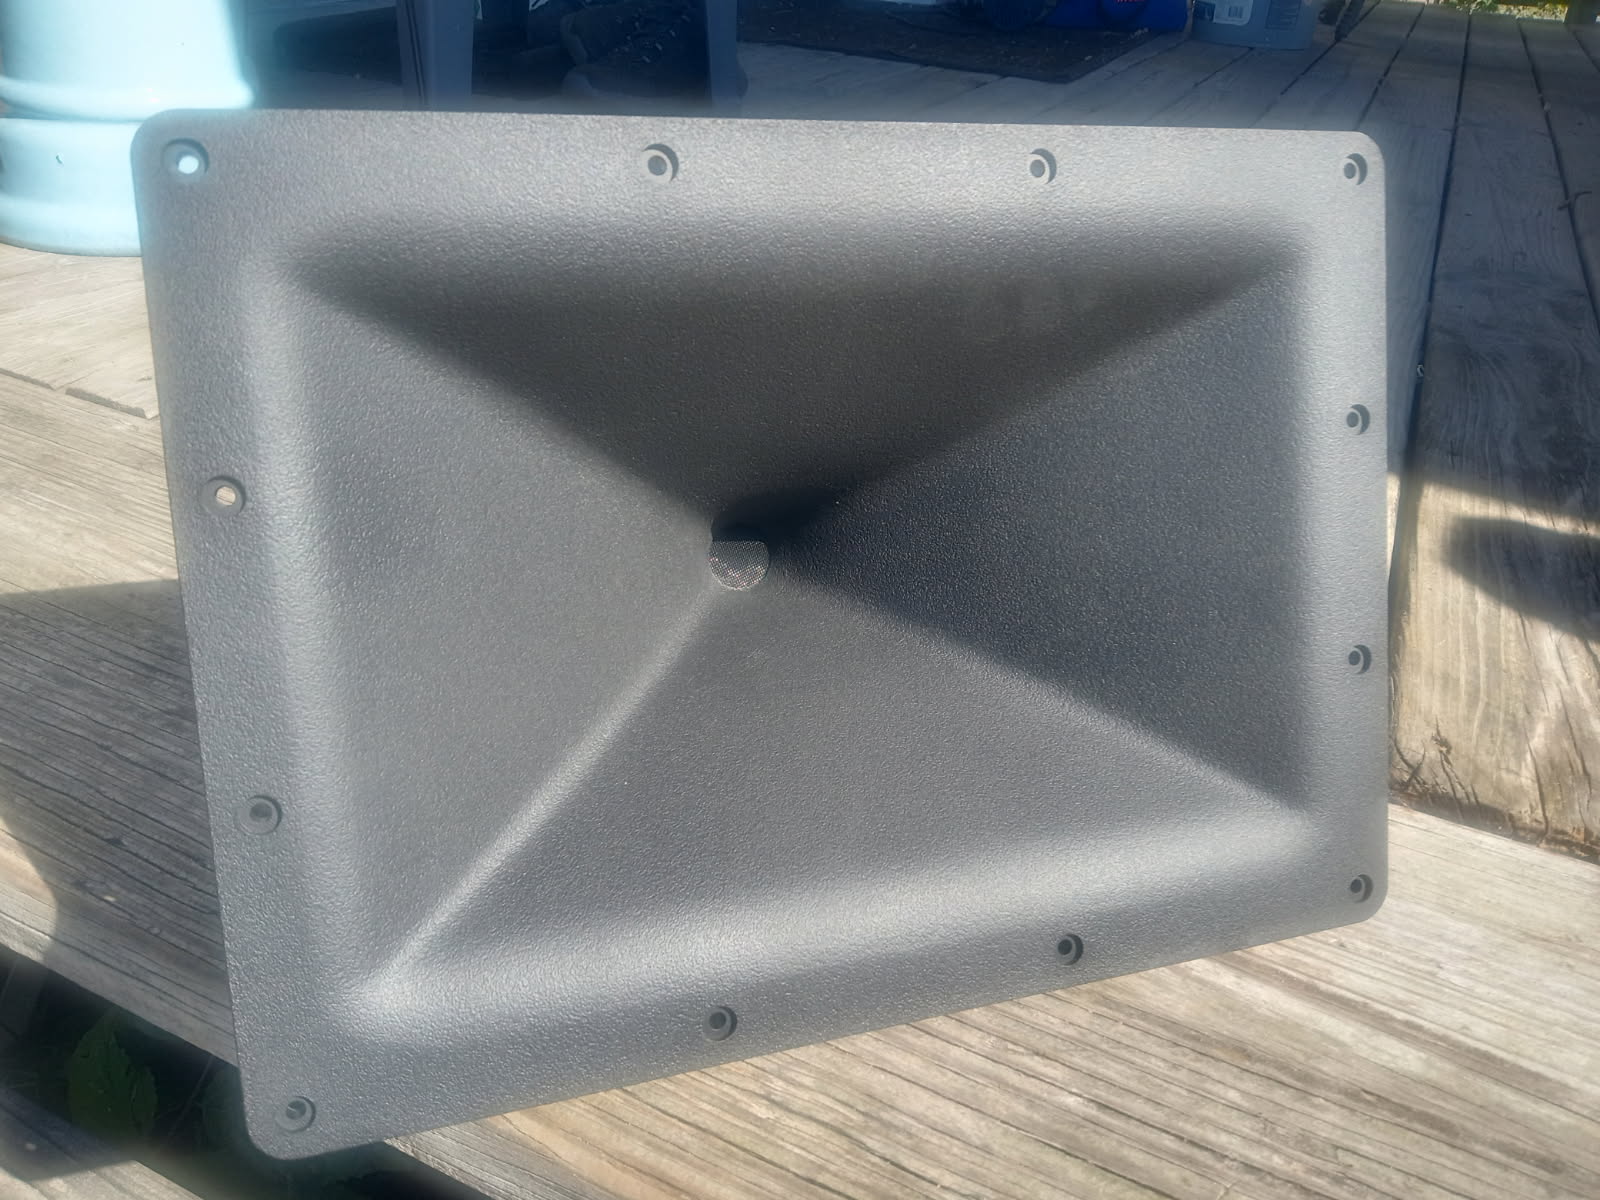
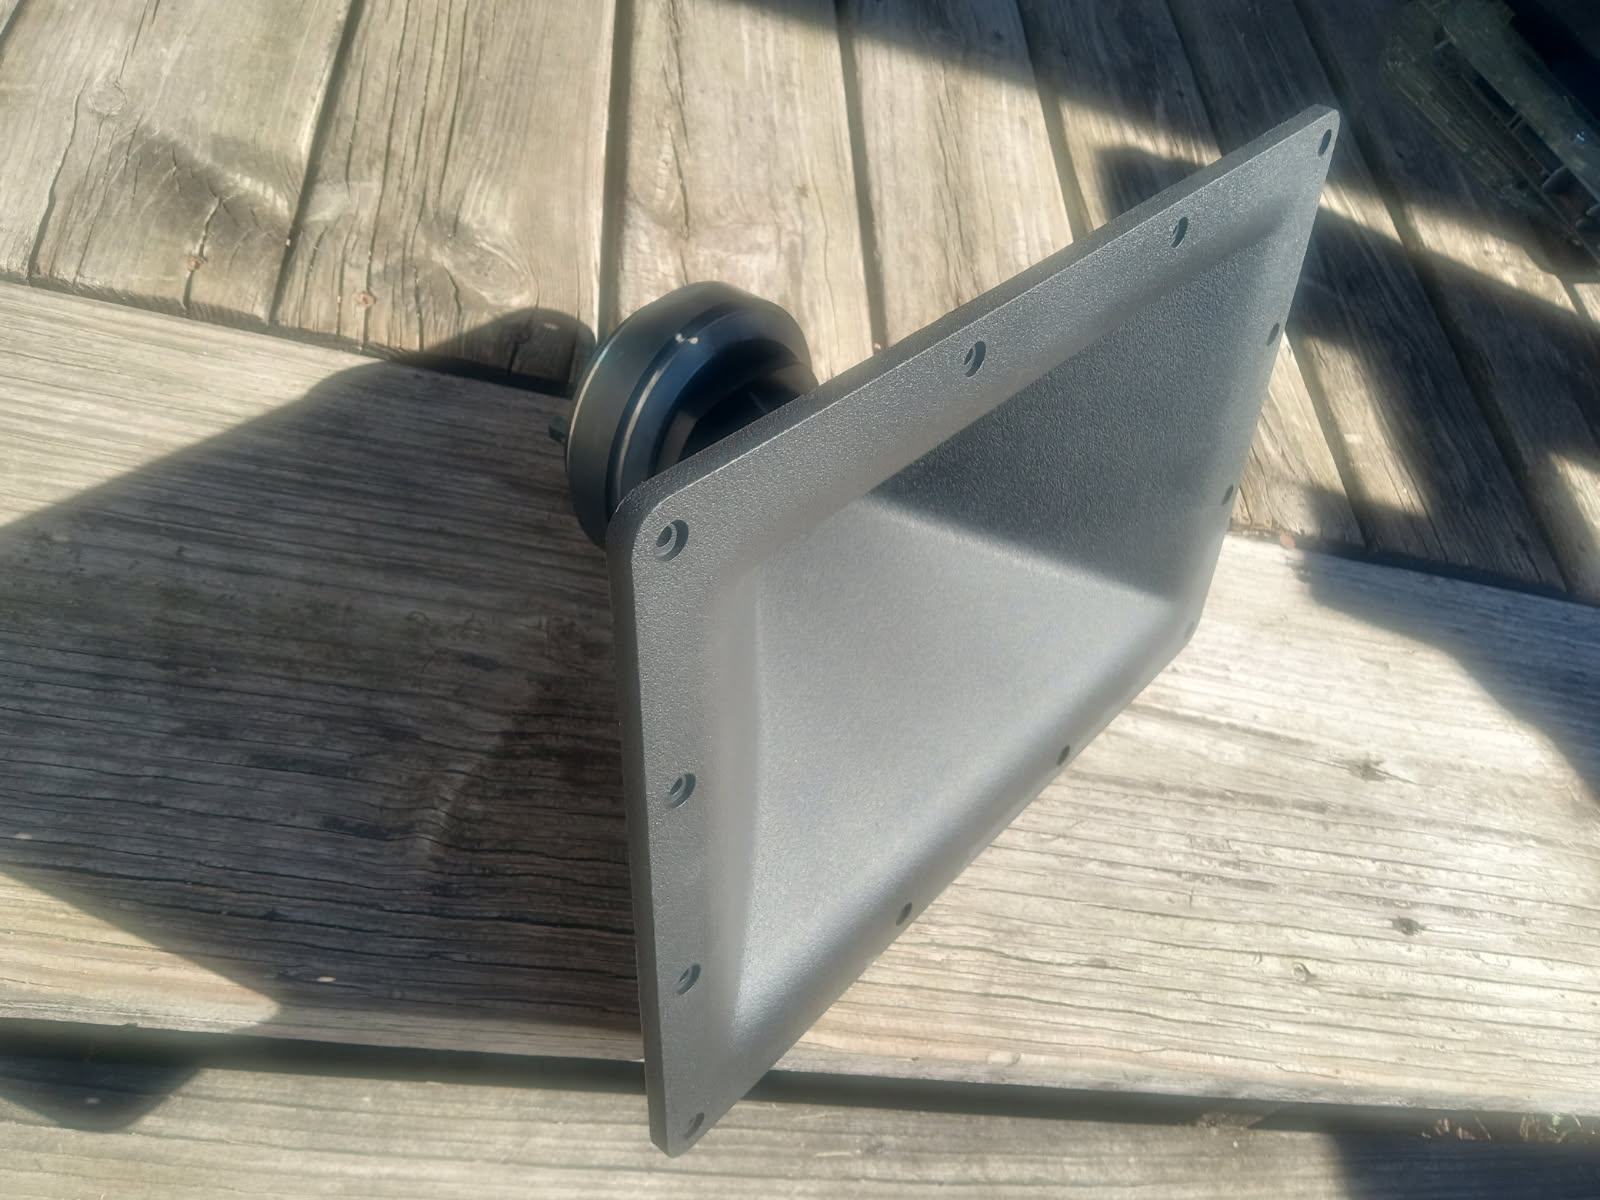
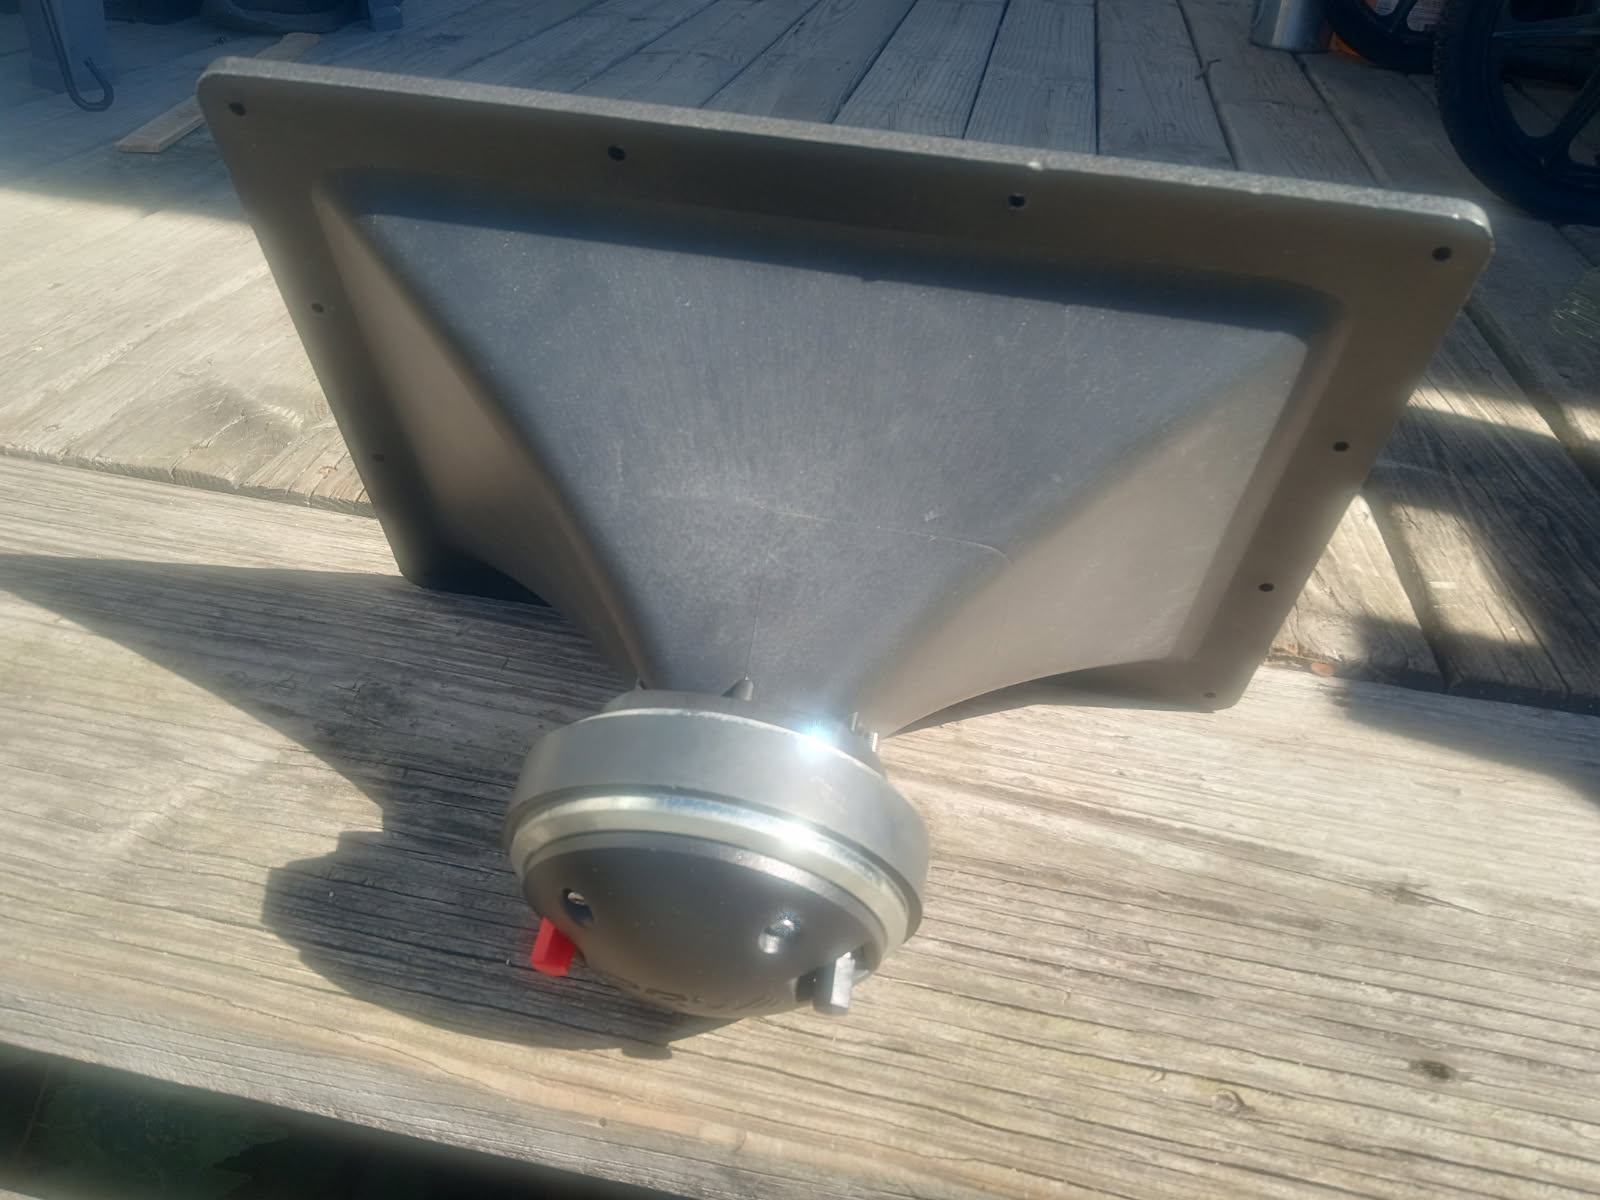
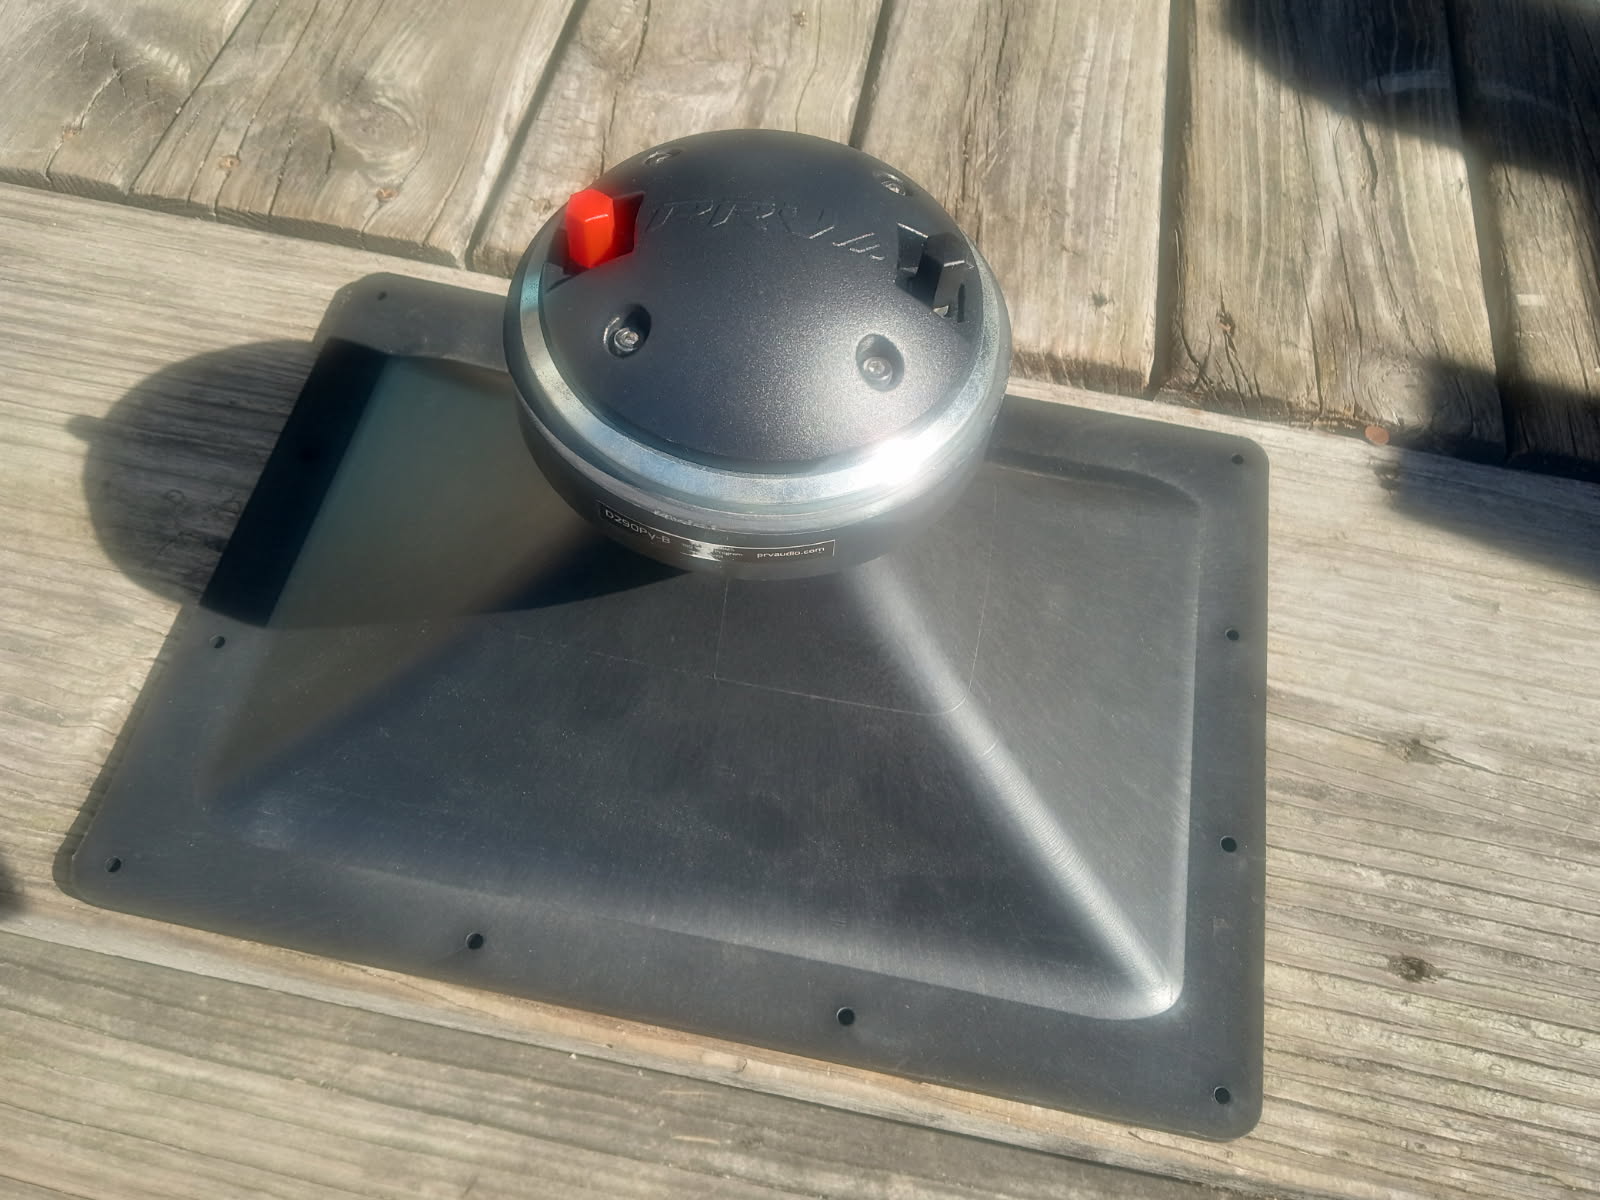
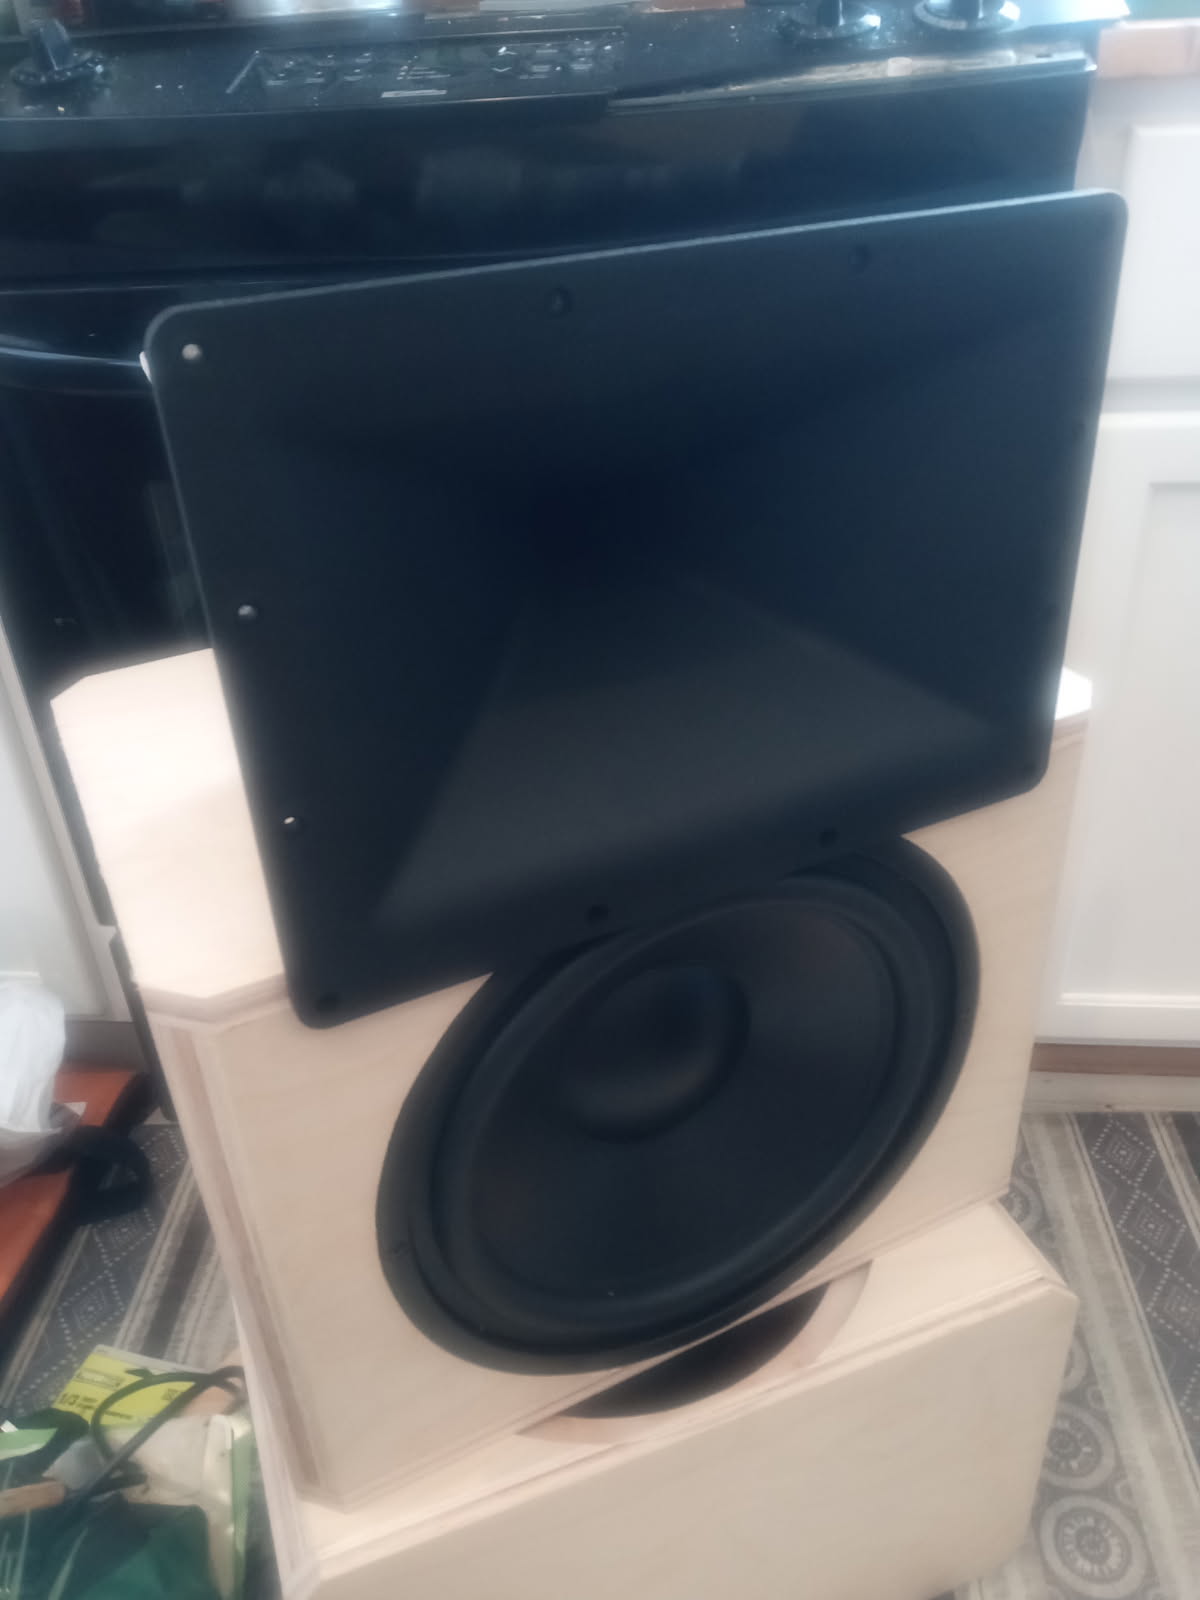
It is a B-52 buyout horn that PE designated PHRN-1014 (~14"x10"). It is very similar to (if not a copy of) the QSC horn/wg that later versions of the “econowave” designs used.
Mounted to it is a PRV D290Py-B 1.75" Polyimide bolt-on compression driver.
3 Likes
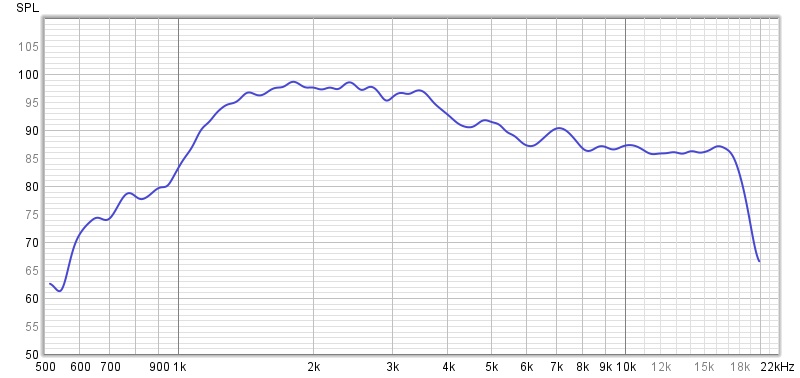
I dug up a measurement I did on it. I think I just had it sitting on a shelf for the measurement. Probably no gate applied. It was 6 years ago so I don’t remember much of the details. I’ve been sitting on this one a while.
3 Likes
Now to do something with that other half of the woofer cutout:
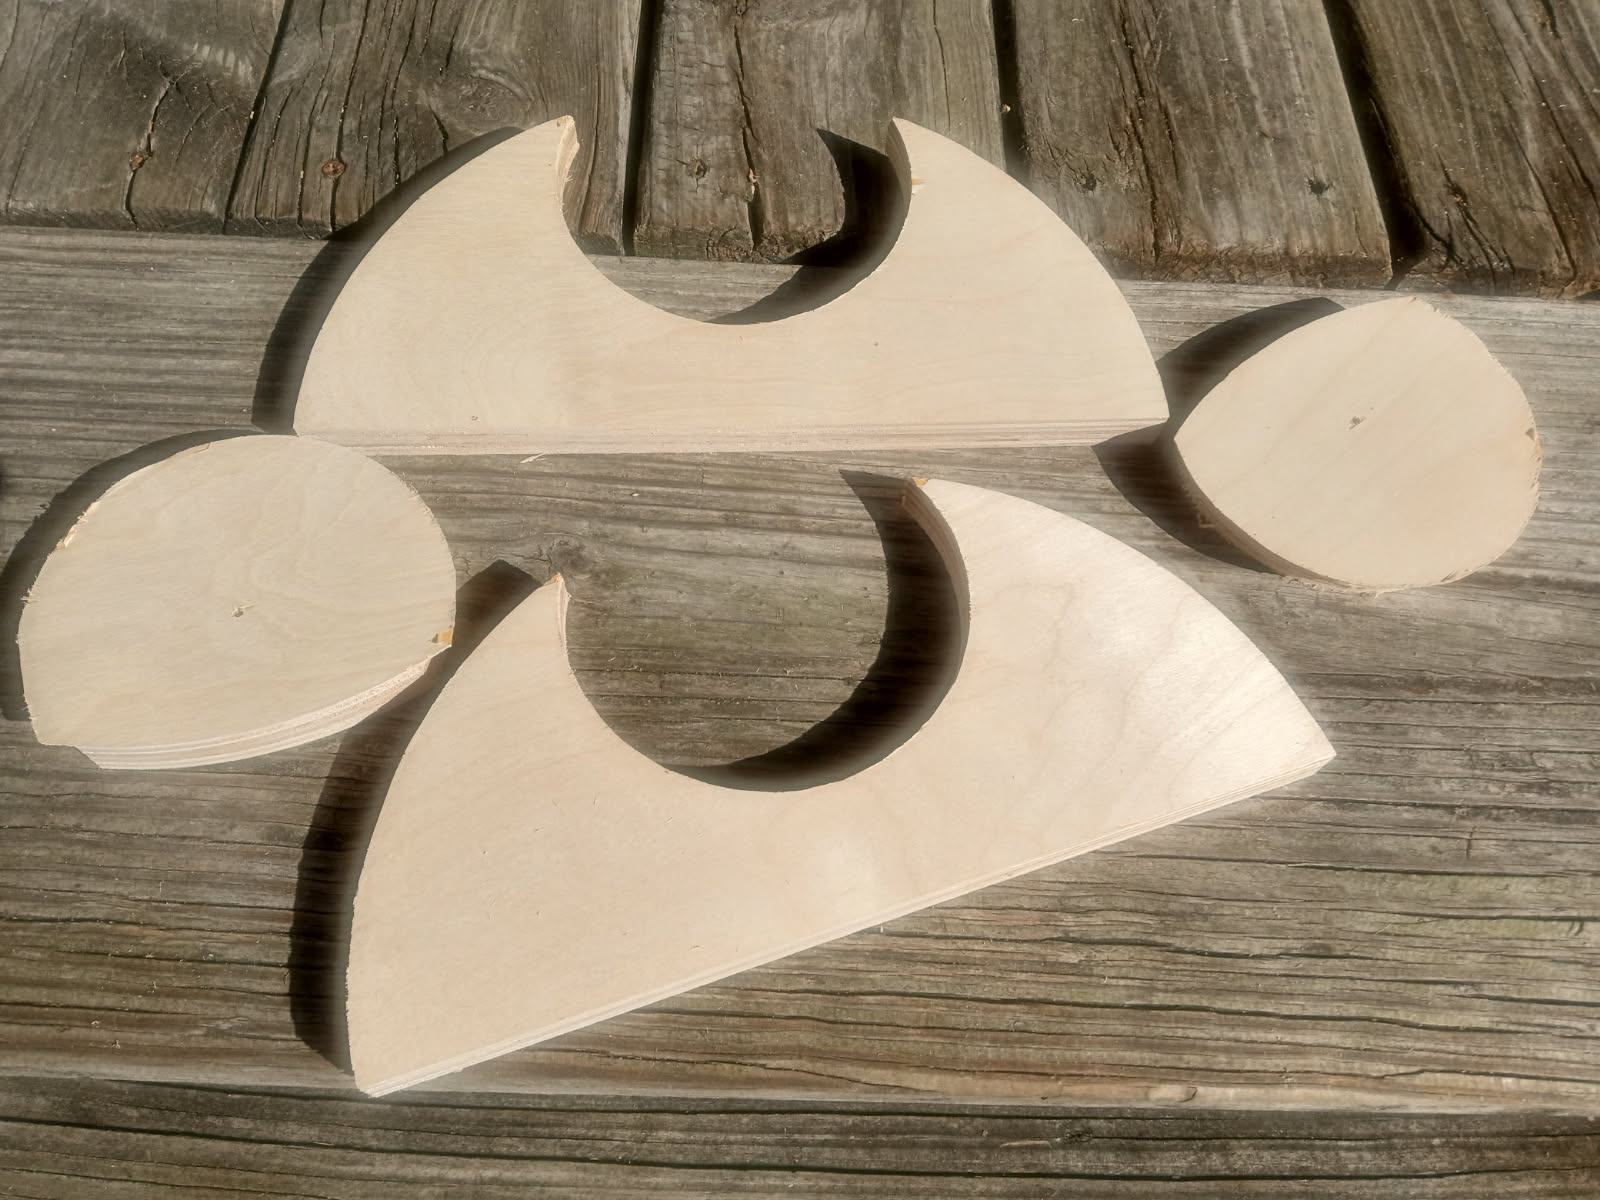
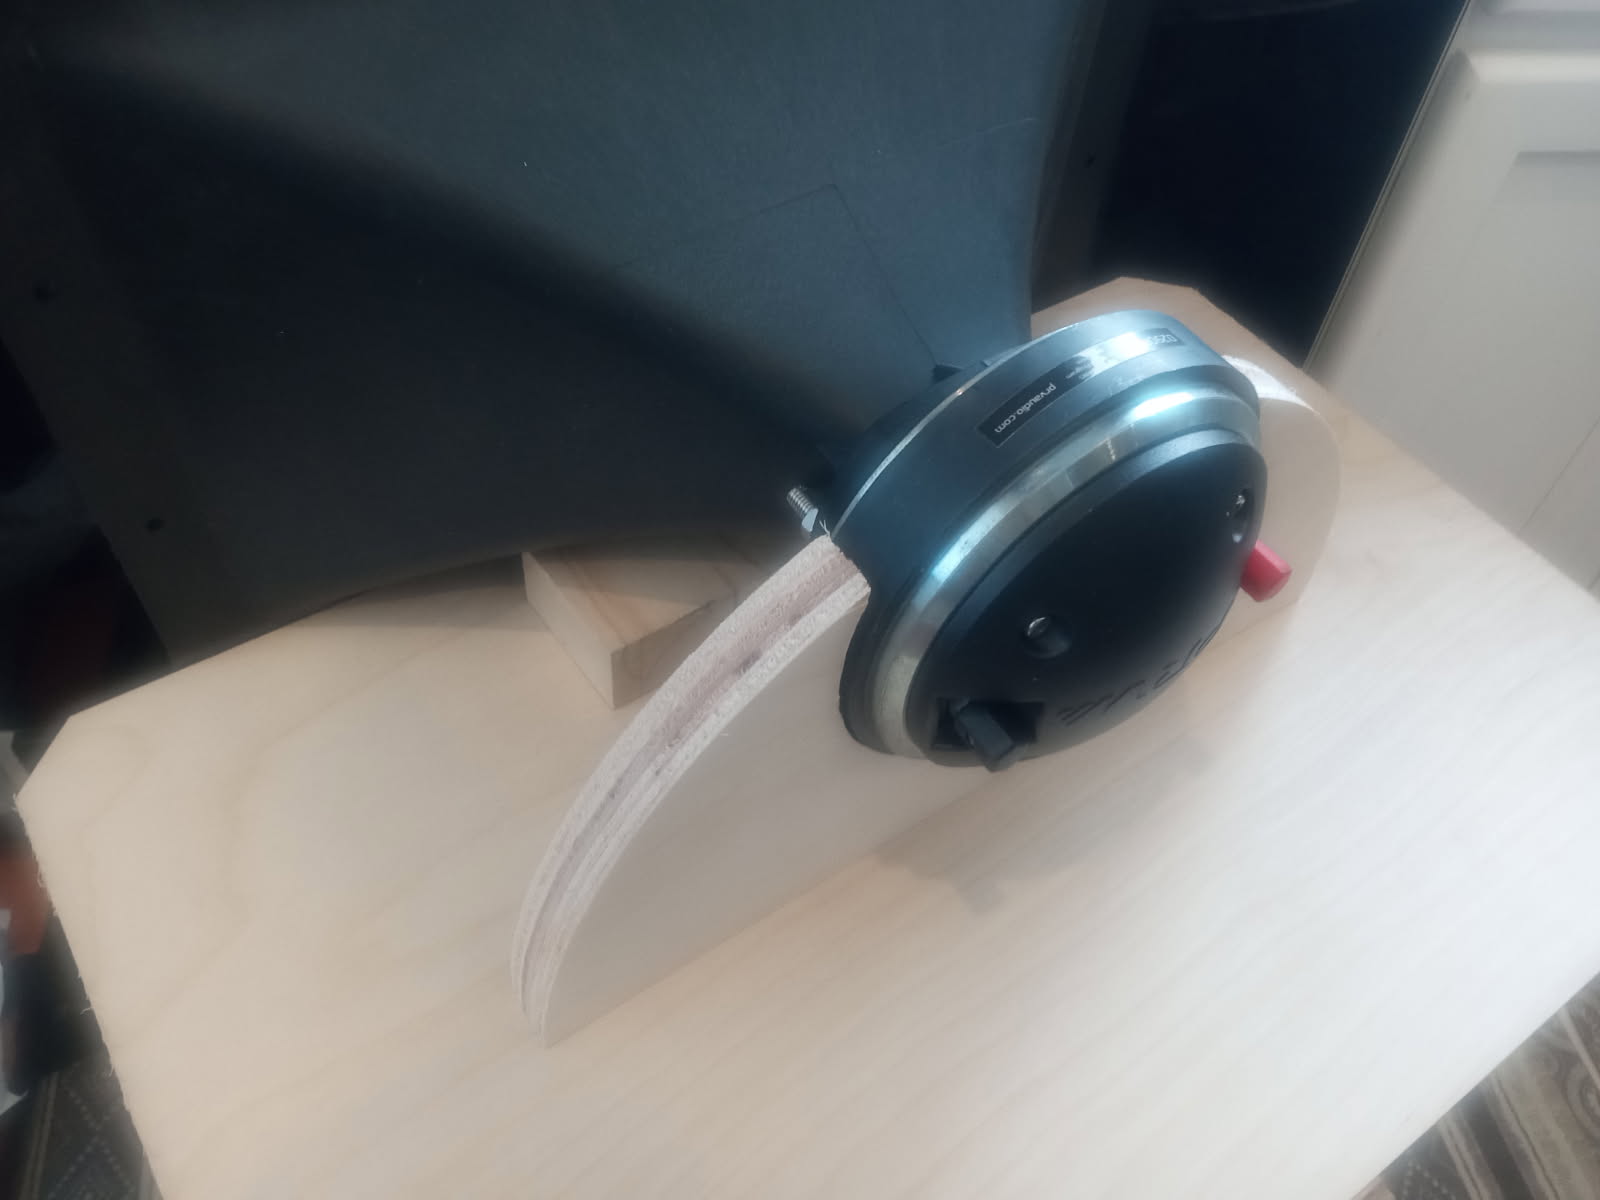
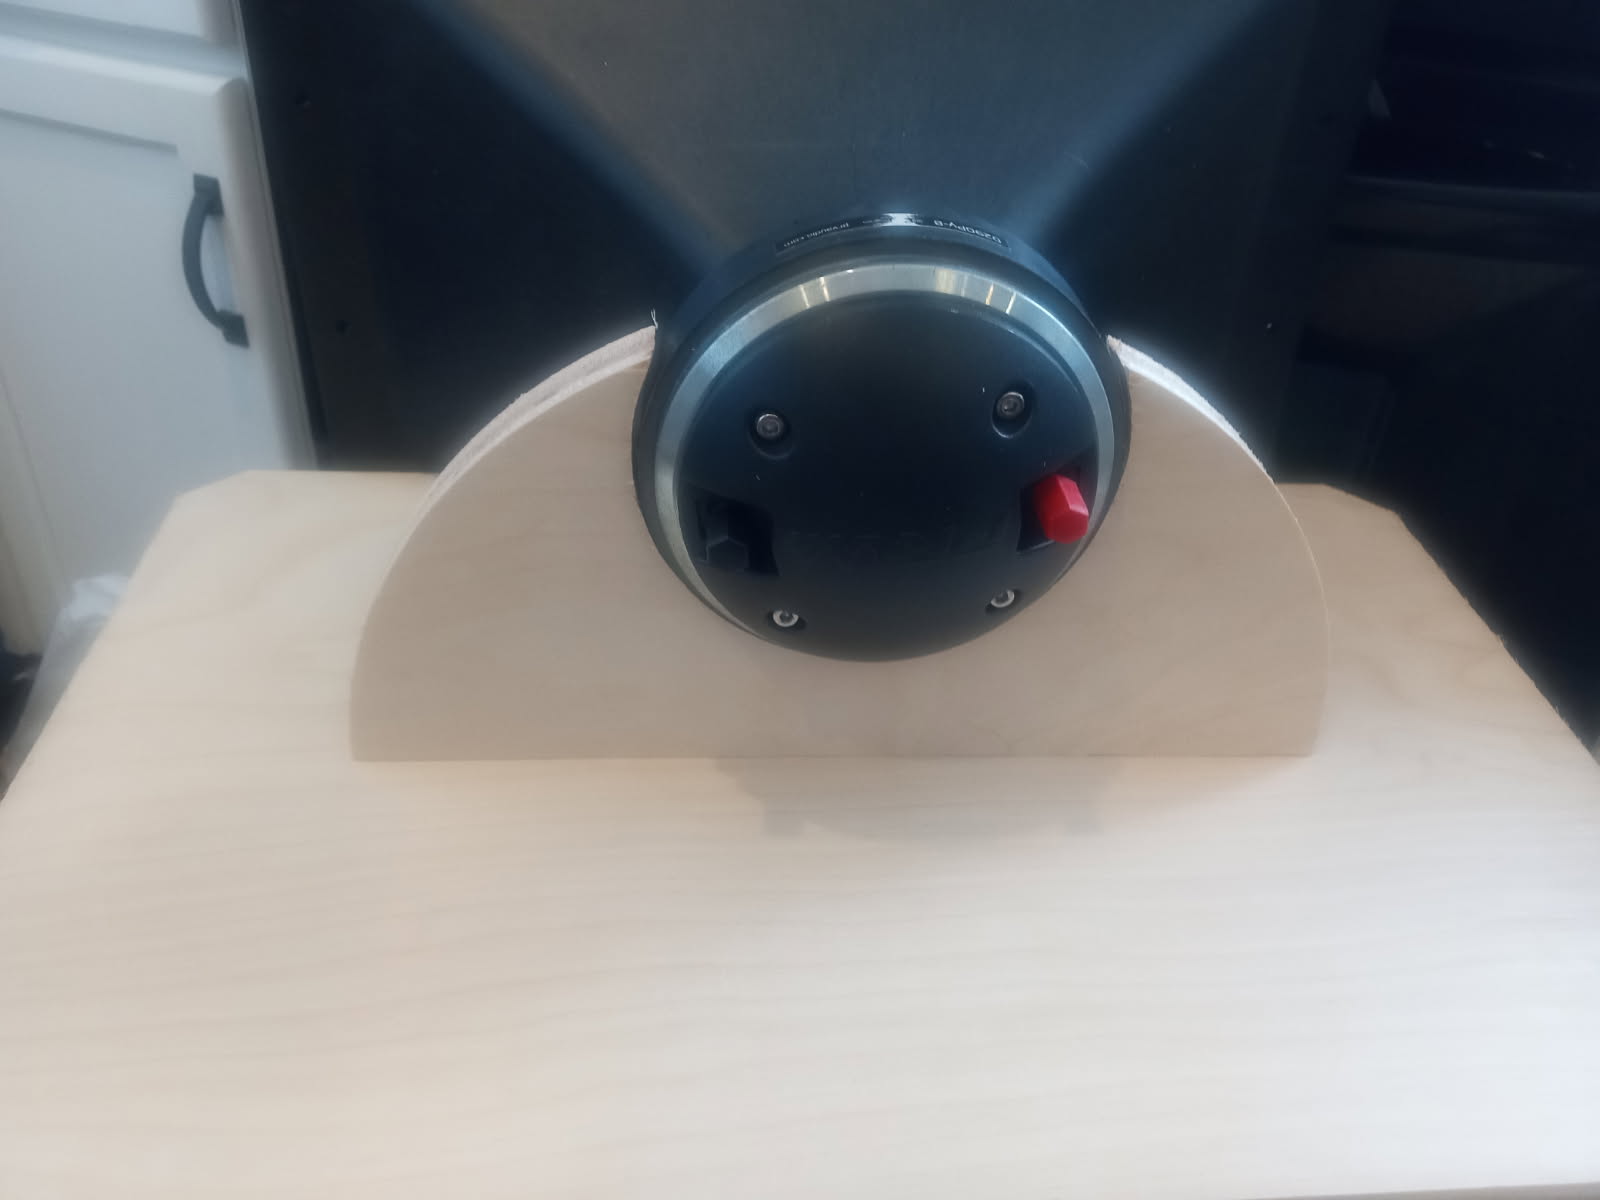
I managed to just barely wrap around the magnet enough to grip it. I left some extra gap in the cutout to add a strip of 1/16" foam.
The horn will overlap the enclosure front and woofer frame. Shrinks the C-C by over 1" and I can use a couple of the screw holes in the horn flange to attach it.
8 Likes
@Wolf are l-pad pots contraband for the challenge? I have a faint memory of something as such, so I thought I’d ask first.
The very high sensitivity of CDs makes them very fiddly to dial in the resistance and match both channels. Once I find the best setting I’d probably look into making a cover for the shaft from the leftover scrap piece to keep it from being bumped off the setting. But if that’s a no-no then I guess not.
Use the Lpads if you want to. Not an issue.
2 Likes