I am trying to do an paint finish and following steps to seal MDF, primer, paint, clear and polish. Have been going horribly wrong at each step and trying to see what I can do to recover.
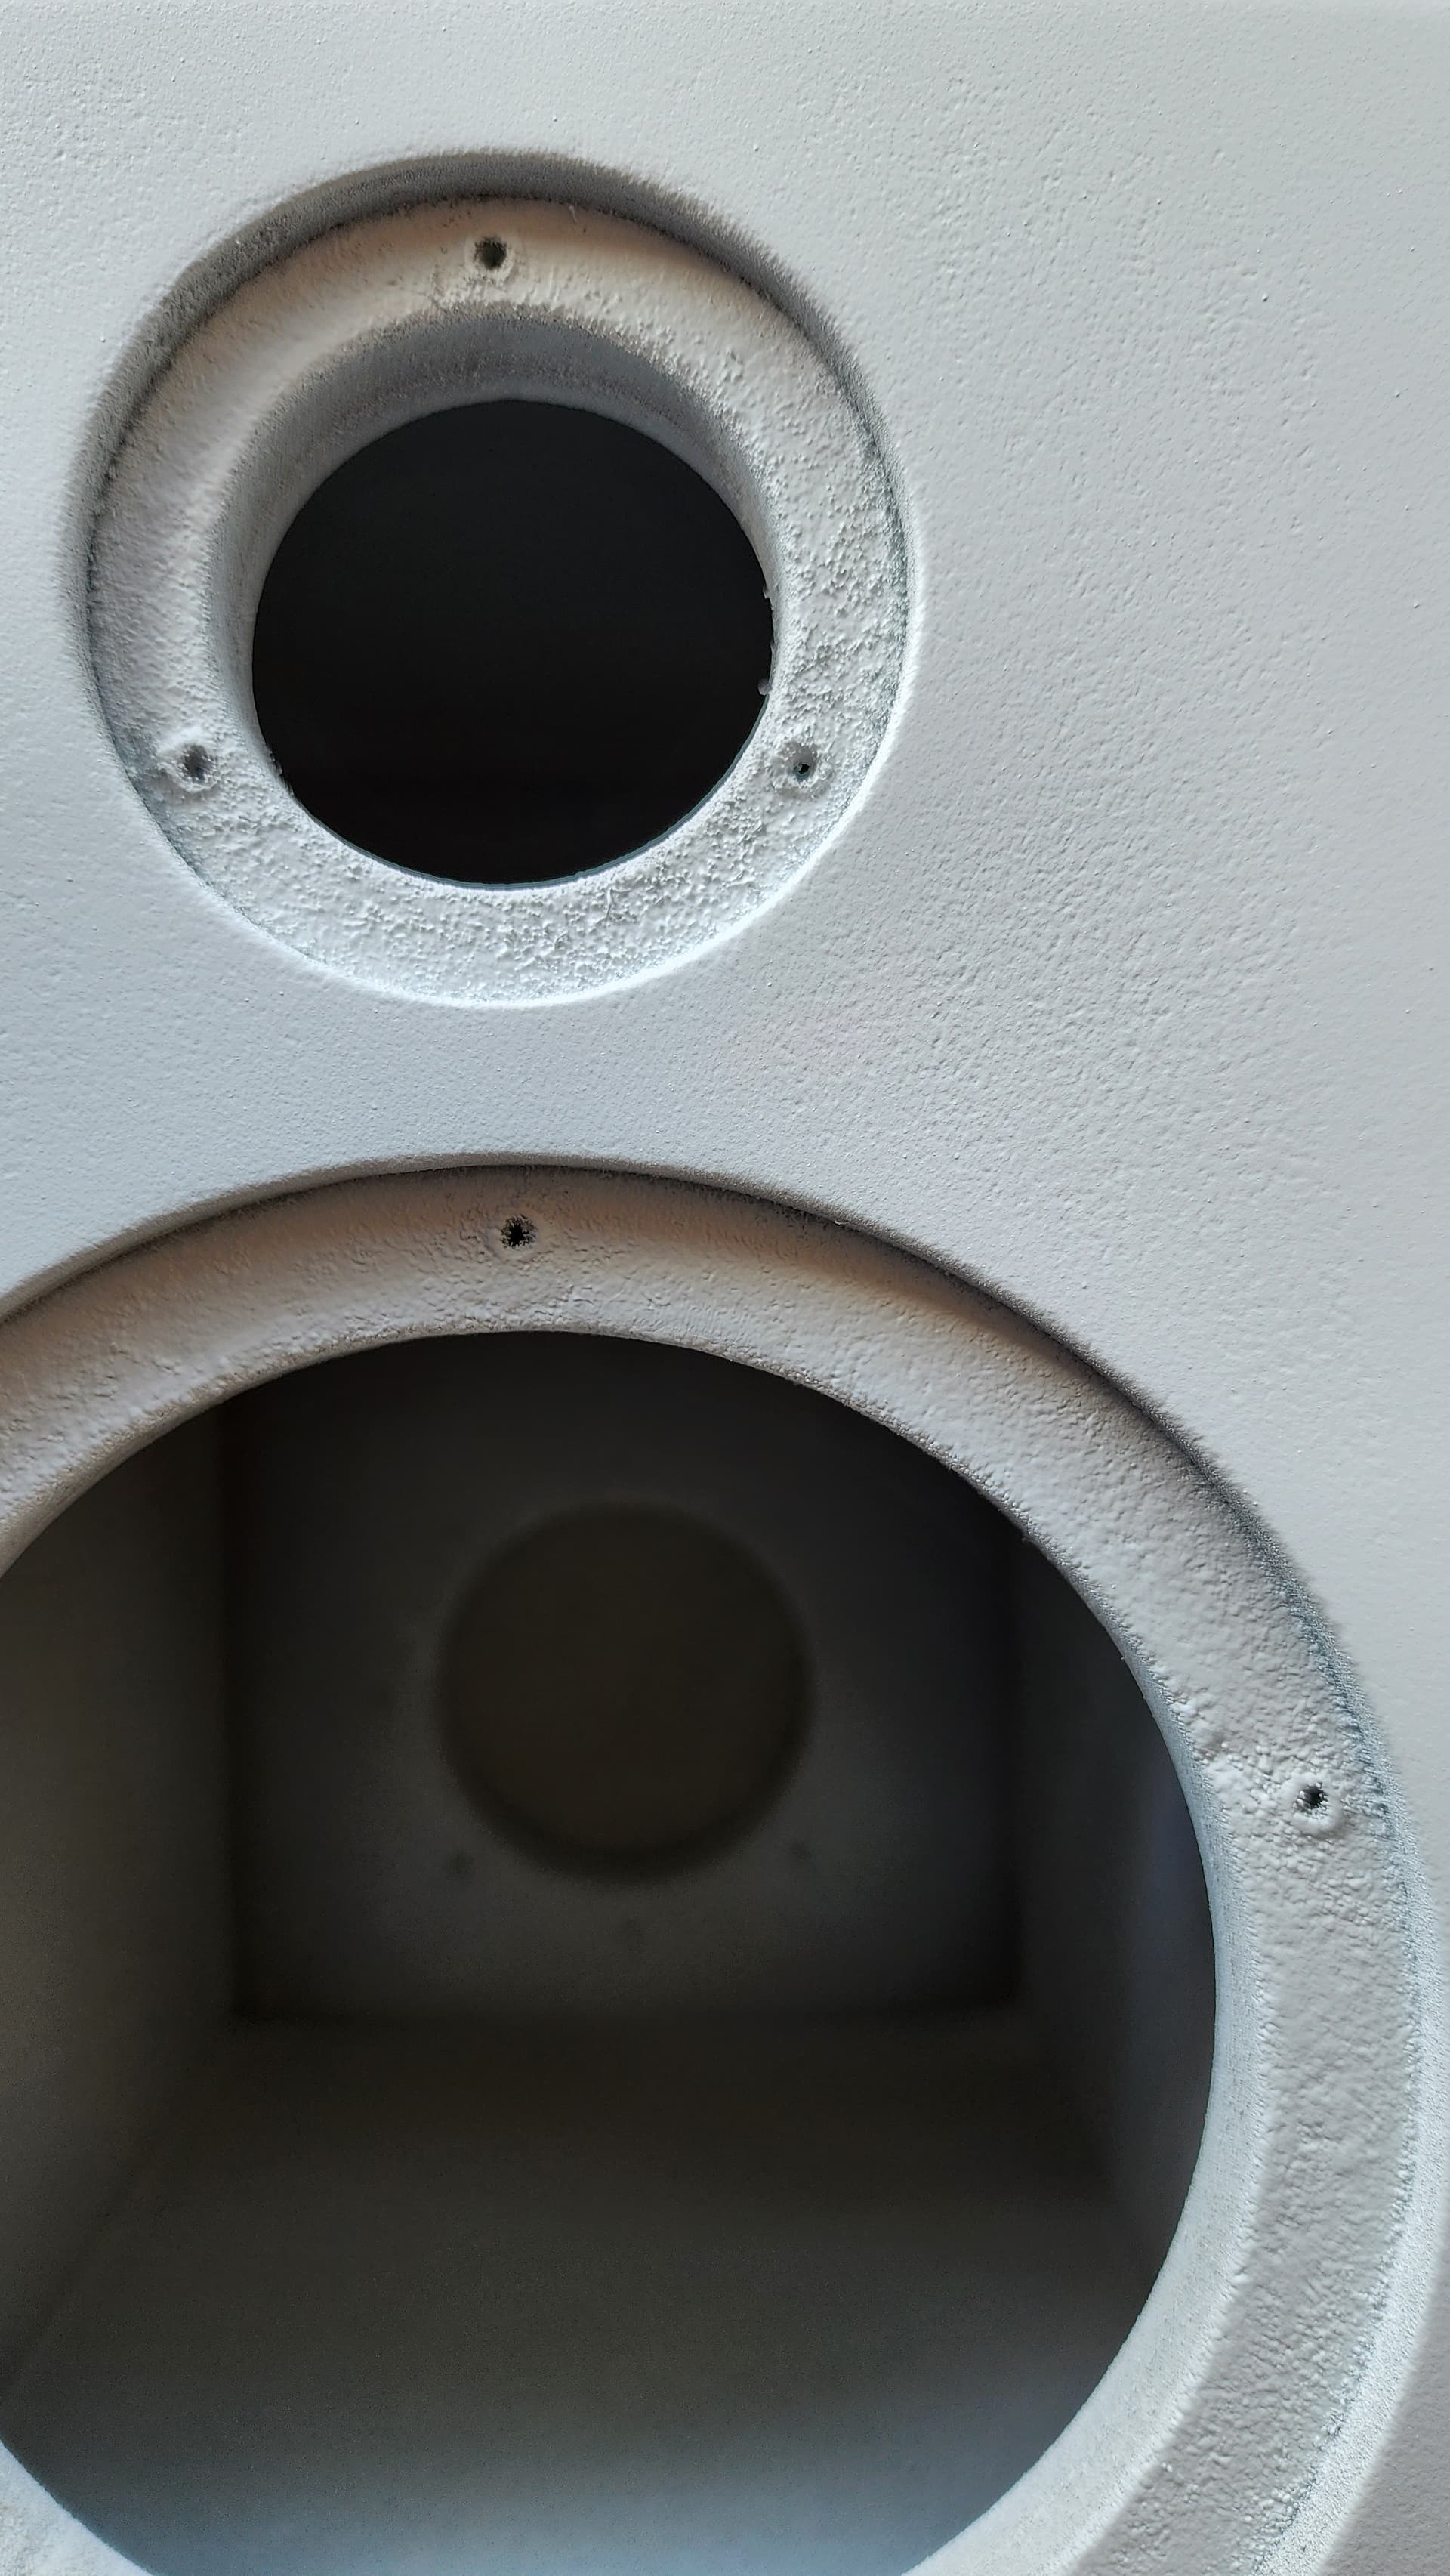
I got some orange peeling on the front, sides and top and big textures on the back. Back is different since I was doing it at the end and usually when the can was about to run out so the primer spray wasn’t so smooth. After multiple rounds of primer and sanding, have up and applied 4-5 coats of paint.
This is what they look like after 2 days of drying. The paint is not sanded and have some mins from over spray. Planning to wet sand with 600 before clear.
Any suggestions on how to correct? Don’t mind sanding and going to primer again. If the other sides are fine, maybe go for a textured paint for the back only after the clear fo cover the pinholes.
Hence why I hate painting. IMO spray paint will always have some orange peel. But excessive orange peel could be too thick of coats. Light “dusting” type coats don’t have the chance to build up much of a texture. If the spray is not coming out in a nice powerful mist, warm up the can with hot tap water or leave the can in the sun before using it.
I have seen matte or satin stuff cause excessive roughness due to the fine mica grit that is in it. If you don’t constantly shake the can between spray passes that grit can settle and get concentrated. So using gloss paint up until you use your selected finish clear could help.
I’ve also had a spray paint project go sideways by leaving it outside overnight. Don’t know if it was the abrupt temp drop or the condensation… or both.
Sometimes I also wonder if it is just old paint. At times I’ve had issues where it seems like it is partially drying before it makes it to the surface.
If you aren’t painting in a controlled environment and prepping all things the same every time, patience, patience, patience. Don’t rush it and take the time to sand and paint light, sand and paint light.
This is also why I would much rather work with hardwoods than painting things.
Ok. I looked at your pictures. I have spent a great many years as a Cabinetmaker. And I did a lot of finishing and full time paint spraying. Even vehicles. If there’s a mistake to be made I have made it. Also had to figure out how to fix it as there was no internet back then. And the good finishers kept their secrets.
So first question. What are you using as a primer coat? From there I will tell you that you are most likely spraying too thick of a coat. I get this when I spray Zinnser pigmented shellac. It always leaves little craters. But it is one of the best primer sealers available. It sticks to everything. Even plastic and glass!
Any rattlecan will leave unwanted artifacts. Nature of the beast. Whether it is orange peel or whatever.
If you are looking for high gloss out of a spray can, expect to spend considerable amount of time wet sanding and polishing.
One helpful hint is to put the paint can in a warm bath for an hour or so beforehand, that can thin the paint up.
Primer coat needs time to cure, whatever it says on the can is just for touch. It isn’t fully cured until you put your beak right on it and it no longer smells like paint. After it finally cures, sand it smooth down to at least 220 before applying color coat. This way any orange peel in your primer will not broadcast through you color coat because it is absolutely there.
Your finish is only as good as your worst surface. Have a ton of patience and tailor your expectations based on how much time you want to dick around trying to get an automotive finish out of rattle cans. It can be done, but takes forever between steps.
Thanks for the detailed tips Mark and JR. @mwmkravchenko yes, the primer is a bit too thick - had to spray sand, spary a few times and lost count of how many coats and what not since i would burn through somewhere or the other!
Primer - Zinsser 1-2-3 spray can. the craters were from the can. The bigger craters were on the back which i was doing at the end also when the can was running out, so maybe the pressure was a bit lower and the craters were bigger.
Primer was let to dry over 24 hrs before sanding 320, then 400 and then another round of primer. The craters reduced, but never went away. The first coat was almost taken off with 150-200-320 since i got some lines etc show up and had to fill those in with acrylic filler.
Paint was rustoleum white ultra matt. Sprayed out 4+ coats in an hour with about 10 mins flash time. Let it sit for 3 days. Today I am wet sanding it with 600 and 800. Going to lay down anoter set of coat. Ended up burning through the paint at a couple of spots, so another round of paint will get sprayed.
Also, i have not used spray can primers or paints before, so this was expected. But trying to see how bad it can get and is there a way back.
Clear will be spraymax 2k clear spray can, but i am not there yet. Don’t have the space or setup for a spray booth - but that can happen later if i decide to keep up with this. Hence all the rattle cans.
So my suspicion was correct. You did use a pigmented shellac. So, very light coats. The top coat will melt into the previous layer. Shellac is thinned with Alcohol, so it dries rather quickly. In a normal room temperature and reasonable humidity it dries in about 20 minutes, and can be sanded in 30 minutes. Here in Canada a can is near $30. A quart size is near $60 if you buy a can. That’s more than enough for these speakers. If you can the hang of light coats you will have a lot less problems with the orange peel and cratering. But the key is to sand down as you have, and then get a layer built up again that you can leave smooth as jr-mac says.
One thing I’ve not seen mentioned is with sanding.. Block sand the flats.. Don’t hand sand (as in just your hand with bare sand paper). Wrapping the paper around a hard flat block should reduce your sand-through, because once you have already found all the high spots with the first few block sanding steps… further coats after that should be flat enough that you are evenly removing material across the whole surface with the block. Roundovers take finesse and care. I would hand sand or sponge sand those lightly, and err on the side of not sanding quite enough (rather than too much) until you are nearing the end when you can be a little more aggressive to get it perfect.
Temps are in the range, can says 50-70 degree and humidity around 65. When spraying its in range, but swings wildly. I also have a fan running after spraying and a space heater to help with drying. Going to get a dehumidifier so can keep humidity low.
For sanding I am using durablock and adhesive sandpaper roll. Wet sanding, I am wrapping the sand paper around the block. The roundovers are usually which gets burned and I have burned a bit on one side, guess I pressed a bit too hard with the 600 wet sand
Wet sanding is reducing the orange peel and craters a bit. Doing this at the sanding stage would have been better, but I am going to put down a couple of layers of paint and wet sand, going up the grit.
It’s not going to be perfect, but want to see if I can get reasonably close.
Hopefully the next box, I can get the box prep and primer stage better.
I do almost all of my spray painting out in the garage, with the main 17 foot garage door wide open and the back door open as well to create a slight cross breeze (no fan). So the temperature and humidity are all over the place. I watch the weather report closely and only spray when the temperature gets above 55 to 60F and the humidity drops down near 50%. I try to avoid mornings and usually wait until later in the day.