I’ve had way better results with automotive spray paint cans from Autozone, Advanced Auto, and O’Reilleys. Yes more pricey than the Menards stuff. Even the high temp engine paint from Duplicolor is better than RustOleum. JME
2 Likes
Already down this path. Next box I’ll try Auto paint. Do you have any brands in mind Craig?
Duplicolor and VHT.
2 Likes
I used this Ace Hardware brand paint one time and had great results. Limited color selection but the price was right and it layed down nice and flat (ie no orange peal). Buy a $5.99 can and try it on a scrap piece.
I’ve never liked multiple super light ”dusting” coats. A few medium “wet” coats have worked much better for me.
2 Likes
Sorry, forgot to paste the link.
3 Likes
Thanks Craig, There’s an Ace hw near my place, will try it on some scrap peice.
My problem as i see it is - too close the paint gets lumpy, too far and i get craters and pot holes. Too light a coat, and i sand too hard, too heavy and it’s lumpy again. Still trying to figure out how to put down a even coat!!!
I use the satin black all the time, pretty good paint!!
Are you bale to clear over this? Colors are limted, but right now i am only doing primary colors, so should be fine.
One of the “colors” available at Craig’s post is Clear. I know with many paints and clears people recommend staying with the same product line, so I’d start with that. (The clear looks to only come in GLOSS sheen.)
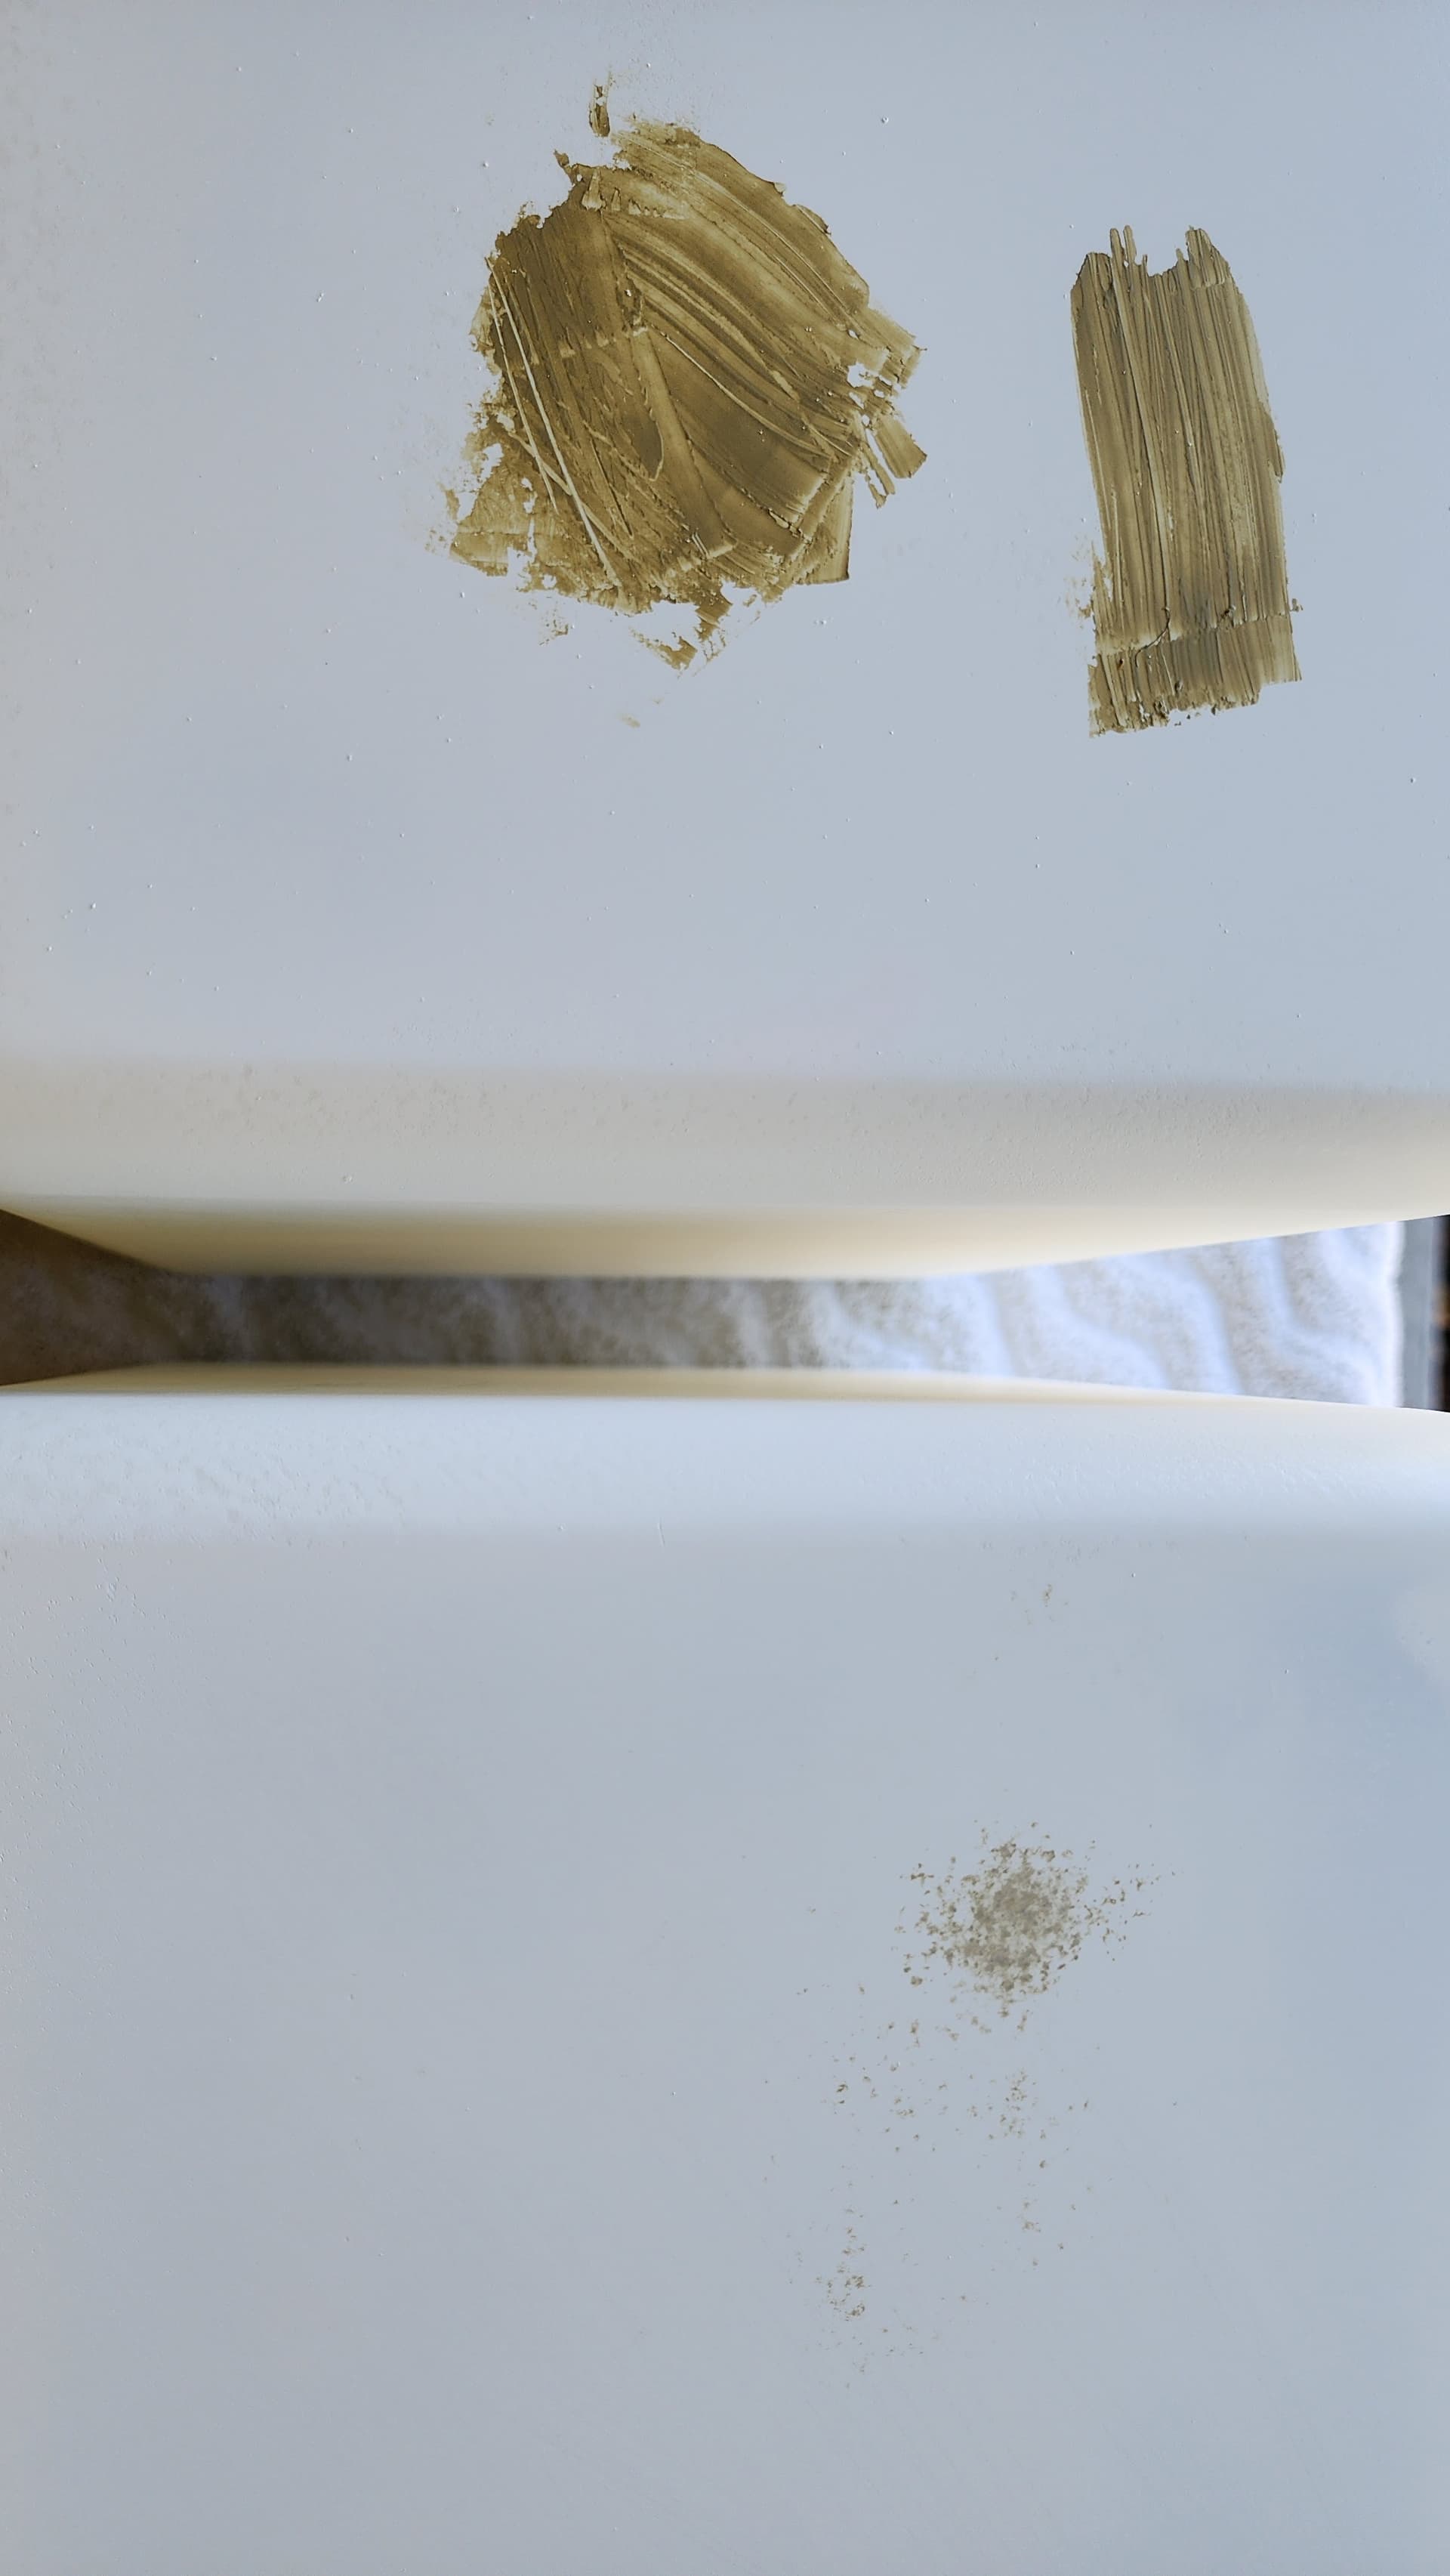
To highlight the sort of craters/divots I am dealing with. Top is with glaze putty applies and bottom is sanded down, the divots being highlighted by the filled in putty.
Is there some other way to fill in these minute pits?
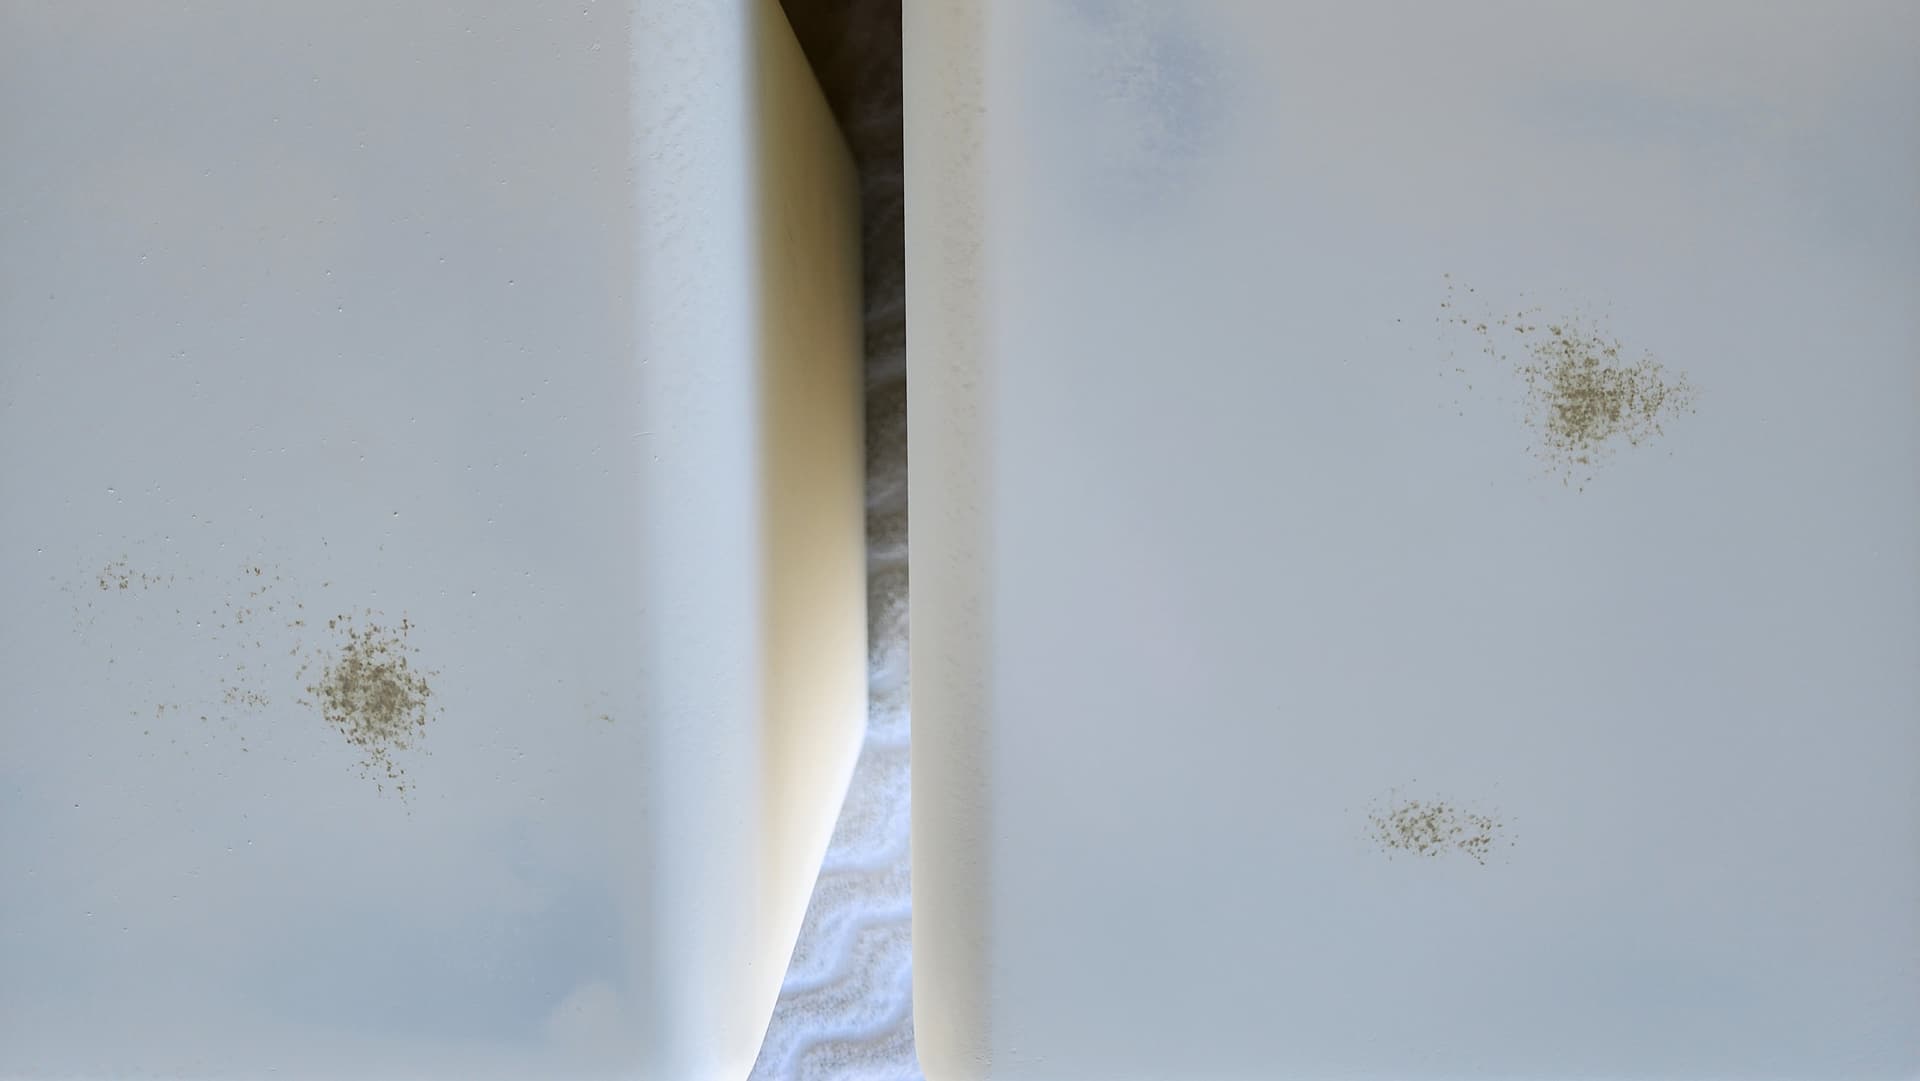
Both sanded down. This was the bottom of the cabinet. Now to do the back and other sides. Back was the worst.
I’m a modeler and use a lot of plywood and balsa. Here’s my recipe for decent paint. Other recipes in this thread look good too, so you’ll have lots of options.
- I prep my wood for painting with Watco Satin Clear Lacquer. The stinky stuff, not water based. If you thin it a bit, it will soak into MDF or wood like crazy. Sand and repeat until smooth. Lacquer dries fast, speeding the process. If it isn’t completely set, it’ll clog the sandpaper. It is soft, though. It is cheap and using it means less of the expensive primer.
- If you are into rattle cans, use Dupli-Color High Build Primer from the Auto Parts store. Expensive but good. Coat and sand until smooth. Give it time to dry. You can wet-sand this stuff.
- Some Rusto colors are just BAD and will misbehave no matter what. It’s mostly due to how thick the stuff comes out of the can. Test before use.
- Dust-free. Also, gnats love paint. A gnat-free zone is important.
- Shake the can for 5 minutes, minimum. I’ll say that again.
- Adequate time between coats. I’ll say that again, too.
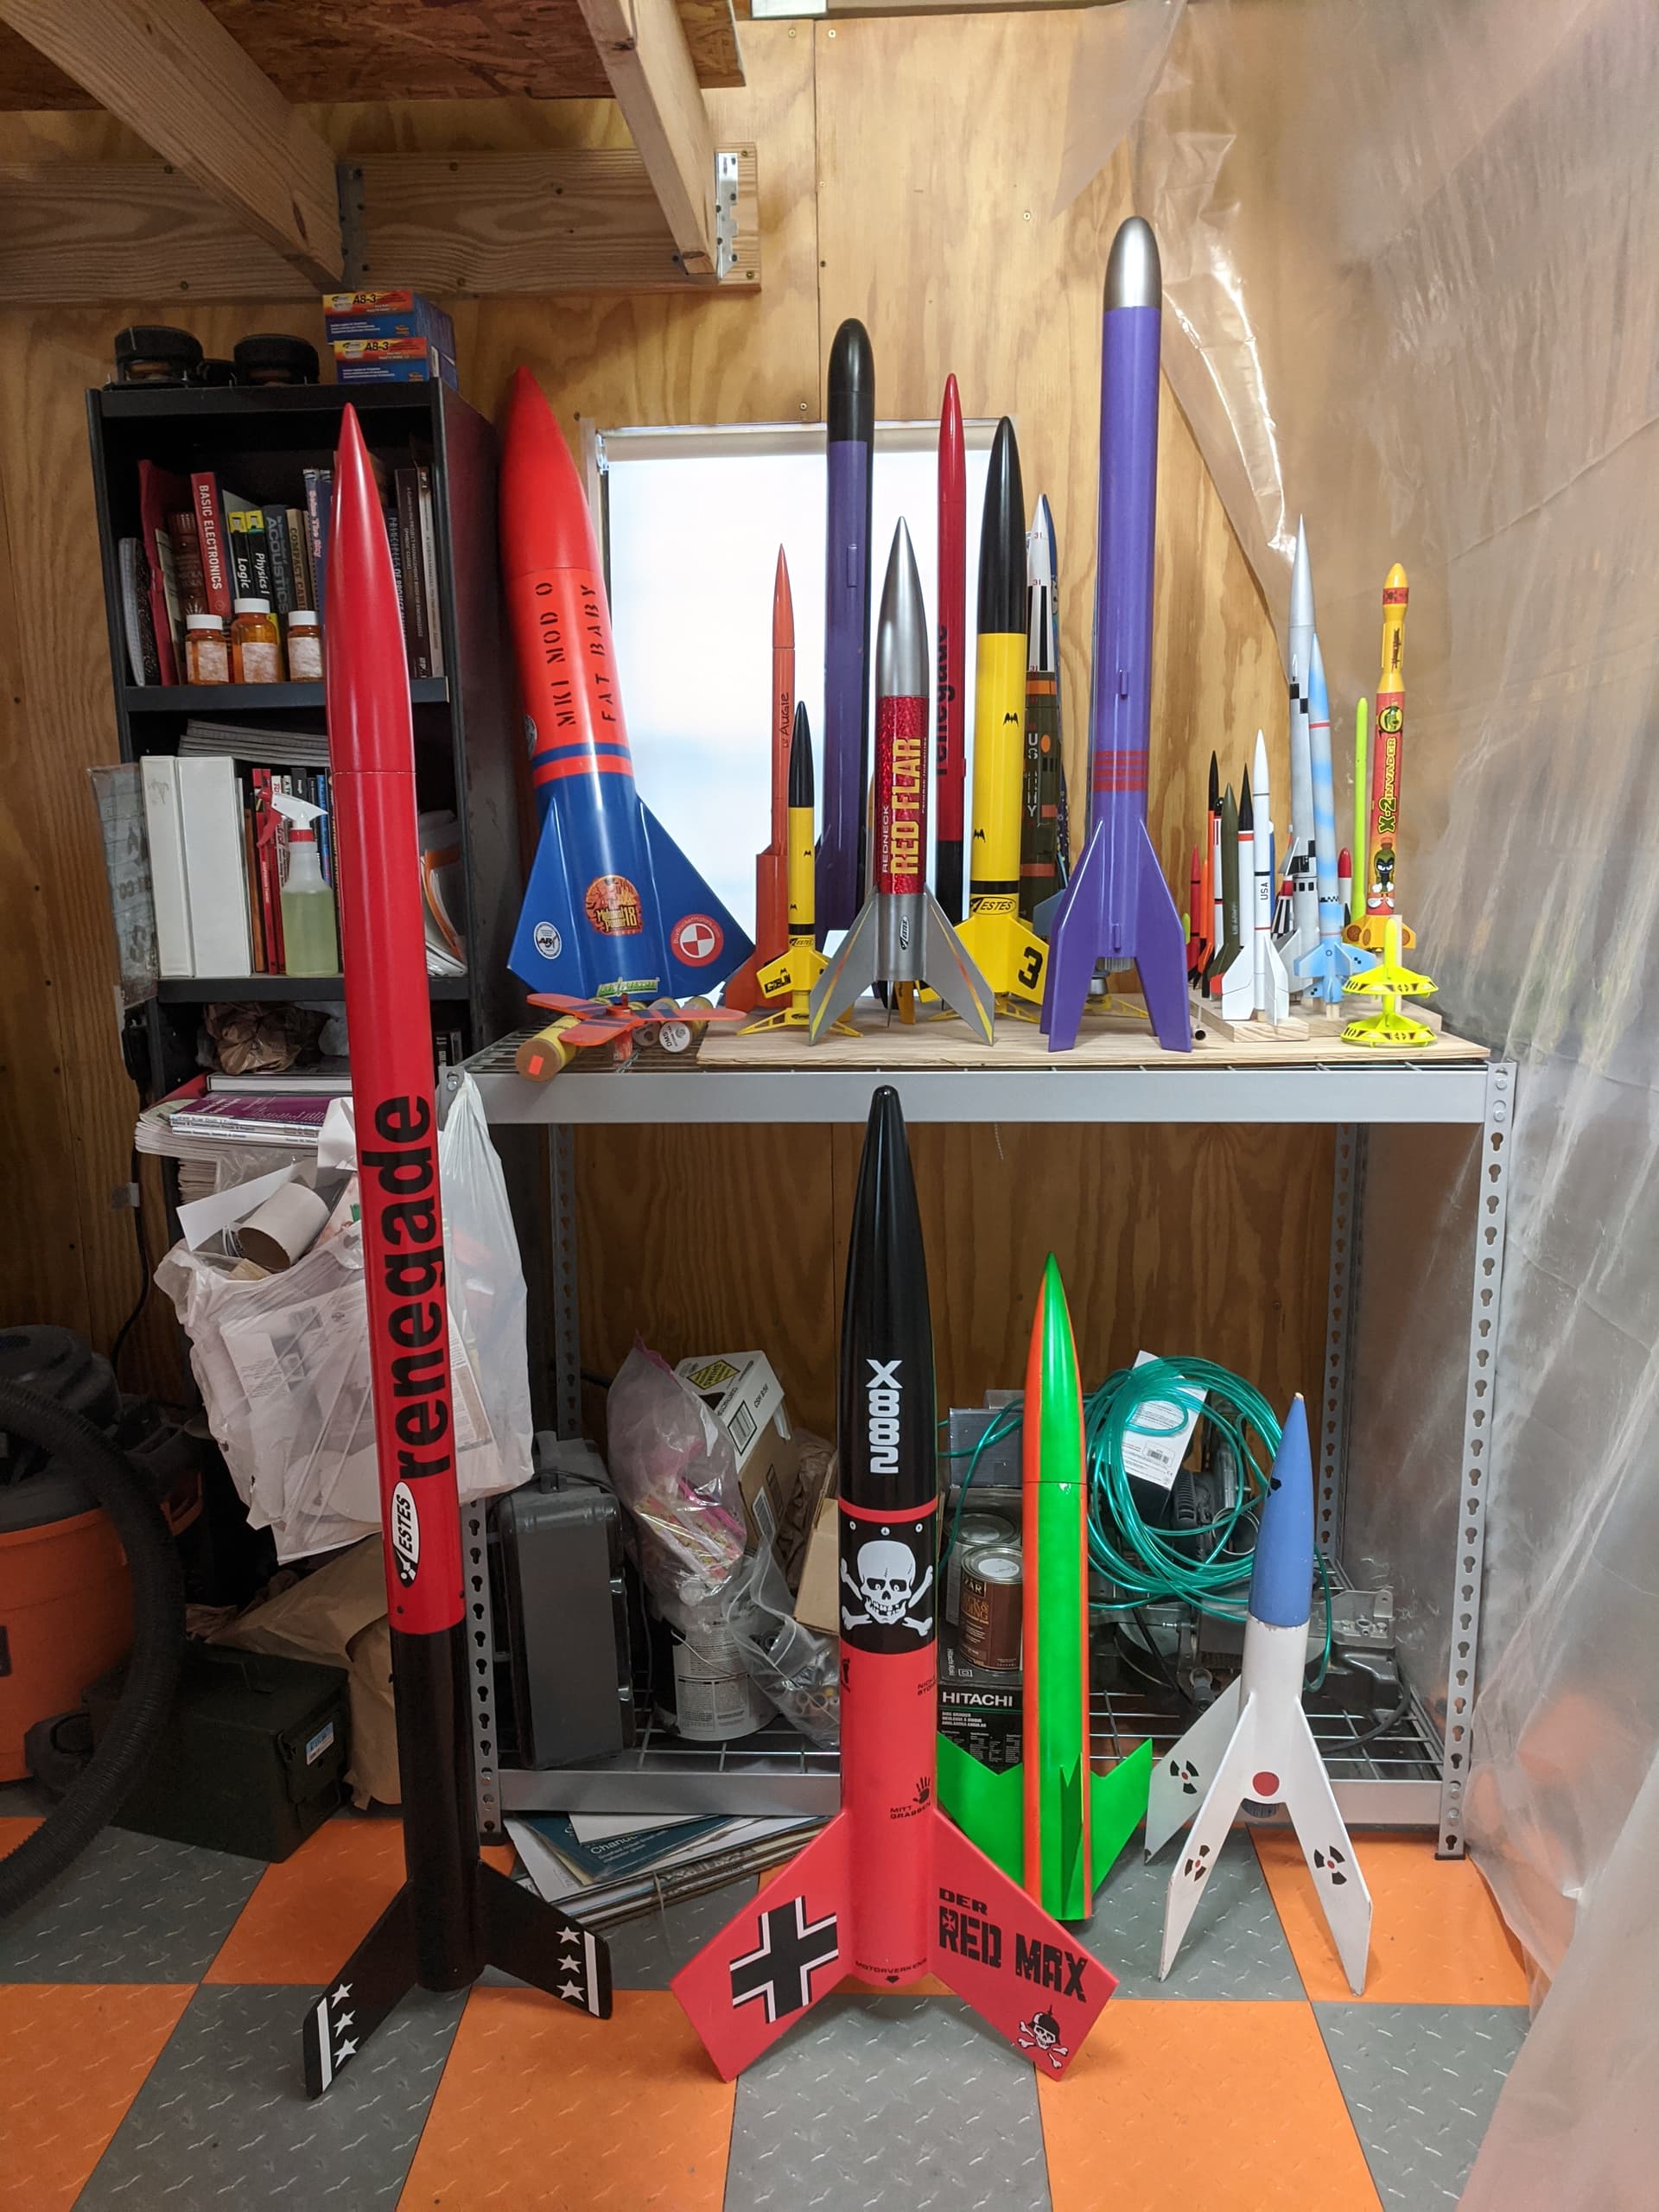
Here’s some high-powered rockets all done using the above method with just rattle cans and frog tape.
The Rusto “Bright Blue” on the large model in the background was poorly behaved. Very thin coats required, and it tried to gator at the Fluorescent Red line. Even paints made by the same MFR can do this.
1 Like
Would dewaxed shellac work in place of lacquer?
Spray or brush on for the lacquer and also can dewaxed shellac like Zinner BIN work?
Do you use any other alternate brands of paint cans?
I have never used the squeezings of the Lac Beetle (shellac, lol). I’ve seen it used and it is pretty awesome when done right.
Anymore it is mainly sold as grain/sanding sealer ![]()
It is nice that the stuff dries in minutes.
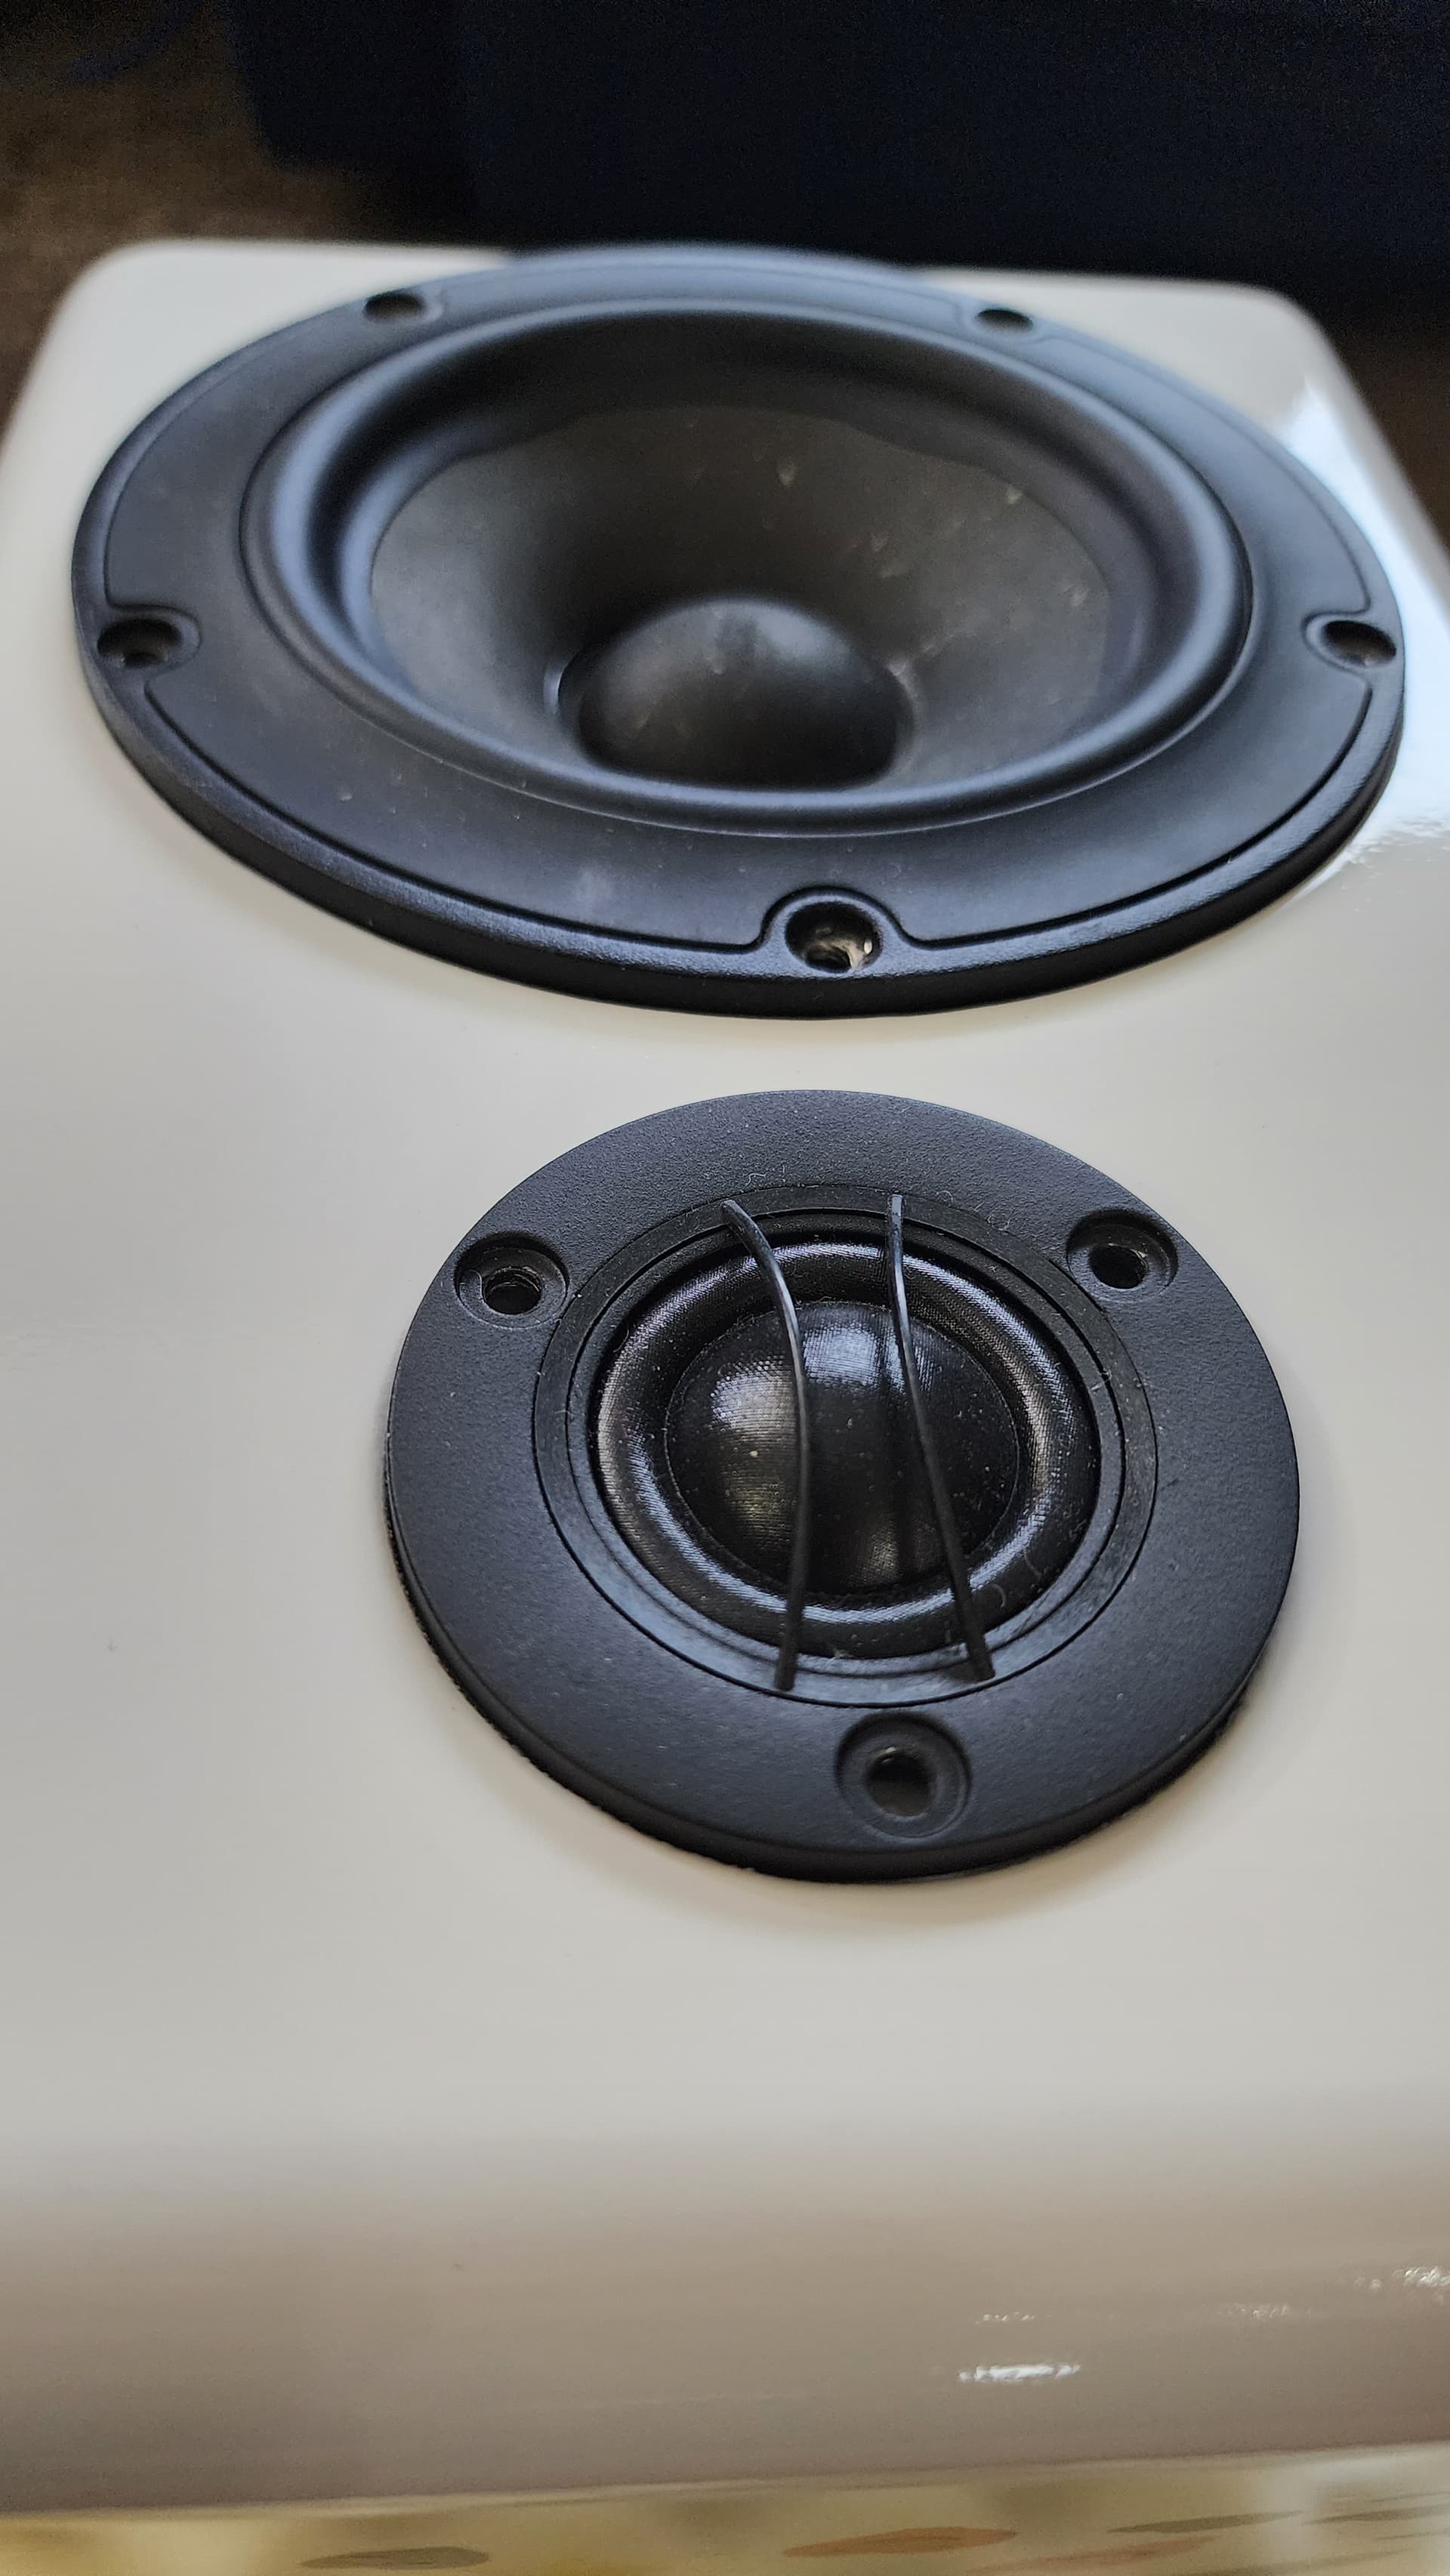
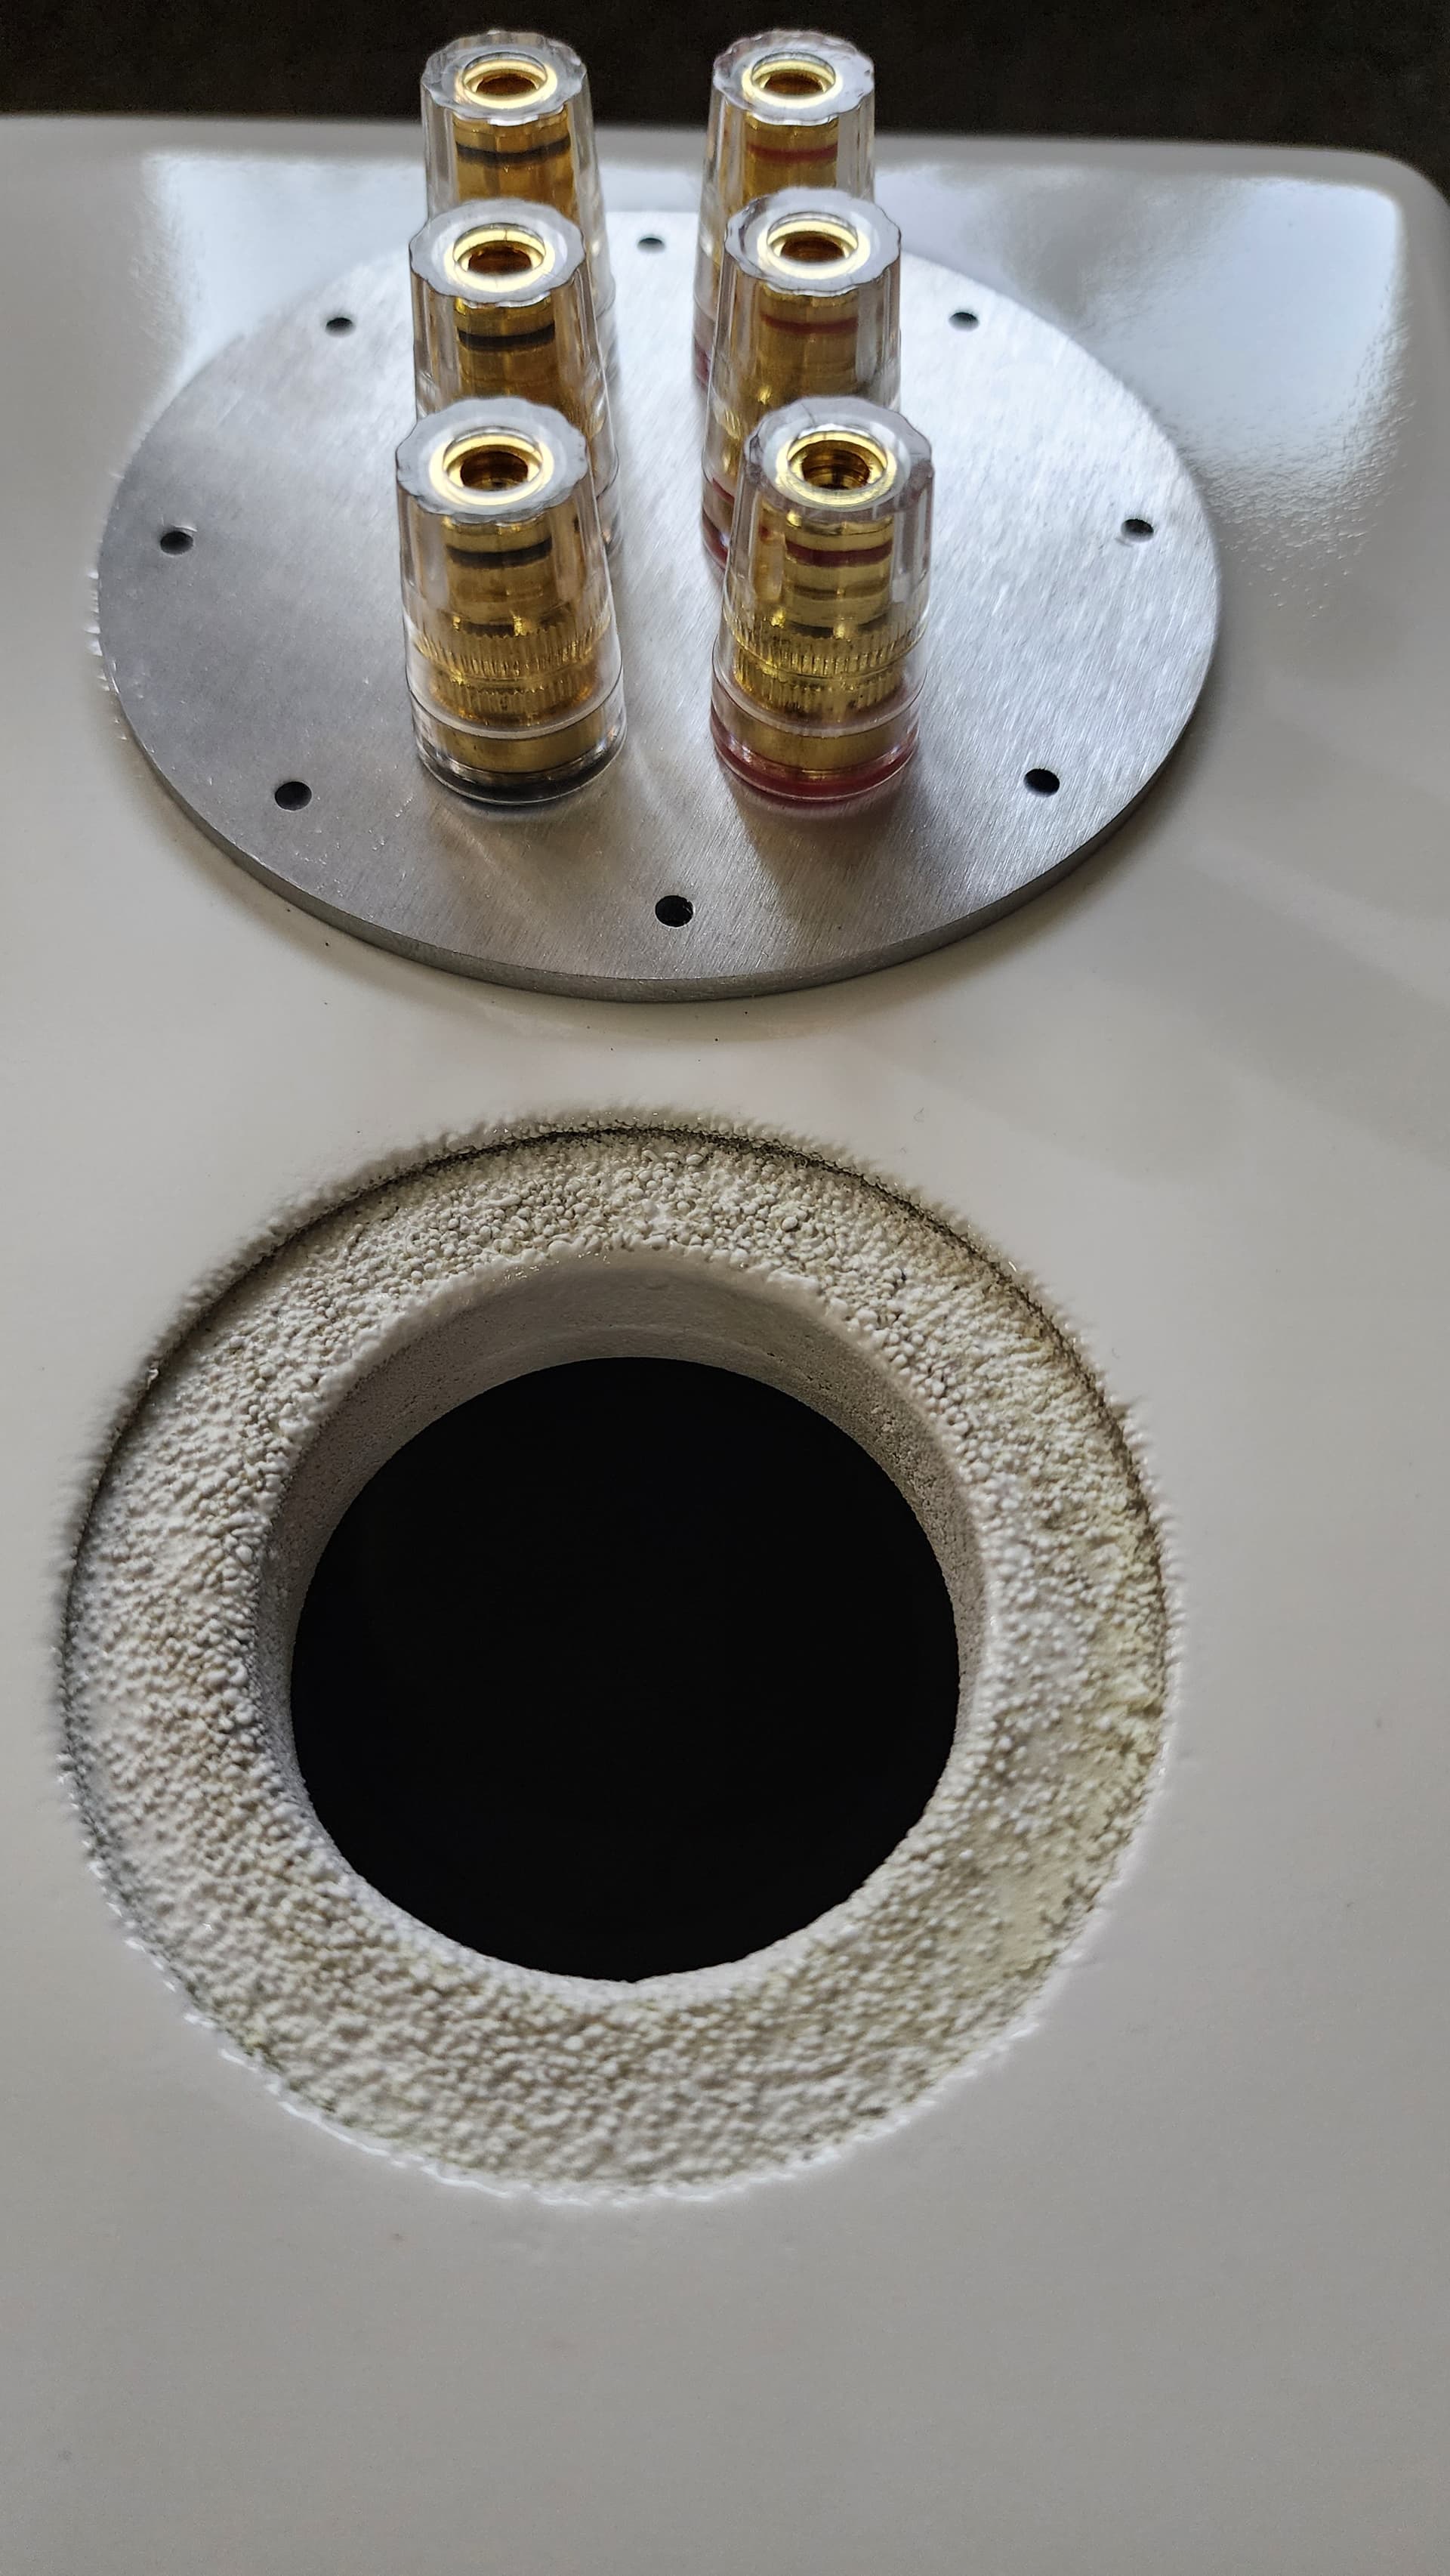
Ok, ran into a new problem. With me putting on 25 coats of primer, paint and clear, the drivers, port, binding post plate do not fit in to the cutouts. I had planned and kept a bit of clearance, but had not counted on how many coats i was going to put on - all the sanding and re-sanding happend on on the surface and not the sidewalls of the cutouts.
What the best option to expand these a smidge to fit in the drivers, etc? I am guessing sand carefully, but if there is somehting that i can do to ensure i don’t make a bigger mess will be helpful.
I’ll document the mess-ups at each stage, as this will serve as what to do and look for when i tackle another piece next year, but now i have a day or so to put these together for Iowa.
They are just about sitting on the ridge, but too tight to push down.
Very careful sanding, and in the future it helps to do a small chamfer on the lip of the driver cutouts - gives swelling room.
2 Likes
i’ll keep the chamfer in mind, cnc with a v bit should be pretty easy even on shallow rebates.