Yeah, I’ve had to do the careful sanding thing too. Then I went back with a small artist brush, sprayed a little paint in its cap and did some touch ups with the brush.
1 Like
Sanding might be tough to get all the way down into the inside corner. If you have it sized close enough from sanding, could then use a box cutter blade as a scraper to get down in the corner.
1 Like
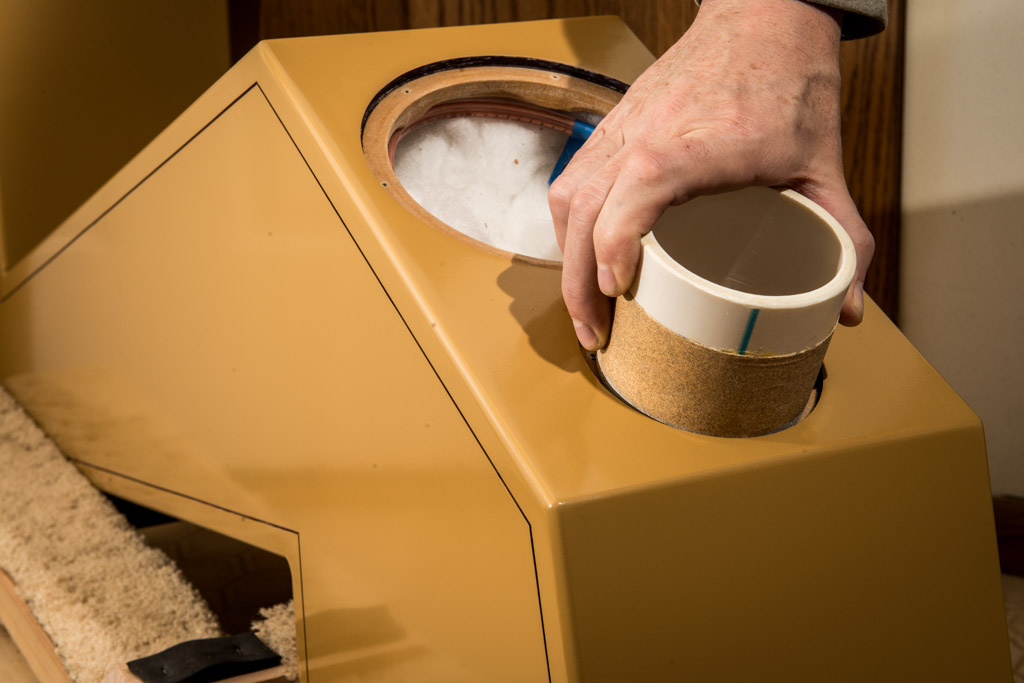
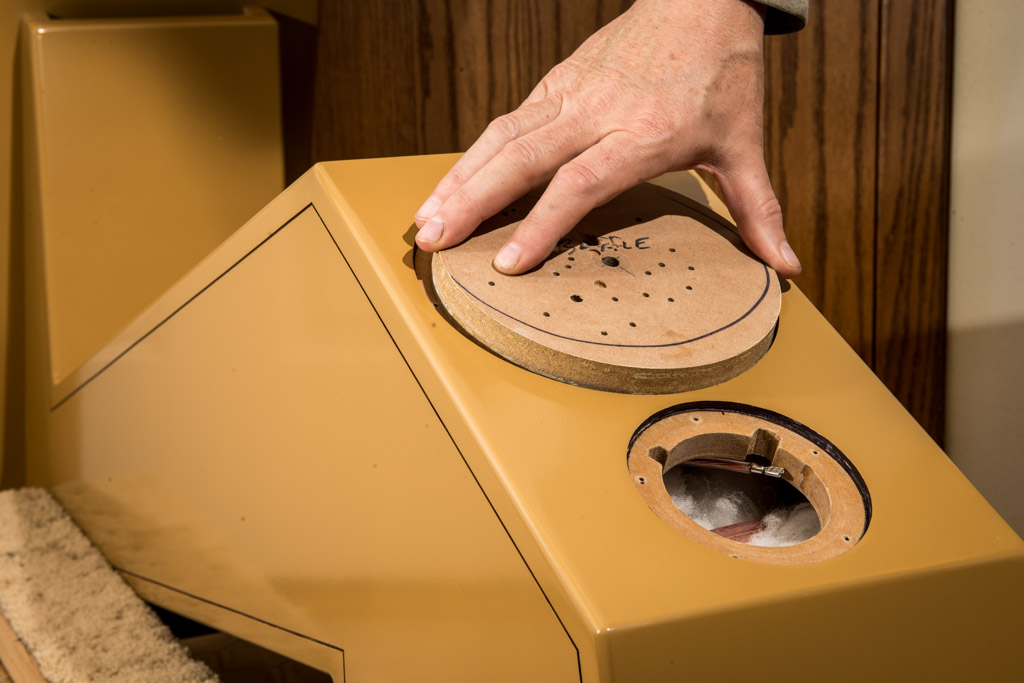
To correct this problem on my Linehopper build, I glued sandpaper to some PVC pipe and an MDF driver cutout slug, and then carefully sanded the recesses until I got a perfect fit. Worked like a charm.
8 Likes
What Bill said ![]()
![]()
1 Like
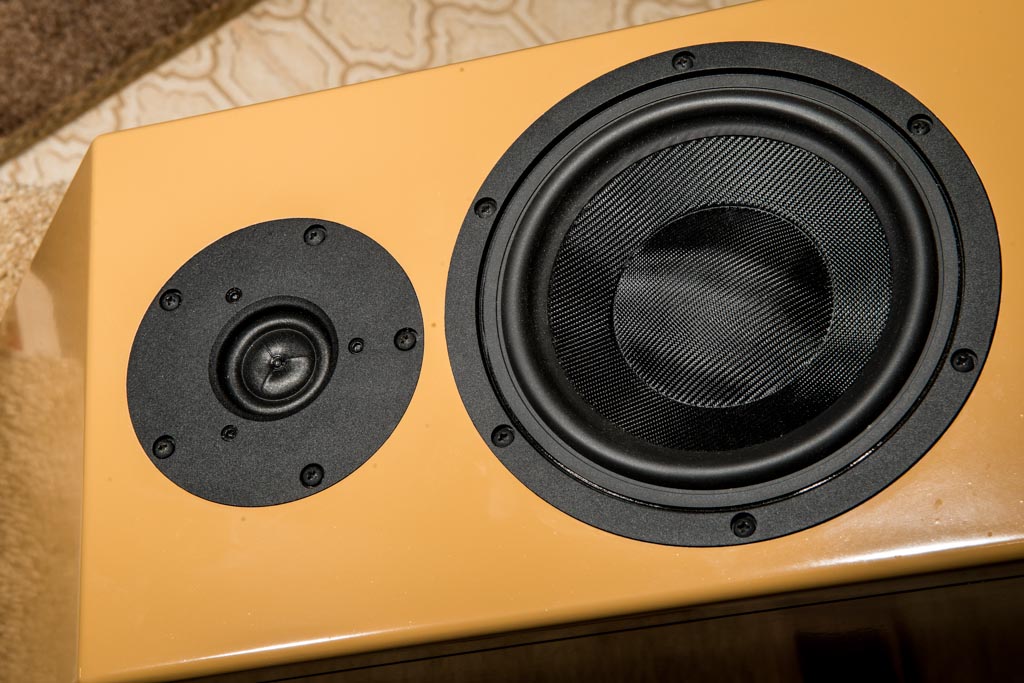
Thanks, I am partway. Got the tweeter to fit. Now for the other stuff.
2 Likes
What grit are you using, bill? I am trying with 100, might be too aggressive
I’m pretty sure it was 100 grit.
1 Like
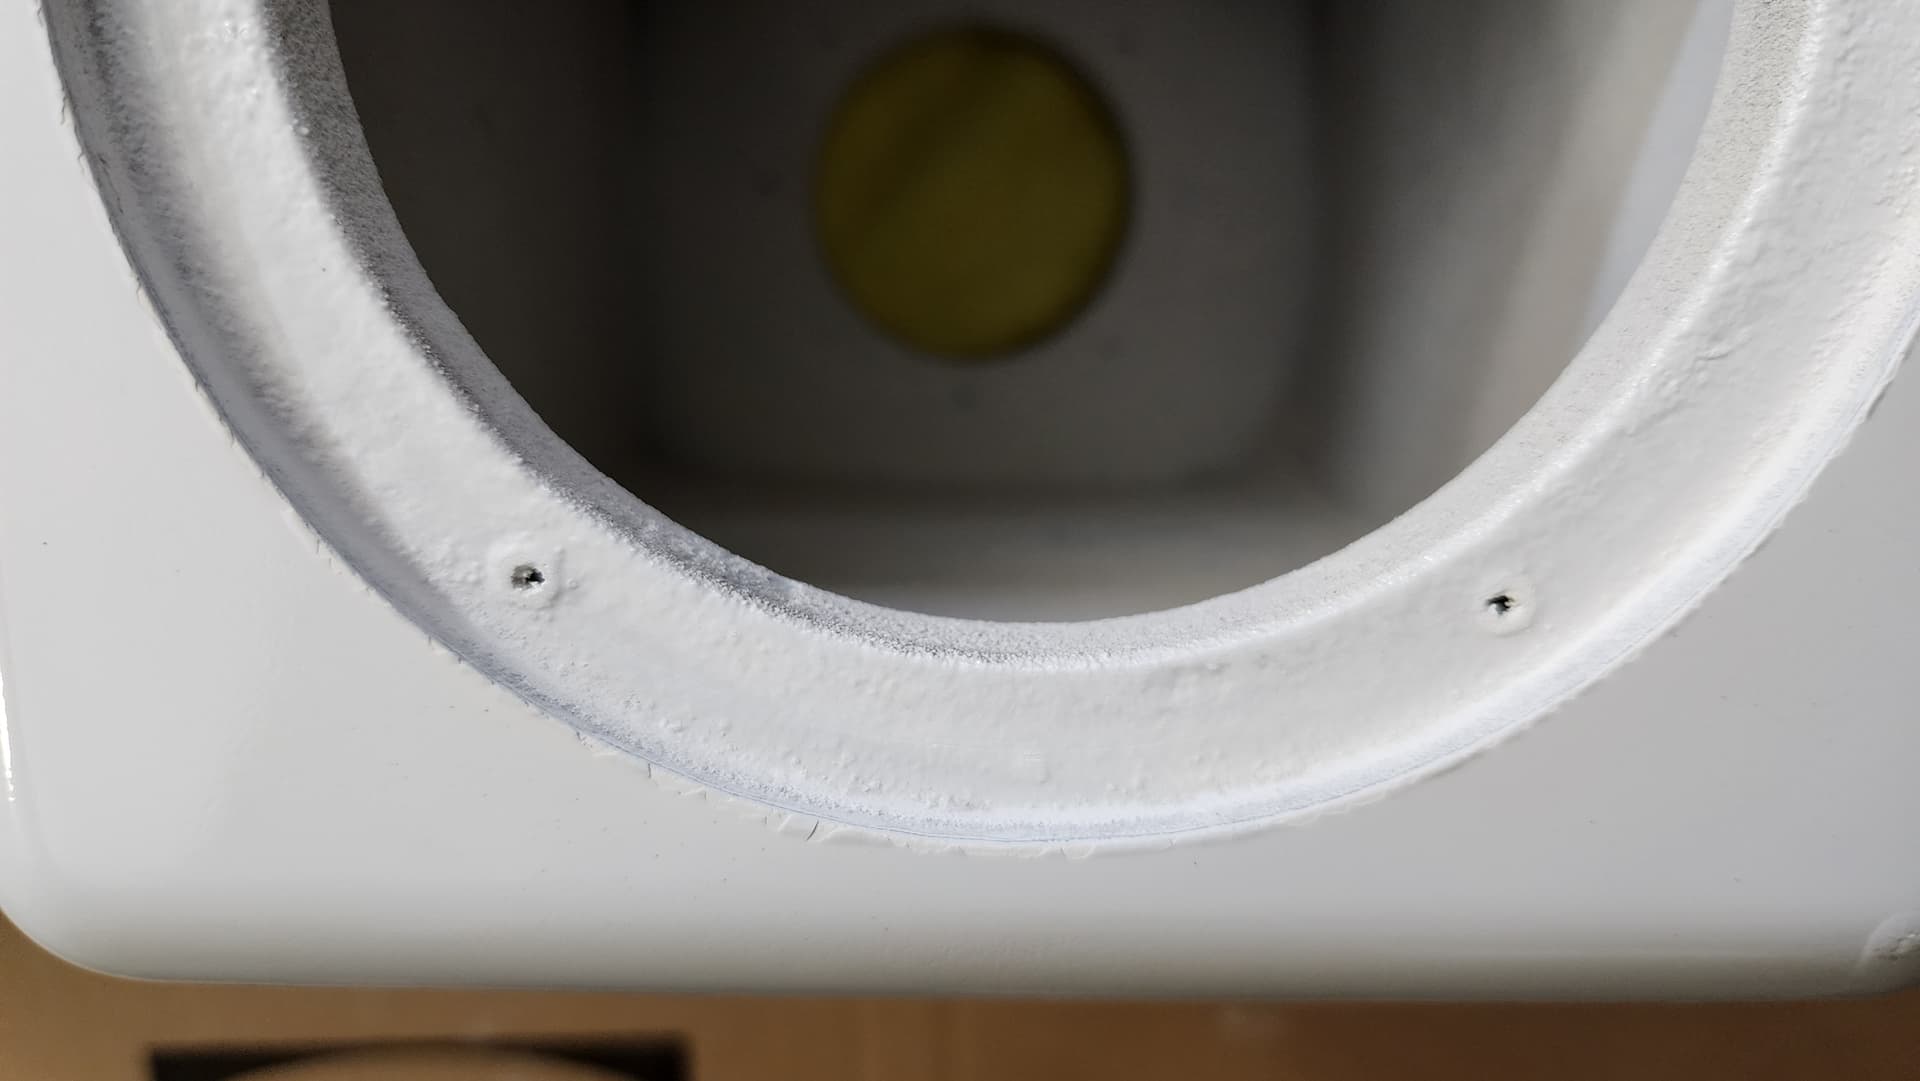
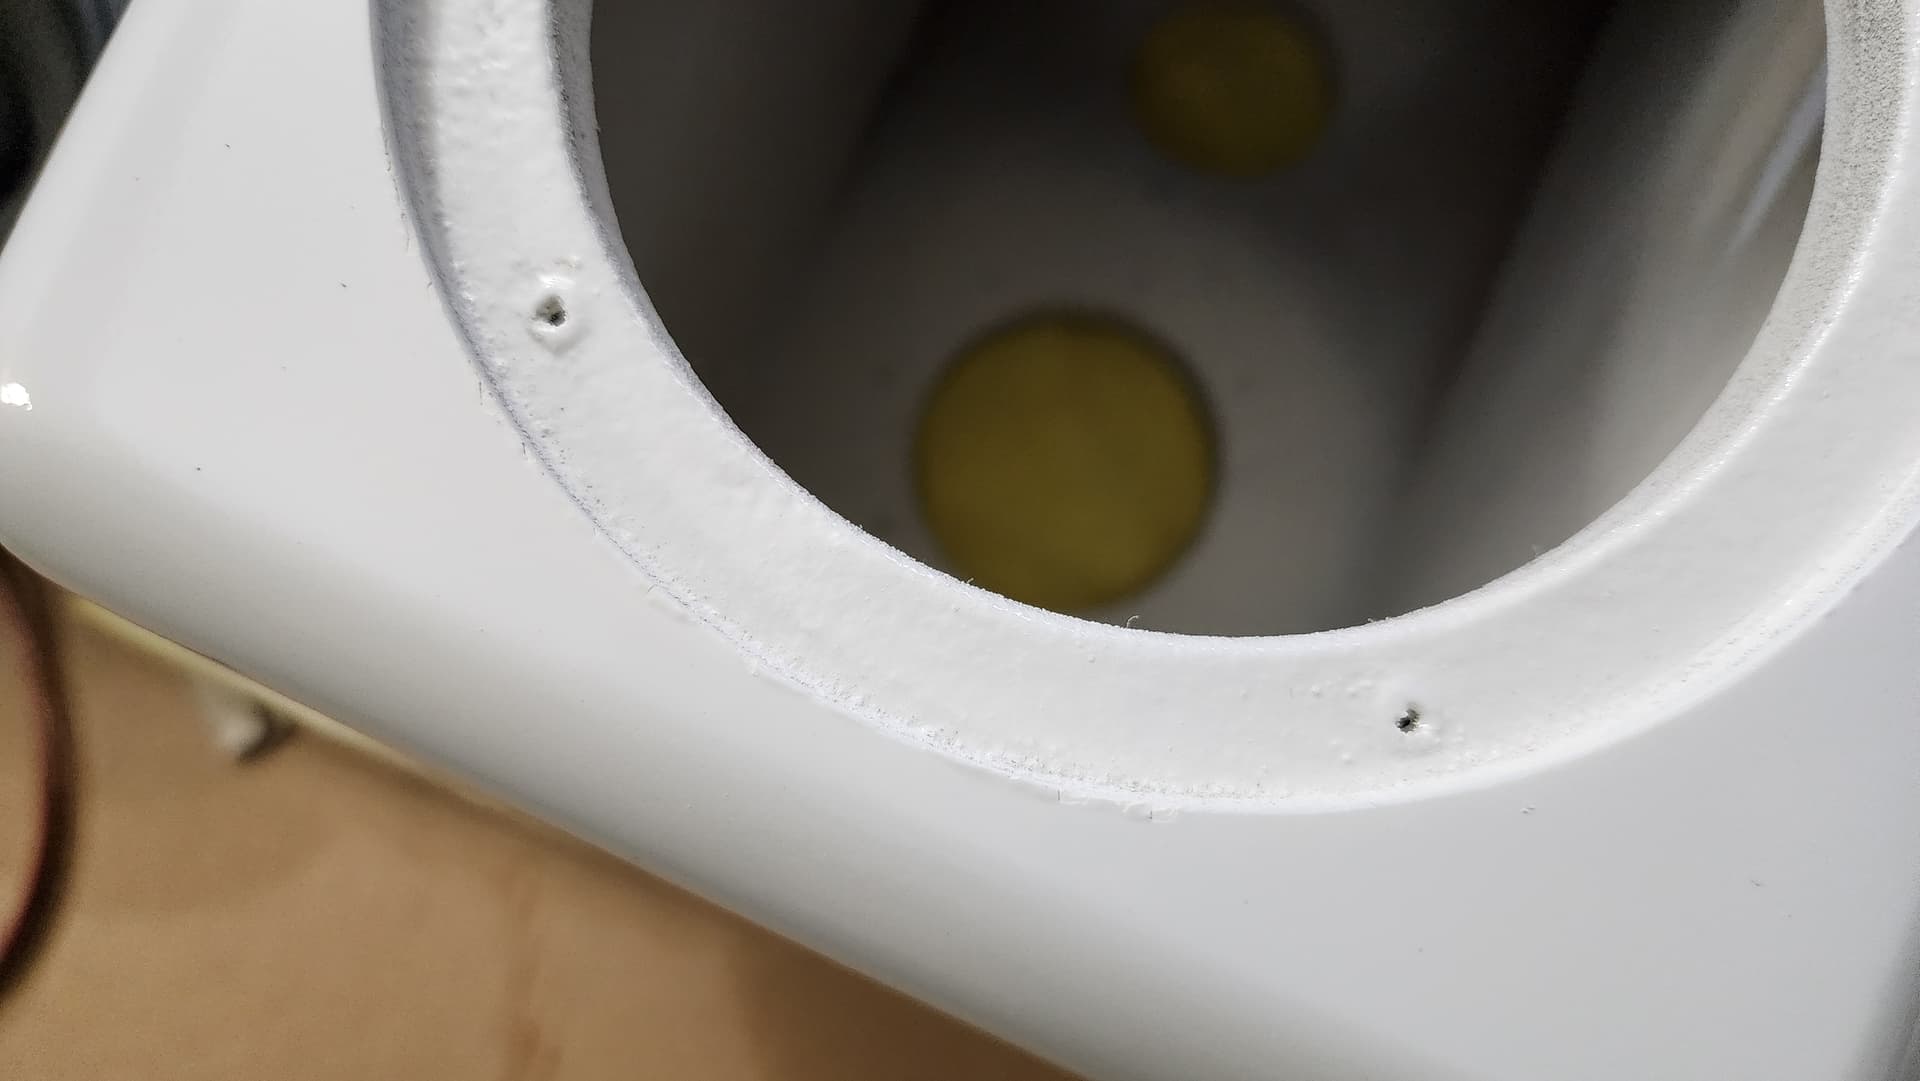
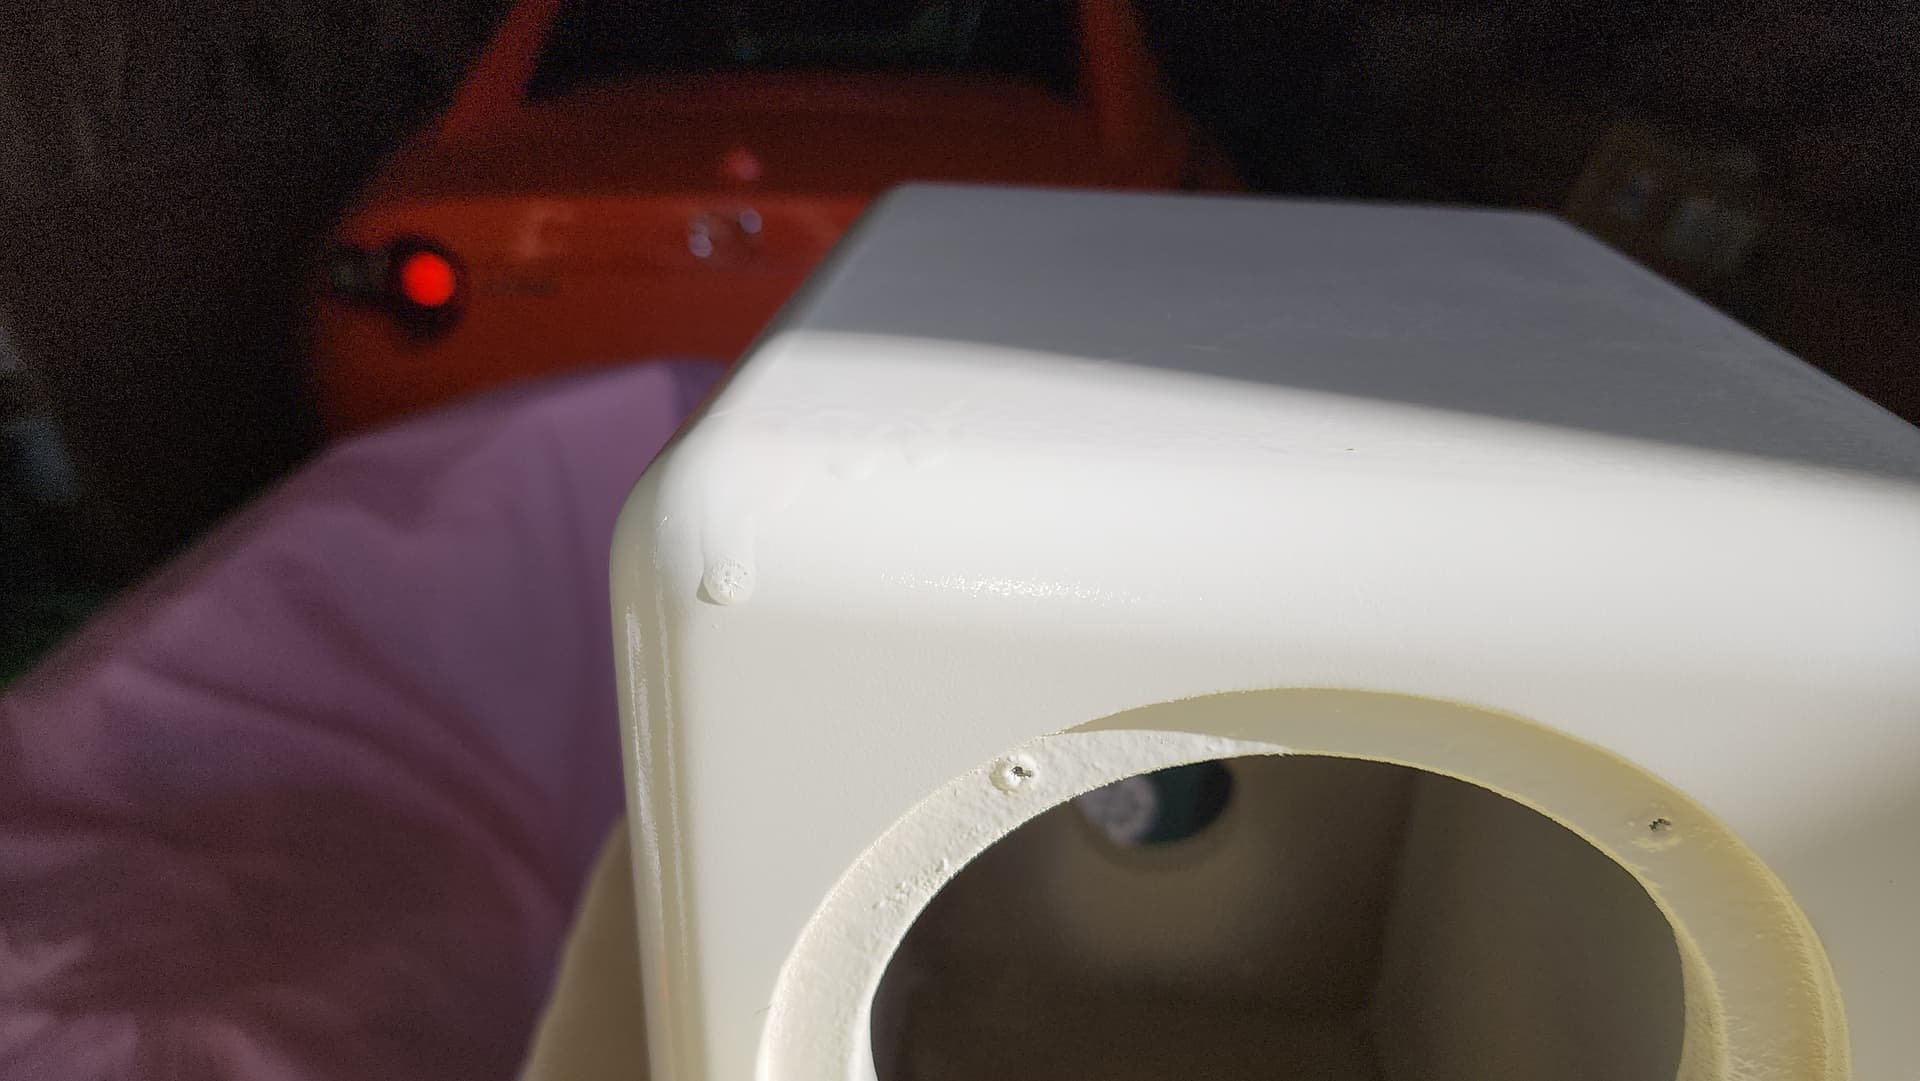
I am going from a bad disaster to a worse one. Maybe I should have checked and dry fit and sanded before clear!!!
Now I have clear flaking in tiny bits near the edges where the sand paper hit ![]()
My Linehoppers were spray painted with oil based primer, then several coats of high gloss oil based enamel. No separate clear coat used. The enamel had been drying for about 3 weeks before I sanded the recess edges. No flaking at all. Correction to my previous post: I used 150 grit, not 100. (Just found my note detailing the use of 150 grit in my old thread from 2015.)
1 Like
It’s 2k clear and it’s got a thin film kind of, which is starting to chip/flake. Lower edge is the most prominent, though it’s all around.
Looks like the clearcoat probably needed more cure time to adhere better. One time I put clear directly on abs plastic ports. I was worried about chipping when tightening the flange screws. So I gave it a full week to cure before messing with them if I remember correctly.
What I would do is get all the sanding done, then maybe sand down the chipped area carefully a little to smooth it out. Rub the whole thing with some steel wool to give tooth and hit it with one more coat of clear to see how it comes out. Might still be able to see a bit of a rough edge, but better than the chipping as it is now.
Though other folks might have a better idea.
1 Like
sounds good - the celar coat till yesterday had more than a week to cure before I sanded and buffed/polished. I had also got then indoor after letting them cure for 2-3 days in the garage as the temps had started to dip in the night - but may not still be enough!
I’ll try the repair process after iowa, it’s not perfect and doesn’t have to be, but the chips can start peeling if not taken care of.
Yeah sometimes that is just how it goes. Do the best you can and roll with the punches as they come in.
1 Like
I’ve learned to recess so the entire driver mount plate sits just below the face. Then I sand down the driver edge at a slight angle in to the bottom of the driver, then paint the edge of the driver mount flange.
1 Like
Also when I machine the driver rebates I always go a bit deeper than they actually need. Maybe 0.5 - 1.0 mm. I can always add foam tape to bring them up nice and flush. If they’re sitting proud of the baffle it just sucks to go back and carefully router or hand sand the extra away.
5 Likes
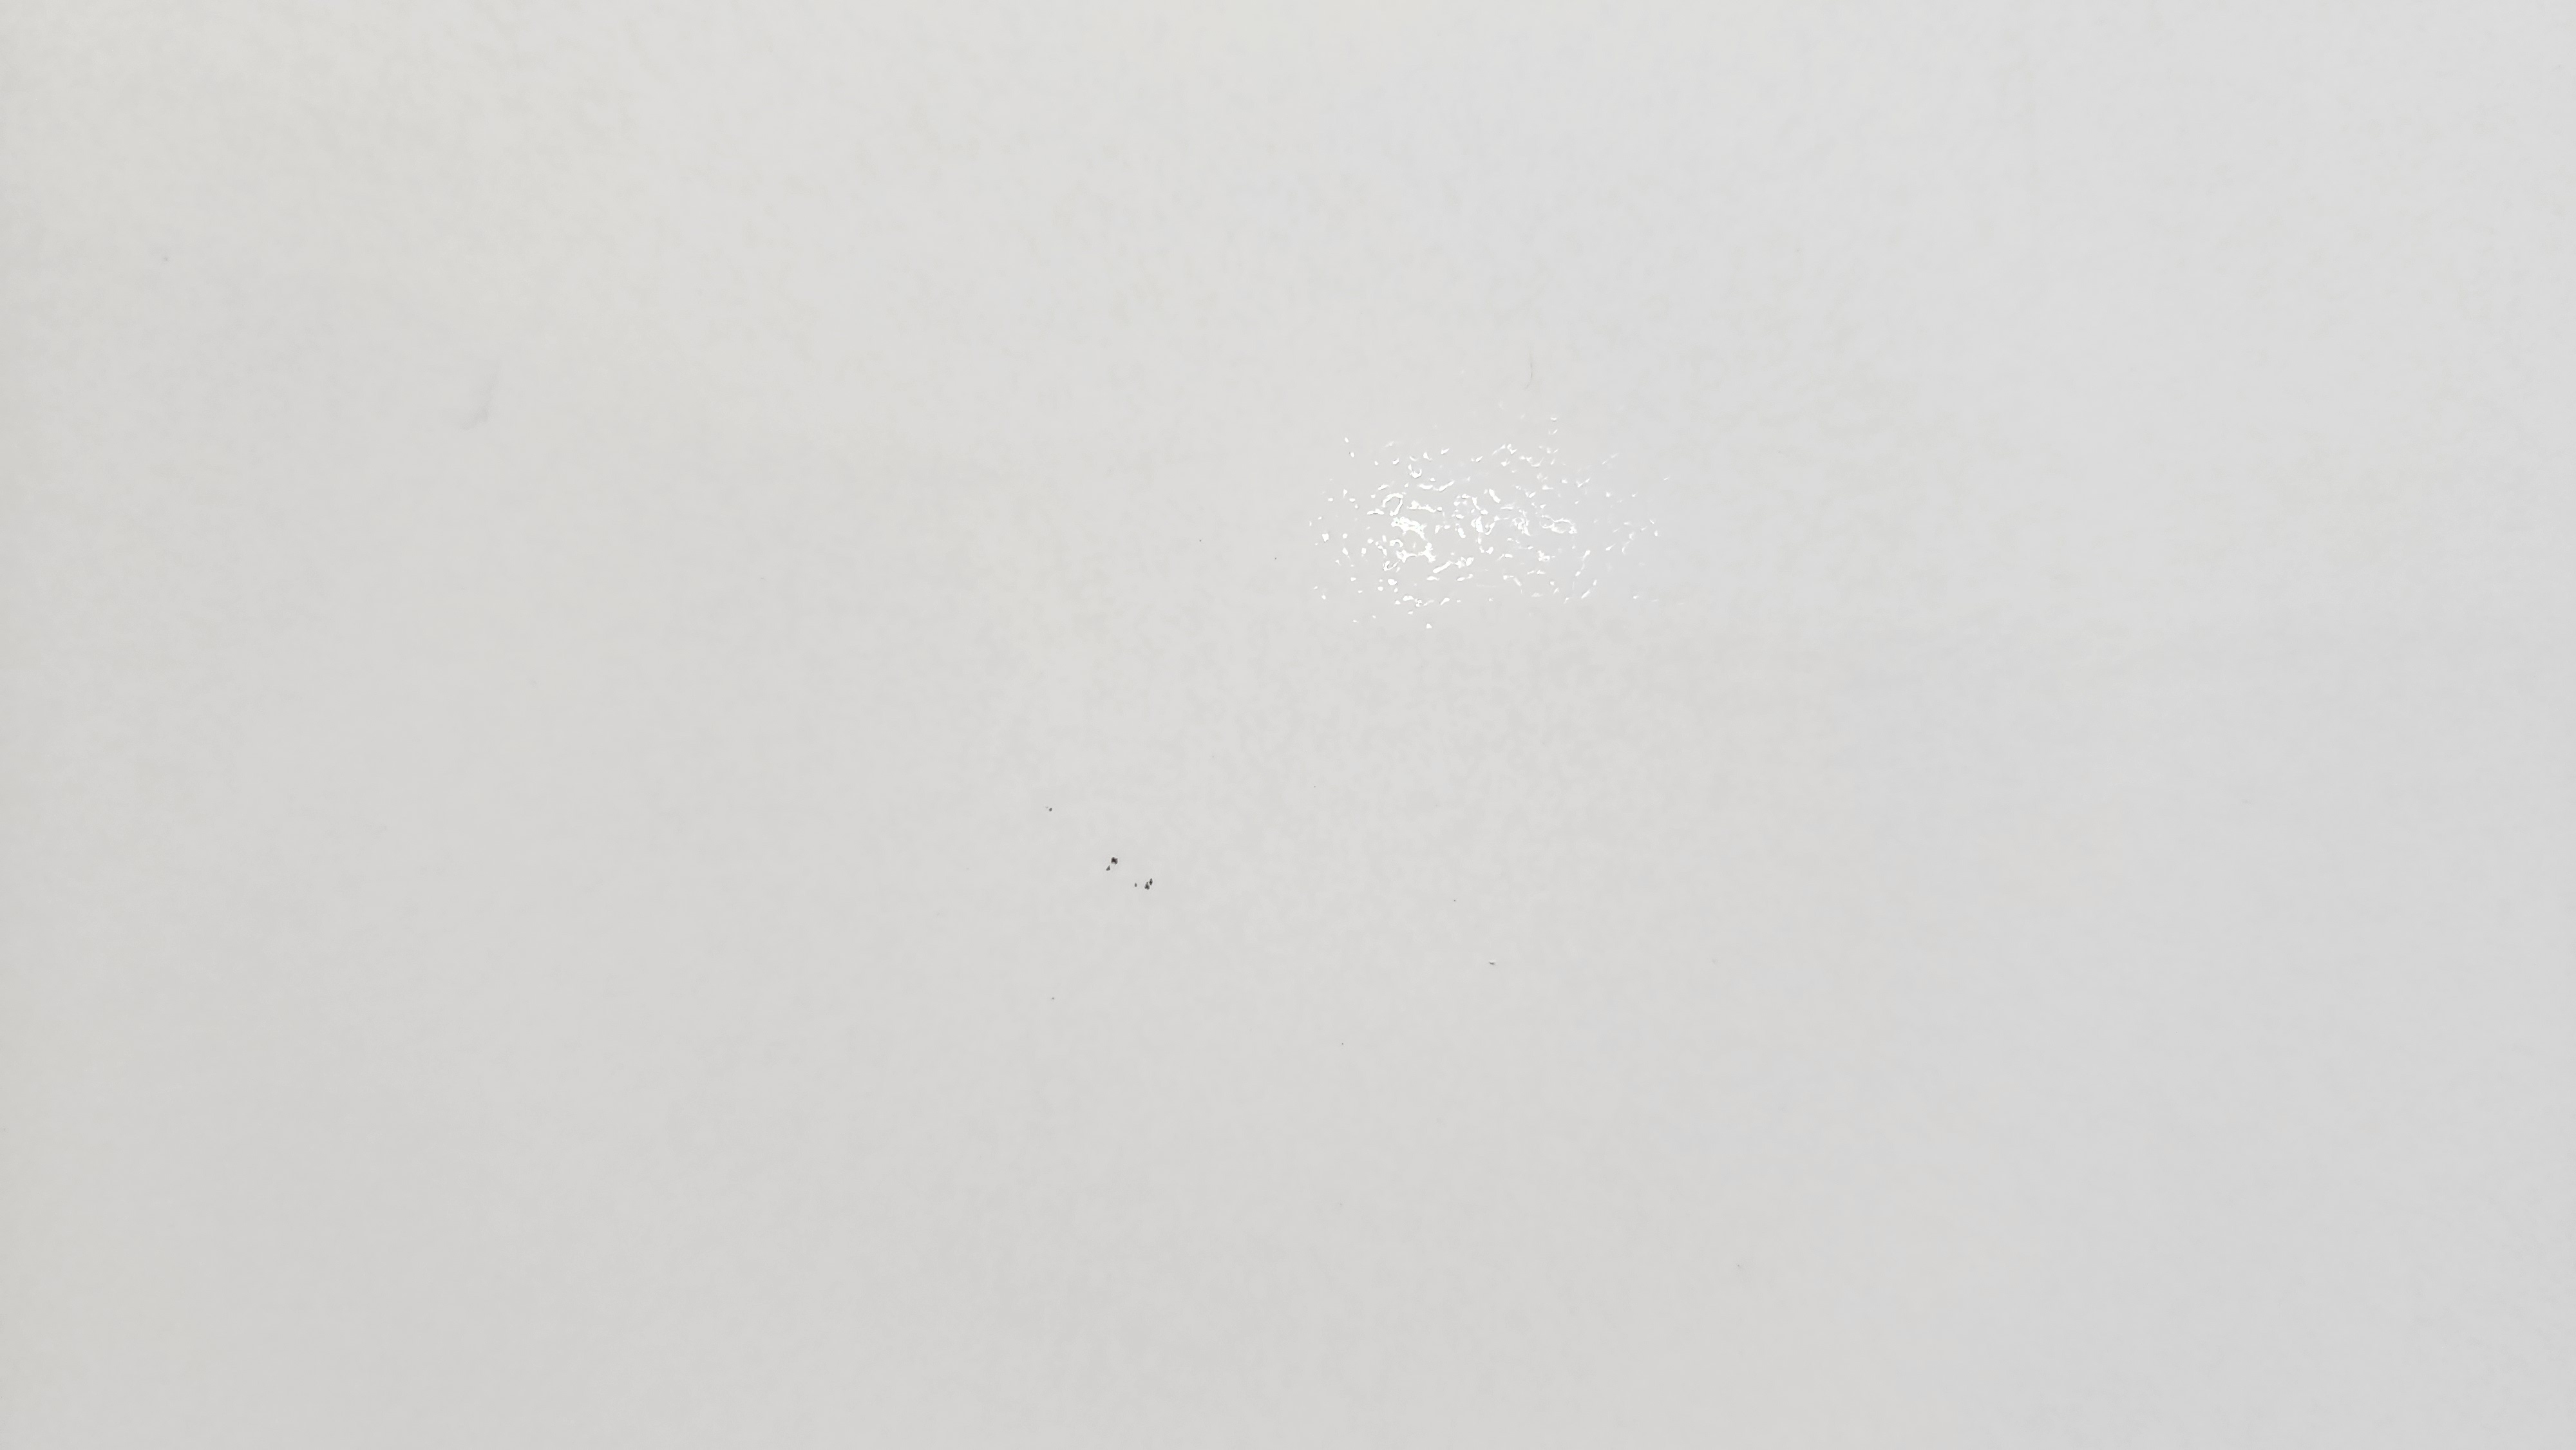
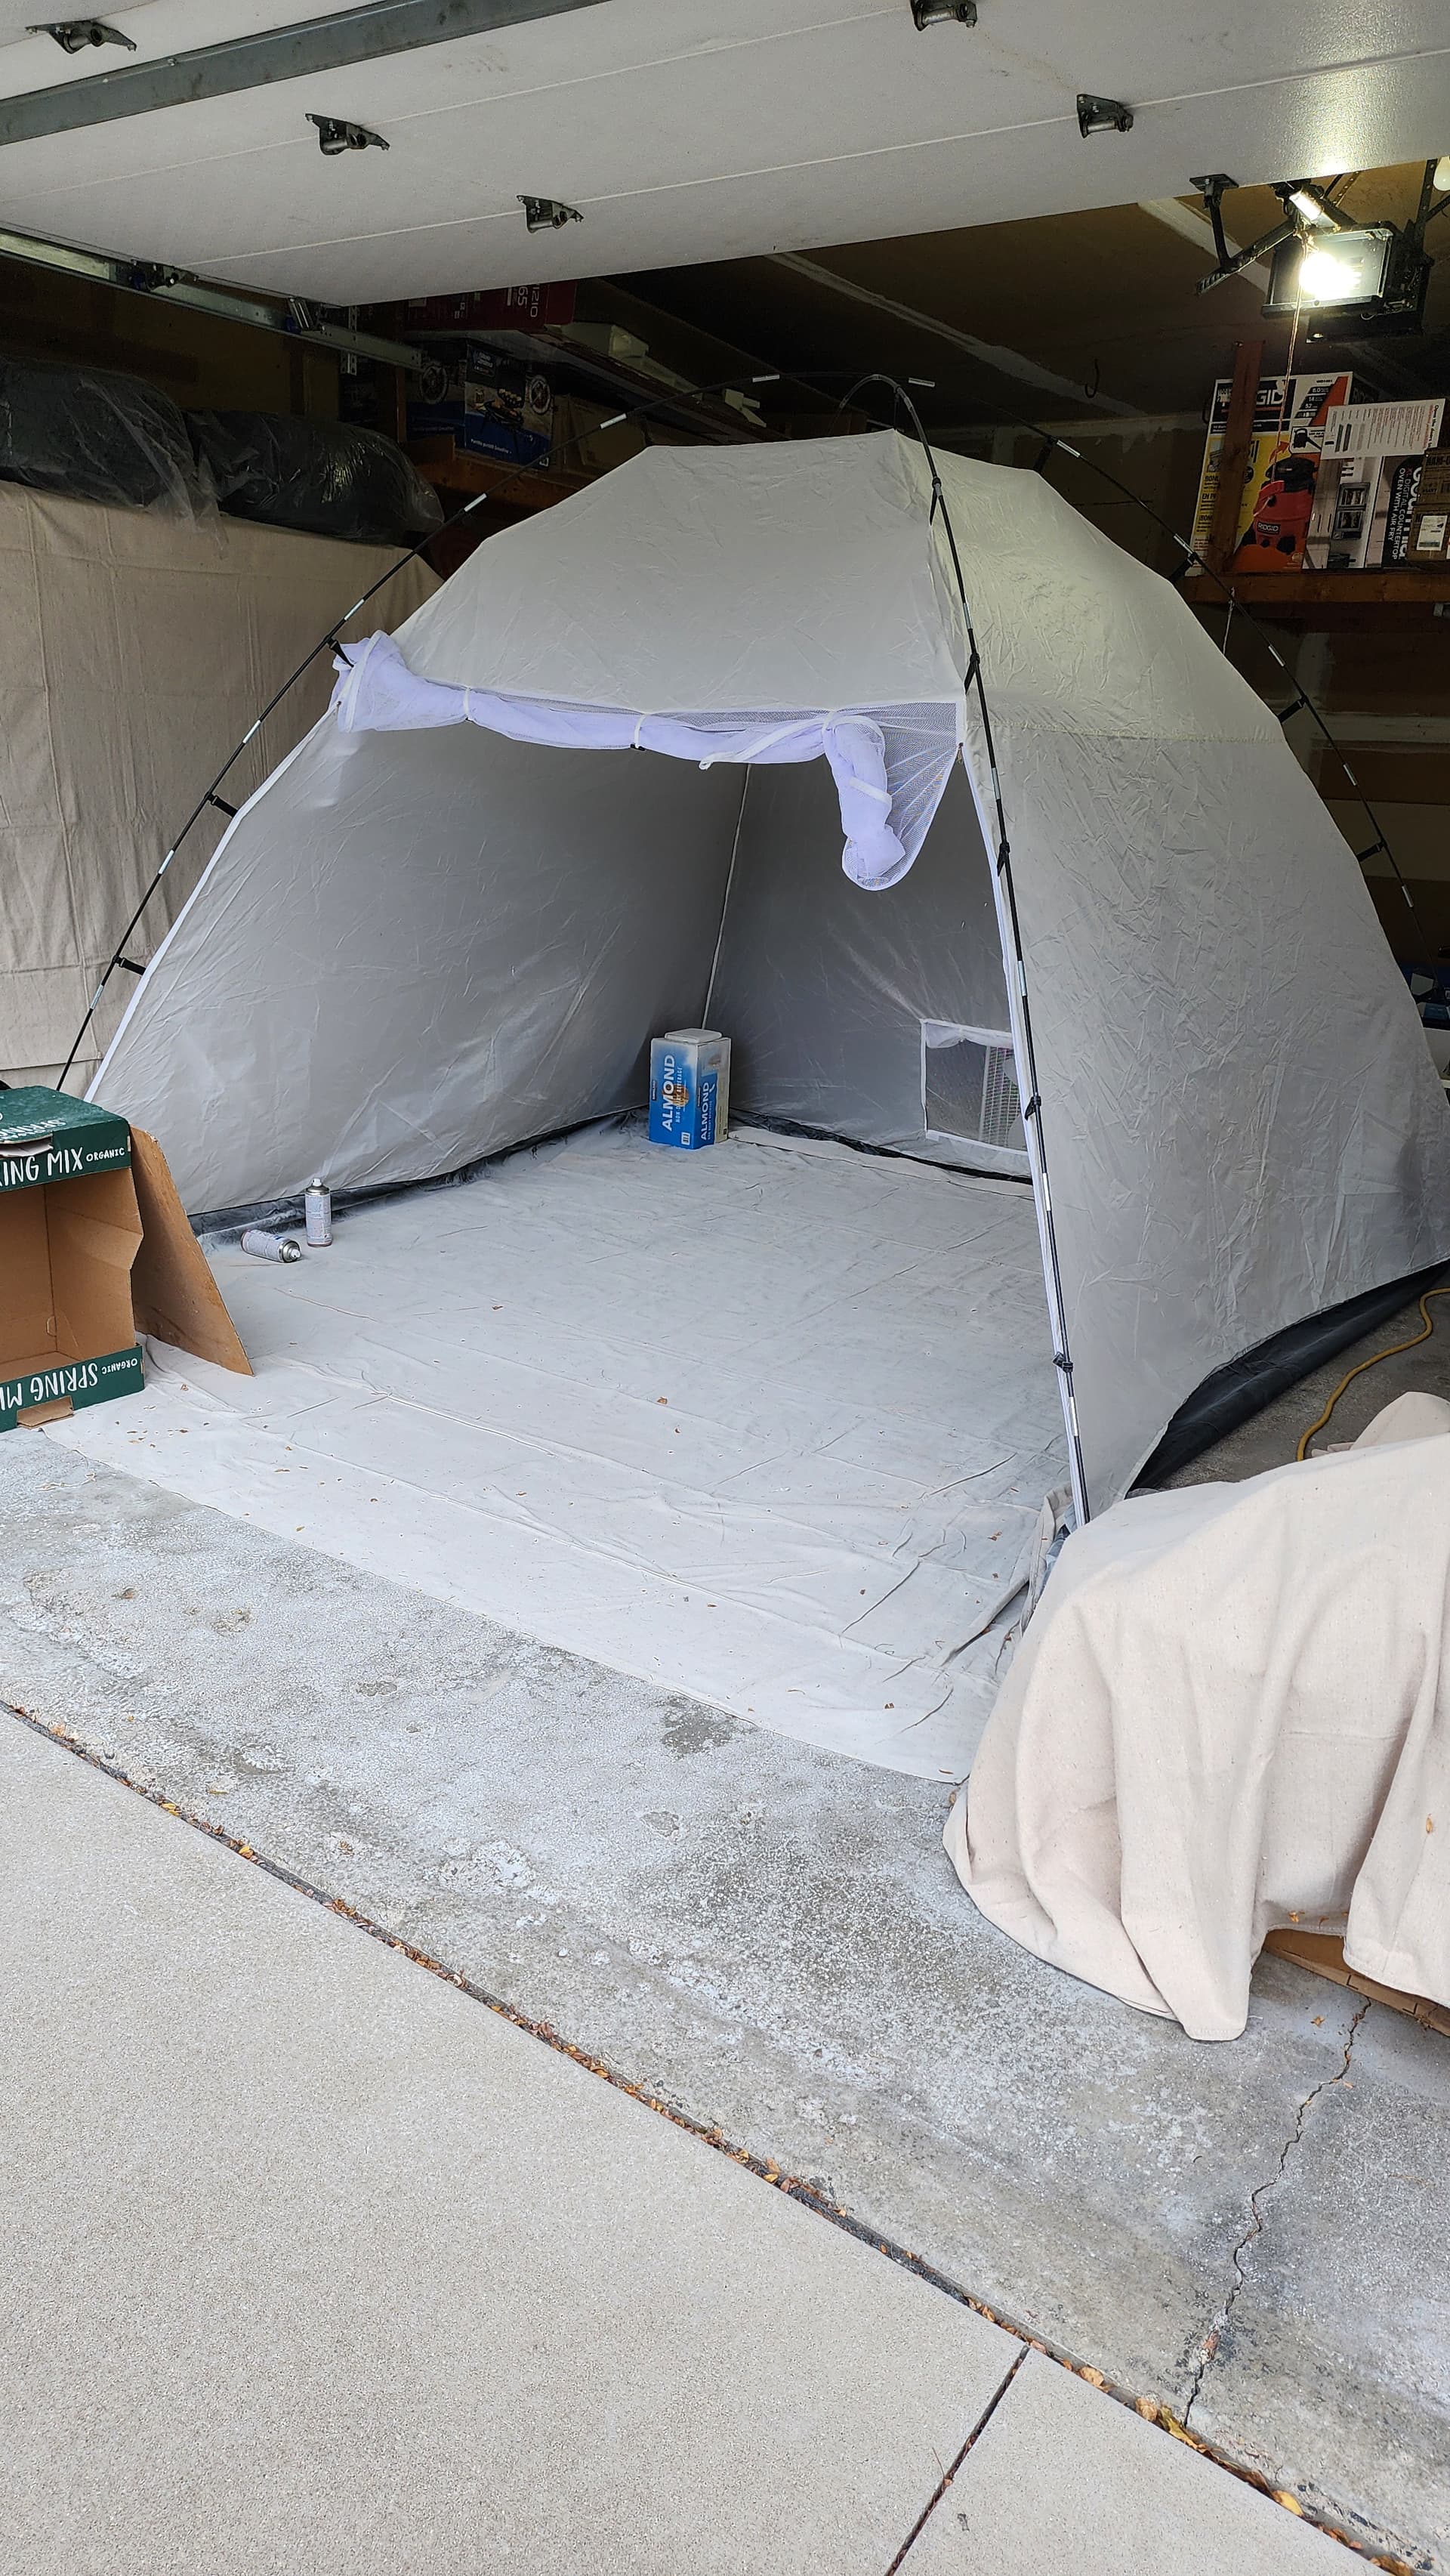
Documenting a few more mishaps. Dust and bugs stuck in clear coat. Need a better “paint booth” setup.

Making the box
- Make the driver recesses a bit deeper and bigger - can be fixed by using driver gaskets
- Put a slight chamfer (sand / cnc) on the driver rebates so that the paint has a place to flow
- Check, dryfit, sand and fix driver rebates before clear
- fill mdf with filler before sealing
- seal MDF - epoxy, lamitate
- fill after sanding sealed mdf - use filler for larger gaps, putty for small ones
Documenting fixes
- Smooth out box. My box wasn’t very smooth and was trying to use primer to fill and sand smooth. Glaze putty worked for filling in
- Was getting small scratches in paint. Used glase putty. It worked, but showed through subsequent coatdls of paint. Minot scratches in paint will get filled in by clear.
- Need to build up clear coats, so I wouldn’t sand through it
- Need to close tent “door"/window”, to prevent dust, bugs settling on clear.
- Keep an eye on temp and light clear coats to prevent runs.
- For the sanding driver rebates causing flaking in clear - sand with 800-1000 and clear all over a couple of coats - cut and polish
- For the clear run, sand with 400 and then higher. Ok to sand through clear, but be careful not to sand through paint.
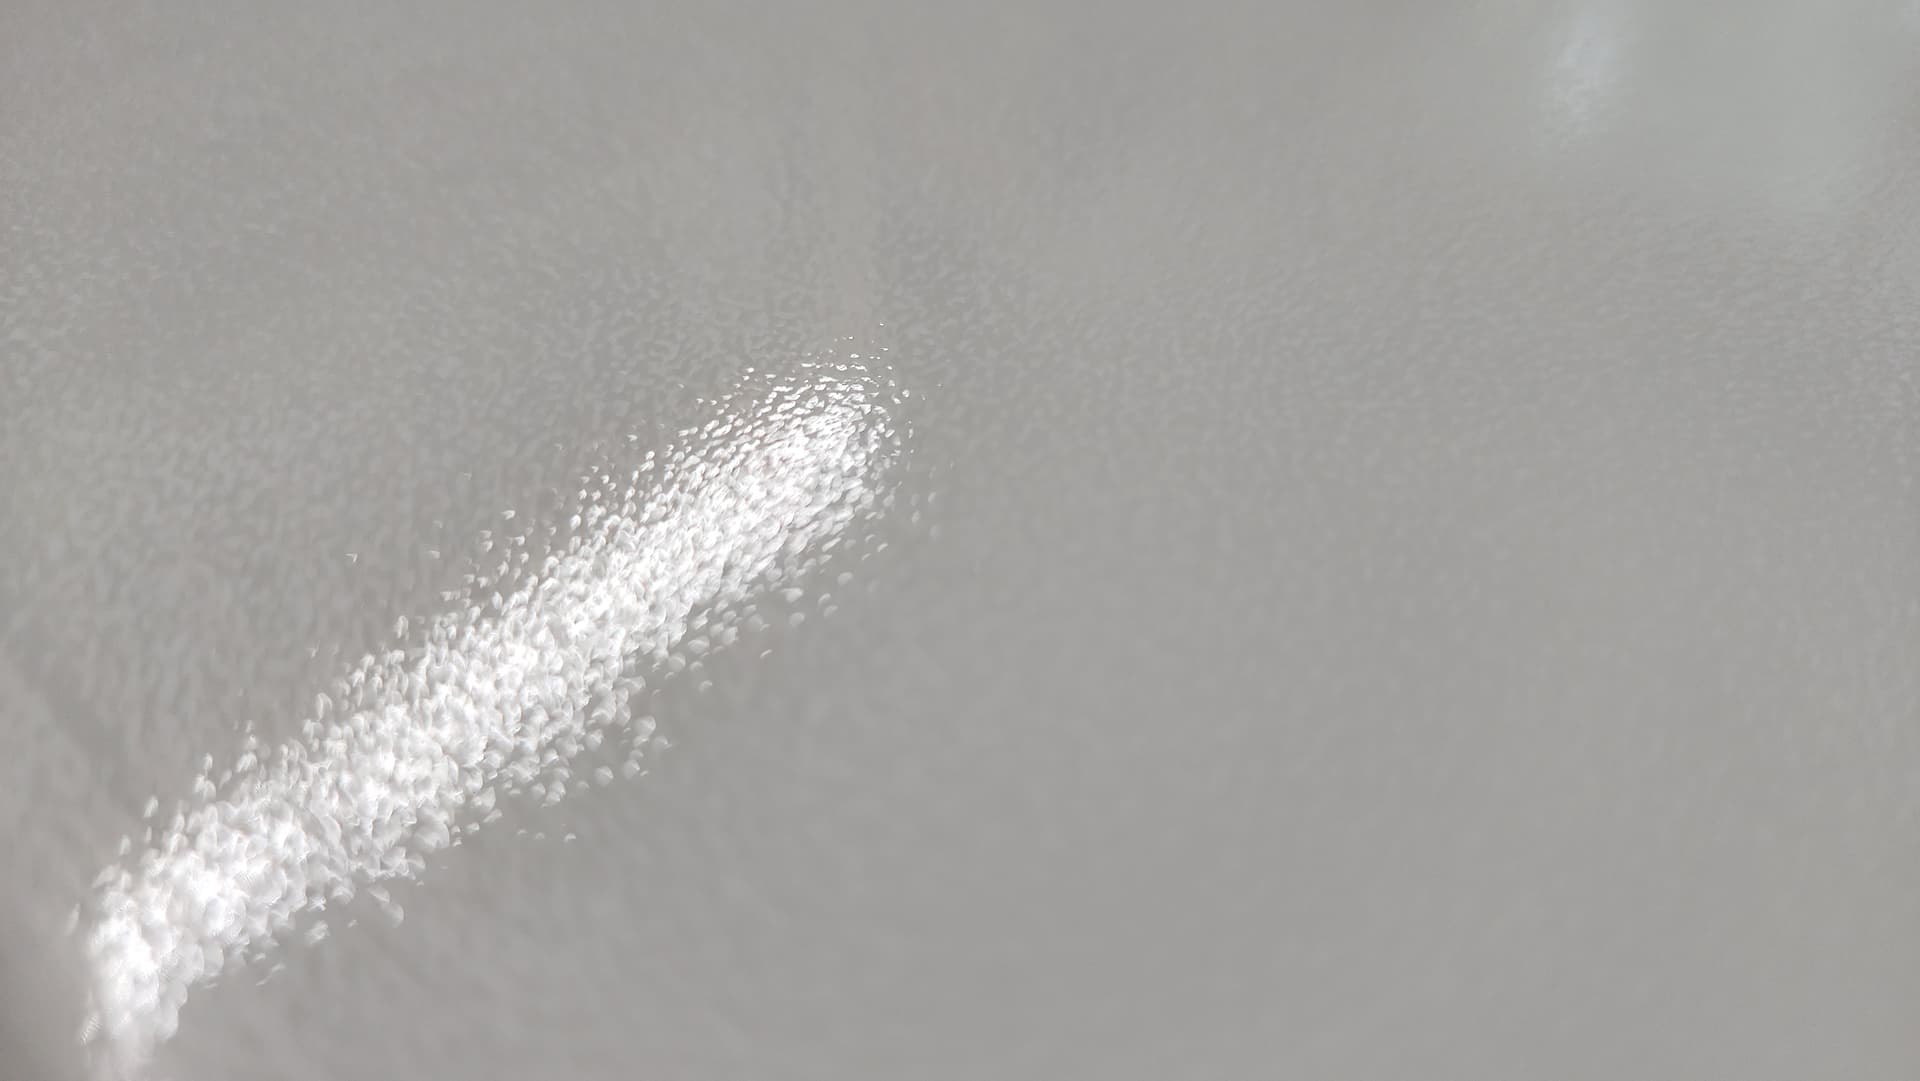
- For the orange peel in clear - not enough sanding. Clear should be sanded smooth before buff and polish.
Will attempt the correction next summer.
Is there anything you put after polishing?